Custom printed grocery bags have to do real work at the register. They need to hold weight, move quickly through checkout, and leave a readable brand impression. If the handle is awkward, the film is too light, or the artwork lands badly on a seam, the bag fails even if the design looks good on screen.
For buyers, the useful questions are practical: what load will the bag carry, how fast does it need to pack, what print format fits the budget, and what quantity makes sense for the store? The right bag is the one that matches the workflow, not the one with the prettiest mockup.
What Custom Printed Grocery Bags Actually Do at the Register
Picture a busy Friday line. The cashier is bagging produce, dairy, and a few heavy items while customers wait. A weak bag stretches, a handle pinches, and a logo buried near a gusset looks distorted once the bag fills up. Those are not design problems in the abstract; they are checkout problems.
That is why custom printed grocery bags are part of the packing workflow, not just a branding layer. They need to hold groceries safely, keep the lane moving, and carry a clean, readable mark of the store. If the bag slows the line or looks cheap once filled, the spec missed the mark.
The best grocery bags are usually the ones that fit the operation. A small market may need a lighter bag for mixed convenience items. A shop selling canned goods or bottle packs may need more gauge and a better handle. High-volume locations often care most about repeatability, fast packing, and predictable cost.
“The best bag is the one a cashier does not have to think about.”
That standard is more useful than chasing extra decoration. A grocery bag should support the register flow and stay readable after it is loaded. For buyers comparing retail packaging options, that is the real test.
Materials, Handles, and Film Thickness That Change Performance
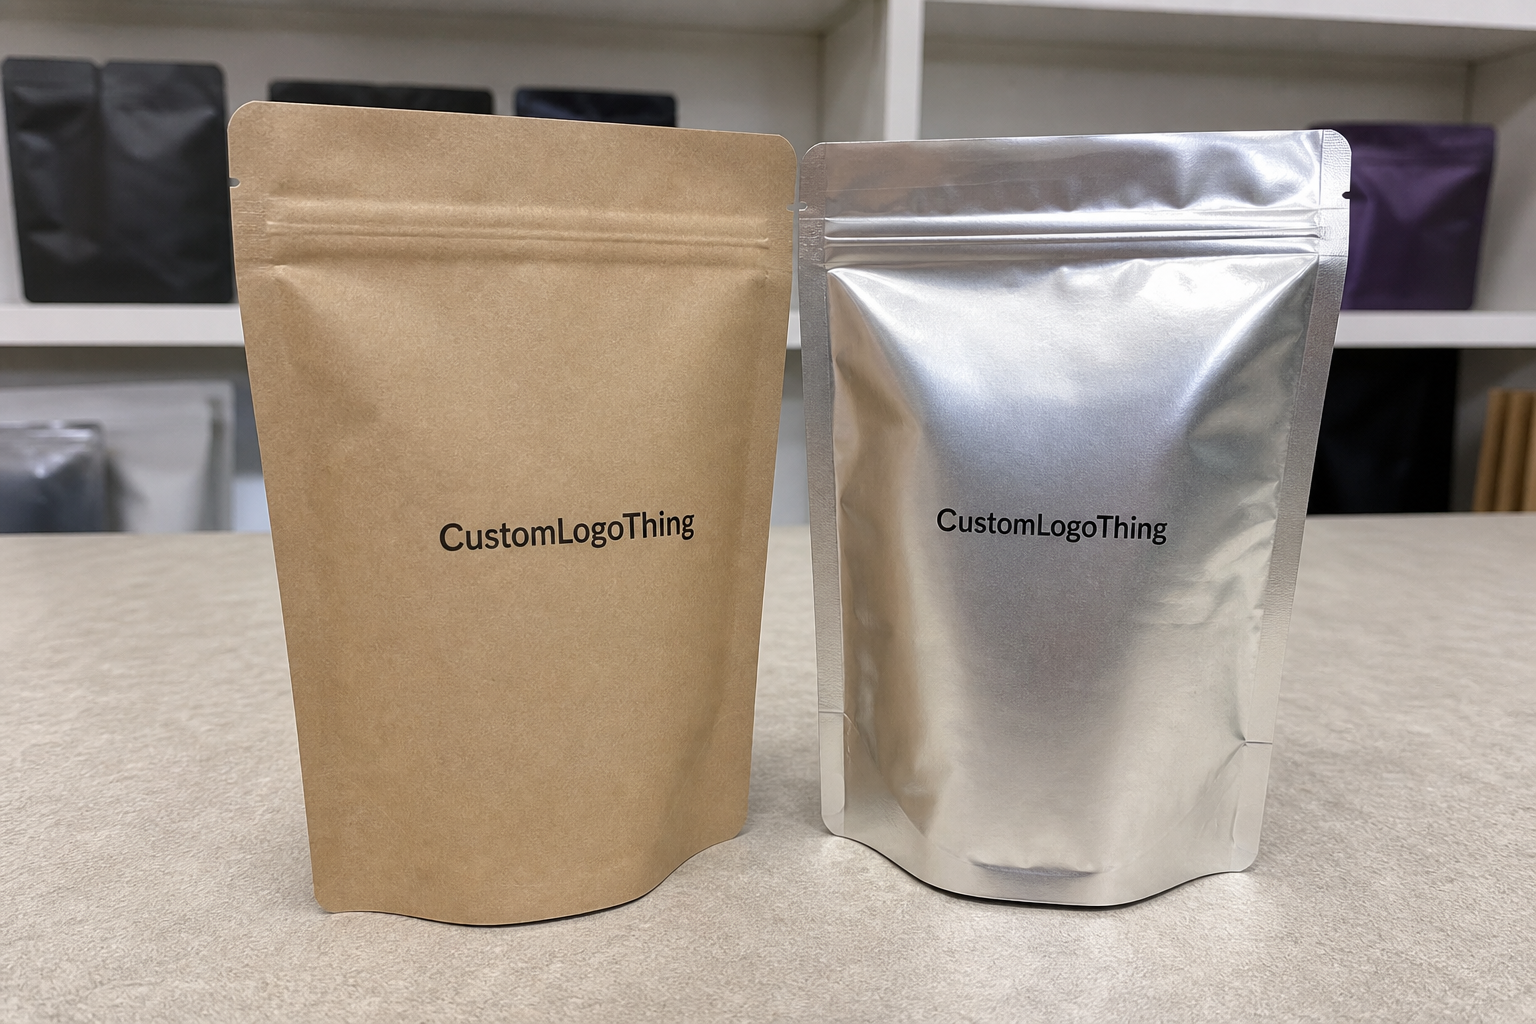
Material choice changes how the bag feels and how it performs. Low-density polyethylene tends to feel softer and more flexible. High-density polyethylene is usually crisper, can be made thinner for a similar use case, and often lands at a lower unit price. Woven or reusable-style bags are a different category with higher cost and higher perceived value. The right choice depends on load weight, brand positioning, and the way the store wants the bag to handle.
Thickness matters, but it should not be the only metric. A thinner bag can lower cost. A heavier gauge can improve confidence and reduce failures. The weak option is the bag that looks economical on paper and performs like a compromise. For grocery use, ask for the actual gauge or micron number instead of a vague claim that the bag is “strong.”
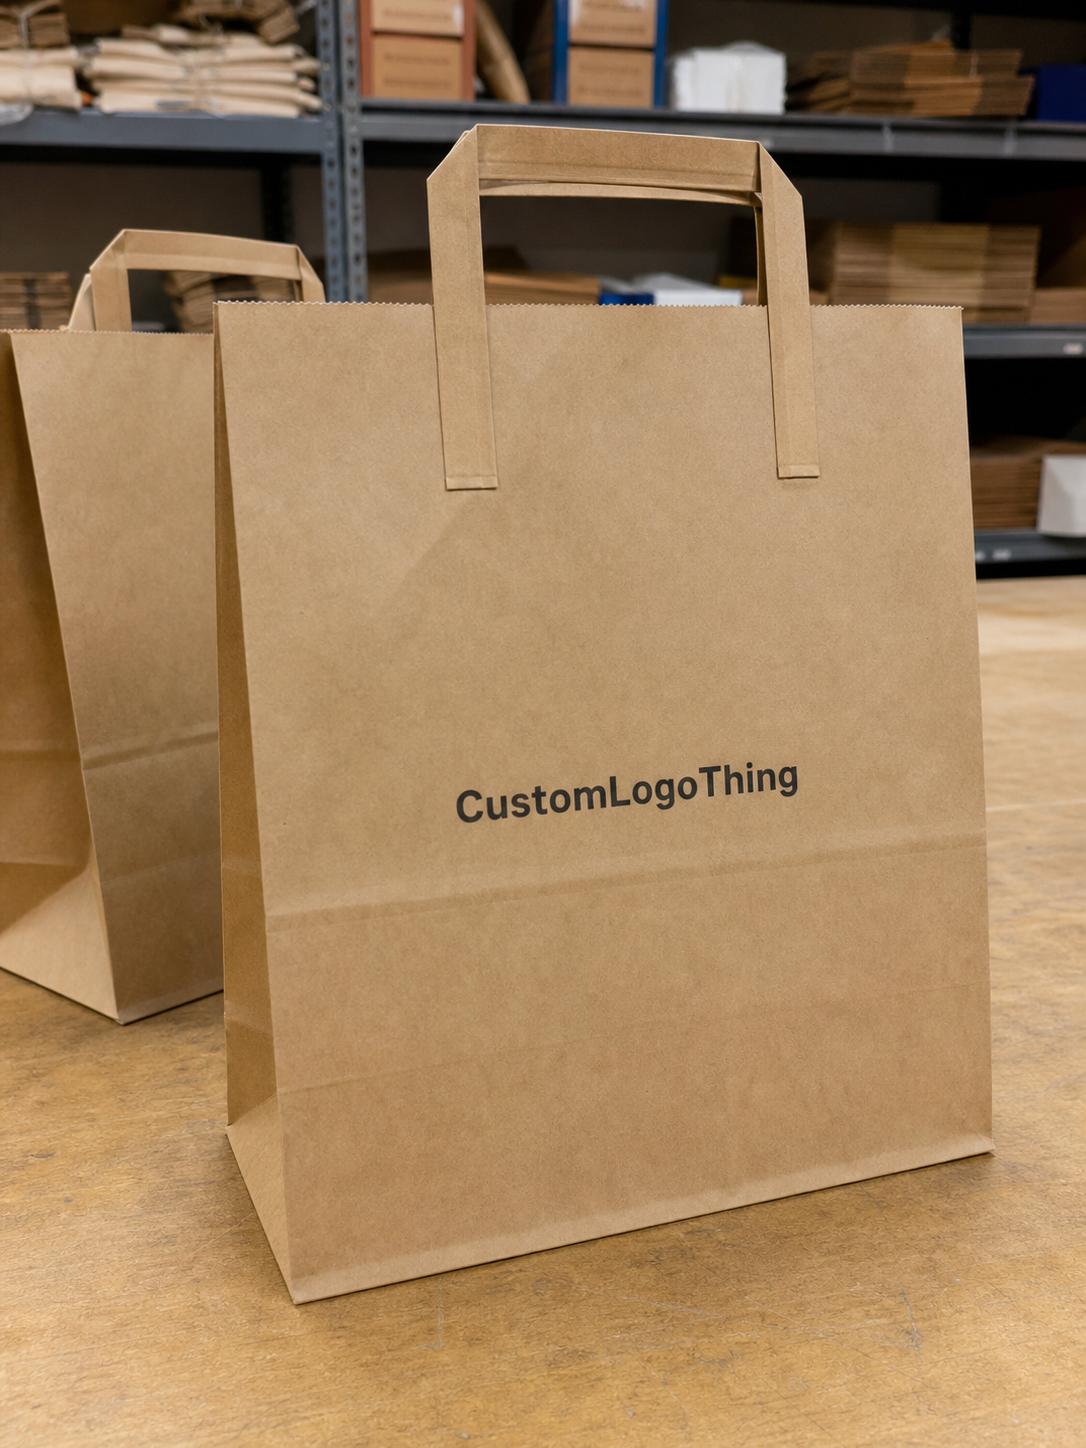
Handle style changes comfort and capacity more than many buyers expect. A loop handle can feel better for heavier loads. A die-cut handle can speed packing and keep the bag compact. A T-shirt style bag is common where speed matters at high-traffic registers. Gusset depth matters too because it affects how the bag opens, how it stands, and how the print reads once the bag is full.
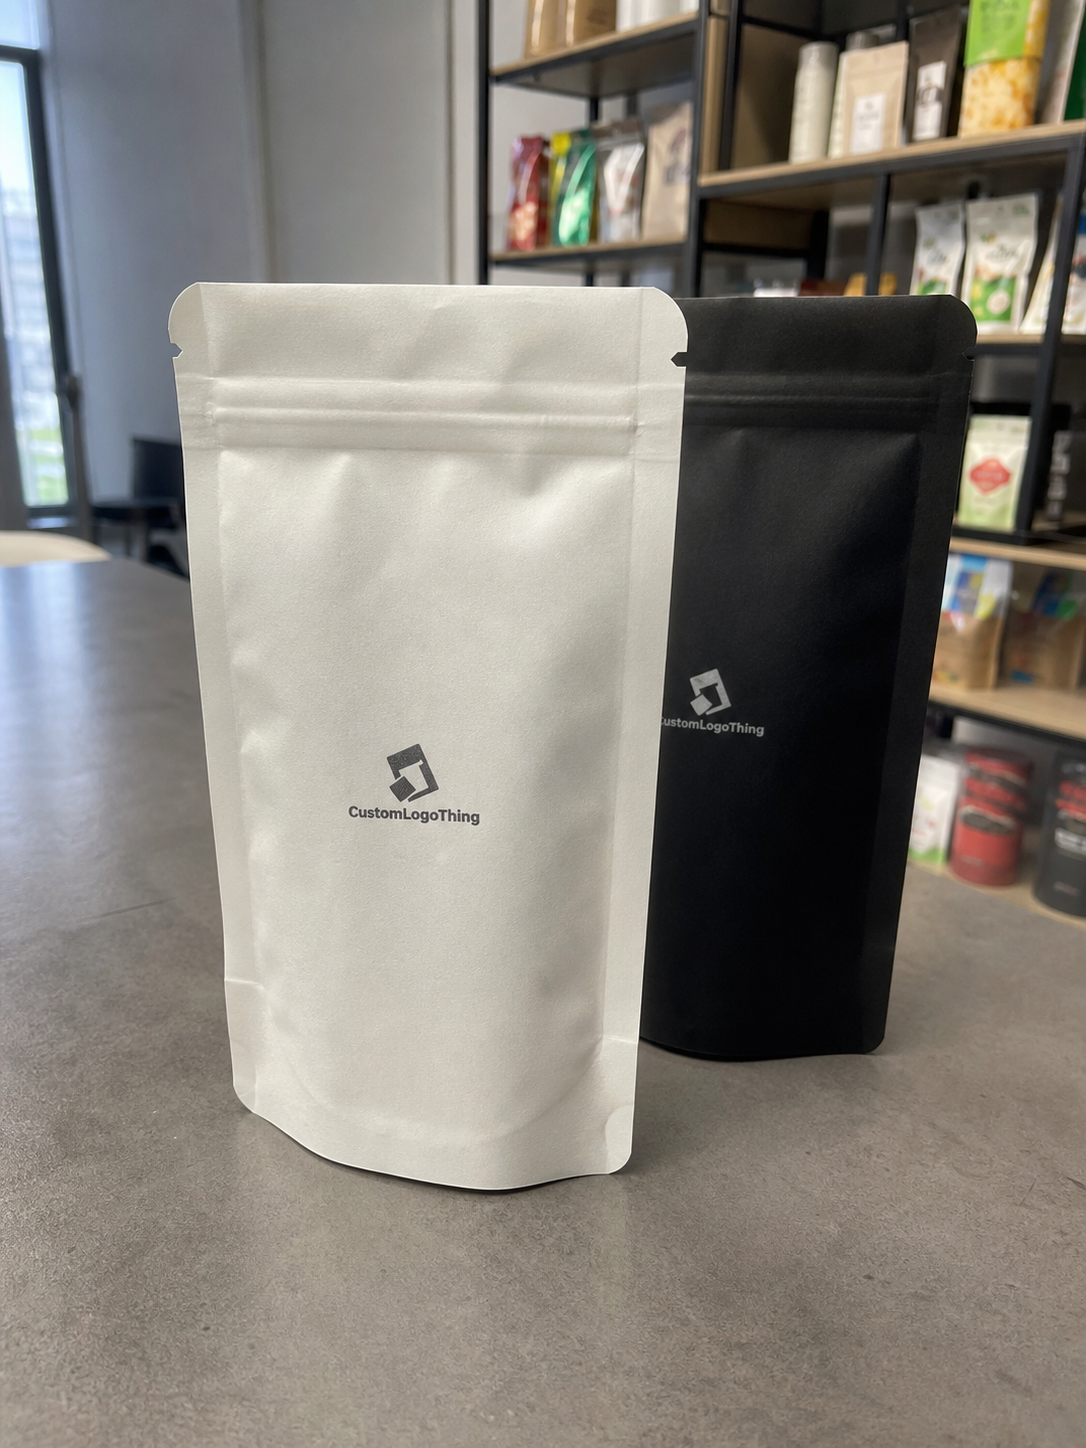
Color and finish also affect usability. White or translucent film makes dark text easier to read. Darker film may look more premium, but it can reduce contrast if the artwork is not planned carefully. If the bag needs compliance text, recycling marks, or store instructions, those elements should be built into the artwork from the start. That is part of package branding, not a cleanup task after proofing.
- Use thinner film when loads are light and price control matters.
- Use heavier gauge when the store regularly bags dense or sharp-edged items.
- Use a wider gusset when boxy products or multiple items need better stability.
- Use simpler artwork when print clarity matters more than decoration.
For buyers building product packaging standards across several stores, the grocery bag should feel like part of the same system as shelf labels, receipt inserts, and custom printed boxes. Consistency across those pieces matters because the customer sees the whole package, not just the bag.
Production Process and Timeline: From Artwork to Delivery
The production path is straightforward, but small mistakes slow it down quickly. It starts with artwork setup, then proofing, then plate or file preparation, followed by printing, inspection, packing, and freight. That schedule holds only if the spec is locked before the order is placed.
The biggest delay is usually not the press. It is missing dielines, low-resolution logos, unclear color targets, or late text changes. If design is still changing after the quote is approved, the schedule slips. Print is literal: the file either works or it does not.
For a standard run, a common production window is about 12 to 15 business days after proof approval. Repeat jobs may move faster, while special materials, complex artwork, or larger quantities can take longer. Shipping time is separate and should always be added to the calendar. If the bags are needed for a store opening or promotion, count backward from the in-hand date, not the order date.
A practical ordering sequence keeps the project under control:
- Lock the bag dimensions, material, thickness, handle, and print count.
- Send clean artwork with fonts outlined and colors specified.
- Review the proof for seam placement, readable text, and print scale.
- Approve only after operations and marketing are aligned on the same version.
- Build freight time into the schedule so the arrival date is real, not assumed.
If you want a better sense of how packaging gets handled in transit, references from groups such as the Packaging Machinery Manufacturers Institute and the testing standards used by the International Safe Transit Association can be useful. Grocery bags are simple items, but they still benefit from disciplined packaging and shipping practices.
Cost, Pricing, and MOQ: What Actually Moves the Quote
Pricing usually comes down to bag size, material, thickness, number of print colors, quantity, and minimum order quantity. Freight can be a small line or the line that changes the economics altogether. Two quotes can look close at first glance and still land very differently once all the costs are included.
The lowest unit price is not always the lowest total cost. A cheap bag with high setup charges, expensive shipping, or a storage problem can cost more in the end. Buyers who focus only on the per-bag number are comparing half the deal.
| Order Factor | What It Does To Price | Buyer Takeaway |
|---|---|---|
| Bag size | Larger bags use more film and usually cost more per unit. | Match the bag to the most common basket size instead of oversizing every order. |
| Thickness | Heavier gauge raises material cost and can affect print handling. | Do not pay for strength you will not use. |
| Print colors | More colors usually mean more setup and more press time. | Use one or two colors if the logo can carry the load. |
| Quantity | Higher volume usually lowers the unit price. | Buy enough to improve pricing, but not so much that dead stock piles up. |
| MOQ | Manufacturers set a minimum to cover setup and run economics. | Ask where the breakpoints are so you can compare real options. |
For smaller stores, MOQ is often the real constraint. A first-time buyer may need a shorter run to test size, print, and handling before committing to a larger order. A regional chain can usually absorb more volume and take advantage of better pricing. Requesting quotes at several quantities makes the savings curve visible instead of hidden in the paperwork.
For a fair comparison, every supplier should quote the same spec sheet: same bag size, same gauge, same handle, same print count, same delivery ZIP code. Anything else is a different product dressed up as an apples-to-apples quote. That is how bad comparisons happen.
As a rough market observation, simple one-color grocery bags often price very differently from heavier gauges or multi-color runs, and freight can swing the final number more than buyers expect. The only reliable way to judge value is to compare a complete landed cost against the actual store use case, not against a headline price pulled out of context.
Step-by-Step Ordering Plan for First-Time Buyers
The first spec sheet should be clear enough that nobody has to guess. List the bag dimensions, handle style, thickness, print sides, color count, pack configuration, and any compliance text that must appear. If a barcode, recycling note, or store instruction has to be printed, include the exact copy. Leaving that to “the designer” usually means one more revision later.
Then review the proof like a store manager, not like an art director. Is the logo centered where it needs to be? Is the text still readable when the bag is folded? Does the print area stay clear of seams, handle cuts, or gussets? If the answer to any of those is no, fix it before production. A bad proof turns into a bad run very efficiently.
Quantity planning is a balancing act. Buy too little and the unit cost goes up. Buy too much and cash sits in inventory that may no longer fit the store’s needs next quarter. For a new bag spec, a smaller first order is often the safer move, especially if the design has not been tested in actual checkout traffic.
Use a straightforward approval checklist:
- Dimensions confirmed against current bagging needs
- Artwork approved at full size
- Print colors matched to brand references
- Operational team signed off on handling and pack-out
- Delivery date backed into the launch calendar
If the same buying process also covers other branded packaging items, keep the specs in one place. That helps if the vendor also supplies Custom Packaging Products such as boxes, inserts, or retail bags. One clean spec file saves more time than a trail of follow-up emails.
Common Mistakes That Slow Orders or Raise Costs
The most common mistake is approving artwork without checking the usable print area. A logo that looks centered in the file can end up too close to a seam, stretched over a gusset, or hidden by the fold. Once that happens, the bag still gets used, but every handoff carries the same compromised look.
Another mistake is guessing on gauge or size. Buyers often think a slightly thinner bag will save money, then spend that savings on complaints, double-bagging, or an emergency reorder. The better spec is the one that fits the load weight and the real checkout habit.
Small changes can trigger new setup work. Moving a phone number, changing a color count, or shifting the logo by a few inches can mean new plates, new proof cycles, and a later ship date. Packaging print is exacting even when the design looks simple.
Late ordering creates its own problems. If the bags are needed for a promotion and the order is placed after the calendar is already tight, the options narrow fast. Rush freight gets expensive. Substitute stock may not match the brand. The store then accepts whatever is available and calls it a plan.
One more issue shows up often: buyers treat grocery bags like disposable filler instead of a brand touchpoint. That misses the value of the item. A well-made bag sits in the same family as shelf presentation, receipt inserts, and the rest of the store’s packaging system.
Expert Tips and Next Steps for a Cleaner Reorder
For repeat orders, build a one-page reorder file. Keep the exact dimensions, material, thickness, handle style, print colors, approved artwork, packing format, and supplier notes in one document. Save a sample bag too. Color memory fades. Email threads wander. A physical reference cuts through both.
Set reorder points from real usage. If a store burns through a case count every week, the reorder trigger should cover lead time plus a safety buffer. The goal is not to sit on excess inventory. The goal is to avoid running out before a weekend rush or a holiday spike.
If sustainability or compliance claims matter, verify them before they go to print. Resources from the Forest Stewardship Council can help when paper claims are part of the bag program, and local recycling rules should be checked before any environmental statement is printed on plastic. Material claims are only useful if they hold up in the market where the bag will be used.
A practical buying process is simple: gather dimensions, quantity, delivery window, artwork files, and any operational requirements before requesting a quote. That produces a real number instead of a placeholder and reduces surprises later. For clean, durable, on-brand custom printed grocery bags, the spec matters more than the logo.
How many grocery bags should a store order at one time?
Base the first order on 2 to 4 weeks of real checkout volume, not a guess. If the design is new, leave room for a small test run and a corrected second order. Ask for pricing at multiple quantities so the unit cost breakpoints are visible.
What print method works best for printed grocery bags?
For most Plastic Grocery Bags, flexographic printing is the common workhorse because it scales well and keeps repeat orders consistent. Fewer colors usually mean cleaner pricing and faster setup. The best method still depends on the material, finish, and how much contrast the artwork needs.
How long does a custom grocery bag order usually take?
Simple repeat jobs can move quickly, but first-time orders take longer because proofing, setup, and production all add time. A standard run often lands around 12 to 15 business days after proof approval, with shipping added separately. Complex artwork or unusual specs can extend that window.
What do I need for an accurate bag quote?
Provide the bag dimensions, material, thickness, handle style, print colors, quantity, and delivery ZIP code. Include any special requirements like barcode placement, compliance text, or retail packing format. Final artwork helps, since rough mockups often change after pricing.
Are custom grocery bags worth it for small stores?
Yes, if the bag is doing real branding or operational work instead of just looking polished in a mockup. Small stores should keep the spec simple so the MOQ does not create avoidable inventory pressure. A standard size and one-color print is often the cleanest starting point.