Custom Stand Up Pouches can elevate a product on shelf and still disappoint in daily use if the structure is mismatched to the product. That is the part buyers sometimes miss in the early stages. The mockup looks polished, the artwork is clean, and the pouch may even pass a quick desk review. Then the real variables show up: aroma loss, weak seals, clumping, leakage, or a bag that looks handsome until it is filled and stacked with actual product.
From a buyer’s perspective, the decision is rarely about packaging style alone. It is about protecting the contents, managing shipping weight, fitting the filling line, and keeping unit economics under control. A good flexible pouch should defend shelf life, present the brand well, and avoid adding unnecessary material or freight cost. If a package needs extra cartons or inserts just to compensate for weak presentation, the system is working against itself.
Custom stand up pouches: what they are and why they sell
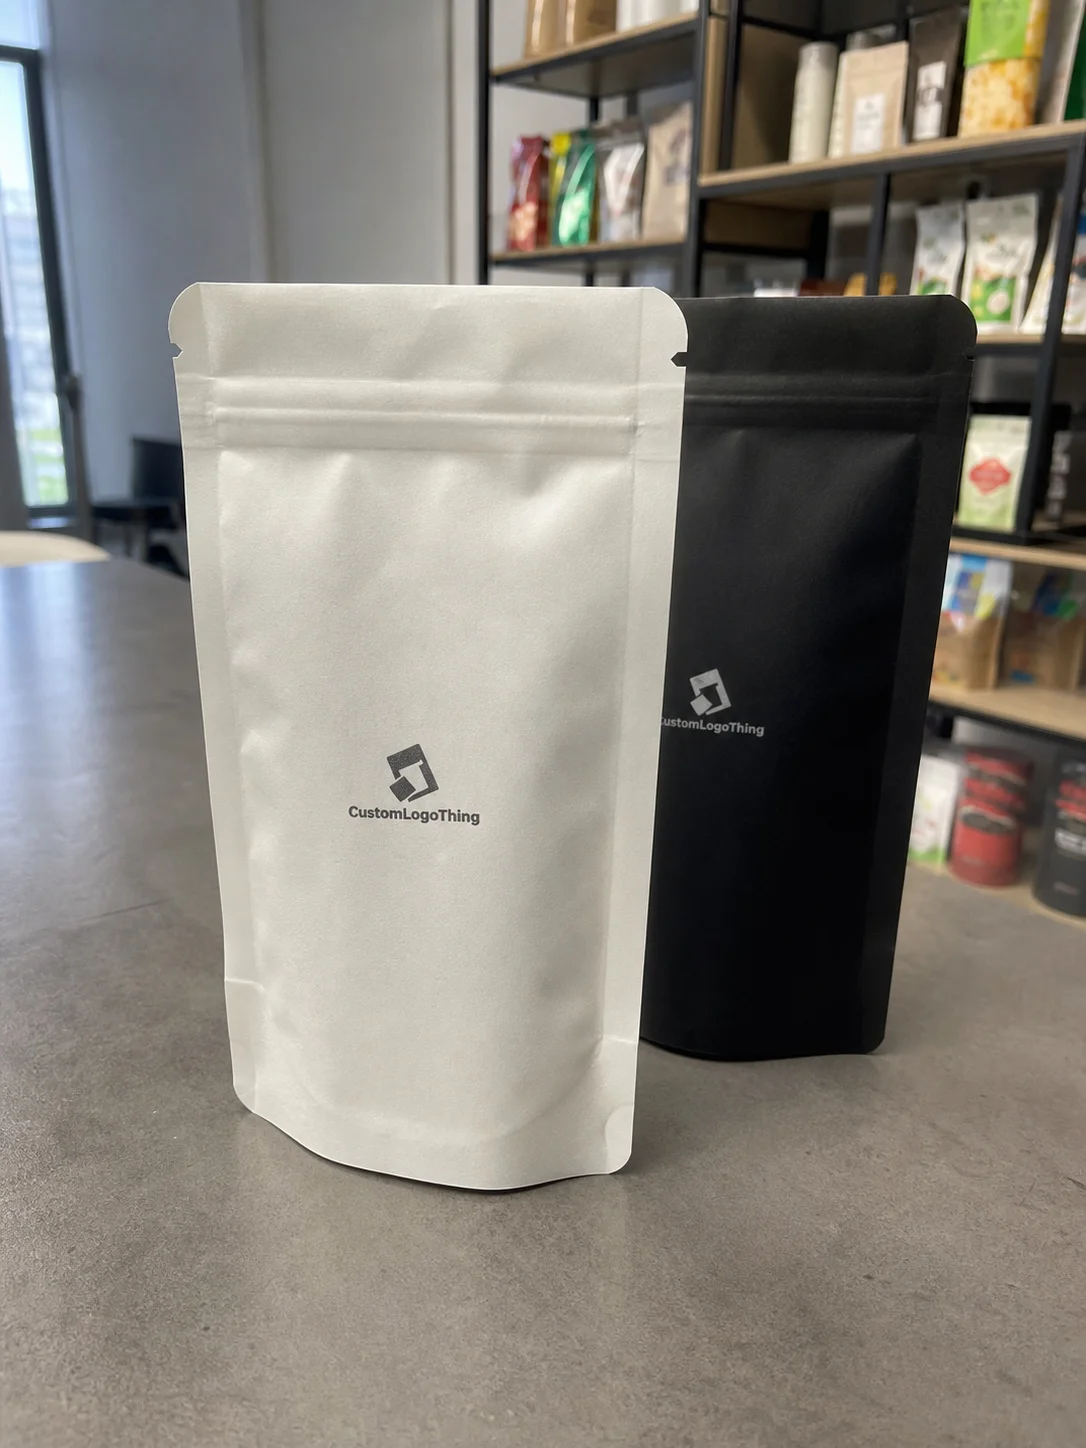
A stand up pouch is a flexible package with a bottom gusset that opens into a stable base. That gusset is the feature doing the real work. It allows the pouch to sit upright on a shelf, in a warehouse bin, or on a kitchen counter instead of collapsing like a flat bag. For products that need retail display and practical handling, that small structural change makes a large difference.
Custom Stand Up Pouches are popular because they solve several problems at once. They are lighter than rigid containers, which helps reduce shipping weight. They usually create better shelf presence than basic flat bags. Depending on how they are built, they can include resealable zippers, high-barrier layers, clear windows, tear notches, valves, and a wide range of print finishes. That flexibility is what makes the format useful across categories, but the same flexibility is also why the spec has to be chosen carefully.
Common uses include snacks, coffee, powders, pet treats, supplements, frozen foods, bath salts, and sample kits. The format can handle very different products, but only when the build matches the product’s demands. A dry snack does not need the same barrier as a roasted coffee. A powder that absorbs moisture does not need the same closure as a non-perishable bath product.
If the product is dry and stable, a simpler structure may be enough. If it is aromatic, moisture-sensitive, greasy, or freezer-bound, the pouch needs to be selected as a functional package first and a branding surface second.
For many brands, pouch packaging also carries both retail presentation and product protection in one unit. That means the finish, print coverage, closure type, and structure all influence the result. A well-built pouch can act like a display piece and a shipping vessel at the same time. A weak one only looks good in renderings.
How the pouch structure, seals, and barriers actually work
Think of a pouch as several layers of responsibility. One layer carries the printed design. Another provides barrier protection. Another helps the pouch seal during production and stay sealed in transit. Then the zipper, tear notch, hang hole, or valve adds function for the user. If one part is underspecified, the whole package can underperform.
The core components are straightforward: front film, back film, bottom gusset, side seals, top seal, and optional features such as a zipper, tear notch, hang hole, spout, or one-way degassing valve. Coffee often needs a valve so carbon dioxide can escape without letting oxygen back in. Powders and pet treats usually place more value on a reliable zipper and strong top seal. Liquid-filled products bring their own set of constraints, including seal strength and compatibility with filling temperatures.
Barrier layers are where performance is either protected or quietly sacrificed. Moisture barrier matters for dehydrated foods, protein powders, and anything that can clump. Oxygen barrier matters for freshness, flavor retention, and oxidation control. Aroma barrier matters for coffee, tea, herbs, and scented items. Light barrier matters for products that degrade under UV exposure or lose color and flavor in bright retail environments.
Common material structures include PET/PE, matte laminated films, foil-based laminates, and mono-material recyclable options. PET/PE is widely used because it balances print quality with heat-seal performance and acceptable cost. Foil laminates generally deliver stronger protection against oxygen and light, but they tend to cost more and are not always necessary. Mono-material PE or PP pouches can fit sustainability-led programs, but barrier performance may be lower than a foil structure. There is no universal best choice, only the right compromise for the product and shelf life target.
| Structure | Barrier Level | Typical Use | Tradeoff |
|---|---|---|---|
| PET/PE | Medium | Dry snacks, powders, general retail packaging | Good value, but not the highest barrier |
| Foil laminate | High | Coffee, spices, supplements, sensitive foods | Better protection, higher cost, less recyclable |
| Mono-material PE or PP | Low to medium | Simple dry goods, sustainability-led programs | Recyclability goals may improve, barrier can be lower |
| Matte soft-touch laminate | Medium | Premium branded packaging | Looks elevated, but finish can cost more |
Performance problems usually show up in the same places. Weak seals create leaks. Pinholes create slow failures that are hard to spot early. Zipper misalignment makes the package annoying to use. Overfilling pushes product into the seal area and causes inconsistent seal quality. Rough handling on the filling line can also damage the film in ways that only become obvious later, after cartons have shipped. Packaging does not care how polished the artwork looked on screen.
Finish affects both appearance and handling. Gloss tends to pop under bright retail lighting. Matte often reads as more restrained and premium while hiding fingerprints better. Soft-touch can feel upscale, but it may scuff if the pack is handled a lot. Clear windows improve product visibility and can help sell dry goods, though they reduce printable area and may constrain the barrier design. Hang holes are useful for peg display, but they need to be placed with real fill weight and balance in mind, not just centered for symmetry on a template.
For food contact and shipping, buyers should confirm the relevant rules before approving a structure. Depending on the market and the product, food-safe inks, migration limits, and shelf-life validation may apply. Transport testing is also worth reviewing if the product will move through long distribution chains or face rough handling. ISTA test methods are useful when you want a realistic picture of drop and transit risk, while EPA recycling guidance can help when comparing recyclable material pathways. None of that is glamorous, but it is cheaper than reprinting a failed run.
Key specs that affect price, performance, and shelf appeal
Size is usually the first decision because everything else depends on it. A 4 oz pouch and a 16 oz pouch are not just different capacities; they behave differently on shelf, during filling, and in shipping. Larger pouches use more film, usually need more careful headspace control, and can be harder to pack efficiently. Smaller pouches may need tighter dimensional control so the product does not look lost or underfilled.
Print coverage also affects both price and final appearance. A simple one-color logo on a clear pouch is straightforward. A full-wrap design with white ink, metallic effects, gradients, and small copy is more complex and more sensitive to color variation. Heavier coverage can increase setup effort and raise the risk of proof-to-production differences. That is normal in print. Packaging is a controlled process, not a perfect one.
Material thickness changes toughness, seal behavior, and shelf feel. Many flexible pouch constructions fall somewhere around 2.5 mil to 5 mil total structure, depending on product weight and barrier needs. Heavier gauge can improve durability and make the pouch feel more substantial, but it adds material cost and can make folding or carton packing less efficient. Thin film can reduce cost, yet it may feel flimsy or underperform on the line if the product is heavy or abrasive.
Closures and add-ons are easy to overlook until the quote comes back. A standard press-to-close zipper is common. Child-resistant zippers cost more and often require more validation. One-way valves matter for coffee and other products that off-gas. Spouts are useful for liquids, concentrates, and refill formats. Euro slots help with hanging display. Tear notches improve opening, but they need to be placed where the consumer can actually reach them without mangling the top seal. Functional features are useful only when they fit the line, the product, and the shopper’s hands.
Compliance can influence the whole build. Food-safe inks, migration requirements, and product-specific regulatory reviews may be needed depending on the market. Supplement and children’s products deserve extra attention here because packaging failures are often more expensive than the material change that would have prevented them. It is usually cheaper to ask the regulatory question early than to relabel a finished run later.
- Size and fill weight: direct effect on film use, shelf shape, and shipping density.
- Barrier requirement: moisture, oxygen, aroma, light, and grease protection all cost differently.
- Print complexity: full coverage, white ink, and special effects increase setup and production effort.
- Add-ons: zippers, valves, hang holes, and windows all add material or process steps.
- Compliance: food contact, safety, and testing requirements can shape the final construction.
Custom stand up pouches pricing: what drives unit cost
Unit price is driven by dimensions, material structure, print method, and extras. That sounds obvious until a buyer compares two quotes that look similar on the surface and wonders why one is significantly higher. Packaging math is blunt. More film, more finishing steps, more complex print, and tighter tolerances all cost money.
MOQ matters a great deal. Smaller orders usually carry a higher per-unit price because setup costs are spread over fewer pieces. At 500 to 1,000 units, you are often paying for flexibility and lower commitment. At 5,000 to 10,000 units, the per-unit cost usually drops and more economical production paths open up. Higher volumes can go lower still if the spec stays stable and the artwork can be reused without changes.
For rough budgeting, custom pouches often land somewhere around $0.20 to $0.60 per unit at modest volumes, depending on size, structure, and print complexity. Simple digital runs can sit near the lower end of that range. Foil, valves, soft-touch finishes, and specialty closures push costs upward. If a quote looks unusually cheap, check what is missing from the spec.
Short-run digital printing is often better for launches, small product tests, or seasonal programs because it reduces tooling burden and handles lower quantities more gracefully. Flexographic printing tends to win at scale, especially when the artwork is stable and the order size justifies plates or cylinders. If the design changes often, digital may save money across the year even if the unit cost looks higher on paper.
Tooling and setup fees are another place where first-time buyers get surprised. Proofing, plates, cylinders, color matching, and dieline work can all add to the initial order. A low unit price can be misleading if the first run includes a large setup bill. Landed cost is the number that matters, not just the bag price. Shipping, storage, spoilage, and rework belong in the calculation too.
For brands also comparing Custom Packaging Products, it helps to measure pouches against custom printed boxes and other product packaging formats on a full-system basis. Sometimes a pouch is the right answer because it reduces freight and holds product freshness well. Sometimes a box protects better, gives a stronger unboxing structure, or supports retail merchandising. A pouch inside a carton can also make sense. The best decision usually comes from comparing protection, shelf impact, and line efficiency together rather than treating each format in isolation.
Process and lead time: from artwork to finished pouch
The workflow is usually familiar: quote, dieline review, artwork setup, proofing, production, finishing, packing, and shipping. What changes is the speed. Fast approvals and clean specs move a job forward. Missing copy, repeated artwork edits, and uncertain measurements slow everything down. Packaging schedules are rarely broken by production alone; they are usually broken by approvals.
Typical lead times often fall around 12 to 20 business days after proof approval for standard jobs, though custom features, material sourcing, and seasonal demand can stretch that window. If the pouch needs a special valve, child-resistant closure, or unusually precise color matching, expect extra time. Rush orders are sometimes possible, but they usually cost more and leave less room for changes once the job is moving.
Several things slow production more than buyers expect:
- Missing bleed or incorrect dieline placement
- Low-resolution logos or tiny type that will not print cleanly
- Late copy changes after proof approval
- Unclear color targets, especially for brand-critical shades
- Unrealistic expectations about proof-to-production speed
Proofing should match the risk level of the project. A digital proof is enough for layout, positioning, and copy review. A physical sample is better when size, zipper function, or finish matters. A color-standard check or press reference makes sense when the brand color has to be accurate on shelf, especially for premium products where a slight shade shift is easy to notice.
If color consistency matters, ask for Pantone references, approved artwork versions, and a written spec sheet. That document should list the structure, thickness, zipper type, finish, and any special features. It saves time later and reduces the chance of a reorder mistake when someone opens an old file and assumes it matches the last production run. Small inconsistencies become expensive very quickly when they are repeated across multiple SKUs.
Step-by-step: how to order the right pouch without guesswork
Step 1: define the product. Start with weight, density, fragility, shelf life, and storage conditions. Powder behaves differently than granola. Coffee behaves differently than freeze-dried fruit. If the product is oily, aromatic, moisture-sensitive, or heat-sensitive, say that early. That information drives the barrier and closure selection more than the artwork ever will.
Step 2: choose the barrier and closure. If freshness matters, choose the barrier based on the likely failure mode: oxygen, moisture, light, or aroma loss. Then match the closure to the user. A zipper supports resealability. A valve supports degassing. A slider may improve convenience, but it is not always worth the added cost or complexity. The best feature is the one that solves a real use case.
Step 3: confirm size and layout. Check fill volume, width, height, gusset depth, and print-safe zones. If you need a clear window, euro slot, or matte finish, settle that before the artwork is finalized. Pouch design gets messy fast when the layout is treated like a flat poster instead of a three-dimensional package with folds, seals, and dead zones.
Step 4: sample and test. Do not approve a pouch because the render looks clean. Fill it with the actual product. Check the seal area. Test the zipper. Shake it. Stack it. Put it on the filling line if possible. That is where seal contamination, fill tolerance, and handling problems usually appear.
Step 5: lock the spec and reorder plan. Once the sample works, save the approved structure, artwork version, and measurement sheet. Then set a reorder point before inventory gets tight. Emergency replenishment is expensive and usually avoidable if the buffer is set realistically.
For teams comparing pouch programs against other product packaging, the best approach is to review shelf performance, shipping cost, and line efficiency together. That is the practical packaging decision, not the mockup in isolation.
Common mistakes buyers make with pouch specs and artwork
The first mistake is ordering the wrong size. Too small, and the product bulges into the seal area or makes the pouch look overfilled. Too large, and the package looks underfilled and weak on shelf. Both problems are easy to avoid once the fill target is confirmed before quoting.
The second mistake is choosing a barrier that is too light for the product. If a powder clumps, a snack goes stale, or coffee loses aroma, the package often gets blamed. Sometimes the packaging is at fault. Other times the product simply needed a better structure from the start. The quote may have saved a little money, but the shelf life did not.
The third mistake is treating the pouch like a flat sheet of paper. It is not. The gusset, side seals, zipper zone, and top seal all change where artwork can safely live and how text will read once the bag is formed. A logo that looks centered in a PDF can appear stretched, hidden, or awkward when it crosses a fold or seam.
The fourth mistake is overlooking user details: zipper quality, tear notch placement, and fill line clearance. A pouch that looks refined but is frustrating to open or cannot reseal properly loses value fast. Packaging is judged every time someone uses it, not only when they first see it.
The fifth mistake is skipping sample testing and assuming all pouches behave the same. They do not. Same size, different structure. Same artwork, different finish. Same product, different filling line speed. That is exactly why sample approval exists. Use it before the job becomes expensive.
Expert tips for better results and cleaner reorders
Standardize pouch sizes where possible. If several products can share one format, inventory and reordering become easier. It also reduces the number of unique spec sheets your team has to track. Fewer variations usually mean fewer mistakes.
Leave a little more headspace than you think you need. Overpacked pouches seal badly and tend to look sloppy. A modest amount of extra space helps the closure work and gives the pouch a cleaner shape on shelf. That does not mean leaving visible emptiness; it means respecting the geometry of the filled bag.
Keep a written spec sheet and use it every time you reorder. It should include material structure, thickness, zipper type, finish, artwork version, and approved dimensions. Six months later, that sheet may be the only thing separating a correct reorder from a costly mismatch.
Test pouches on the actual filling line, not only with hand-filled samples in a conference room. Machine speed, product dust, fill temperature, and line handling all affect the result. A pouch that behaves well in a sample room can behave very differently under production conditions.
Plan reorder points early. Waiting until stock is nearly gone turns a normal production cycle into a rush job. That is where costs rise, options narrow, and tolerances get tighter than they should be. Inventory buffer is not waste if it prevents a shutdown or a last-minute substitution.
For brands building a broader packaging system, keep an eye on how pouch programs fit with other packaging formats and future retail changes. Good packaging systems are the quiet ones. They repeat predictably, ship efficiently, and avoid unnecessary surprises.
Used well, Custom Stand Up Pouches can improve shelf presence, protect the product, and cut shipping weight without bloating the packaging budget. The real work is choosing the structure, finish, and closure that fit the product instead of the prettiest mockup. That is how packaging stays useful after the design phase ends.
FAQ
What are custom stand up pouches best used for?
They work well for products that need shelf presence, freshness protection, and lightweight shipping. Common uses include coffee, snacks, powders, pet treats, supplements, and specialty non-food items. They are especially practical when you want strong branding without the weight and cost of rigid packaging.
How do I choose the right material for custom stand up pouches?
Match the material to the product’s barrier needs: moisture, oxygen, aroma, UV, or grease resistance. Foil or high-barrier laminates suit sensitive products; mono-material options may fit simpler protection needs. If the product is food, confirm that the material and inks are suitable for the intended use.
What affects the price of custom stand up pouches the most?
Size, print complexity, material structure, and add-ons like zippers, valves, or windows drive most of the cost. MOQ also matters because smaller orders usually carry a higher per-unit price. Shipping, setup fees, and storage should be included when comparing quotes.
How long does it take to make custom stand up pouches?
Timeline depends on print method, artwork approval, material availability, and finishing requirements. Fast approvals and simple specs move faster; custom features and color-sensitive jobs take longer. If you need a rush order, expect fewer options and higher costs.
What should I check before approving a pouch sample?
Check size, fill fit, seal strength, zipper function, barrier feel, and how the artwork appears on the actual pouch. Make sure the tear notch, hang hole, and any clear window are positioned correctly. Test the sample with your real product and, if possible, on your actual filling equipment.


