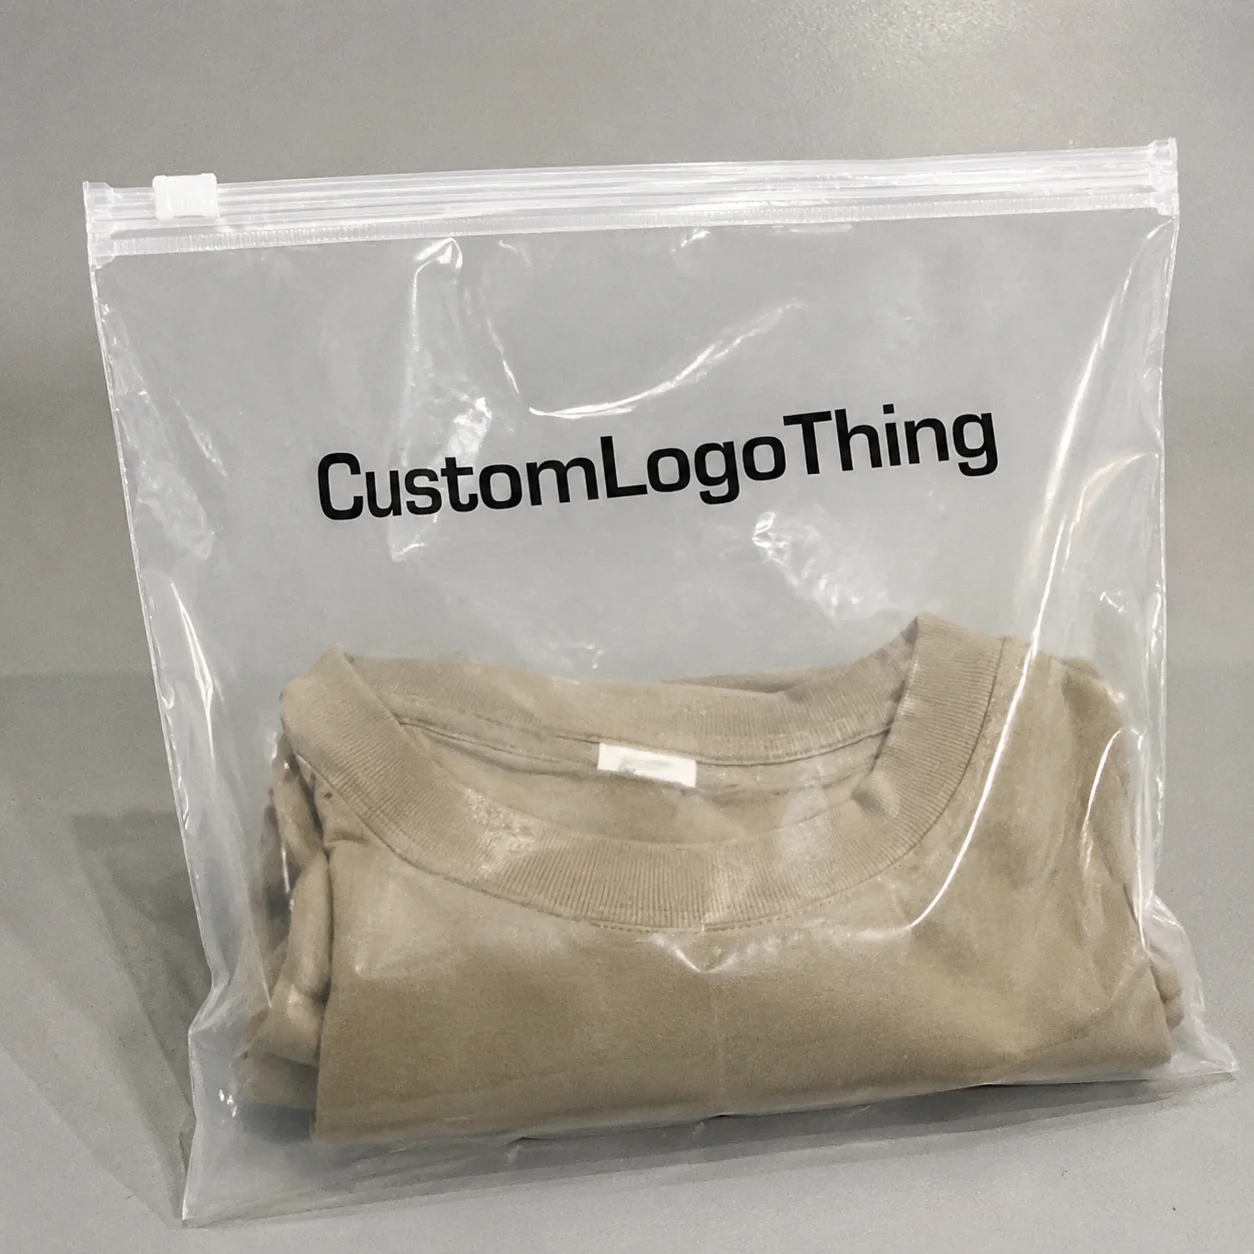
Custom Printed Gusseted Poly Bags solve a packaging problem that shows up only after the product is packed: the bag looked correct on paper, then expanded unevenly, wrinkled in the wrong places, or made the artwork drift into a fold. The gusset changes the bag's geometry, and that affects fill behavior, shelf presentation, and seal integrity. Buyers who treat it as a structural choice usually get better results than buyers who treat it as a print surface with extra volume.
The difference is easy to miss. A flat bag can match the product's width and height, yet still fail once the contents settle. A gusset adds capacity without forcing the film to stretch awkwardly, which matters for items that need to stack cleanly, sit upright, or present a readable front panel after filling. The wrong shape can make a good package look improvised. The right shape often saves the design without changing the brand at all.
For branded packaging programs, this is where the practical work starts. The bag has to hold the product, survive handling, print cleanly, and still look intentional in a warehouse, on a shelf, or in a shipment. That sounds simple until the product is dense, uneven, or hard to close. Then the gusset depth, film gauge, and artwork layout stop being minor details.
If the bag is part of a broader packaging system, keep the spec consistent across Custom Packaging Products so the bag, carton, and insert are designed to work together instead of competing for space and attention.
Custom Printed Gusseted Poly Bags: What They Change
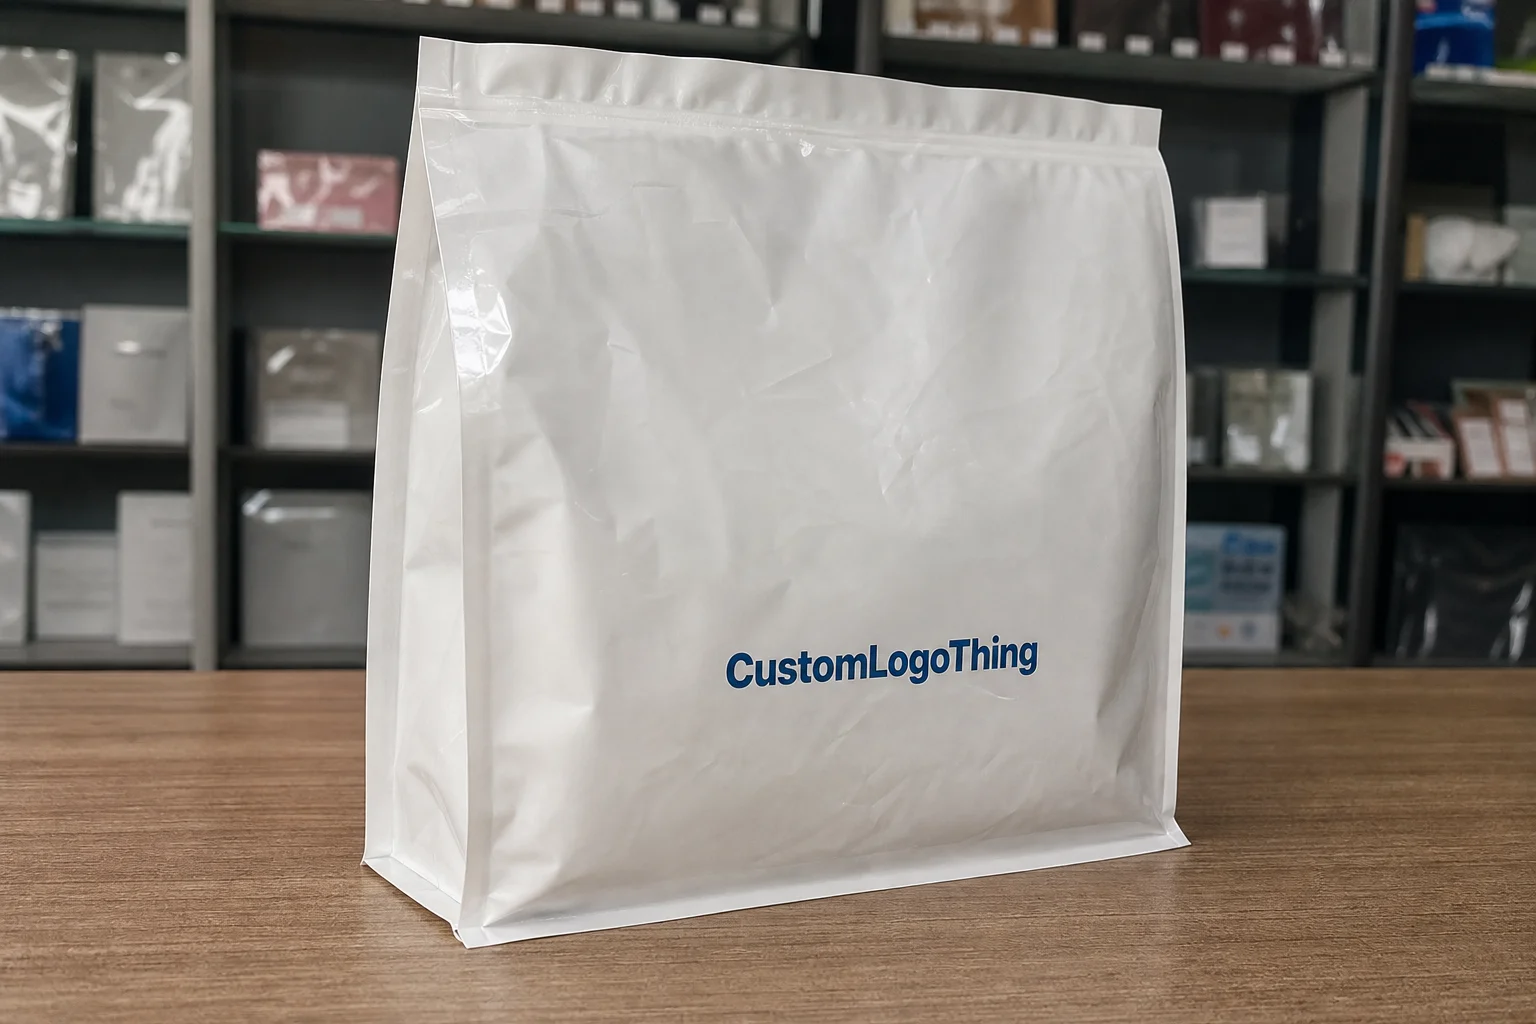
A gusset is a folded section that opens to create extra usable volume. Side gussets expand from the left and right edges. Bottom gussets expand from the base. That small structural change has a large effect once the product is loaded. It can improve capacity, reduce stress on the film, and help the bag form a more stable profile after filling.
Side gussets are common when the buyer wants a package that stacks more neatly or presents a broader front face. Bottom gussets are often better when the product needs to sit upright and keep its shape after fill. Neither is automatically better. The product's density, fill method, and display goal determine the choice. A light item can look fine in almost any format. A denser or more irregular product is less forgiving.
There is also a print consequence. The bag may measure correctly in its flat form, but once the gusset opens, the front and back panels shift. Borders can bend. Small text can move closer to a fold than intended. A logo that looked balanced on the proof can appear off-center in the finished package if the dieline was not built around the gusset from the start.
That is why buyers should think of custom printed gusseted poly bags as packaging engineering, not just branding. The bag has to do a job after it is filled. If the product is loose, heavy, or uneven, a gusset can make the difference between a package that reads as retail-ready and one that looks like a stopgap.
For some programs, the benefit is less about volume and more about presentation. Socks, apparel, dry goods, accessory kits, and multi-count bundles often look cleaner in a gusseted format because the front panel remains more readable after the contents settle. The bag is still flexible. It just behaves with a little more structure.
How the Gusset Affects Fill, Display, and Seal Performance
Gusset depth changes more than capacity. It changes how the contents settle, how much support the side walls provide, and how much strain ends up near the seal. A shallow gusset may be enough for a light retail item. A dense powder, a stack of folded soft goods, or a multi-component kit may need more depth than buyers first estimate. If the gusset is too small, the bag will still close, but it may close under stress and look cramped.
Display is where the structural choice becomes visible. A gusseted bag gives you a broader usable face than a flat pouch, but that face is only useful if the print lives outside the fold lines. Fine type, thin borders, and barcodes are the first things to suffer when a layout ignores the panel geometry. They do not need to print badly to look wrong. They just need to land too near the crease.
Seal performance is the other half of the equation. A strong seal zone, enough headspace, and the right closure method reduce the chance of popped seams, leakage, or handling damage. Too little headspace and the product pushes directly into the seal. Too much and the package looks underfilled. The proper balance depends on the product weight, closure type, and whether the bag is heat-sealed, taped, or fitted with a zipper.
Products that often justify gusseted film include:
- Loose parts and hardware kits that need volume without excess bulk
- Snacks and dry goods that settle unevenly after filling
- Apparel, socks, and folded soft goods that benefit from a cleaner shelf shape
- Powders and granular products where seal integrity matters
- Multi-count promotional bundles that need stronger display presence
For shipping and distribution planning, standards matter more than assumptions. The International Safe Transit Association publishes test methods that help buyers match packaging to real handling conditions, which is useful when the bag is part of a larger retail or fulfillment chain. See ista.org for the framework, then ask your supplier how the film and closure spec lines up with your transport profile.
A bag that fills cleanly and seals cleanly usually costs less in the end than a bag that is only cheaper on paper. Rework, delay, and spoilage erase small price differences faster than most buyers expect.
Pricing, MOQ, and Unit-Cost Drivers
Price for Custom printed gusseted poly bags is usually driven by a handful of variables: film gauge, bag dimensions, gusset depth, print colors, coverage, and quantity. A larger bag uses more resin. A deeper gusset uses more material. More colors often mean more setup and more process control. That is why two quotes that look similar at a glance can land at very different unit costs.
MOQ matters because setup does not shrink much at low volume. Plates, screens, artwork prep, proofing, and color checks can account for a meaningful share of the total on a 3,000-piece order. On a 20,000-piece order, the same work gets spread across more units, so the per-piece cost drops. That does not make smaller runs wrong. It means the economics are different. Trial launches, seasonal products, regulated items, and short campaigns can still justify a smaller run if the timing matters more than the absolute unit price.
These ranges are not universal, but they are useful for planning:
| Option | Typical MOQ | Typical Unit Cost | Best Fit |
|---|---|---|---|
| 2 mil LDPE, 1-color print | 5,000-10,000 | $0.11-$0.18 | Simple branded packaging, light retail use, basic warehouse handling |
| 3 mil LDPE, 2-3 colors | 10,000-20,000 | $0.16-$0.28 | Standard product packaging with stronger shelf presence |
| 4 mil film, high ink coverage | 20,000+ | $0.24-$0.42 | Premium branding, heavier contents, more demanding display use |
Setup charges usually appear separately. Expect artwork prep, plate or screen charges, proofing, and sometimes revision or color-matching fees. On smaller orders, setup can run $150-$500 or more, depending on the print method and design complexity. If a quote hides these charges inside a single number, ask for the breakdown. A quote is easier to compare when the costs are visible.
Freight can move the landed cost more than a small change in unit price. Bags ship compactly, but pallet count, carton size, destination, and delivery timing all affect the total. If the order is going to multiple locations, or if it has to arrive on a fixed schedule, freight deserves the same attention as the print price. The cheapest unit cost can become expensive once logistics are counted.
If the program includes additional packaging components, it helps to align them early. Coordinating one packaging family through Custom Packaging Products is usually cleaner than managing each item as a separate purchase. And if the order also needs ship-ready outer packaging, Custom Poly Mailers may be the better companion format for direct-to-consumer workflows.
Process and Timeline: From Artwork to Delivery
The ordering process should be straightforward. First comes spec confirmation: dimensions, gusset depth, film thickness, closure type, and print colors. Then artwork review. Then proof approval. After that, the job moves into production, inspection, packing, and shipment. If any step is unclear, the schedule starts to slip. Usually by days, not hours.
Missing dielines are a common source of delay. So are vague measurements like “around 8 by 10” without a gusset callout or seal allowance. Low-resolution files create a different problem, especially when the artwork has to wrap around folds or align to a precise print area. A vector logo and a correct template save time. A blurry image and a hopeful note do not.
Approval speed matters more than buyers often expect. One round of proof changes is normal. Multiple rounds can push the job into the next window. If the bags are tied to a launch, trade show, or seasonal sell-through, approvals are part of production, not something to handle afterward.
Realistic turnaround depends on complexity:
- Simple stock-style custom print jobs often run in roughly 10-15 business days after proof approval.
- More complex custom sizing, heavier ink coverage, or multi-color jobs often need 15-25 business days.
- Jobs with unusual specs, tighter color matching, or additional testing can take longer.
That is production time only. Transit time is separate. A quick press run does not mean a quick delivery date, and that distinction still causes avoidable problems. If the supplier can reference packaging or shipping test methods, such as those discussed by the Association for Packaging and Processing Technologies at packaging.org, that is a better sign than a vague promise about speed.
For premium or sensitive programs, ask whether a preproduction sample or press proof makes sense. It adds a step, but it also catches problems that are expensive to fix after the full run is complete. Fold placement, color density, opacity, and closure behavior are much easier to correct before cartons are sealed and shipped.
Common Mistakes That Lead to Fit or Print Problems
Most fit problems start with the measurements. Buyers often measure the product footprint and stop there, forgetting that the bag needs room for expansion, seal area, and the way the contents settle after filling. The finished bag then looks tight even though the flat dimensions seemed correct. A half-inch error can be enough to change stacking behavior or put strain on the seal.
Artwork mistakes are just as common. The biggest one is using a flat-bag layout on a gusseted template. The second is placing critical text, barcodes, or logos too close to the fold lines. The third is ignoring bleed and safe zones. A package can print without defects and still fail visually because the layout was built for the wrong geometry.
Another frequent mistake is cutting film thickness to save a few cents. On paper, thinner film looks efficient. In production, it can create weak seals, punctures, or a flimsy hand feel that undermines the product. Thin film is not automatically bad. It just has to match the load, handling, and shelf expectation. A premium item in an underspecified bag tends to look inexpensive very quickly.
Proof review deserves more attention than it usually gets. A proof on a monitor can hide low contrast, tiny type, or fold interference. Once the layout is approved, the press crew is not going to move a logo away from a crease because it looked better in someone’s inbox. If the bag is part of the brand, review the proof as a finished object, not as a graphic file.
The most expensive mistakes rarely come from the press itself. They usually come from incomplete specs, unclear artwork, or a quote built around assumptions that never get tested.
For buyers still refining a SKU, the first order should be treated as a controlled test. That is not caution for its own sake. It is the fastest way to learn whether the bag size, film choice, and print layout actually work in production. A small correction early is cheaper than carrying a weak format through several reorders because nobody wanted one more revision.
Expert Tips for Artwork, Material Choice, and Order Planning
Build the design around the finished bag shape, not a generic rectangle. That means keeping the logo where it still reads after the gusset opens, leaving copy away from stress points, and allowing enough margin for seal zones and fold transitions. A strong layout makes the package feel intentional. A weak one looks like the art was stretched to fit whatever size happened to be available.
Material choice should be practical. If the contents are clear or visually important, clarity matters. If the product can scratch or puncture the film, toughness matters more. If the bag sits on retail shelving next to competing brands, print fidelity and finish start to matter in a different way, because the package is part of the product's first impression. Matte film gives a softer, more restrained look. Gloss tends to read brighter and can sharpen color contrast. Neither is universal.
For products that travel in multiple systems, separate presentation from transit. A bag can support branding and product visibility while another format handles shipping and rough handling. That distinction matters in direct-to-consumer fulfillment, retail replenishment, and mixed packaging programs where one layer protects the product and another sells it.
Sample approval is a good idea whenever the item is premium, fit-sensitive, or difficult to load. It is a small cost compared with a full reprint. It also reveals things that only show up in the hand: wrinkling, opacity, closure behavior, and how the package looks once it is actually filled. Those details rarely appear in a PDF proof.
Inventory planning deserves the same discipline. If sell-through is uncertain, do not overbuy just to reach a lower unit price. It is often smarter to match inventory to reorder timing and preserve flexibility for the second run. Rush freight usually costs more than the savings earned by chasing the lowest quote on the biggest order.
- Ask for the finished dieline before approving artwork.
- Keep fine type and critical copy away from gusset fold areas.
- Use vector art or high-resolution files for cleaner print reproduction.
- Match film thickness to product weight and handling, not just price.
- Request a sample when the bag has premium branding or exact fit requirements.
If sustainability is part of the brief, ask what material options are actually available and whether any recycled-content or certification claims apply to the broader packaging system. FSC applies to paper-based materials, not poly film, so those claims should not be blurred together. For reference, see fsc.org for paper-chain certification context.
Next Steps: Build a Quote That Gets You a Useful Answer
A useful quote starts with useful inputs. Gather the exact bag width, gusset depth, length, product weight, print colors, quantity, and target ship date before requesting pricing. If the item has a zipper, tear notch, or display requirement, include that too. The cleaner the input, the less back-and-forth you will need later.
Send artwork with the request. If the supplier has to guess at dimensions or reconstruct the layout from scratch, delay becomes part of the price. Include compliance notes, retail display needs, and handling concerns as well. A bag for a food item is not the same as a bag for apparel or hardware, even if the dimensions look similar.
Ask for line-item pricing. Setup, unit cost, freight, proofing, and revision charges should be separated. That makes it possible to compare offers without pretending every quote has the same structure. A low unit price with high freight and hidden setup fees is still a high total cost. It just arrives in more pieces.
If multiple items are going into the same program, keep them aligned. Packaging works better when bags, cartons, inserts, and mailers are specified together instead of purchased one by one. That is how the brand stays consistent and the order stays manageable.
For teams planning a new run, custom printed gusseted poly bags are worth the extra spec work because the bag shape affects fill, presentation, and seal performance at the same time. Get the gusset right, keep the artwork inside the real print area, and ask for a quote that shows the full landed cost. That is the difference between a package that works in production and one that only looks correct on the screen.
How do I size custom printed gusseted poly bags correctly?
Measure the product in its filled state, not just its flat footprint, because gusset depth changes usable volume. Leave room for seal area, product settle, and any closure feature you plan to use. Ask for a spec confirmation before printing, since a small measurement error can turn into a costly reorder.
What drives the price of custom printed gusseted poly bags?
The main drivers are bag size, film thickness, print colors, coverage, and total quantity. Setup costs like plates, screens, artwork prep, and proofing matter more on smaller runs, which is why unit cost drops as volume rises. Freight and packaging format can shift the landed cost enough that the cheapest unit price is not always the best option.
What is a normal turnaround for custom printed gusseted poly bags?
Simple jobs move faster when the artwork is clean and the spec is standard, while complex print or custom sizing takes longer. Approval speed matters as much as production speed because every proof revision adds time. Always separate production time from shipping time so the delivery estimate is actually useful.
What artwork works best for gusseted poly bag printing?
Use the correct dieline or bag template so fold areas, seals, and print zones are placed properly. Vector logos and high-resolution text print more cleanly, especially when the design wraps across panels. Keep critical copy away from folds and edges so the finished bag still reads well after filling.
What should I ask before approving a custom printed gusseted poly bag order?
Ask for a proof that shows the finished bag layout, not just the artwork on a blank page. Confirm dimensions, material, quantity, print method, unit cost, setup charges, and freight before approval. Request a sample or preproduction check if the product is premium, regulated, or sensitive to fit and presentation.