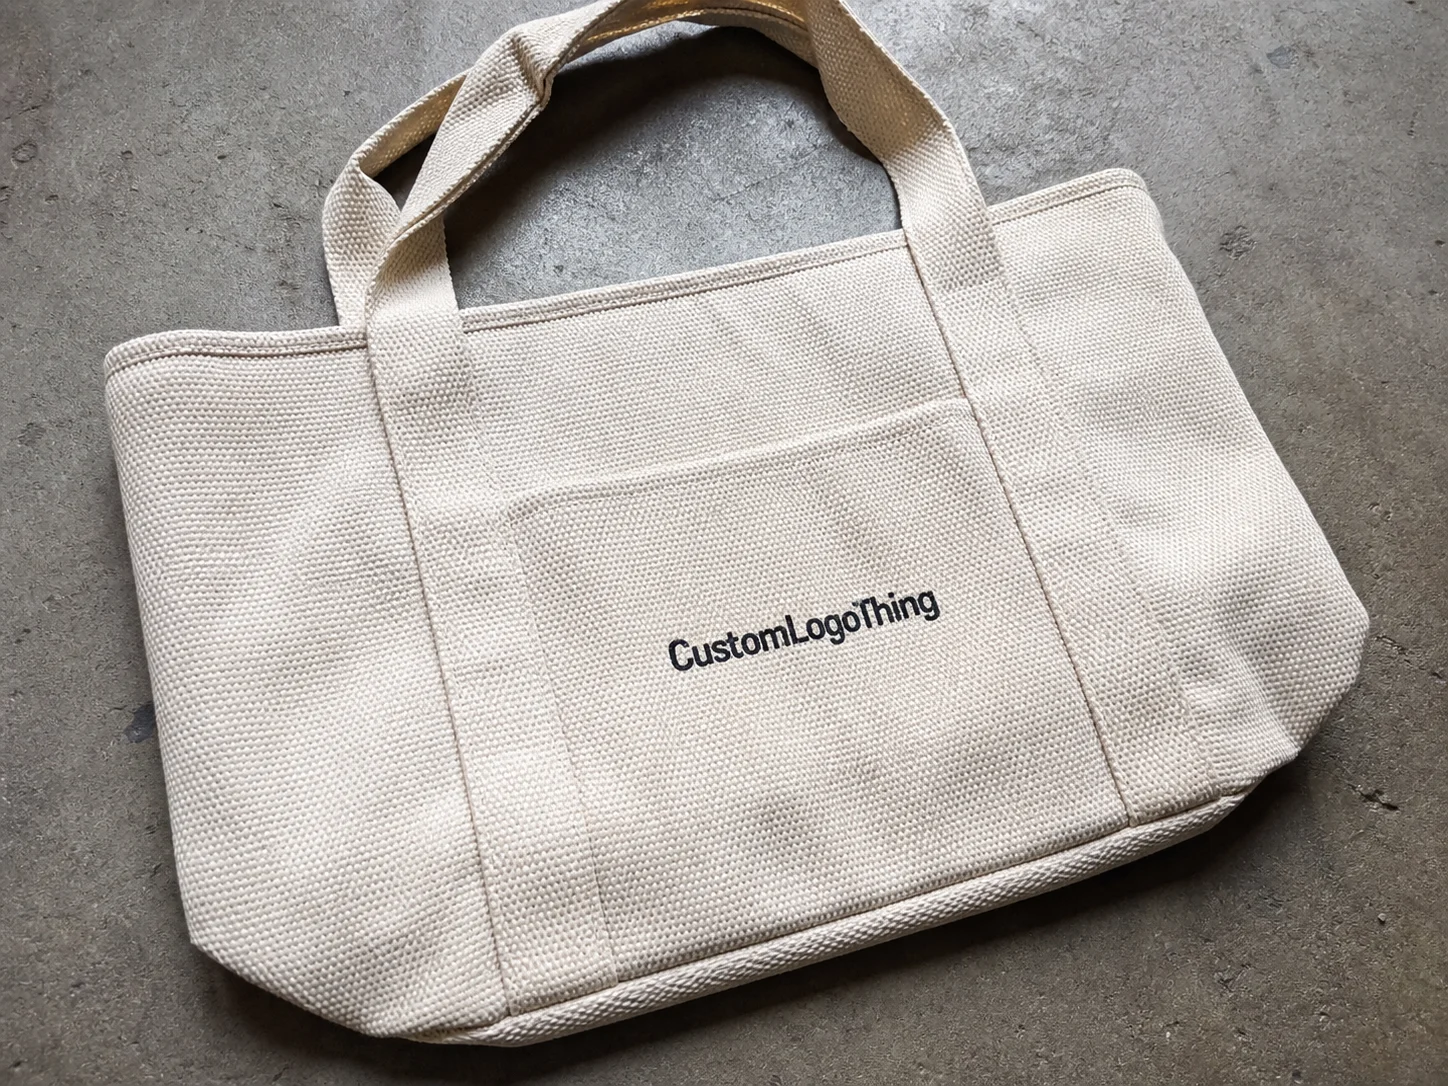
A custom printed tin box is more than decorated metal. It affects how a product is perceived, how well it survives handling, and how much work is required to get from concept to shipment. Buyers usually start with the graphics, but the real decision comes down to structure, finish, cost, MOQ, lead time, and inspection risk.
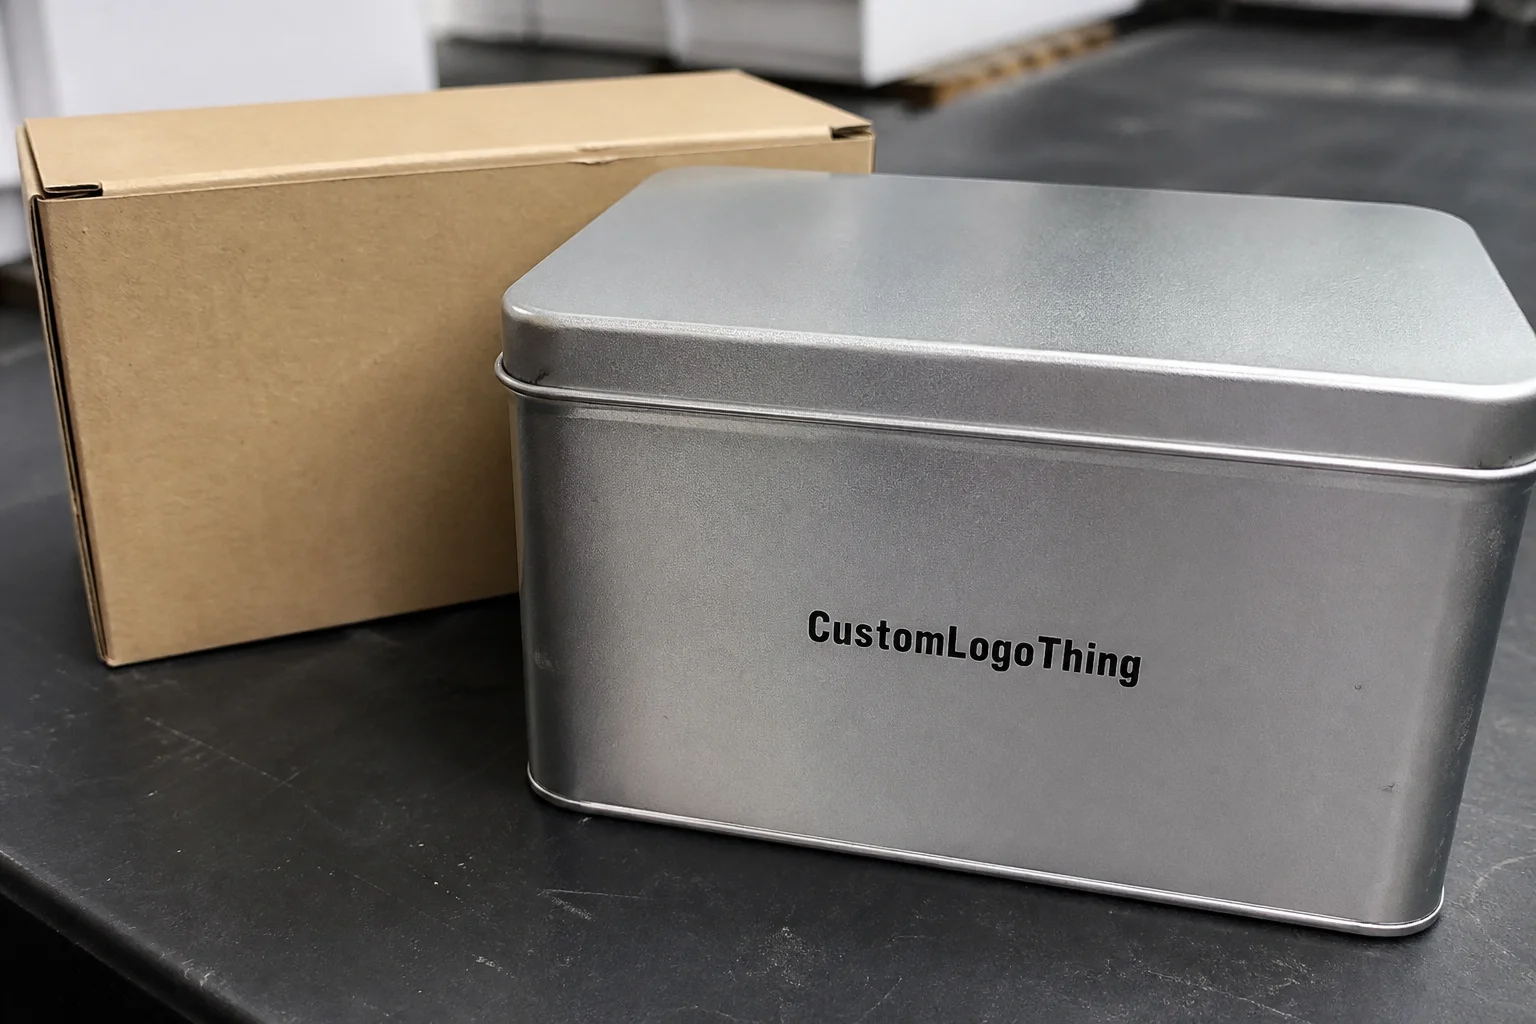
Compared with standard cartons, tins are stronger, more reusable, and better at holding shape under pressure. That makes them useful for tea, confectionery, cosmetics, candles, collectibles, and premium promotions. The tradeoff is that a tin has tighter production requirements than paperboard, so the specification has to be right before artwork is approved.
Why a custom printed tin box can outperform standard cartons
The main reason buyers choose a tin over a carton is performance around the product, not decoration alone. A carton can carry a strong graphic system and still crush, bow, or scuff during handling. A tin keeps its silhouette better, supports heavier fills, and often feels more permanent in the hand.
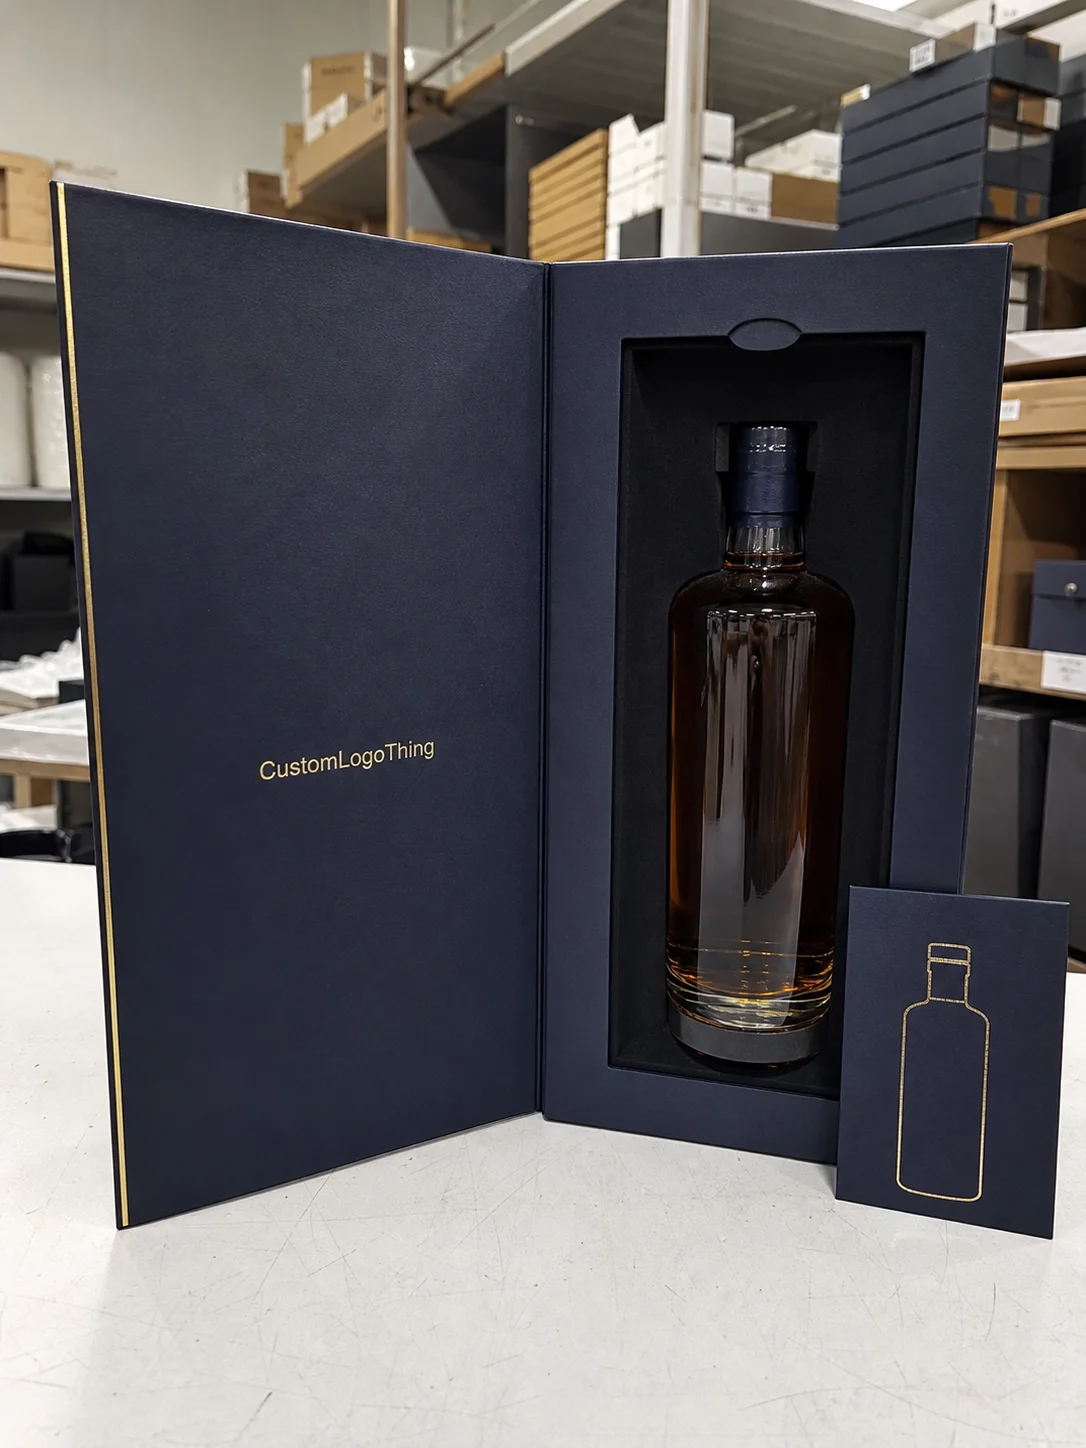
That durability matters in categories where packaging stays visible after purchase. Tea, confectionery, cosmetics, and gift items often benefit from a pack that can be reused rather than discarded. When the tin remains on a counter or shelf, it continues to support brand exposure beyond the first sale.
From a buyer’s perspective, the important point is that tins should be treated as engineered packaging. Gauge thickness, seam placement, closure style, and insert design all affect whether the final pack works. A structure that is too light, a lid that fits loosely, or artwork placed across a fold line can create problems that no print finish can hide.
Good tin packaging is built to survive handling first and look polished second.
That is why the specification should be settled before the design is finalized. A well-made tin can outperform standard cartons in shelf presence, durability, and perceived value, but only if the dimensions and construction match the product.
Printing, embossing, and coating choices that change the look
Decoration choices affect both appearance and cost. Offset printing is the most common option because it handles solid colors, logos, and detailed graphics reliably. Spot colors can improve brand consistency, while full-color printing is best when the artwork includes gradients or photography.
Finish selection changes the look more than many buyers expect. Gloss coatings give stronger contrast and brighter color. Matte coatings reduce glare and help hide fingerprints and light scuffs. Soft-touch finishes add a premium feel, but they are less forgiving when the tin is handled frequently or shipped through rougher channels.
Embossing and debossing can add depth, but they also limit what the artwork can safely contain. Fine lines, small text, and crowded logos may lose clarity once they are pressed into metal. If a logo will be raised on the lid, the shape and spacing need to be checked during the dieline stage, not after approval.
Seams, corners, rolled edges, and hinges interrupt the printed surface, so the layout has to leave enough safe area. A design that looks centered on screen can appear off once the tin is formed. That is why proofs and samples matter: metal reflects light differently from paperboard, and the finish can change how the same ink reads in real use.
Coating selection should also match the intended market. For food-contact or food-adjacent use, the coating system and any liner or insert material need to fit the application. If sustainability claims are part of the brief, FSC-certified board inserts can help, but only if the rest of the pack supports the same story.
| Decoration option | Best for | Typical tradeoff | Relative cost impact |
|---|---|---|---|
| Offset print with gloss varnish | Bright shelf presence and vivid color | Scuffs and fingerprints show more easily | Moderate |
| Offset print with matte coating | Premium gift packs and frequent handling | Very bright colors can look slightly muted | Moderate |
| Embossed logo with spot color | Branded packaging with tactile detail | Needs careful spacing and proofing | Higher |
| Full-wrap print with specialty finish | Display tins and higher-impact launches | More sensitive to seam alignment and sample approval | Highest |
The best finish is the one that survives the actual use case. A premium matte lid may suit a gift line, but if the box will be stacked, shipped, and handled repeatedly, a more durable coating may be the better choice overall.
Cost, pricing, MOQ, and unit cost drivers
Pricing for a custom printed tin box is usually driven by five variables: size, shape complexity, tooling, decoration, and quantity. Standard stock sizes are cheaper because the tooling already exists. Fully custom shapes cost more because they need new molds, more setup, and additional approval time.
MOQ reflects the economics of metal forming, printing, and packing labor. A stock-size project can often begin around 1,000 to 3,000 pieces. A semi-custom order with existing tooling may sit in the 3,000 to 5,000 range. A fully custom shape or closure can move beyond 5,000 or even 10,000 units before the unit price becomes practical.
Unit cost falls as quantity rises because setup costs are spread across more pieces. That is why a small run can look expensive even when the tin itself is simple. Plates, sampling, and packing work are still required, and those costs do not disappear on a low-volume order.
Indicative pricing helps only if it is treated as a range. A stock-size printed tin may land around $0.75 to $1.80 per unit. A semi-custom version with standard tooling may sit around $0.55 to $1.40. Fully custom shapes often move into the $0.90 to $2.50 range, depending on complexity, finish, and volume. Inserts, specialty coatings, and more protective packing can move those numbers higher.
Buyers should also ask for separate line items for samples, tooling, freight, and inner packing. Sample charges may run from about $50 to $200. Tool fees can be several hundred dollars or more. Freight and carton requirements can affect the landed cost as much as the print itself, especially if the tins need extra protection to arrive undamaged.
Comparing only unit price can be misleading. If a lower-cost tin dents easily or requires extra handling, the downstream cost can be higher. In Custom Packaging Products programs, it often makes more sense to pay slightly more for a structure that reduces damage and improves shelf presentation.
Process and timeline from dieline to shipment
A typical production sequence is brief, specification review, dieline confirmation, artwork setup, proof approval, sampling if needed, mass production, packing, and shipment. Delays usually happen at the handoffs, especially when artwork and structure are still changing at the same time.
The biggest avoidable delay is artwork that is not production-ready. Low-resolution files, missing bleed, unapproved fonts, and text placed too close to an edge can all create revision loops. If the dieline changes after artwork is set, the schedule can slip quickly because even a small dimensional change affects placement and fit.
Lead time depends on complexity. A stock-size tin with straightforward print can often move in roughly 10 to 18 business days after approval. A more complex semi-custom program may take 12 to 22 business days. Fully custom builds with tooling, specialty finishes, or insert development often need 25 to 45 business days. If a physical sample is required, additional time should be allowed for review and revision.
It helps to separate visual samples from functional samples. A visual sample checks artwork, color balance, and finish. A functional sample checks lid closure, insert fit, stackability, and shipping behavior. Both are important because a tin can look correct and still fail in use if the fit or closure is wrong.
For transit-sensitive programs, ask whether the supplier can test against an ISTA profile that matches the route. Some teams also reference ASTM D4169-style thinking when they want the pack designed around real handling rather than ideal handling. That is especially useful when the same tin will move by pallet, parcel, or mixed freight.
Size, structure, and insert decisions that protect the product
One of the most common sizing mistakes is relying on outer dimensions alone. The internal dimensions determine whether the product fits securely. Once clearance, insert thickness, and any tissue or void fill are added in, usable space is often smaller than the exterior footprint suggests.
Structure affects both use and presentation. A hinged lid is convenient for repeated access. A slip lid often feels more refined in gift programs. A two-piece tin stacks well and presents cleanly on a shelf. Window tins can improve product visibility for retail packaging, but they also require tighter control over what the customer sees through the opening.
Inserts should be chosen according to the product and the handling conditions. Foam works for fragile items and tight presentation fits. Molded pulp supports a more natural material story while still providing cushioning. Cardboard dividers work well for sets, sample kits, and multiple SKUs. Custom trays are useful when the product shape is unusual or the unboxing sequence matters.
- Foam inserts suit fragile parts and tight presentation fits.
- Molded pulp works for brands that want a more natural material story with decent protection.
- Cardboard dividers are efficient for kits, samples, and multiple pieces in one tin.
- Custom trays help when the shape is unusual or the opening sequence matters.
Stackability and shipping efficiency should be considered together. A tin can look excellent on shelf and still be awkward in master cartons if the proportions are wrong. A more balanced shape may look less dramatic in a mockup, but it can reduce shipping waste, speed packing, and lower the risk of dents.
That is why structure is not just a technical detail. It affects damage rate, customer experience, and repeat use after purchase. A better-built tin supports all three.
Common mistakes that create dents, scratches, and delays
Artwork placed too close to seams, hinges, rolled edges, or corners is one of the most common mistakes. Once the tin is formed, those areas move, and logos or fine type can shift or distort. The file may look balanced before production, but the formed part may not.
Color approval from a screen is another common problem. Monitors are unreliable for final color, and metal changes how inks and coatings read. Gloss, matte, and satin finishes all alter the appearance of the same artwork. A printed proof or sample is the safer way to confirm brand color and surface behavior.
Handling assumptions also create damage. Tin walls can dent if the gauge is too light for the fill weight or if the master carton leaves too much empty space. If the order will move through parcel networks, ask how inner units are packed, what corner protection is used, and whether the shipping method matches the carton design.
Late changes are expensive because they affect tooling, plates, approval files, and packing assumptions at the same time. If the closure changes after proofing, lead time moves. If insert thickness changes, the internal clearance may need to be checked again. Metal packaging does not handle casual revisions well.
Vague briefs create the last set of problems. If product dimensions, fill weight, closure style, quantity, shipping destination, and finish direction are missing, the quote will be broad and the sample plan less reliable. Clear input usually produces a faster and more accurate response.
Next steps for a cleaner quote and smoother production
To get a more accurate quote for a custom printed tin box, start with the minimum useful brief: product dimensions, product weight, target quantity, closure style, finish direction, packing method, and shipping destination. With those details, a supplier can estimate structure, Cost, and Lead Time with less guesswork.
Ask for the quote to separate dieline, finish notes, MOQ, sample plan, and production timeline. That makes it easier to compare offers on equal terms. A low unit price with missing setup details is not always the best option; sometimes it is just an incomplete quote.
If the project is sensitive, request both a visual proof and a physical sample before mass production. That is especially useful for premium branding packaging, food items, or products that need a tight fit between the insert and the contents. A small sample fee is easier to absorb than a full run with the wrong color, fit, or closure.
Before approval, check barcode placement, warning copy, logo clear space, and any structural detail that affects packing on the line. If the artwork is stable and the dimensions are confirmed, production usually runs with fewer interruptions. That is the practical value of disciplined custom printed boxes planning: fewer corrections, fewer delays, and fewer damaged assumptions.
If you are still comparing formats, measure the tin against other custom printed boxes and related retail packaging options before locking the structure. A tin is the right choice when the product needs protection, repeat use, and a stronger shelf signal than paperboard can reasonably provide.
FAQ
What affects the price of a custom printed tin box the most?
Size, shape complexity, and tooling usually drive the biggest swings in price. Print coverage, finish type, inserts, and quantity also affect unit cost, especially when the project moves away from standard stock sizes. Freight and inner packing can change the final landed cost as well.
How long does it usually take to produce a custom printed tin box?
Simple stock-size projects usually move faster than fully custom shapes with specialty finishes. Artwork approval, sampling, and tooling confirmation are the main timeline variables. A straightforward run can often land around 10 to 18 business days after proof approval, while custom builds can take several weeks longer.
What file or artwork details should I prepare before requesting a quote?
Provide product dimensions, desired quantity, closure style, and the intended finish direction. If possible, include print-ready artwork, brand colors, and placement notes for logos, warnings, or barcodes so the estimate reflects the actual build rather than a rough guess.
Can a custom printed tin box be made with inserts or dividers?
Yes. Inserts are commonly used to secure fragile, small, or multi-piece products. The insert should be designed around the product and the tin's internal dimensions so the fit stays stable in transit and presentable on display.
What is a practical MOQ for a custom printed tin box order?
MOQ depends on whether the project uses a stock size or a fully custom mold. Higher quantities usually improve unit pricing because setup costs are spread across more pieces, while lower minimums are more common on standard tooling and simpler decoration.