custom sheet labels are a practical packaging format for Apparel Brands That need flexibility without committing to a roll-based workflow. They are useful when SKUs change often, artwork updates are frequent, or labels need to be counted, sorted, and applied by hand at the packing table.
The value is operational, not cosmetic. A sheet format can reduce sorting errors, keep versions visible, and make small-run packing easier to manage. That matters when the label is part of a larger packaging system and the real goal is to keep fulfillment accurate, not just to print something that looks polished in a mockup.
Why custom sheet labels solve the "too many SKUs" problem
A brand with one garment style in multiple sizes, colors, and seasonal variations can run into a simple but expensive problem: too many versions to manage cleanly on a busy packing line. Sheet format helps because the labels stay organized on a flat sheet and the variation is visible at a glance.
That visibility is the main advantage. Instead of feeding a roll through a dispenser, the operator can pick a sheet, confirm the version, and peel the needed label. For mixed orders, sample drops, boutique runs, and bundled apparel packs, that reduces handling time and makes mistakes less likely.
Sheet labels are also easier to split by SKU, size, or colorway. If a packaging team needs one sheet for small black tees and another for medium cream hoodies, the layout can support that workflow without forcing the brand into a more automated setup than it needs.
“The best label format is usually the one that causes the fewest handling errors on the packing table.”
Compared with roll labels, sheet labels are usually better for manual application and smaller or changing product sets. Rolls still make sense when volume is high and dispensing is automated. Sheet format is most useful when the order profile changes faster than inventory can comfortably absorb.
How sheet labels are made, packed, and applied
The production flow is straightforward: artwork is imposed onto a sheet size, printed, kiss-cut or die-cut, inspected, and packed. The quality of the final job depends less on the basic steps than on file preparation, cut accuracy, and clear instructions about how the labels will be used.
These labels can function as garment tags, care labels, size stickers, folding labels, retail identification labels, or bundle labels. In each case, the format helps when the team needs to peel and apply by hand without changing tools or running a dispenser.
Pressure-sensitive labels adhere directly to the surface and can sometimes be removed cleanly if the adhesive is chosen correctly. That is different from sew-in labels or heat transfers, which are built for permanent garment attachment. If the label needs to come off without residue, sheet format can be a strong fit. If permanence is the goal, it may be the wrong format.
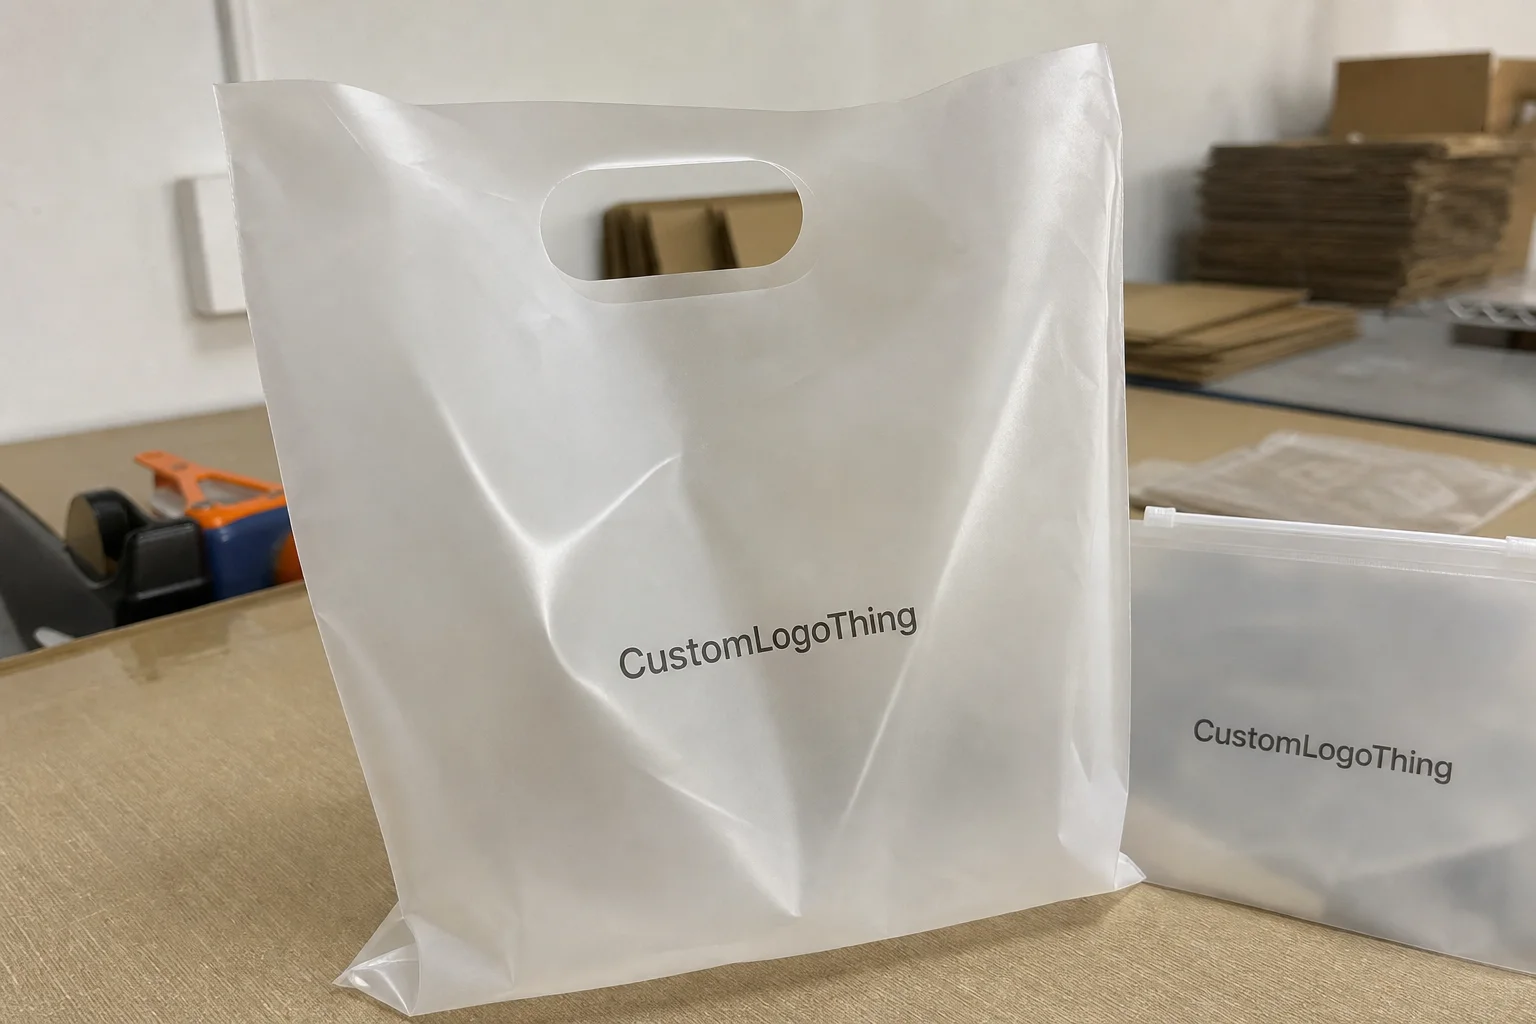
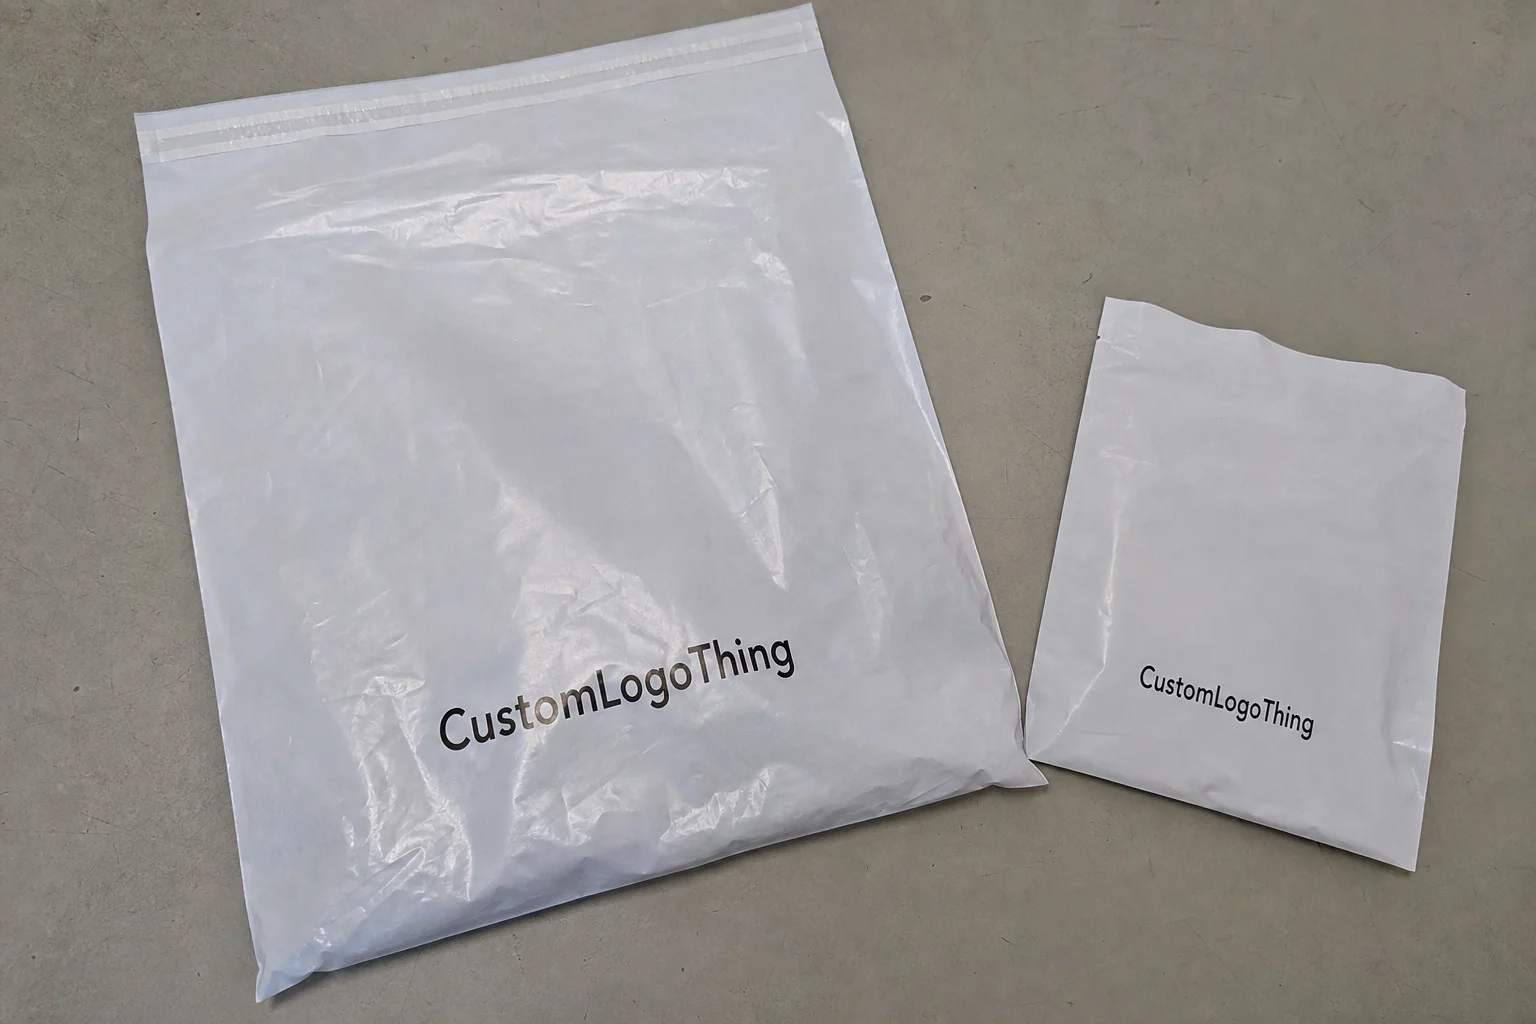
Substrate choice matters just as much as the print itself. Sheet labels can be used on folded garments, poly bags, cartons, tissue wraps, and inventory surfaces. A label that performs well on a smooth box may not behave the same way on textured paper, coated film, or a surface affected by humidity.
For brands using labels alongside boxes, inserts, or tags, the most efficient approach is to align all packaging components early. That prevents last-minute mismatches in size, finish, or artwork and makes the final pack-out feel like one system instead of several separate jobs.
Cost, MOQ, and unit pricing that actually matter
Pricing depends on more than label size. Material, adhesive, finish, sheet dimensions, number of designs, quantity, and proofing requirements all affect the quote. If one price looks unusually low, check what was removed from the spec. Proofing, finishing, or material upgrades are often where the differences hide.
For custom sheet labels, minimum order quantity is usually tied to press setup and how efficiently multiple labels can be imposed on a sheet. Smaller runs cost more per label, but they also reduce the risk of sitting on obsolete inventory when artwork or product mix changes.
That tradeoff matters in apparel because product cycles move quickly. A seasonal label run can become dead stock before it is fully used. Paying a little more per unit to keep order size aligned with actual demand is often the better financial decision.
Planning ranges are below. These are broad references, not fixed quotes:
| Run size | Typical unit price | What you usually get | Best fit |
|---|---|---|---|
| 500–1,000 labels | $0.25–$0.60 each | Higher setup share, standard stock options | Samples, launches, short seasonal drops |
| 2,500–5,000 labels | $0.14–$0.32 each | Better pricing, more finish choices | Growing apparel lines, mixed retail packaging |
| 10,000+ labels | $0.08–$0.20 each | Lower per-unit cost, stronger scale benefits | Stable SKUs and repeat production |
The lowest print price is not always the best value. If frequent artwork changes trigger reprints, the real cost is labor, waste, and delay. A slightly higher quote can be cheaper overall if it reduces errors and avoids excess stock.
If sustainability is part of the brief, ask about FSC-certified paper where appropriate and confirm whether the liner or adhesive fits local recycling rules. The U.S. EPA provides general recycling guidance at epa.gov/recycle.
Process and turnaround: from artwork to delivery
Turnaround is usually predictable when files are clean. The normal sequence is submission, prepress review, proof approval, print production, finishing, inspection, packing, and shipment. If a step slows down, the schedule moves with it.
Most delays happen before printing starts. Common issues include missing bleed, incorrect cut lines, low-resolution artwork, unsupported file formats, and inconsistent color references. If the artwork says one red and the brand team expects another, that needs to be resolved before production, not during it.
For simple sheet-label jobs with one design and standard stock, 7-10 business days after proof approval is a realistic planning target. Jobs with multiple SKUs, specialty coatings, or more involved proofing can take 12-15 business days or longer. The practical answer is to plan the label schedule around approval time, not just press time.
Build in a small buffer for launches, photoshoots, and seasonal inventory. Two or three extra business days is often enough to absorb small corrections. More time is wise if the order includes variable data or if the design team tends to revise late in the process.
If the labels will travel through rough handling, storage, or transit, it may be worth checking packaging against shipping standards such as ISTA procedures. The International Safe Transit Association publishes guidance at ista.org. Not every apparel label needs formal transit testing, but larger retail packaging systems can benefit from it.
One useful habit is to validate the label on the actual packing surface before approval. A label that looks fine in a PDF can still fail if the application surface is curved, textured, cold, or exposed to humidity.
Material, adhesive, and finish choices for clothing
Material choice affects durability, print clarity, cost, and handling. Paper stock is the lower-cost option and works well for short-term use, indoor handling, samples, and folded garments. It prints cleanly and is often enough when the label is not expected to survive heavy abrasion or moisture.
Polypropylene is the stronger option. It resists tearing better and handles moisture and storage conditions more reliably. It costs more, but the added durability is usually worth it when labels move through packing, shipping, or extended warehousing.
Adhesive matters just as much. Removable adhesive is useful for temporary tagging, sample packs, and situations where the label should peel away with minimal residue. Permanent adhesive is better for shipping, inventory control, and long-term identification. If the label is going on finished apparel packaging, clean removal is often worth specifying.
Finish affects both appearance and inspection. Matte usually reads more quietly and is easier to scan under bright light. Gloss gives color a brighter, more reflective look and can help if the label is part of a retail-facing presentation. Coatings can improve scratch or moisture resistance, but they should only be added when the use case justifies the extra cost.
- Paper - lower cost, clean print quality, best for short-term use
- Polypropylene - stronger moisture resistance and better tear resistance
- Matte finish - softer visual presentation and easier readability
- Gloss finish - brighter color and a more reflective appearance
- Removable adhesive - cleaner removal for samples and temporary tagging
- Permanent adhesive - better hold for shipping, inventory, and packaging
Surface conditions can change performance. Textured paper, coated film, cold storage, humidity, and condensation all affect adhesion. A sample that works on a smooth carton may behave differently on a folded poly bag or a wrapped garment. That is a material-and-surface issue, not an artwork issue.
Common mistakes that waste sheets and weaken branding
The first mistake is making the text too small to read after application. Designs often get built for screen appearance instead of real-world use. If the team or customer has to lean in to read the label, the design needs to be simplified.
The second mistake is putting too many variations on one sheet. It can look efficient on paper, but it slows the packing line and increases the chance of picking the wrong version. Good imposition is useful; overcomplicated handling is not.
The third issue is weak contrast and overly delicate type. Thin fonts and pale colors may look refined in a mockup, but they can disappear on white poly bags, dark garments, or glossy cartons. Readability has to survive the actual surface and lighting conditions.
The fourth problem is a mismatch between the label and the workflow. If the team is packing by hand under time pressure, the sheet layout should support that rhythm. custom sheet labels work best when the design is reviewed as part of the production process, not as a separate graphic exercise.
Another common failure is inconsistency with the rest of the packaging set. If boxes, inserts, and tags use different type styles or color values, the system starts to feel improvised. Buyers may not name the issue, but they notice when the package lacks cohesion.
Expert tips for cleaner application and better resale value
Test one full sheet on the actual surface before approving the run. Not a desk surface, not a sample card, and not a digital proof. The real garment fold, bag, box, or wrap will expose most adhesion and placement issues before they become bulk waste.
Use a consistent naming system for size, material, and batch tracking. Even small brands benefit from a clear structure. If the warehouse team can tell at a glance which sheet belongs to which SKU, picking gets faster and mistakes fall.
Leave safe margins around text and logos, and make variable data easy to scan. If the label depends on a viewer squinting or zooming in, it is too dense. Clean spacing usually matters more than adding another design element.
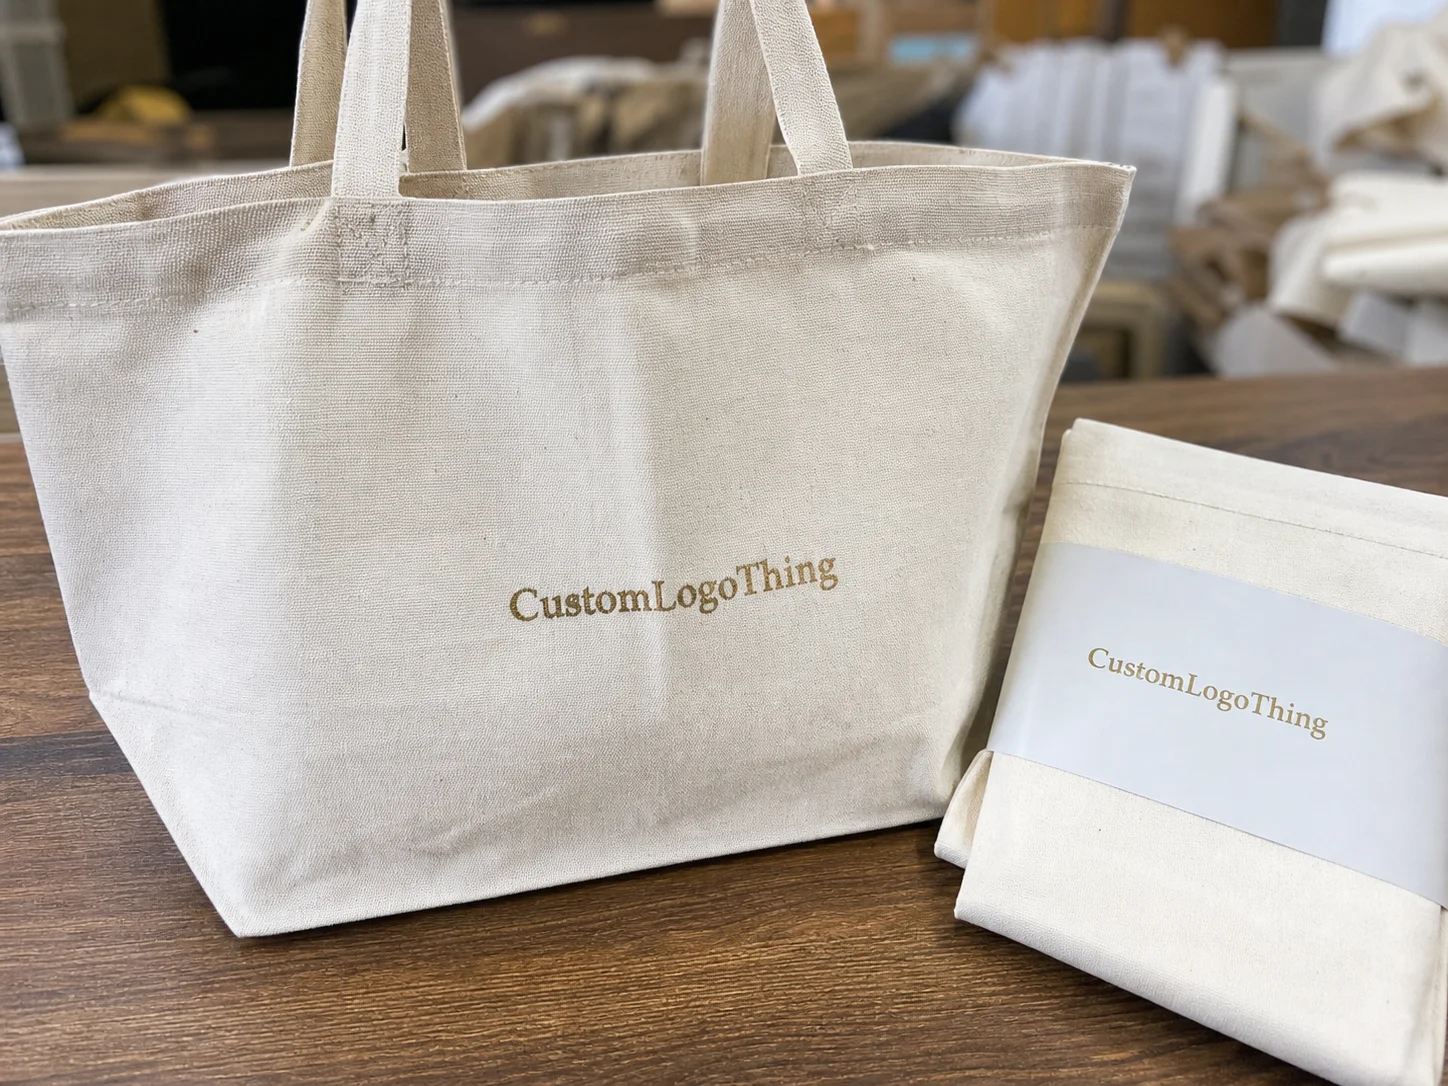
Good labels can support shelf presentation, unboxing, and resale value by making the package feel complete. That usually comes from clean type, consistent placement, and materials that match the product instead of competing with it.
If the labels sit alongside boxes, inserts, or hang tags, keep the visual system coordinated. Matching type families, similar color values, and consistent logo spacing make the whole package feel intentional. Packaging usually succeeds because the small parts agree with one another.
Next steps: request specs, sample counts, and proofing
Before requesting a quote, gather the basics: label dimensions, quantity, material preference, finish, adhesive type, and number of designs. If the labels will be used in a specific way, add that too. Manual application, batch sorting, and automated dispensing each place different demands on the format.
When color, finish, or placement matter, ask for a proof or sample. Screen proofs help with layout, but a physical sample shows sheen, texture, and adhesion more clearly. That matters for apparel packaging, where appearance and handling both affect the final result.
The simplest decision path is usually the most reliable: if the run is small, varied, and time-sensitive, sheet format is often the right choice. If the order is large and standardized, roll format may be more efficient. When in doubt, compare the workflow first and the price second.
For brands building a broader packaging system, the best outcome comes from matching the label format to the packing process rather than forcing the process to adapt to the label. That keeps labor under control, reduces rework, and makes the final packaging look as organized as the product inside it.
Are custom sheet labels better than roll labels for clothing orders?
Sheet labels are often better for small runs, mixed SKUs, and manual application because they are easy to sort and peel. Roll labels are usually a stronger fit for high-volume dispensing or automated packaging lines. If your team applies labels by hand, sheet format often keeps the workflow simpler.
What size should custom sheet labels be for apparel packaging?
The right size depends on the message, the surface, and the distance from which the label will be read. Use larger labels for branding and handling instructions, and smaller labels for SKU, size, or care details. Always test the size on the real folded garment or package before locking the spec.
What is a realistic MOQ for custom sheet labels?
MOQ varies by material, finish, and print method, but smaller sheet-label orders are common for apparel brands. Unit pricing improves as quantity rises, though it is usually wiser to avoid a large run if the artwork changes often. The right MOQ is the one that matches your production cycle without creating dead stock.
How long do custom sheet labels take to produce?
Simple jobs are faster than multi-version orders or projects with specialty finishes. A clean file and quick proof approval can keep the schedule moving, while artwork changes and color corrections slow things down. Planning a buffer is the safest way to protect launch timing.
What should I check before approving custom sheet label artwork?
Check bleed, safe margins, legibility, color contrast, and the placement of cut lines or variable data. Confirm that the label copy matches the garment, size run, and packing workflow. Review a proof on screen and, when possible, request a physical sample for final approval.