Why Clear Stickers Look Premium Until the Specs Go Wrong
A skincare brand orders transparent labels for frosted jars. The mockup looks elegant. Then the jars hit the shelf and the white text nearly disappears under retail lighting. Pretty expensive way to learn how opacity works.
Custom Stickers Clear are not ordinary stickers printed on invisible-looking film. They need the right film, ink stack, adhesive, finish, and surface match. Miss one piece and the clean “no-label” effect turns into cloudy edges, weak color, lifting corners, or copy people read with the intensity of someone decoding a ransom note.
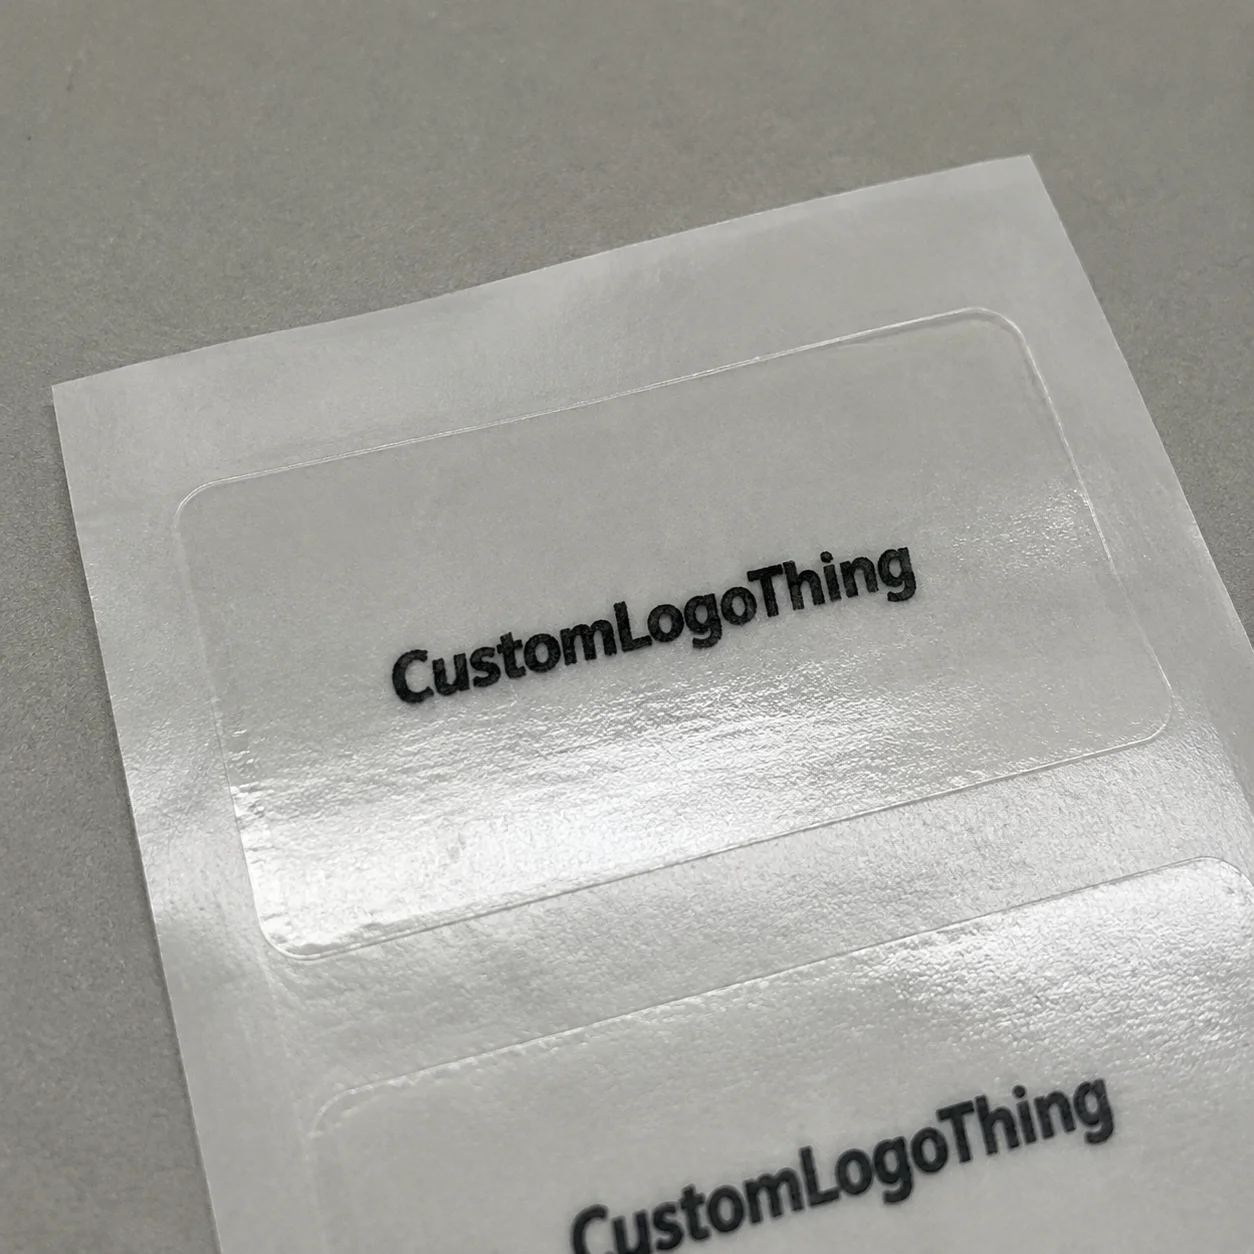
Clear stickers are labels or decals printed on transparent vinyl, BOPP, PET, or similar film so the product, packaging, glass, plastic, or background remains visible. They are popular because they let the container do visual work. A honey jar shows the amber product. A candle vessel keeps its glassy finish. A supplement bottle can carry branding without looking wrapped in paper.
They work on candles, cosmetics, food jars, drink bottles, retail boxes, electronics, windows, mailers, and promotional giveaways. They also make useful package branding accents on Custom Packaging Products, especially when a brand wants a small logo seal instead of a full printed sleeve or label wrap.
The tradeoff is blunt: transparent labels look clean, but they are less forgiving than white labels. Bubbles, fingerprints, dust, crooked application, and weak design contrast are easier to see. White labels hide sins. Clear labels gossip.
Before ordering, think beyond the art file. Material choice, white ink, adhesive, price, timeline, artwork setup, and test samples all matter. The sticker has to perform on the real surface, not just on a laptop screen with perfect lighting and no condensation.
How Transparent Sticker Printing Actually Works
Clear sticker printing starts with transparent film. Ink is printed on top of it, under it, or sometimes in reverse depending on the print method and final use. The setup changes if the sticker goes on a bottle, retail box, interior window, outdoor cooler, or surface that gets wet, chilled, handled, or photographed.
Standard CMYK inks are naturally semi-transparent on clear material. Colors can look muted because the background shows through. Red ink on a brown bottle is no longer clean red. Shocking, apparently ink obeys physics.
White ink acts like primer on a wall. It gives color something opaque to sit on. Without it, blues dull down, yellows fade, and small type can vanish against amber glass, dark plastic, or patterned packaging. With it, logos and copy become far more readable.
Most transparent label jobs use one of four print setups:
- Full-color only: Best for subtle transparent effects, pale graphics, or decorative overlays where show-through is intentional.
- Spot white backing: White prints only behind logos, text, icons, or color areas that need opacity. This is usually the smartest balance for brand labels.
- White-only printing: Useful for minimalist logos, window decals, candle jars, and cosmetic packaging with a clean white-on-clear look.
- Reverse printing: Artwork prints backward on the adhesive side or inside-facing side for interior window application, protecting the print from handling.
Finish changes both appearance and durability. Gloss gives the clearest, shiniest look and usually makes transparent film feel more invisible. Matte softens glare and can feel more refined, but it reduces some of that crystal-clear effect. Laminate adds a protective layer against scratches, moisture, oils, and repeated handling. For products tossed into purses, bathrooms, refrigerators, or shipping boxes, laminate is not decoration. It is insurance.
Adhesive choice causes plenty of quiet failures. Permanent adhesive works for most product labels. Removable adhesive suits temporary promotions, window graphics, and short-run campaigns. High-tack adhesive helps on curved, textured, or low-energy plastics such as some polypropylene and polyethylene containers.
Format also affects the buying decision. Kiss-cut sheets are easy to peel by hand. Rolls are better for dispensers and labeling machines. Individually cut decals work for handouts and giveaways. Die-cut shapes add retail personality, especially when paired with matching Custom Labels & Tags.
Material, Adhesive, and Finish Choices That Matter
The material is not a footnote. It decides how the sticker bends, resists moisture, handles abrasion, and bonds to the package. Most clear label failures start with a lazy material choice. “Just make it clear” is not a spec. It is a wish.
| Material | Best Use | Typical Strength | Watchouts |
|---|---|---|---|
| Clear vinyl | Durable decals, outdoor stickers, laptops, windows | Flexible, weather-resistant, good for longer wear | Can feel thicker than label films |
| Clear BOPP | Bottles, jars, cosmetics, food packaging | Thin, moisture-resistant, good for product labels | Needs testing on tight curves and squeeze bottles |
| Clear PET | Premium labels, electronics, rigid packaging | Stable, smooth, crisp, slightly more rigid | Less forgiving on flexible containers |
| Static cling | Glass, windows, temporary displays | No adhesive residue | Not suitable for rough, dusty, or long-term product surfaces |
Glass and smooth plastic are usually the easiest surfaces. Textured paper, powder-coated metal, flexible squeeze bottles, oily containers, and soft-touch coated boxes need more caution. Some surfaces look smooth but reject adhesive over time, especially if they contain silicone, wax, oil, or low-surface-energy plastic.
Indoor versus outdoor use changes the spec. Outdoor stickers generally need UV-resistant ink, weatherproof film, and protective laminate. Indoor packaging may only need moisture resistance and scuff protection. No need to build a tank if the label sits on a candle box in a dry stockroom. If it lives on a water bottle, car window, or outdoor cooler, upgrade the material.
Moisture exposure deserves its own line on the quote request. Bath products, refrigerated drinks, condiments, and candles face condensation, oils, temperature swings, or wax residue. A clear BOPP label with permanent adhesive may work beautifully on a dry glass jar, then lift on a chilled bottle after 48 hours in a refrigerator. Testing beats guessing.
Adhesive strength has tradeoffs. Permanent adhesive bonds better but can leave residue. Removable adhesive comes off cleaner but may lift earlier. Freezer-grade adhesive costs more, yet it solves cold-chain problems for refrigerated or frozen products. If the product will be stored below freezing, say that before pricing. Nobody enjoys discovering freezer failure after the shipment leaves.
Finish decisions are partly aesthetic and partly practical. Gloss looks crisp and shiny. Matte hides glare and fingerprints better. Soft-touch feels upscale but can scuff, especially on dark backgrounds. Laminate adds cost, often a visible bump on smaller runs, but it can extend useful life by months depending on handling and exposure.
Brands working with food, supplements, or regulated retail should also check broader packaging guidance from sources like the EPA sustainable materials management resources. It will not choose your label film, but it helps frame smarter packaging decisions.
Practical rule: order samples when the sticker touches glass, curved bottles, textured packaging, freezer conditions, oily products, or anything photographed close-up. Spec sheets are useful. Real surface testing is less polite and more honest.
Pricing, MOQ, and Unit Cost for Clear Sticker Orders
Pricing for custom stickers clear depends on material, size, shape, quantity, white ink coverage, finish, laminate, roll versus sheet format, proofing, and shipping speed. A serious quote needs more than “How much for clear logo stickers?” Helpful, in the same way “How much is a car?” is helpful.
Small custom runs carry a higher unit cost because setup, file checks, proofing, and finishing are spread across fewer stickers. A 100-piece digital run might land around $0.60 to $1.50 per sticker depending on size and finish. A 1,000-piece run might drop closer to $0.18 to $0.45 per sticker for common sizes. Larger runs of 5,000 to 10,000 pieces can fall again, especially on roll labels, but only if the design and material are already proven.
Buying 10,000 wrong labels is not a discount. It is storage with regret.
Format changes labor and cost. Roll labels can cost more upfront because of core size, unwind direction, liner, and machine compatibility, but they save time for businesses using dispensers or applicators. Sheets are flexible for small batches and hand application. Individually cut decals are convenient for giveaways, inserts, and retail events, though they usually cost more per piece because cutting and packing take more labor.
White ink also affects the bill. Spot white behind a logo or text is usually cheaper than flooding the entire sticker with white backing. Complex white layers may require extra proofing because the printer needs to know exactly which areas stay transparent and which areas become opaque. If the white layer is not named clearly in the artwork file, expect a delay.
MOQ depends on the production method. Digital printing supports smaller quantities, sometimes starting around 50 to 100 pieces for simple shapes. Specialty films, custom dies, lamination, roll production, or unusual adhesives may push minimums higher, often 500, 1,000, or more. That is normal. Specialty setups need enough volume to justify setup time.
| Order Type | Typical Quantity Range | Common Unit Cost Behavior | Best Fit |
|---|---|---|---|
| Short-run sheets | 50-500 pieces | Higher unit cost, lower total commitment | Testing, handmade products, small launches |
| Standard roll labels | 500-10,000 pieces | Better unit cost after setup | Bottles, jars, growing product lines |
| Die-cut decals | 100-5,000 pieces | Higher cutting and packing cost | Promotions, inserts, retail giveaways |
| Laminated outdoor stickers | 250-10,000 pieces | More cost, longer durability | Windows, gear, vehicles, weather exposure |
For an accurate quote, provide size, quantity, material preference, finish, artwork file, usage surface, indoor or outdoor conditions, adhesive preference, and deadline. If the sticker goes on retail packaging next to Custom Printed Boxes, include that too. Matching finish and brand color across different substrates takes more care than printing one isolated label.
Process, Timeline, and Production Steps From Artwork to Delivery
A normal order follows a predictable path: choose size and shape, confirm material, prepare artwork, request a proof, approve the proof, print, finish, cut, pack, and ship. Skip proofing and you are basically buying hope in label form.
Artwork preparation matters. Vector files are best for logos, type, borders, and cut lines. Adobe Illustrator files, editable PDFs, or EPS files usually work well. Raster images should be high resolution, ideally 300 DPI at final size. Cut lines should be clear, usually as a separate vector stroke named something obvious like “CutContour.” White ink areas should also be labeled properly, often as a spot color named “White” or according to the printer’s file requirements.
Bleed and safe margins are not optional on shaped stickers. A common setup uses 0.0625 inch to 0.125 inch bleed, with key text kept at least 0.0625 inch inside the cut edge. Tiny borders on clear stickers expose every small cutting tolerance. If the cutter shifts half a millimeter, that perfect hairline border suddenly looks drunk.
Digital proofs confirm size, shape, placement, spelling, and white ink areas. They do not perfectly predict how color behaves on every surface. A proof viewed on a bright monitor does not show amber glass, condensation, candle wax, dark liquid, or curved reflections. For packaging that will be photographed, sold in retail, used outdoors, or applied to curved or wet surfaces, order a physical sample or short pilot run.
Simple digital clear stickers can move quickly after proof approval, often in roughly 3-7 business days for production depending on quantity and workload. Roll labels, specialty finishes, custom dies, laminated outdoor decals, or larger quantities can run closer to 7-15 business days. Shipping adds time, and freight delays do not care about your launch date.
Common delays are painfully predictable: low-resolution files, missing cut lines, unclear white ink instructions, last-minute size changes, untested materials, and buyers approving proofs by committee. The committee is where deadlines go to nap.
Build extra lead time for product launches, trade shows, influencer kits, seasonal packaging, and anything involving freight or international delivery. For larger branded packaging projects, especially if stickers coordinate with boxes, inserts, bags, or sleeves, plan the label proof at the same time as the larger packaging design. Color and finish alignment are easier before everything is already printed.
Packaging teams that ship fragile or retail-ready goods may also want to review distribution testing concepts from ISTA. Stickers are not shipping cartons, obviously, but abrasion, temperature, and handling conditions still affect how labels look by the time the product reaches the shelf.
Common Mistakes That Make Clear Labels Look Cheap
The most common mistake is skipping white ink behind important colors or text. CMYK-only printing can look fine on a white screen and weak on dark, amber, green, or patterned surfaces. If the design must be readable from three feet away, specify white ink. No drama. Just do it.
Second mistake: using tiny type on clear film. Fine lettering can disappear when the container has shadows, contents, condensation, or curved reflections. For ingredient panels and compliance text, transparent labels need enough contrast and size. A beautiful 5-point script font is still useless if customers cannot read it.
Third: choosing the wrong adhesive. A label that lifts on a squeeze bottle is not a branding strategy. Flexible containers move during use, and the adhesive has to move with them. Test BOPP, vinyl, or specialty adhesive Options Before Ordering bulk for tubes, pouches, and squeezable plastic.
Fourth: ignoring the product color behind the label. Clear film lets the background influence the design. Mockups on white screens lie constantly. A pale green logo may look fresh on a white artboard and invisible on a green juice bottle. A gold graphic may look premium on clear glass and muddy on brown glass.
Fifth: ordering the wrong finish. High-gloss labels can create glare in product photos, especially under studio lights or retail shelf lighting. Matte finishes reduce glare and fingerprints, but they may reduce the invisible no-label effect. There is no universal winner. There is only the right finish for the job.
Sixth: applying stickers to dusty, oily, cold, or damp surfaces, then blaming the printer when the adhesive gives up like it has better plans. Most pressure-sensitive adhesives need a clean, dry surface and firm pressure. Many also need dwell time, meaning the bond strengthens after application over several hours.
Seventh: approving bulk production without a test when the sticker goes on curved glass, refrigerated products, bath packaging, or outdoor surfaces. Testing 25 or 50 pieces can prevent a very boring disaster involving 5,000 labels and a launch calendar.
- If the design must read from three feet away, use enough size, contrast, and white ink.
- If the sticker faces moisture, use a moisture-resistant film and adhesive.
- If brand colors must match exactly, ask for printed samples, not just digital proofs.
- If the surface is curved, oily, textured, cold, or flexible, test before bulk production.
Most cheap-looking transparent stickers are not cheap because of the printer. They look cheap because the spec was incomplete. The buyer picked a pretty design and forgot the surface, adhesive, and light conditions. Packaging is rude that way. It makes assumptions visible.
Next Steps Before You Order Clear Custom Stickers
Use a practical checklist before ordering. Not a vague “make it premium” brief. A real buying checklist with enough detail for the printer to quote accurately and produce the sticker you actually need.
- Decide the real use case. Is it a product label, logo seal, window decal, event giveaway, packaging accent, or machine-applied roll label?
- Measure the actual application area. Use the real container or packaging, not a template guessed from a product photo. Measure width, height, curve, and any taper.
- Choose the visibility goal. Do you want an invisible no-label look, bold full-color logo, white-only minimalist mark, or waterproof durable decal?
- Prepare layered artwork. Separate CMYK, white ink, cut line, bleed, and safe margins when needed.
- Request the quote with full specs. Include size, quantity, material, finish, adhesive, surface, use conditions, and deadline.
- Order samples or a small run. Do this before committing to volume if the sticker touches moisture, oil, cold storage, curved bottles, or dark packaging.
If you already use boxes, sleeves, mailers, or printed inserts, treat clear stickers as part of the full retail packaging system. A gloss clear label on a matte carton might be a smart contrast. Or it might look accidental. Pair samples with the actual box, bottle, jar, or pouch before judging.
For many brands, a clean transparent label is the difference between “homemade” and “retail-ready.” But it only works if the technical choices support the design. Start with the surface. Then decide on film, adhesive, white ink, finish, and format. That order saves money.
Custom stickers clear can look polished, modern, and expensive when the specs match the job. They can also look faded, bubbly, and amateur when treated like basic white labels. Start with the surface, choose the print setup, test the result, and then scale the order.
Clear Sticker FAQs
Are clear custom stickers waterproof?
Many clear custom stickers can be waterproof or water-resistant when printed on vinyl, BOPP, or PET with the right adhesive and laminate. Waterproof performance depends on material, ink, finish, and exposure level, so shower products, refrigerated bottles, and outdoor decals should be tested before bulk ordering. Paper-based clear-look labels are usually the wrong choice for moisture-heavy use.
Do custom clear stickers need white ink?
They need white ink when the design must look bright, opaque, or readable on colored, dark, transparent, or patterned surfaces. Without white ink, CMYK colors can look translucent because the background shows through. White ink can sit behind specific artwork areas, cover the full sticker shape, or print alone for a clean white-on-clear look.
What is the best material for clear stickers on bottles?
Clear BOPP is common for product bottles because it is thin, flexible, and moisture-resistant. Clear vinyl works well for durable decals and outdoor use, while PET can feel more rigid and premium. For squeeze bottles, refrigerated drinks, oily products, or curved glass, test the exact material and adhesive before ordering a large run.
How much do custom stickers clear usually cost?
Unit cost depends on size, quantity, material, white ink, finish, laminate, cut style, roll or sheet format, and shipping speed. Small runs cost more per sticker because setup, proofing, and finishing are spread across fewer pieces. Larger runs reduce unit cost, but only after the artwork, surface, adhesive, and finish are confirmed.
Can clear stickers be removed without residue?
Removability depends on the adhesive, surface, dwell time, temperature, and exposure to moisture or sunlight. Removable adhesive is better for temporary promotions, window graphics, or short-term packaging, but it may not hold as strongly as permanent adhesive. Permanent clear stickers usually bond better but may leave residue or damage delicate surfaces during removal.

