A kraft mailer, amber jar, candle tin, or small gift box changes character the moment the front label carries warm grain instead of flat white paper. That is the practical appeal of custom wood stickers: they add a natural, handmade, or premium cue without forcing a full packaging redesign.
The texture, though, is only half the decision. A label still has to survive application, packing, shipping, shelf handling, and the customer’s hands. A sticker on a dry soap box has a different job than one on a refrigerated drink bottle. A curved tin asks different questions than a flat carton panel.
Packaging buyers learn this quickly. The right spec depends on surface, adhesive, finish, print detail, moisture exposure, and labor speed. The wrong one can look beautiful in a proof and fail in the first hour on the packing table.
What Custom Wood Stickers Are and Where They Shine
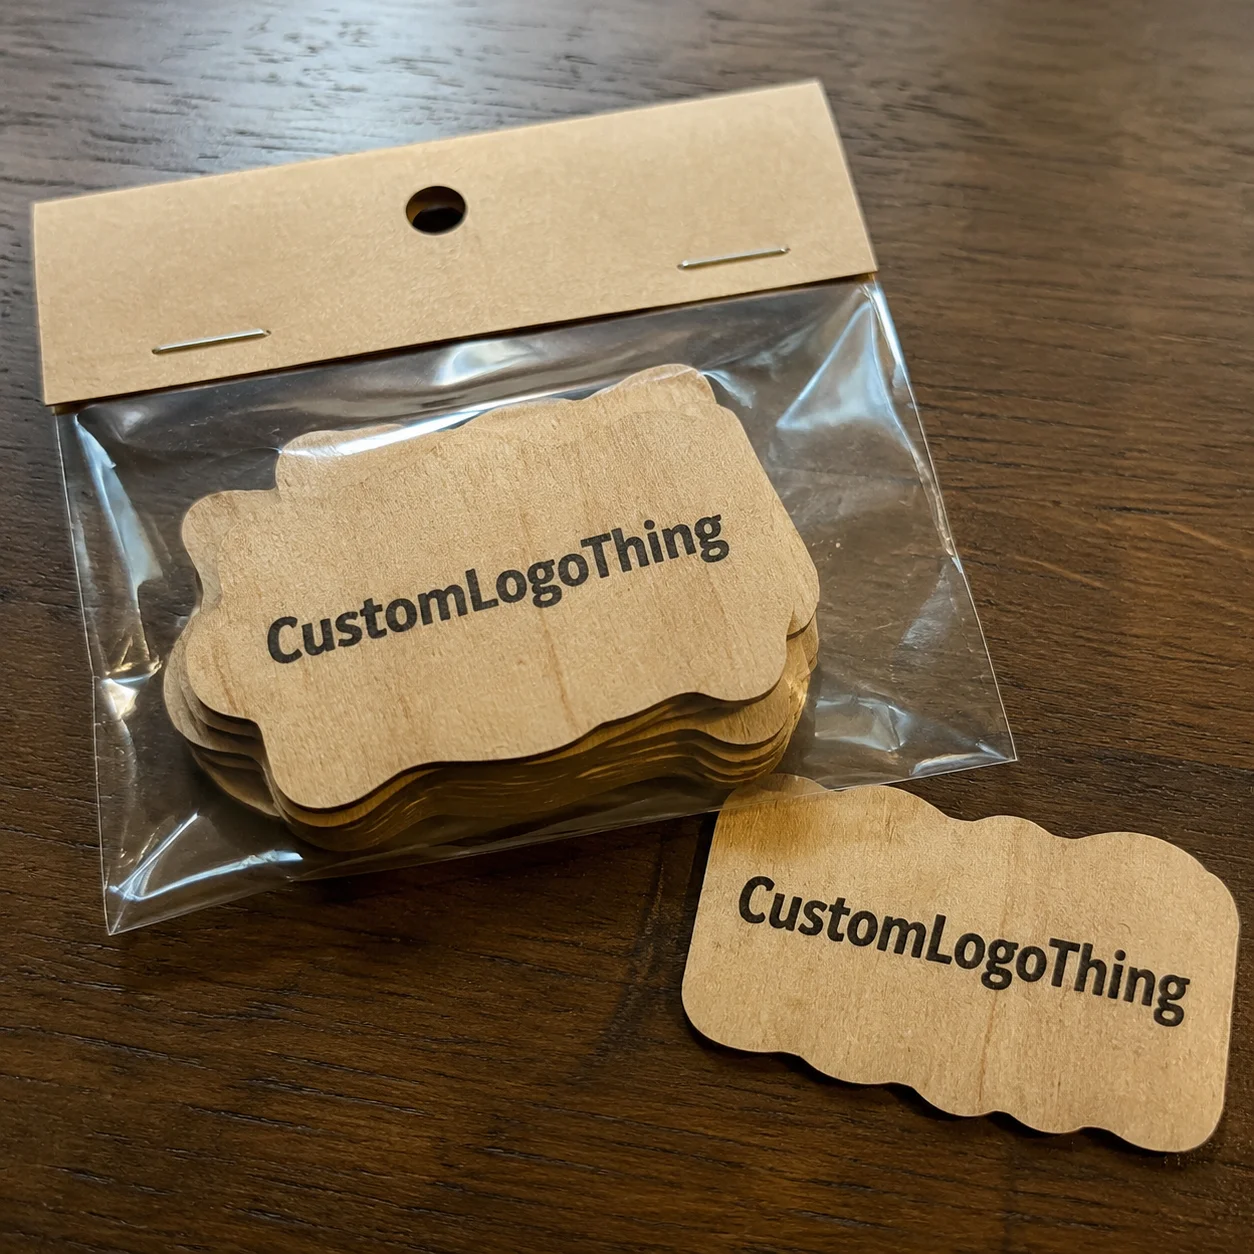
Custom wood stickers are adhesive labels or decals designed to create a wood appearance. Some use very thin real wood veneer. Others use printed woodgrain film, textured paper, kraft-style stock with a grain pattern, or synthetic material that behaves like a standard pressure-sensitive label while mimicking wood.
The big split is simple. Real wood veneer gives natural grain variation and a tactile surface. Wood-look paper or film gives more consistency, easier color control, lower cost, and better repeatability. Veneer can be excellent for boutique retail packaging, handmade goods, event favors, premium gift kits, and limited runs where variation feels intentional. Printed woodgrain film is often the safer production choice for jars, bottles, flexible pouches, promotional decals, coffee bags, and products exposed to moisture or rubbing.
Buyers usually choose this style because it sends a fast visual signal. Woodgrain can suggest craft, warmth, outdoor lifestyle, natural ingredients, small-batch quality, or a rustic display style. It can also soften Custom Printed Boxes, especially when the rest of the package uses matte black, cream, kraft brown, forest green, or restrained metallic accents.
The best wood-style labels rarely try too hard. A clean logo, controlled grain pattern, strong contrast, and a shape that fits the package usually look more expensive than a design crowded with distressed type, tiny illustrations, faux burn marks, and six shades of brown.
Packaging floor rule: treat the sticker as a working packaging component, not decoration alone. If it slows down labeling, lifts on the shelf, or makes a barcode unreadable, the finish has failed no matter how good it looked in the proof.
How Wood-Look Sticker Materials and Printing Actually Work
The main material options are real wood veneer, woodgrain vinyl, textured paper stock, kraft-style paper with a printed wood design, and clear or white film printed with faux grain. Each carries a different balance of feel, cost, print control, and durability. For buyers comparing Custom Labels & Tags, the material decision usually changes the finished result more than any single artwork tweak.
Real wood veneer is a thin layer of natural wood, commonly backed with adhesive and release liner, then printed, cut, and finished with more care than a standard coated label. The surface is porous and naturally varied, so ink does not always sit the same way from one area to another. A dark grain line can run through a small letter. A pale section can make one label appear lighter than the next. That variation may be the point, but it needs to be expected before production starts.
Printed woodgrain film is more predictable. Vinyl and BOPP-style films can carry a grain pattern with tighter color control, better moisture resistance, and smoother reorders. If the plan is to reorder 5,000 labels every month and keep the same walnut, oak, or birch tone, printed film is usually easier to manage than natural veneer.
Textured paper sits between those two poles. It can feel soft, handmade, and approachable, which works well for dry goods, stationery, coffee sleeves, soap wraps, small boxes, and boutique packaging. The tradeoff is durability. Most unlaminated paper labels do not tolerate oil, condensation, abrasion, or repeated handling as well as film. If customers may touch the product with wet hands, or if storage conditions are humid, ask about a protective coating or move to a synthetic base.
Printing method matters too. Digital printing works well for short runs, frequent artwork changes, and variable designs. Flexographic printing is efficient for larger, consistent roll runs. Screen printing can lay down bold, opaque color on darker backgrounds. Foil stamping, spot gloss, and raised varnish can add a premium accent, but they also add setup, registration checks, and time.
White ink is the detail buyers often miss. Light colors, small text, bright brand colors, and QR codes can lose contrast over a darker grain. Without a white underprint, red can turn muddy, yellow can fade into the background, and thin white lettering can look gray. For barcodes, batch numbers, ingredients, warnings, and regulatory copy, readability should beat texture every time.
Cutting is another practical constraint. Labels may be kiss cut on sheets, die cut on rolls, laser cut for certain specialty shapes, or digitally contour cut for short-run decals. Very narrow points, thin script lettering, and delicate borders can lift during weeding, hand application, or customer handling. A shape that looks refined on screen may be fragile once it becomes adhesive-backed material.
Key Specs That Decide Durability, Adhesion, and Finish
Sticker performance starts with the application surface. Glass, coated paperboard, raw kraft, plastic, metal, wood, and flexible pouches all behave differently under pressure and temperature. A smooth coated carton may accept a standard permanent adhesive. A dusty recycled kraft box may need high-tack adhesive. A cold glass jar may need a freezer-grade or cold-temperature adhesive, especially if labeling happens before the container reaches room temperature.
Most label adhesives fall into a few practical buckets. Permanent adhesive is used for product labels, seals, and branded packaging meant to stay in place. Removable adhesive works for temporary promotions, event decals, and short-life campaigns. High-tack adhesive helps on textured paper, rough kraft, corrugated shippers, and some recycled stocks. Freezer-grade adhesive is designed for cold-chain products, but it still needs testing on the exact container and temperature cycle.
Finish changes both appearance and handling. Matte feels organic and subdued. Gloss makes colors richer and is easier to wipe. Satin gives a retail-ready look without the glare of high gloss. Laminate adds a clear protective film for scuff resistance, moisture resistance, and better survival during packing. For outdoor decals, a synthetic base, UV-resistant inks, and protective laminate are usually the minimum starting point. Real wood veneer can be sealed, but it should not be assumed to behave like outdoor vinyl.
| Material Option | Best Fit | Typical Strength | Cost Tendency |
|---|---|---|---|
| Real wood veneer | Premium labels, gift packaging, boutique goods | Tactile grain and natural variation | Higher, often due to specialty stock and slower handling |
| Printed woodgrain film | Jars, bottles, tins, repeat product labels | Moisture resistance and consistent color | Moderate, with better breaks at volume |
| Textured paper | Dry goods, boxes, sleeves, handmade products | Soft natural feel | Lower to moderate, depending on coating |
| Kraft paper with wood print | Rustic packaging, seals, mailers | Warm paper texture and easy branding | Usually value-friendly |
Size and shape deserve more attention than they often get. Small labels need simplified artwork, thicker strokes, and strong contrast. Larger decals can carry more grain texture, badges, borders, and storytelling elements. On curved jars and tins, oversized labels may wrinkle, bridge, or lift at the edges, especially if the material is stiff. A two-inch round label often applies more cleanly than a wide rectangle on a tight-radius container.
If the sticker carries compliance information, keep the decorative effect restrained. Ingredients, warnings, UPC codes, QR codes, batch codes, and net weight statements need clean contrast. Standards and test methods vary by product category, but general distribution testing guidance from organizations such as ISTA can help packaging teams think through vibration, compression, and handling risk for complete shipper systems.
Process and Timeline: From Artwork to Finished Stickers
A smooth order follows a clear path: choose material, confirm size and shape, submit artwork, review the proof, approve production, print, finish, cut, inspect, pack, and ship. Simple on paper. In production, each stage has one or two details that can add days if they are not settled early.
Before requesting a quote, gather the basics: final logo files, target dimensions, order quantity, application surface, indoor or outdoor use, expected moisture exposure, and any finish requests. If the package construction is known, say so. “Label goes on a matte laminated carton” is more useful than “label goes on a box.” “Applied by hand to chilled glass jars” is more useful than “label goes on a jar.”
Artwork review is where problems should be caught before material is wasted. A useful prepress check looks at resolution, bleed, cut line, color mode, small text, barcode scannability, white ink layers, foil areas, and whether the design stays readable over the selected grain. Vector artwork is best for logos and type. Outlined fonts reduce missing-font errors. A separate cut line helps the finishing department see the intended shape clearly.
A digital proof confirms layout, scale, cut path, color notes, and production instructions. Screen color is not a perfect match to ink on material, especially with wood tones underneath, but the proof still catches major errors: wrong size, off-center artwork, missing bleed, tiny type, and weak contrast. For larger orders or color-sensitive branding, a physical sample can be worth the extra time and cost.
Typical production after proof approval may run about 7 to 12 business days for straightforward digitally printed labels, and 12 to 20 business days for specialty veneer, foil, laminate, custom dies, or more involved finishing. Those ranges are planning estimates, not guarantees. Material availability, quantity, press schedule, holiday volume, and freight distance can shift the date. A one-day delay approving a proof often becomes a one-day delay in completion.
The production sequence is mechanical but unforgiving. Material is printed, ink is cured or dried, laminate or coating is added if specified, labels are die cut or kiss cut, waste matrix may be removed, pieces are counted or rolled, and the order is packed for shipment. For launches, trade shows, subscription boxes, and seasonal kits, build in buffer. Labels are small, but they can hold up an entire packing line if they arrive late.
Cost and Pricing Factors That Change the Unit Cost
Pricing for custom wood stickers is shaped by material, size, quantity, print coverage, number of colors, finish, cutting complexity, setup needs, and shipping method. Square inches matter as much as piece count. A two-inch round sticker uses far less material than a full jar wrap, even if both are counted as one label.
Real wood veneer generally costs more than printed woodgrain film or paper because the raw material is specialty stock and handling can be slower. It may also create more waste if natural variation or cutting behavior requires careful sorting. Printed film tends to be more efficient for repeat orders, roll labeling, and moisture-prone packaging. Paper options can be cost-effective for dry applications, especially on boxes, sleeves, and mailers.
Quantity breaks can be significant because setup, proofing, press preparation, and cutting time are spread across more pieces. As a rough planning example, a simple printed woodgrain paper or film label might land around $0.18 to $0.45 per piece at 5,000 units, depending on size, finish, and print coverage. A specialty veneer label could be higher, sometimes $0.60 to $1.50 or more per piece for smaller runs or intricate shapes. Actual pricing depends heavily on specifications, so treat those figures as planning ranges rather than quotes.
Finishing adds cost because it adds steps. Laminate improves scuff and moisture resistance. Foil stamping adds a premium accent but requires registration control. Embossing and spot gloss can look sharp on simple marks, though they may disappear visually on busy grain. Custom shapes may need tooling or slower digital cutting. Special adhesives may carry a material premium and sometimes a minimum order quantity because suppliers sell label stock in set rolls, sheets, or batch sizes.
One hidden cost is application labor. A delicate sticker that takes 20 extra seconds to place correctly becomes expensive during packing. At 1,000 units, that is more than five additional labor hours. Another hidden cost is relabeling. If the adhesive fails on oily glass, dusty kraft, or flexible pouches, the cheapest label can become the most expensive choice in the run.
Ask for two or three quote options. A practical set might include a value printed film version, a premium veneer version, and a higher-quantity price break. If the sticker is part of a larger product line, compare it alongside cartons, inserts, sleeves, and Custom Packaging Products so the full branded system stays within budget instead of overspending on one component.
Common Mistakes That Make Wood Stickers Look Cheap
The most common mistake is artwork that looked clean on a white screen but disappears over busy or dark grain. Thin script fonts, tiny type, low-contrast colors, and detailed illustrations often lose clarity once texture enters the background. A logo that works at four inches wide may not work at one and a half inches wide.
Another mistake is choosing real veneer without thinking through moisture, flexing, curve, or rough shipping conditions. Natural materials can look excellent, but they may need sealing, careful storage, and gentler handling. If the product is refrigerated, packed in damp conditions, or applied to a squeezable pouch, test before committing to thousands of pieces.
Poor size planning causes plenty of trouble. Labels that are too large for a curved jar can wrinkle or lift. Labels that are too small may not carry enough brand information. Narrow tails, sharp points, and delicate borders may look charming in a flat mockup, then peel during application or snag while being packed into cartons.
Adhesive mismatch is just as risky. A standard permanent adhesive may work beautifully on coated paperboard but fail on dusty kraft, oily surfaces, cold glass, or textured recycled stock. Surface energy also matters; some plastics are harder for adhesives to wet out than glass or coated board. Firm pressure at application helps, but pressure cannot fully rescue the wrong adhesive.
Skipping test applications is a false economy. Even ten hand-applied samples can show whether the label aligns well, wraps cleanly, rubs off, or lifts after 24 to 72 hours. For shipped products, rub a sample by hand, pack it in a carton, expose it to normal storage conditions, and check the label again. Formal testing may follow ASTM or ISTA-style thinking for larger programs, while smaller brands can still learn a lot from a disciplined sample check.
Overdone rustic styling creates the final problem. Heavy distressing, brown-on-brown color, decorative type, faux scorch marks, and aggressive grain can make a premium natural look turn muddy. Strong contrast, controlled texture, a clean outer shape, and enough quiet space usually make wood-style labels feel more confident.
What to Check Before You Request a Sample or Quote
Start with the package, not the sticker catalog. Measure the exact label area and decide where the label will sit. Note whether the surface is flat, curved, textured, cold, oily, dusty, flexible, or exposed to moisture. A label on a flat carton panel is a different build than a label wrapping around a small candle tin.
Choose two material directions before quoting. One should be practical and production-friendly, such as printed woodgrain film or coated textured paper. The other can be premium, such as real veneer or a specialty tactile stock. Comparing both keeps the decision grounded. Sometimes film gives most of the look with better durability. Sometimes veneer earns its higher cost because the run is small, giftable, and meant to feel less uniform.
- Prepare vector artwork when possible, with outlined fonts and a separate cut line.
- Add bleed if the woodgrain or background color runs to the edge.
- Flag white ink, foil, laminate, spot gloss, or specialty finish areas clearly.
- Share the application surface, storage conditions, and expected handling.
- Ask whether the adhesive fits the exact package material and temperature.
- Confirm lead time after proof approval, not only after quote approval.
Think through real use. Will the sticker be applied by hand or machine? Will cartons sit in a warehouse during hot weather? Will customers handle the product with wet hands? Will the label go on a flexible pouch that bends every time it is picked up? These details influence material, adhesive, laminate, and artwork choices.
For sustainability claims, be precise. A wood look does not automatically make a package recyclable, compostable, or responsibly sourced. If fiber sourcing matters to the brand, review credible programs such as the Forest Stewardship Council, and ask what documentation is available for the exact material being quoted.
Order a small sample or physical proof if the material is new, the container is curved, the design uses fine detail, or color matching matters. The smartest way to buy custom wood stickers is to treat them like a packaging part with a job to do. Match the material, adhesive, artwork, and timeline to that job, and the wood effect has a much better chance of looking intentional after packing, shipping, and repeated handling.
FAQs
Are custom wood stickers made from real wood?
They can be, but not always. Some are thin real wood veneer with adhesive backing. Others are printed woodgrain vinyl, textured paper, or film designed to create a wood-look finish. Real veneer gives natural grain variation and a more tactile feel, while printed alternatives are usually more consistent, moisture resistant, and budget friendly.
Can woodgrain stickers be used on jars, bottles, and tins?
Yes, if the material and adhesive match the surface, curve, and environment. Glass, metal, plastic, and coated paperboard each need slightly different planning. For curved containers, avoid overly large labels, very stiff materials, and sharp narrow shapes that may lift at the edges.
How much do custom wood-look labels cost?
Pricing depends on material, size, quantity, finish, adhesive, print coverage, cutting complexity, and specialty effects such as foil, laminate, or real veneer. Unit cost usually drops at higher quantities because setup, proofing, printing, and cutting time are spread across more stickers.
How long does production take for custom wooden stickers?
Straightforward digitally printed labels may take about 7 to 12 business days after proof approval. Specialty veneer, custom shapes, physical samples, foil, laminate, larger quantities, or delayed proof approval can extend the schedule, often into the 12 to 20 business day range or longer depending on material availability and shipping distance.
What artwork works best for custom wood stickers?
Simple, high-contrast artwork works best: bold logos, clean typography, thicker lines, and designs with enough quiet space around the grain texture. If the design uses light colors or small text on darker wood tones, white ink backing or artwork adjustments may be needed for readability.


