Digital Printing on Plastic Bags: What Buyers Need to Know
If a project needs retail-ready bags without plate costs, Digital Printing on Plastic bags is usually the first process worth pricing. It fits short runs, seasonal artwork, and multi-SKU launches because the path from file to proof to production is faster than plate-based printing. The benefit is not just speed. It is flexibility without forcing a brand to commit to a large inventory before the design has proven itself.
The economics make sense in specific situations. A 500-piece test run is often more useful than ordering 10,000 bags and discovering after the first sell-through that the copy, color, or legal line needs revision. That kind of adjustment is common in retail, trade show packing, and promotional campaigns. The cost of being wrong on a long run is usually higher than the premium paid for a short digital run.
There is still a tradeoff. The print result depends on the bag film, the ink system, the surface treatment, and the artwork itself. A simple logo on a corona-treated polyethylene bag is a very different job from a full-bleed photo treatment on a slick film with small type and dense blacks. Buyers control more than they usually realize: artwork resolution, bag gauge, finish, print coverage, and quantity all affect whether the bag looks polished or tired.
Suppliers also vary in how they produce the order. Some print finished bags directly. Others print on film before converting the bag. That difference matters because it changes waste, registration accuracy, and the styles a factory can handle. For a buyer comparing quotes, the first question is not simply price. It is whether the shop is quoting the same production path.
How the Printing Process Works on Film and Poly Bags
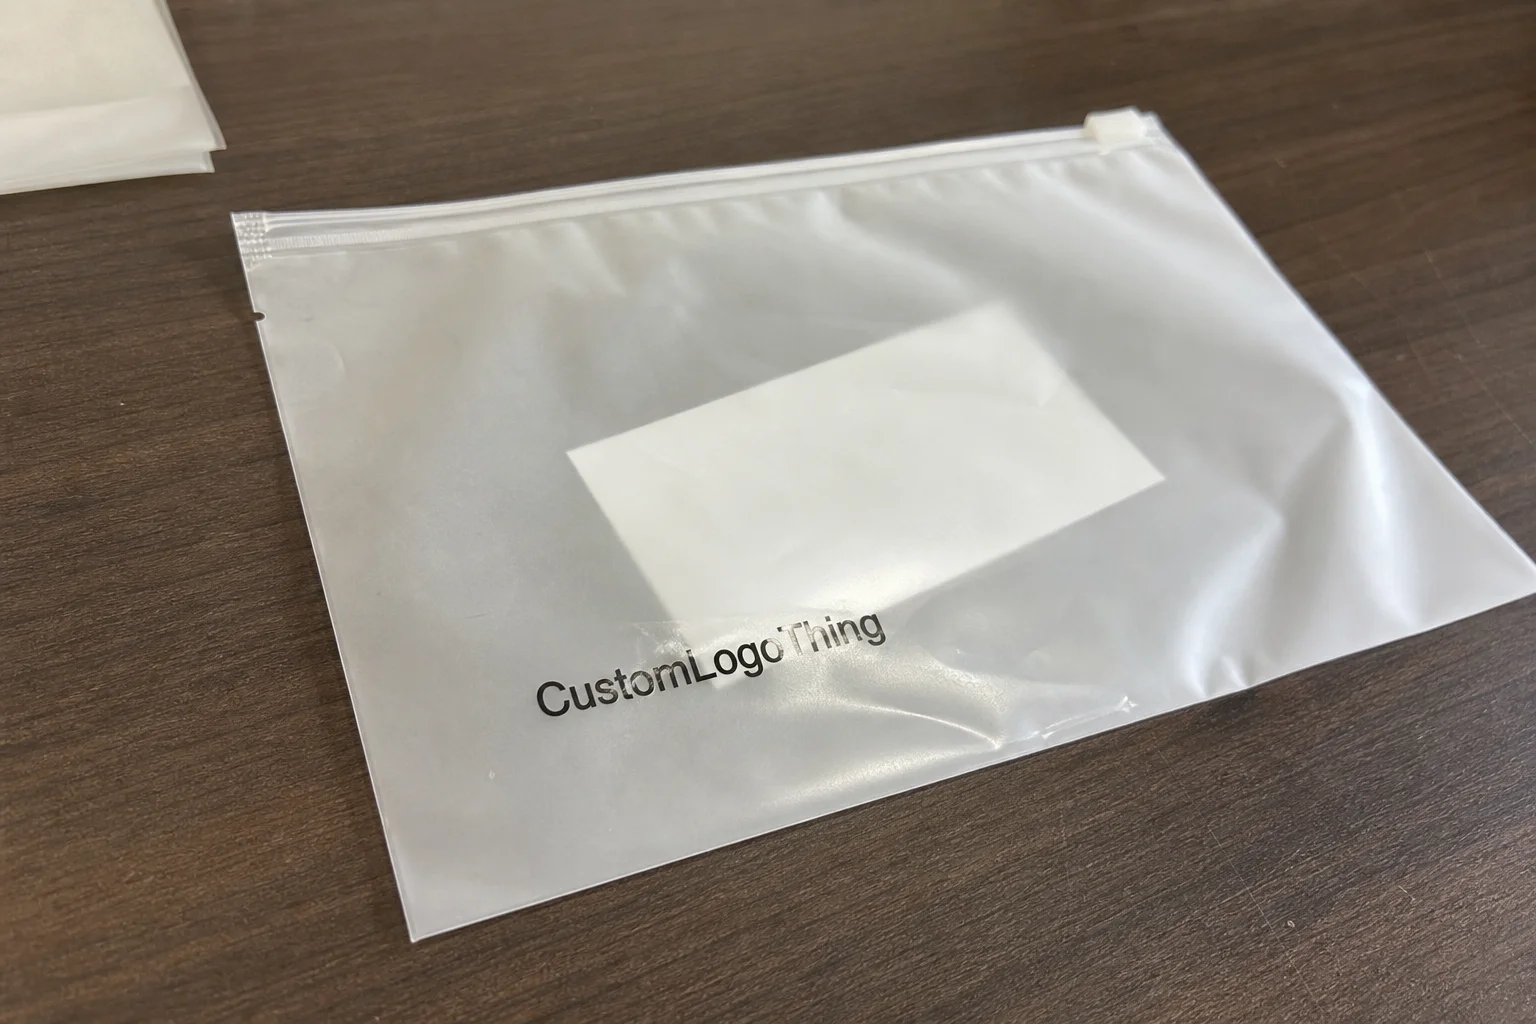
The production sequence starts long before ink hits the substrate. Files are checked for bleed, safe zones, image resolution, dieline accuracy, and any white-ink layer required for clear or tinted bags. If the bag has gussets, handles, or a bottom seal, the layout must account for how the bag changes shape once it is filled. A flat mockup is useful, but the real viewing surface is the finished, loaded bag in a store, warehouse, or shipping carton.
A strong supplier separates visual approval from mechanical approval. The buyer confirms placement, type size, and color intent before the job is scheduled. That order matters. Small alignment errors become expensive when they are discovered after the press run, especially on short orders where a few hundred rejects can wipe out the margin.
After proof approval, the press prints directly onto film or on the finished bag surface. The chemistry matters more than many buyers expect. LDPE and HDPE behave differently, and additives such as slip agents can make the surface harder to wet. If a film has low surface energy or inadequate corona treatment, the ink may look fine on press and still fail under rub or folding later.
There are two common production routes. Flat-film printing, followed by converting, tends to give tighter registration and less handling damage on longer runs. Printing finished bags is often better when the final shape, gusset, or seal line must be aligned precisely to the artwork. It can also reduce waste on certain custom sizes. The catch is that not every press line can do both efficiently, so a buyer needs to know which route is actually being quoted.
Color management deserves its own review. Most digital systems print in CMYK, and many add white ink for clear, frosted, or dark films. White is not decorative. It is usually the underbase that keeps other colors from looking weak or transparent. On metallic or heavily tinted bags, that underlayer can decide whether a logo is readable under store lighting or disappears into the substrate.
For quality control, ask how the supplier checks ink adhesion, rub resistance, and visual consistency across the run. A screen proof tells you almost nothing about how the ink will behave on the actual film. If the bag is going to travel through a distribution network, a transit test based on a recognized packaging method such as ISTA is more useful than approval by eye alone.
Key Factors That Affect Color, Durability, and Fit
Material choice is the first quality driver. A 2.5 mil polyethylene bag with a simple one-color mark is much easier to control than a thin, glossy film carrying gradients, small type, and a full-bleed background. Bag gauge matters because thin film moves more during printing and more during use. The more the design depends on large solids or precise edges, the more the substrate behavior shows through.
Solid fills are good at exposing flaws. Banding, streaking, and uneven coverage show up fast in dark areas. Fine type has a different problem: it can look sharp on screen and still soften on film if the artwork is too small or placed too close to a fold. A useful rule is to treat the filled bag as the real design surface. The flat dieline is only a reference.
Durability is not just about scuffing. Moisture, heat, sunlight, packing friction, and repeated handling all affect the print. A bag that only needs to survive a handoff at a counter has a different spec from one that will move through shipping, palletizing, and returns. That is why rub resistance and ink anchorage matter. If a supplier cannot explain the difference between a display bag and a shipping bag, the quote may be based on press time rather than actual use.
Layout fit is another source of surprises. Artwork can be centered on the template and still look off once the bag is filled. Handles stretch. Gussets open. Bottom seals shift the visual center. For that reason, real-size approval is safer than approval by general proportion. A physical sample is especially useful when the bag is structural rather than purely decorative.
Specifications help reduce ambiguity. For a plastic bag print job, the key numbers are usually film type, gauge, finished size, print area, color count, and the treatment level of the film. Corona treatment is often expressed in dyne levels, and if that number is missing, the buyer has less visibility into adhesion risk. That detail does not sound exciting, but it is the kind of detail that separates a clean run from a reprint.
Packaging claims also deserve discipline. If the project includes claims about recyclability, source reduction, or material selection, the EPA’s packaging guidance is a practical reference point: EPA recycling and source reduction guidance. If paper inserts or cartons are part of the pack, FSC chain-of-custody can matter there even when the bag itself is plastic.
Pricing, MOQ, and Unit Cost
Pricing usually breaks into five parts: artwork prep, setup, material grade, print coverage, and finishing. Some suppliers bundle everything into one unit price. Others itemize the components so the buyer can see where the money goes. The itemized version is usually more honest. A quote that looks cheap can become expensive once proofing, white ink, rework, and freight are added.
Digital printing on plastic bags often wins at lower quantities because there are no plate charges. That does not mean the unit cost is automatically low. Dense coverage, white underbase, metallic films, special finishes, and a narrow delivery window can all raise the number quickly. A simple logo on a standard clear bag may price favorably. A full-photo design on tinted film with multiple revision rounds is a different job entirely.
MOQ varies more by bag style than by print method alone. One construction may work at 500 or 1,000 pieces, while another needs several thousand because the material width, bag width, or finishing step changes the production math. A broad question like “What is your MOQ?” is too vague to be useful. Ask for MOQ by exact bag size, film type, and print coverage.
| Option | Best for | Typical setup | Indicative unit cost | Buyer note |
|---|---|---|---|---|
| Digital printing | Short runs, versioned artwork, quick launches | Minimal setup, no plates | $0.18-$0.45 per bag at 1,000-5,000 pieces | Good fit for changing designs and moderate coverage |
| Flexographic printing | Large repeat orders with stable artwork | Plate and press setup | $0.06-$0.18 per bag at higher volumes | Lower unit cost can outweigh setup only when quantities are strong |
| Offset printing | Paper cartons, inserts, or labels, not typical direct bag printing | Plate-based print stage | Varies by substrate and finishing | Useful as a comparison point, but usually not the first choice for plastic bags |
For a useful quote, send a complete spec sheet: bag dimensions, film type, thickness, print area, color count, quantity, delivery destination, and whether sample approval is required before production. If a vendor asks follow-up questions about ink coverage, end use, or handling environment, that is usually a good sign. It means the quote is being built around the actual job.
It also helps to compare at least two build paths. One version can be tuned for speed, one for lowest unit cost, and one for the best shelf appearance. That comparison often exposes the real tradeoff faster than a single number does. A low quote is not a win if the bag has to be reworked or the artwork has to be simplified before production.
Process, Lead Time, and Turnaround Expectations
A realistic timeline starts with quote review, then artwork correction, then proof approval, then production scheduling. After the press run, the bags may need curing, drying, inspection, packing, and freight booking. For a straightforward order, a common window is about 8 to 15 business days after proof approval. More complex jobs, special substrates, or supply issues can stretch that to 2 to 3 weeks or longer.
Late file changes cause more delays than anything else. The next common issue is a missing dieline or artwork built for the wrong bag size. Color corrections come third. A buyer may approve a mockup on screen and then ask for a darker black or a tighter red after seeing the first sample. That is understandable, but each revision pushes the job back into the queue.
Rush work is possible in some cases, but the premium is real. Faster turnaround can mean higher freight cost, reduced proofing time, or fewer substrate choices. Sometimes the speed premium is worth paying. Sometimes it is just a more expensive version of the same order. The practical question is whether the launch schedule can absorb a buffer. If it cannot, that buffer should be built into the order plan before the quote is released.
It helps to think of the schedule as a chain instead of a single date. Proof approval, print slot, finish, pack-out, dispatch, transit. One slip anywhere moves the rest. For launch programs or trade show materials, a few extra days of margin is usually cheaper than emergency freight or a replacement run.
For shipping-sensitive jobs, an ISTA-based transit check can separate a visually acceptable print from a package that survives distribution. That matters most when the bag is part of a kit, a bundled retail pack, or a multi-component shipment where a failure in one piece affects the whole order.
Common Mistakes That Trigger Reprints or Delays
The first mistake is low-resolution artwork. A logo that looks fine on a laptop can break down on flexible film, especially if the supplier has to enlarge it. The second is ignoring bleed and safe zones. The third is placing type too close to a fold, gusset, or seal. Flexible packaging moves in transit and in hand, so it needs more breathing room than a rigid carton.
Another frequent error is choosing the bag material before confirming ink compatibility. A proof may look acceptable, but production can still fail if the film treatment is weak or the substrate carries additives that interfere with adhesion. The instinct to pick the cheapest material often backfires here. Cheap film that prints poorly is not cheap.
Color expectations can also cause disputes. Screen previews use light, backlit color. Printed film reflects light. Those viewing conditions are different, and they never match perfectly in the hand. If color matters, ask for a physical proof or a target standard before production. A Pantone reference helps only if the supplier also explains the limits of the chosen ink system on that substrate.
Finally, buyers approve quotes without pinning down size, thickness, or finishing details. That usually leads to a second pricing round and a slower schedule. If the quote does not specify the exact bag width, film gauge, and finishing requirements, the job is not ready to release.
A cheap quote is only cheap if the bags arrive usable, readable, and on time. If the print lifts, the colors drift, or the artwork has to be revised after approval, the price advantage disappears quickly.
One practical safeguard is a preflight checklist before the order is released. It should confirm the dieline, substrate, color count, print area, proof type, and intended use. If the supplier cannot provide that level of detail, the buyer is probably buying a guess rather than a print run.
Expert Tips and Next Steps for a Cleaner Order
Start with a spec sheet that includes bag dimensions, material, thickness, quantity, print area, and the exact use case. A bag for counter handoff does not need the same durability profile as one that ships through a distribution center. That distinction is basic, but it prevents a lot of confusion later.
Ask for a proof on the real substrate whenever possible. A digital mockup is useful for layout. It is not a substitute for seeing how ink behaves on the final film. The closer the proof is to the actual bag, the fewer surprises appear at the end. That is especially true for white ink, dark films, and heavy ink coverage.
If you are comparing suppliers, ask how they handle CMYK builds, spot color matching, and finishing steps such as sealing, gusset alignment, and pack-out. Those details separate a vendor that can deliver retail packaging from one that only knows how to send a PDF with a price attached. The difference usually shows up in the first production issue, not the quote.
It also helps to price the job three ways: one version optimized for speed, one for lowest unit cost, and one for shelf appearance. The answer is rarely best in every category. More often, the buyer is choosing which risk to accept. For a small launch, speed may be the right tradeoff. For a long repeat order, flexographic printing may eventually beat digital economics. For paper components around the bag, offset printing can still be the right companion process.
For teams trying to understand how bags fit into a supplier’s production mix, the Manufacturing Capabilities page is useful for confirming whether the factory actually handles printing, converting, and finishing in-house. That matters because every outside handoff adds time and another chance for error.
The cleanest buying sequence is simple: define the use case, lock the substrate, review the proof, and only then release the order. That is the most reliable way to buy digital printing on plastic bags without paying for corrections later.
How does digital printing on plastic bags compare with flexographic printing?
Digital printing is usually better for short runs, versioned artwork, and fast approvals because it avoids plates. Flexographic printing tends to win on very large quantities when the design stays unchanged and unit cost matters most. The right choice depends on quantity, artwork complexity, and how often the design will change.
What file format works best for digital printing on plastic bags?
Vector files are best for logos, text, and line art because they stay sharp at scale. High-resolution raster files work for photos, but they should be prepared at the final print size. A proper dieline or layout file helps prevent bleed, cutoff text, and placement errors.
Can digital printing on plastic bags print white ink on clear bags?
Yes, many digital systems can print white ink, but the setup depends on the substrate and printer. White ink is often used as an underbase on clear or tinted bags to keep colors visible. Without a white layer, some colors can look transparent, muted, or inconsistent.
What is a realistic MOQ for digital printing on plastic bags?
MOQ varies by supplier, bag size, and finishing requirements rather than by print method alone. Digital printing can support lower quantities than plate-based methods, but setup and material constraints still apply. Ask for MOQ by exact bag style, not just by broad product category.
How long does digital printing on plastic bags usually take?
Turnaround depends on artwork approval, material availability, and the production queue, not just press time. Simple jobs can move quickly once files are approved, while complex colors or special substrates add time. Freight scheduling is often the hidden variable, so the safest assumption is that the full cycle includes proofing, production, and transit, not only the press run.