Digital Printing on Plastic Bags
If you are comparing packaging options, digital printing on plastic bags usually enters the conversation for one reason: it reduces friction. Fewer setup steps, fewer plate charges, fewer reasons for a small order to become expensive before the first bag is printed. That is why buyers use it for launches, seasonal promotions, test runs, and any program where the artwork may change before the next reorder.
The process is fast, but speed does not fix a weak spec. A rushed PDF, unclear dimensions, or a material that does not suit the ink system can erase most of the time advantage. The cleanest jobs tend to start with a simple discipline: match the bag structure, the artwork, and the order quantity before asking anyone to price it.
For many packaging buyers, the value is not just shorter lead time. It is the ability to buy only what the job needs, then revise the design later without carrying dead inventory.
That matters because bags are not just printed surfaces. They are handled, folded, packed, stacked, and shipped. A design that looks tidy on a screen can behave differently once it meets a glossy film, a seam, a zipper track, or a retail light fixture. The print method only works when the bag construction is part of the plan.
When Digital Printing on Plastic Bags Makes Sense
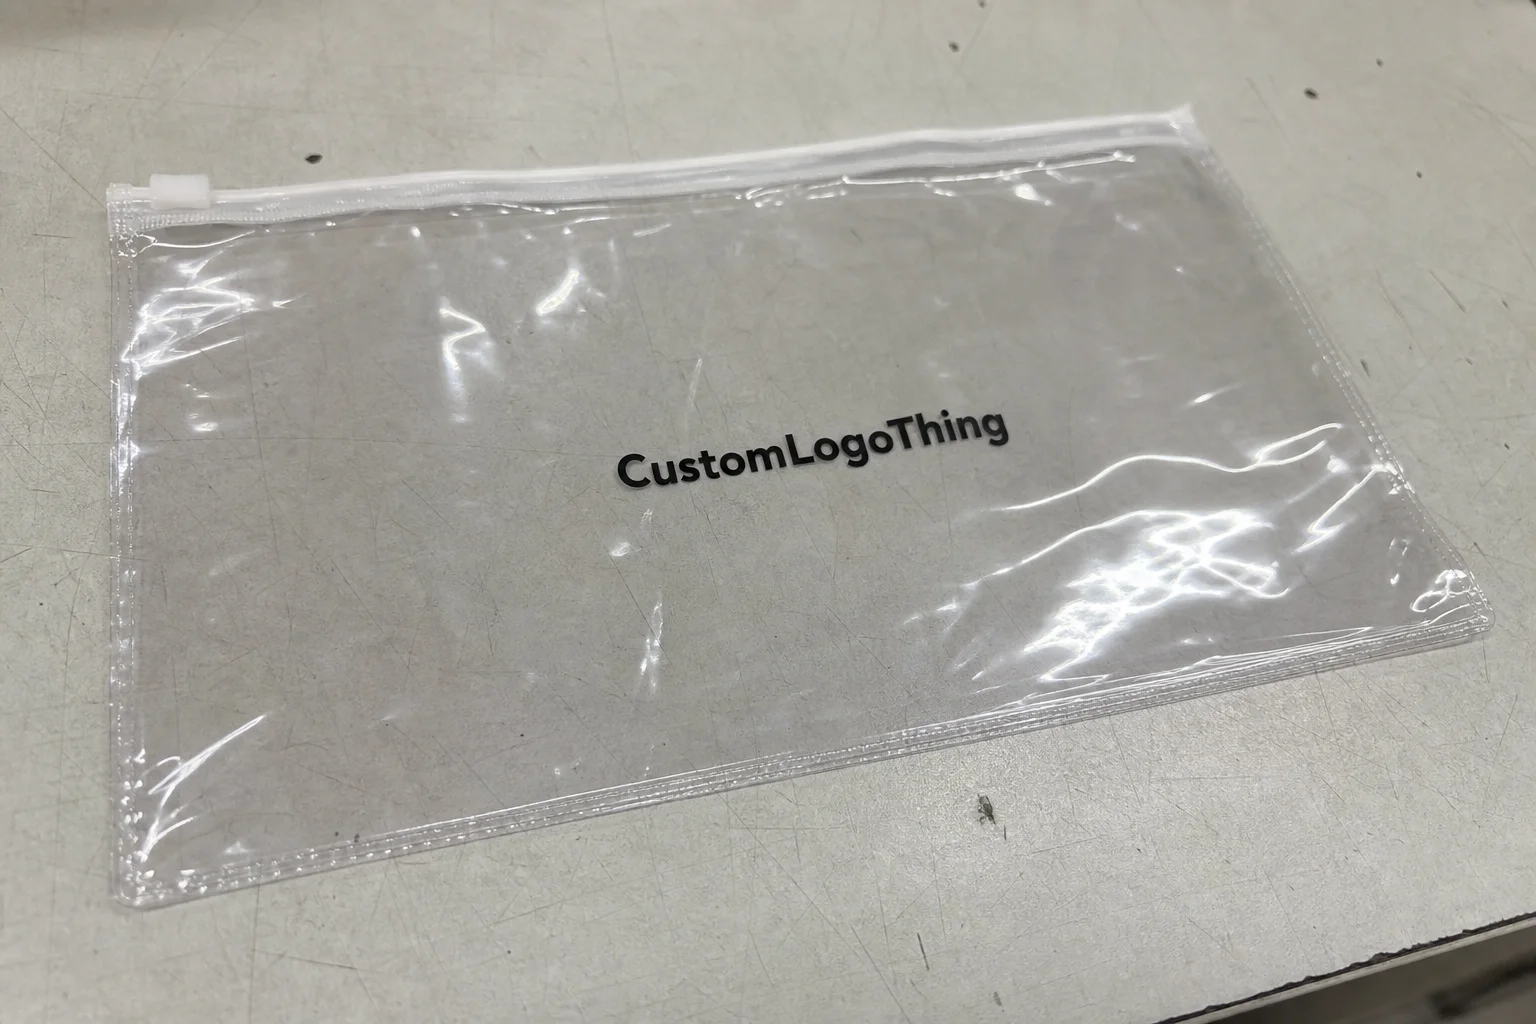
Digital printing on plastic bags is strongest when the order is short, the design is still flexible, or the quantity is too modest to justify a plate-heavy workflow. That covers a broad range of real jobs: trade show bags, product launch packaging, limited-edition retail runs, and short promotional cycles that do not repeat long enough to amortize setup costs comfortably.
It also makes sense when a buyer needs multiple versions. One artwork for store display, another for regional distribution, and a third for a holiday promotion can be handled as separate digital versions without locking into a large inventory of each. That flexibility has a financial side. The total order may cost more per unit than a long flexographic run, but the buyer avoids paying for leftover stock that never gets used.
The comparison changes when volume rises. Flexographic printing still has a place when artwork is stable and the run is large enough to justify tooling. Offset printing remains a better fit for paperboard and label stock. Digital is not a universal answer; it is the better answer for a specific mix of quantity, timing, and design volatility.
Buyers also tend to favor digital when they care about speed to proof. If the artwork needs a few revisions, or if marketing has not fully settled on a final version, digital keeps the order moving without forcing a large commitment up front. That said, the most successful jobs still share the same foundation: clean artwork, a known substrate, and a bag style that has already been thought through.
If the design depends on precise spot color matching, heavy coverage on a dark film, or a highly regulated packaging spec, the decision becomes more conditional. Digital can still work, but the tolerance band may be tighter than the buyer expects. A practical decision rule helps: use digital when speed and flexibility matter more than absolute lowest unit cost on a very large run.
How the Print Process Works on Plastic Film
The process starts before the press ever touches the bag. Prepress review is where most of the avoidable problems show up: low-resolution imagery, missing fonts, artwork built in the wrong color mode, or text sitting too close to seams and weld lines. If the bag needs white ink, a knock-out background, or transparency effects, those choices must be defined before proofing begins.
On a digital workflow, the image is laid directly onto the plastic film rather than transferred through a plate set. That direct route is part of the appeal, but the substrate still matters a great deal. LDPE, HDPE, and polypropylene each behave differently. A design that looks crisp on one film can soften or dull on another because of surface energy, gloss level, opacity, and how the ink bonds during curing.
Ink curing or drying is not a cosmetic detail. The print has to survive folding, counting, packaging, and shipping. If the finish is undercured, the bags can stick, scuff, or show surface damage before they even reach the customer. Good suppliers inspect registration, image clarity, and surface appearance before the order is packed out.
That process still delivers a real time advantage compared with plate-based methods, especially on smaller runs. But speed disappears quickly if the buyer sends an unprintable file or keeps changing the spec after the proof is prepared. The most expensive delays usually come from poor communication, not the machine itself.
General packaging guidance from packaging.org is useful for terminology and material context, and transit standards from ISTA are worth reviewing if the bags need to survive distribution rather than a single handoff. Print quality is only part of the result. The bag still has to arrive intact and ready to use.
Artwork, Material, and Finish Choices That Affect Results
The bag material is the first decision that shapes the outcome. LDPE is common for flexible retail and promotional bags because it folds easily and has a soft hand. HDPE is thinner and lighter, which suits high-volume carrier use. Polypropylene is stiffer and often clearer, so it can create a more polished retail presentation. Each film changes the way ink sits, how much contrast survives, and how the bag feels after printing.
Color is the next major variable. White and clear bags are simpler because contrast is easier to manage. Tinted, black, or highly glossy films add complexity, and sometimes they require a white ink base to keep the artwork readable. CMYK can reproduce a wide range of colors, but it does not eliminate the realities of substrate color and opacity. A brand blue that looks correct on a monitor may shift once it is printed onto a transparent or dark surface.
That is one of the places where buyers often overestimate what digital can do. It can hold fine detail very well. It can also produce attractive short-run packaging. It cannot turn every spot color into an exact match without tradeoffs. If the brand depends on a strict corporate color, ask for a proof against the actual bag material rather than relying on a screen mockup.
Layout deserves more attention than it gets. Handles, gussets, zipper tracks, bottom seals, and hang holes can all interrupt the artwork. A design that looks balanced in a flat file can become awkward once it is folded or filled. That is one reason packaging buyers should review print layout and bag construction together instead of treating them as separate decisions.
- Clear film: useful for visibility and bright contrast, but weak white ink coverage shows quickly.
- Dark film: can look premium, but it usually needs stronger contrast planning and often a white base.
- Gloss finish: deepens color, though store lighting can create glare and reduce readability.
- Matte or satin finish: usually reads more restrained and can help type stay legible.
For a first order, finish should be treated as part of the design brief. A matte bag with a clean logo often communicates more intent than a glossy bag with crowded artwork. That is especially true when the bag is handled directly by the customer and viewed under mixed lighting.
Cost and Pricing: What Moves the Unit Price
The unit price for digital printing on plastic bags depends on more than the ink coverage. Quantity matters, but so do bag size, film thickness, print coverage, number of sides, white ink usage, finishing requirements, and packing format. A simple one-color logo on a standard clear bag is a very different job from a full-color design on a dark film with multiple print zones.
Minimum order structure matters too. Digital reduces setup expense, but it does not erase machine time, material handling, or labor. The result is a quote that can look higher on a per-unit basis than a large flexographic run, while still being cheaper in total cash outlay and far safer from an inventory standpoint.
These ranges are illustrative only. The real number moves with coverage, substrate, and finishing detail.
| Order profile | Typical quantity | Common unit price range | Best fit |
|---|---|---|---|
| Short-run promo bag | 500-2,000 | $0.45-$1.10 | Events, launch samples, seasonal campaigns |
| Retail run with simple artwork | 2,500-7,500 | $0.18-$0.45 | Brand packaging, small recurring orders, limited color coverage |
| Multi-version digital program | 1,000-5,000 per version | $0.22-$0.60 | Several SKUs, regional versions, or variable artwork |
A quote request should include the bag dimensions, material preference, thickness, print area, artwork file, finish, quantity, packing format, and the actual ship date. Leaving out those details forces the supplier to guess. Guesswork usually becomes a change order later.
It also helps to separate unit cost from total order cost. A slightly higher per-bag price can still be the better commercial decision if it prevents excess inventory, rush freight, or a reprint. That is especially true for promotional packaging that will not repeat in the same form.
Comparing digital against flexographic printing only makes sense when the specs match. If one quote includes white ink, a heavier film, or additional finishing, it is not the same job. Line-item alignment prevents false comparisons and makes the commercial tradeoff much clearer.
Production Steps and Lead Time: From Proof to Shipment
The order flow is usually straightforward: Request a Quote, submit artwork, review a digital proof, approve the final file, run production, inspect the bags, and ship. The step that causes most delays is proof approval. If the buyer keeps asking for artwork changes after the proof is issued, the clock resets. That is normal, but it should be planned for rather than treated as a surprise.
Material availability can also shape the schedule. If the bag film needs to be sourced in a specific thickness, finish, or color, the lead time depends on stock. Finishing requirements add more time as well, especially when the order needs special counting, carton labels, pallet notes, or freight booking tied to a store opening or distribution deadline.
Production-ready artwork shortens the schedule more than almost anything else. Files should arrive with fonts embedded or outlined, images placed at final size, and important text positioned away from seams or weld lines. If the design includes a barcode, QR code, or compliance text, that content needs to be checked early so it does not land in a hard-to-read location.
First orders usually take longer than reorders. That is expected. The supplier may need to confirm the substrate, color expectations, and print placement before running the job. Reorders move faster because the approved spec already exists and the prior sample gives everyone a reliable reference.
A quick proof approval saves more than time. It protects the job from small errors that are cheap to make and expensive to fix once the bags are packed.
If the bags are shipping into retail or a distribution center, ask about outer labeling, pallet configuration, and freight timing before the run starts. The print can be perfect and the order can still miss its window if the logistics plan is vague.
Quality Checks That Prevent Expensive Rework
Good print quality starts with prepress, but it ends with inspection. A supplier should be checking more than whether the image appears on the bag. Registration, color consistency, surface adhesion, trim quality, seam placement, and pack count all matter. A bag can look acceptable on a bench and still fail once it is folded, stacked, or handled in volume.
Buyer-side checks matter too. Before approving a run, review the proof at actual size, not just at screen scale. Pay attention to barcode placement, text height, contrast on transparent or dark film, and the position of logos relative to handles or seals. A design that is slightly too high or too low can be fine on a mockup and troublesome in production.
For regulated, warehouse-facing, or shipping-heavy jobs, consider transit and stacking conditions before the order is released. Bags may not need formal lab testing for every program, but they do need enough durability to hold up through distribution. The weakest point is often not the printed image. It is the mismatch between intended use and the chosen structure.
There is also a practical quality control lesson on color. If color consistency matters from batch to batch, save the approved proof, the bag spec, and a physical sample together. A digital file alone is not enough. The same artwork can look different when the film, finish, or ink base changes slightly.
That kind of discipline does not slow the order down. It reduces noise. Buyers who keep clean records spend less time arguing over what was approved and more time reordering the same thing correctly.
Common Mistakes That Lead to Poor Color or Slow Orders
The most common mistake is sending a file that was never prepared for print. Low-resolution images, RGB artwork, missing fonts, and poorly built vector files can all create delay. Some of these problems can be repaired, but file cleanup steals time from production. If the goal is a fast order, the artwork needs to arrive ready for press.
Another frequent error is ignoring the substrate. A design built for white film will not automatically work on clear, tinted, or dark plastic. If the art assumes a bright background and the bag surface is darker or more transparent than expected, the colors can flatten or disappear. A proof on the actual material is far more useful than a generic digital render.
Quote comparisons can also mislead. One supplier may include white ink, a heavier film, or more labor in the finishing step. Another may not. The lowest price is not always the best value if the line items do not describe the same product.
Rushed approvals create a different kind of cost. Buyers sometimes approve art without checking seams, zipper tracks, barcode placement, or bag dimensions. The print can be technically correct and still fail the job if the artwork interferes with the way the bag is used. That risk rises when the order is tied to retail shelves, fulfillment nodes, or a launch date that cannot move.
Another avoidable issue is underestimating how much surface finish changes perception. A gloss film can make color feel deeper but also increases glare. Matte can improve readability yet soften the visual impact of some designs. Those are not abstract distinctions. They alter how customers see the bag in the field.
Expert Tips for a Cleaner First Order
If this is the first run, start with the smallest quantity that still gives you a meaningful read on color, feel, and customer response. That approach is cheaper than guessing on a large order and discovering later that the finish, contrast, or film weight is wrong for the brand.
Keep one master spec sheet for every approved order. Record the bag size, material, thickness, finish, artwork version, proof reference, and any reorder notes. A clean record speeds future orders and makes color drift easier to spot. It also reduces the chance that two teams reorder slightly different versions of the same bag.
For brand-critical work, ask for a physical sample or a press proof. Screen previews are useful, but they do not show how the ink will behave on the exact film you selected. If the bag will sit on a retail shelf, hang at a trade booth, or ship as part of a premium pack, that extra check usually pays for itself.
A practical first-order checklist keeps the work moving:
- Prepare the artwork in a print-ready format.
- Confirm dimensions, material, thickness, and finish.
- Set the quantity and the real delivery date.
- Compare quotes only after the specs match.
- Review the proof at actual size and check all critical elements.
- Save the approved record for the next reorder.
If the order may repeat, document the exact version that worked. The best packaging programs do not rely on memory. They rely on a clean baseline that can be reproduced without rebuilding the job from scratch.
Digital printing on plastic bags is rarely the cheapest route at very high volume, but it is often the cleanest route for short runs, variable artwork, and projects that need to move quickly without locking in too much inventory. That combination is hard to ignore once you have seen how many packaging jobs change after the first proof.
FAQ
What file type works best for digital printing on plastic bags?
A vector PDF, AI, or EPS file is usually the safest choice because it keeps logos and text sharp at any size. If the artwork includes photos or detailed graphics, they should be placed at final size and high resolution so the print does not look soft. Fonts should be outlined or embedded, and any brand color target should be stated clearly during proofing.
Can digital printing on plastic bags handle small quantities?
Yes. That is one of its main advantages, since the setup burden is usually lower than plate-based methods. Small runs work well for launches, events, limited promotions, and test packaging before a larger order is approved. The unit price will still move with quantity, so it helps to quote the exact count you need.
How long does digital printing on plastic bags usually take?
The timeline depends on proof approval, material availability, finishing requirements, and shipping distance. Orders move faster when the artwork is production-ready and the buyer answers proof questions quickly. First orders generally take longer than reorders because the supplier may need extra review before printing starts.
Which bag materials print best with digital methods?
The right material depends on the ink system and the look you want. Clear and white films are usually simpler to manage, while dark or highly glossy films may need white ink or a different design approach. LDPE, HDPE, and polypropylene all behave a little differently, so it is worth confirming compatibility before production.
How do I keep colors consistent on reorders?
Save the approved artwork file, print notes, and bag spec together so the next order starts from the same baseline. If color accuracy matters, ask the supplier to reference the same material, finish, and proof conditions on every reorder. Keep a physical sample from the approved run so there is a real-world reference for comparison.