For apparel buyers, Heat Transfer Neck Labels B2B sourcing usually starts with a practical problem: how do you keep the inside of the garment clean and comfortable without adding a sewn-in tag that ends up being cut out or ignored? A good neck transfer gives the garment a smoother interior finish, carries the required branding and legal information, and avoids the bulky feel that can irritate customers in all the wrong places.
That matters in basics, athleisure, kidswear, and premium tees, where the inside finish is part of the product experience. If the label feels scratchy or looks sloppy, the garment reads cheaper than it should. Customers may not know why they dislike it. They just do.
Used well, Heat Transfer Neck Labels can help a program look polished without adding much thickness at the neckline. Used badly, they crack, lift, or look like a last-minute fix. The difference is usually not mysterious. It comes down to substrate choice, print method, application settings, and whether the buyer actually tested the label on the final fabric instead of hoping for the best.
Why heat transfer neck labels can simplify apparel branding
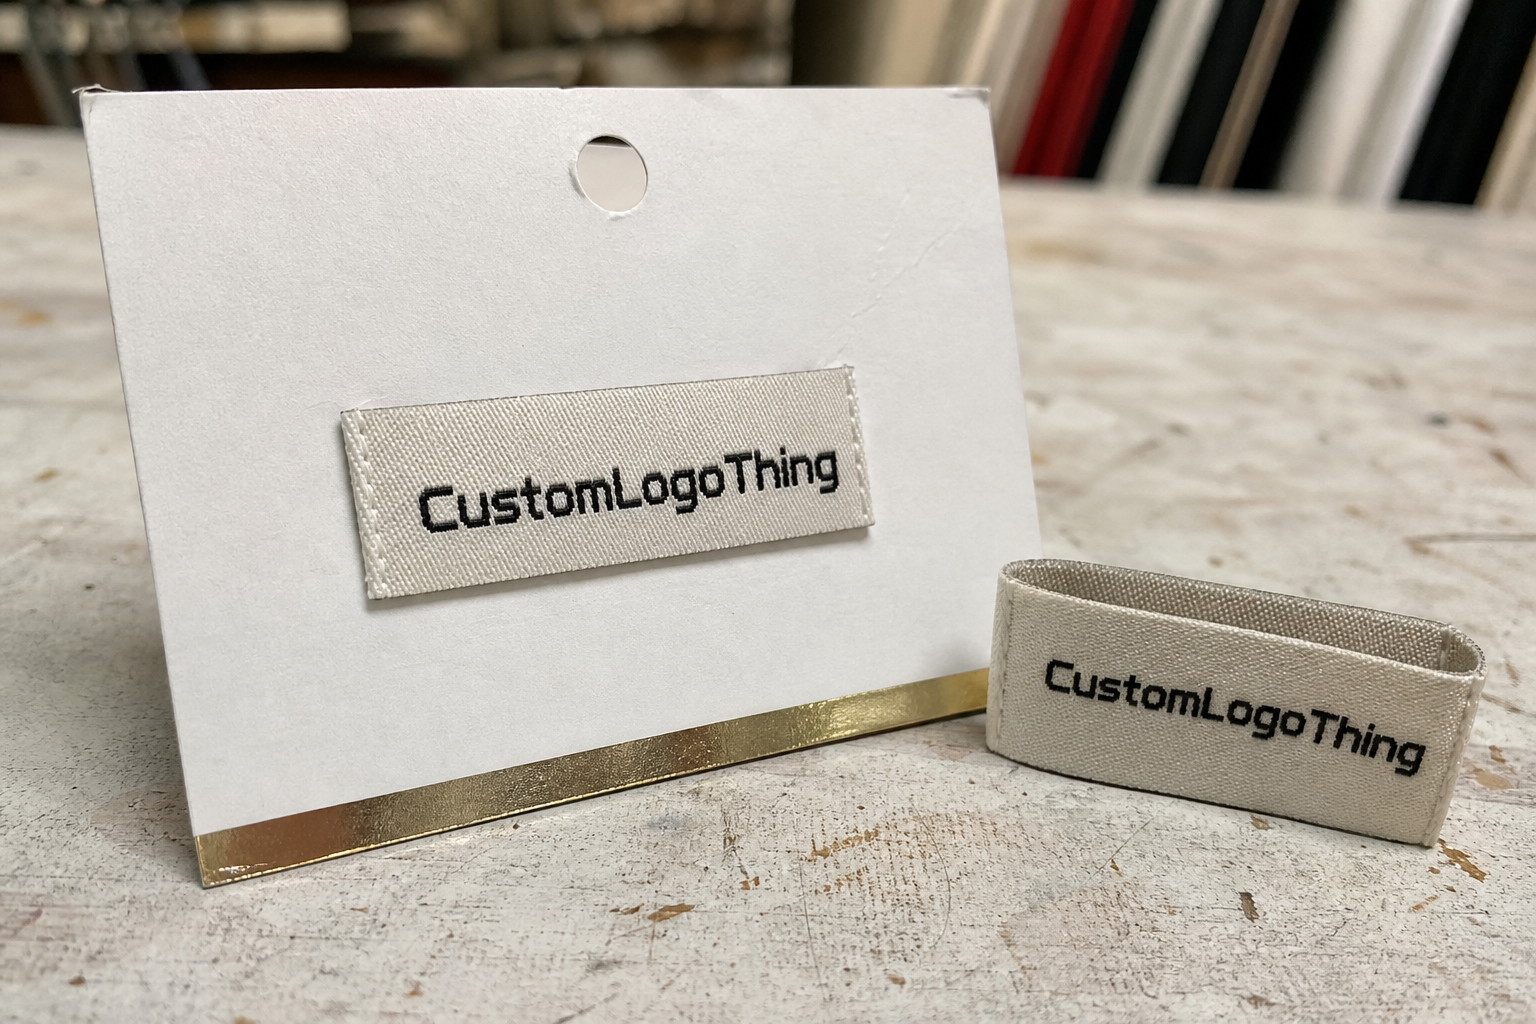
Sewn-in labels still have their place, especially when a brand wants a traditional interior tag or has production lines built around woven labeling. But they add a folded edge, stitching, and a physical seam at the neck. For garments meant to feel soft and modern, that extra structure works against comfort.
Heat Transfer Neck Labels sit flat on the fabric and avoid the extra bulk. That makes them a practical choice for lightweight tees, performance tops, babywear, and fitted garments where the neckline already does enough work on its own. The inside of the garment feels cleaner, and the visual finish tends to look more retail-ready straight out of the polybag.
They also help consolidate branding. A single transfer can carry the brand mark, size, care content, fiber content, and country of origin, provided the layout is designed sensibly. Trying to cram too much information into a tiny area is how buyers end up with unreadable legal copy and avoidable compliance complaints. Small space does not forgive bad typography.
There is one more reason brands keep moving toward this option: fewer comfort complaints usually means fewer returns or customer service issues tied to “itchy tag” problems. That sounds minor until you multiply it across a season. Comfort sells. So does not annoying people.
“The best neck label is the one the customer stops noticing after the first wear. It should stay legible, stay attached, and stay out of the way.”
How the heat transfer application process works
A heat transfer neck label is usually built from a carrier film or release liner, the printed image or text, and an adhesive layer that bonds to the fabric under heat and pressure. The design is transferred onto the garment surface, and the carrier is removed once the adhesion has set correctly.
The process is simple on paper. Production is where the details start biting. Cotton, polyester, blends, brushed fleece, and stretch knits all react differently because surface texture, moisture content, coating, and recovery all affect how the adhesive performs. A smooth combed cotton tee behaves differently from a slick polyester performance shirt. A decent supplier will ask what the garment is made from before pretending to know the answer.
Most application specs revolve around three variables: heat, pressure, and dwell time. A common starting range might fall around 300°F to 320°F with medium pressure and 10 to 15 seconds, but the real setting depends on the transfer chemistry and the fabric. Peel method matters too. Some transfers are hot peel, some warm peel, and some cold peel. Use the wrong one and the result can be edge lift, incomplete release, or a dull finish that looks tired before the garment even ships.
Neck placement also needs tighter control than a lot of buyers expect. A chest graphic can survive a little drift. A neck label cannot. A few millimeters off-center may be enough to make the product look careless, especially on smaller sizes where the print area is already tight. Once the design is crowding the neckline, any registration issue becomes obvious.
For sourcing teams, the real question is not whether a transfer can be printed. It is whether the supplier understands how to match the construction to the garment and can explain the application in a way that works on an actual production floor. Good instructions matter because operators are not reading poetry. They are trying to hit the same result dozens or hundreds of times.
Key factors that affect quality, feel, and durability
Quality in neck transfers usually comes down to three things: hand feel, appearance, and wash performance. The best results feel soft against skin, sit flat on the fabric, and stay readable after laundering. If the edges feel sharp, the print cracks, or the adhesive ghosts through a light garment, the label becomes a problem instead of a finishing detail.
Opacity is one of the first things buyers underestimate. Dark artwork on pale fabric is usually easier to handle than light artwork on dark fabric, but every print process has limits. Fine text is another weak point. At neck-label size, tiny type for fiber content or care instructions can blur, fill in, or break apart. A cleaner layout often performs better than a packed one with too much legal copy squeezed into too little space.
Color matching needs a dose of realism as well. Pantone references help, but exact duplication depends on the print method, substrate, and adhesive stack. A screen-printed plastisol-style transfer will not behave exactly like a digital transfer or a silicone-based system. If color consistency matters across multiple garment runs, ask for a proof on the actual fabric. Paper proofs are useful for layout. They are not a substitute for production reality.
Durability should be judged beyond the first wash. Buyers often ask for repeated laundering, stretch recovery, and abrasion resistance because the neck area moves constantly. A transfer that survives one cycle but starts lifting at the corners after a few washes is not good enough for retail channels. Some buyers reference ASTM-style testing or internal wash protocols, but the core requirement is simple: it has to stay attached, stay readable, and stay comfortable.
- Hand feel: thinner ink build and soft edges usually improve comfort.
- Wash resistance: repeated laundering should not cause cracking, fading, or edge lift.
- Stretch recovery: especially important for activewear and fitted knits.
- Legibility: small text must remain readable after application and washing.
- Opacity: critical on dark garments and textured fabrics.
If your sourcing program includes sustainability requirements, ask direct questions about the substrate, liner, packaging, and any certification claims. Paper-based inserts or cartons may also involve broader packaging standards, so some teams review resources from organizations such as EPA recycling resources or paper-chain references from FSC. That does not change the label itself, but it can matter for the overall program.
Heat transfer neck labels B2B sourcing: pricing, MOQ, and quote drivers
Pricing for Heat Transfer Neck Labels B2B sourcing depends on a lot more than label size. Artwork complexity, number of colors, substrate compatibility, print method, and order volume all shape the quote. Add metallic effects, specialty finishes, or unusually small text, and the pricing changes again. A one-color brand mark with a short size callout is a different job from a multi-line label with brand, size, care, fiber, and origin details packed into a tight area.
MOQ, or minimum order quantity, is where many buyers get an accurate quote for the wrong reason. Lower quantities carry more setup cost per piece because proofing, material prep, and production adjustment are spread across fewer units. Larger runs usually bring the unit price down, but they also lock up more inventory and cash. For most programs, the answer is somewhere between launch volume and replenishment logic. Order enough to support the first sell-through, then adjust once the design proves itself in the market.
Application method changes cost too. Some suppliers ship the transfer as a finished component for in-house application. Others include factory application during garment production. In-house application requires heat presses, trained operators, and a real QC process. Factory application adds labor, handling, and inspection to the quote. Those are not interchangeable cost structures, so the buyer should know exactly which model is being quoted.
Sampling and testing can also affect the total. A lower sticker price is not automatically a better deal if it excludes strike-offs, revision rounds, or replacement for defects. Shipping terms matter as well. Ex-works, FOB, and delivered pricing can land in very different places once freight, duties, and handling are included.
| Quote Item | What to Confirm | Typical Buyer Impact |
|---|---|---|
| Unit price | Size, colors, print method, and volume | Direct impact on landed cost |
| Setup fee | Artwork prep, screens, plates, or digital setup | Most visible on small runs |
| Sampling | Strike-off or test sample included or billed separately | Reduces risk before production |
| Testing | Wash, adhesion, stretch, or abrasion checks | Supports quality control |
| Shipping terms | Ex-works, FOB, or delivered | Affects landed cost and timing |
If a buyer is sourcing branding across a wider apparel program, it can help to align neck transfers with Custom Labels & Tags so the interior branding, hangtags, and size identification all speak the same visual language. Programs that reorder regularly may also fit better under Wholesale Programs, especially when replenishment timing matters more than one-off procurement.
Production steps and lead time from artwork to delivery
The process usually begins with artwork review and spec confirmation. This is where the supplier should verify dimensions, placement, font size, line thickness, and whether the layout actually fits the intended print area. A neck label does not have room for lazy planning. Once the structure is approved, the supplier moves to digital proofing and, if needed, a strike-off or sample.
After approval, production moves into printing, curing, inspection, and packing. A simple repeat order may move fairly quickly, while a new design with multiple revisions takes longer because each change interrupts the line. For many straightforward programs, lead time often falls around 12 to 15 business days after proof approval, though material availability, queue load, and shipping method can push that window in either direction.
Most delays come from preventable issues. The buyer changes the size after proof approval. Legal text is still being checked. The font looked fine on screen but prints too small in real life. The color was “close enough” until the sample landed on the actual garment. None of that is unusual, but every one of those changes costs time.
Rush production is possible, but it narrows the field. Suppliers may need to use stock material, limit revisions, or charge more for expedited work. That can be worth it for a fixed launch date, but it should not be the default plan. The cleanest schedule is still the one that starts with complete specs.
- Artwork review: confirm size, copy, placement, and legibility.
- Digital proof: verify layout and text accuracy.
- Sample or strike-off: check appearance, adhesion, and feel.
- Production: print, cure, inspect, and pack.
- Shipping: choose air or ocean based on cost and urgency.
For programs tied to broader retail compliance, many buyers also track packaging and handling standards alongside garment testing. References from groups like ISTA can be useful for shipment protection, while wash and wear protocols should be built around the actual garment and end use. The label should survive the same environment the product does.
Common sourcing mistakes that create rework or returns
The first mistake is underestimating stretch. A transfer can look excellent on a flat swatch and still fail once the garment is worn, especially on a neckline that gets pulled and twisted constantly. If the adhesive or print system is not designed for stretch recovery, the edges may crack, shift, or lift over time.
The second mistake is approving artwork too quickly. At neck-label scale, small text gets blurry fast. Buyers sometimes approve on a monitor and only discover the problem when the sample is printed at actual size. That is usually the moment the legal copy becomes too crowded, the brand name feels cramped, or the garment size disappears into the design.
Vague specifications create another headache. If the buyer does not define placement, print dimensions, peel method, and wash-performance expectations, the supplier has too much room to interpret the job. Good sourcing needs numbers. Width. Height. Center point. Approved color reference. Expected wash cycles. The usual glamorous details.
Skipping fabric-specific testing is probably the most expensive mistake of all. A transfer that behaves well on cotton may behave differently on polyester jersey, brushed fleece, or a blended knit with a slick finish. Final-fabric testing is not extra credit. It is the part that keeps avoidable rework from eating margin later.
Expert checks before you place the order
Before approving production, request a physical sample or strike-off and test it on the final garment fabric. Check wash performance, stretch recovery, abrasion, and edge lift after several cycles. One quick wash test tells you a little. Repeated wear and wash tell you what matters.
Confirm the application instructions in writing. The supplier should specify temperature range, pressure, dwell time, and peel type, along with whether the transfer is intended for finished garments, cut panels, or both. If the instruction sheet is vague, the production line will create its own interpretation. That rarely ends well.
A simple supplier scorecard helps too. Track response time, proof accuracy, defect handling, and repeat-order consistency. Fast replies are nice. Correct replies matter more. A supplier that gets the spec wrong on the first round can create more work than a slower one that actually reads the brief.
Safety stock is worth considering for repeat styles. A small reserve of finished transfers or blank inventory can protect a core product from delays when replenishment timing gets tight. For a steady seller, that buffer is often cheaper than a missed shipment date.
- Request a physical sample before scaling up.
- Test on the final garment fabric, not a substitute.
- Confirm peel method and press settings in writing.
- Check wash durability and edge softness after several cycles.
- Keep a small buffer for core styles.
Next steps for a smarter sourcing decision
The cleanest sourcing decision is also the least dramatic one. Finalize the artwork, define the garment substrate, request a sample, compare quotes line by line, and confirm the timeline before releasing the order. That sequence is not flashy, but it prevents most of the problems that show up later as delays, complaints, or unplanned freight charges.
Put the requirements on one page. Include label size, placement, fabric type, wash expectations, color targets, packaging format, and whether the neck label must include legal content or only branding. If the supplier has to guess, you are asking for rework. If the supplier gets a complete spec sheet, you get a quote that means something and a better chance of repeatable output.
Ask for a production proof and written application guidance before sign-off. That matters even more if the line includes different substrates, such as cotton tees, polyester performance garments, or stretch blends. A little front-end discipline usually saves a lot of cleanup later.
For heat transfer neck labels B2B sourcing, the actual trade-off is pretty straightforward: comfort, durability, and repeatability versus price alone. Get the spec right, test the sample on the final fabric, and compare suppliers on more than the headline number. The label should disappear into the garment experience, not become the reason someone files a complaint.
Frequently asked questions
What should I ask a supplier about heat transfer neck labels B2B sourcing?
Ask about fabric compatibility, wash durability, MOQ, sample policy, and whether application instructions are included. Also confirm proofing steps, lead time, and exactly what is included in the quoted price so you can compare offers fairly.
Are heat transfer neck labels better than sewn-in labels for comfort?
They are usually smoother and less irritating because they remove the folded fabric edge and stitching in the neck area. They work especially well for lightweight apparel, activewear, and kidswear where comfort is a priority.
How do I compare pricing on custom heat transfer neck labels?
Compare unit cost, setup fees, sampling fees, MOQ, and shipping terms, not just the headline price. Also check whether testing, packaging, and revision rounds are included, because those can change the true landed cost.
What affects the lead time for heat transfer neck labels?
Artwork approval, sample approval, production queue, inspection, and shipping all affect turnaround. Late changes to size, color, or placement can add days or weeks, especially if the order is already in the production window.
Can heat transfer neck labels work on stretchy fabrics?
Yes, but the adhesive and transfer construction must be chosen for stretch recovery and wash durability. Testing on the final garment fabric is essential before full production, especially for activewear and fitted knits.