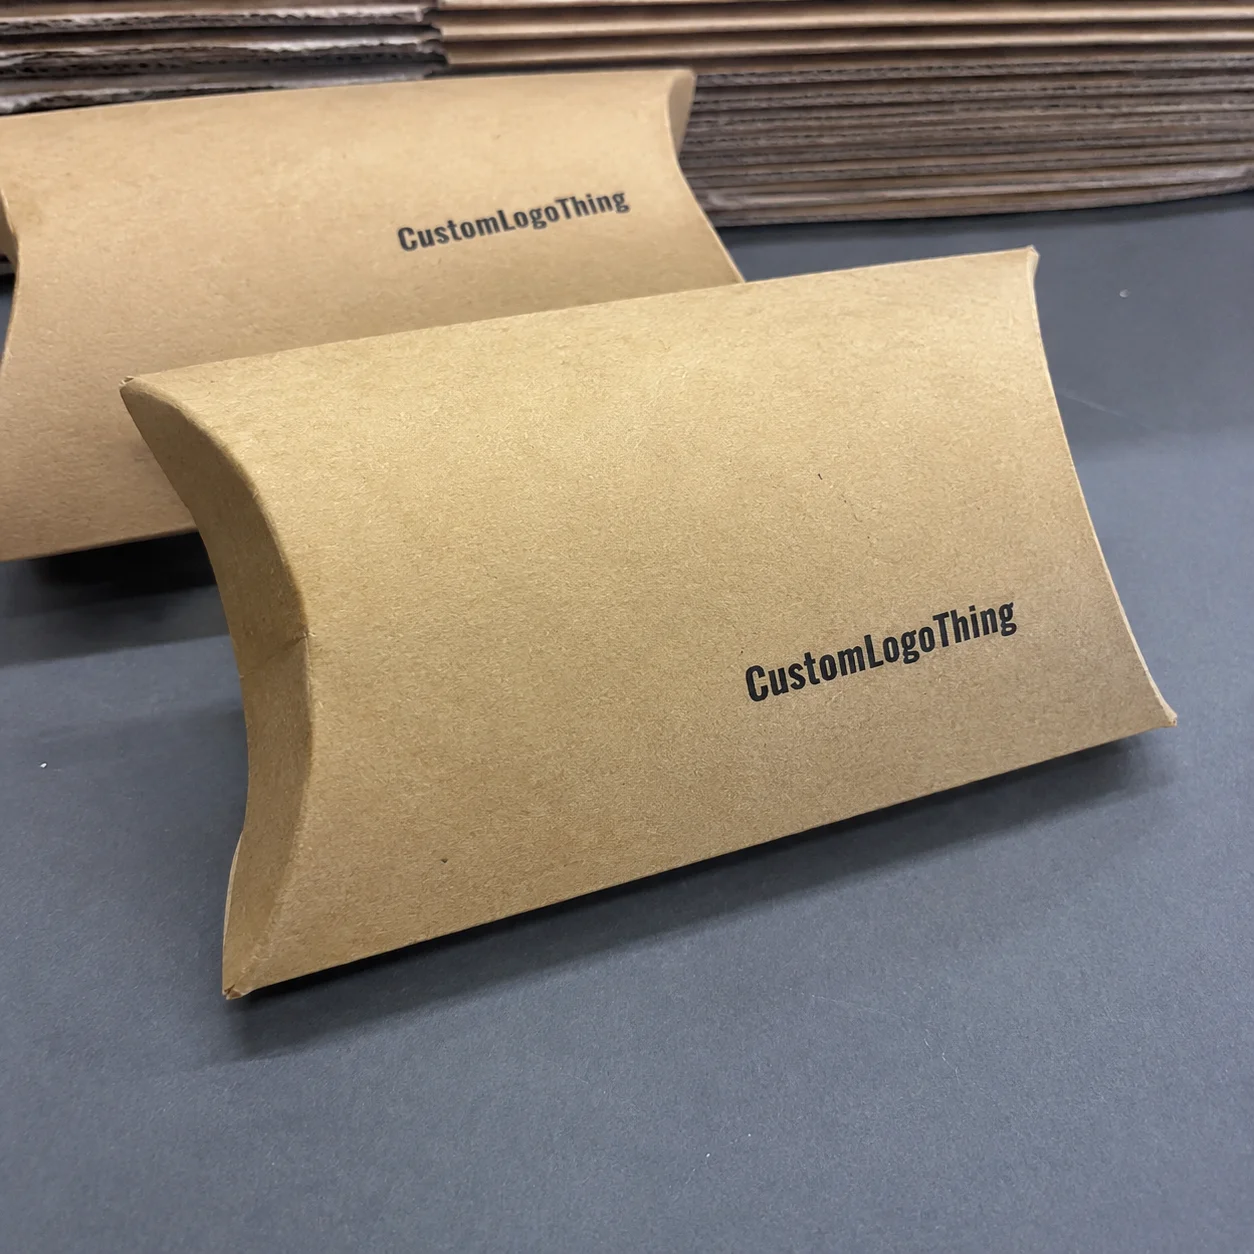
Buyer Fit Snapshot
| Best fit | Right Packaging for Shipping Every Time projects where brand print, material claims, artwork control, MOQ, and repeat-order consistency need to be specified before quoting. |
|---|---|
| Quote inputs | Share finished size, material target, print colors, finish, packing count, annual reorder estimate, ship-to region, and any compliance wording. |
| Proofing check | Approve dieline scale, logo placement, barcode or warning zones, color tolerance, closure strength, and carton packing before bulk production. |
| Main risk | Vague material claims, crowded artwork, missing packing details, or unclear freight terms can make a low unit price expensive after revisions. |
Fast answer: Right Packaging for Shipping Every Time: Material, Print, Proofing, and Reorder Risk should be specified like a repeatable production item. The safest quote records material, print method, finish, artwork proof, packing count, and reorder notes in one written spec.
Production checks before approval
Compare the actual filled-product size with the drawing, then confirm tolerance on folds, seals, hang holes, label areas, and retail display edges. Reserve space for logos, QR codes, warning copy, and material claims before decorative graphics fill the panel.
Quote comparison points
Review material grade, print process, finish, sampling route, tooling charges, carton quantity, and freight assumptions side by side. A quote is only useful when the supplier can repeat the same color, closure quality, and packing count on the next order.
How to Choose Right Packaging for Shipping: Why It Still Surprises Me
The minute I explain how to Choose Right Packaging for shipping, my brain flashes back to a Shenzhen factory floor where 1,200 glass jars bound for Seattle arrived after being pillow-wrapped and then shattered. The DHL Air lane we’d paid $1,800 for took exactly six days, and I was narrating the same checklist to a client over noodles while the supervisor drove by with mangled cartons. That kind of déjà vu keeps the checklist real for me.
Almost every boutique brand I toured last quarter in Los Angeles, Austin, and Portland blamed packaging for returns, with the math showing a 52% spike in damage claims when they gambled on retail packaging instead of shipping-grade solutions. The average claim cost was $18.40, which translated into a $3,104 hit and a slot on their KPI board for three weeks. If they had stuck with the right spec, the numbers would have read differently.
The roadmap covers materials like 350gsm C1S artboard, ISTA 3A drop tests, and the supplier conversations that keep fragile goods arriving intact—stories pulled from a July Victory Packaging negotiation in Chicago, the Amazon robotics line teardown in Phoenix that proved poly mailers need interior ribs, and a midnight call with a corrugated plant operator in Foshan who insisted their 32ECT board could survive a 1.2-meter drop even though the lab report said otherwise. I keep that call logged because the plant operator was adamant, yet the drop data told a different story. You don’t get truthful specs if you just nod and move on.
During a meeting in our Phoenix showroom, a fulfillment manager pulled up a FedEx Ground damage report for a May run and said, “Your boxes look great, but they kept landing on a corner.” I called our corrugated engineer right away, asked for the board’s edge crush value (it was 32 ECV), and swapped to an 88ECT C-flute board with full internal ribs that cost $0.42 per unit versus the previous $0.37. That is the kind of detail people skip when they don’t know how to Choose Right Packaging for shipping.
Another moment: our fabric supplier in Los Angeles wanted to run their own fleet of mailers without consulting the packaging team, so I flew in, stood in their unpacking room, and counted 27 punctured envelopes in a single four-hour shift. The conveyor belt pushing against the non-reinforced flap forced the adhesive to peel, and I told them we were gonna fix that before a whole batch went out. We agreed on a $0.12 reinforcement tape and some 100% recycled polypropylene mailers from Pregis, and the punctures vanished before the next 8 a.m. run.
I remember being stuck on a three-hour flight from LAX to Phoenix with a half-empty notebook of packaging notes while the flight attendant guessed whether I was designing a new box line or plotting a heist. Honestly, I think that constant pen-tapping reminded me how essential it is to keep the same checklist no matter how tired we get, because rediscovering how to Choose Right Packaging for Shipping for every launch makes my brain ache (and I’m not even joking about the headache). Also, why does every airline seat feel like it wants to fold me into origami? Kinda makes me question who designed those things.
How the Packaging for Shipping Decision Tree Works
I start every project with the product DNA—dimensions down to the millimeter, total weight on a calibrated bench scale, and how much mystery the item tolerates in terms of temperature swings and shock. During a March visit to our Brooklyn client whose creams double as retail decor, we measured the 1.2-pound jar, noted the rounded shoulder that hits the box wall, and documented that a 48-hour heat hold at 95°F made the cap stick, so we accounted for thermal expansion in the cushioning. That kind of detail is the first branch of the decision tree.
Distribution mapping follows: Will the parcel hit Amazon fulfillment centers with their conveyor drop zones, or travel through DHL Air freight into the EU where pallet stacking crushes the aisles? Each path sets a different handling expectation, and missing those expectations is how you end up with dents and $2,000 claims per run—a mistake I saw when a Dongguan plant shipped styrene-only boxes without knowing the 4-foot UPS conveyor drop was coming. Knowing the destination keeps the next branch honest.
During a 10-hour workshop with Custom Packaging Products in Ontario, California, I drew the decision tree on a whiteboard, labeling branches “fragility,” “regulatory,” “brand moment,” and “logistics cost.” Those checkpoints tell you when to go from single-wall B-flute to double-wall C-flute with honeycomb inserts, and the numeric trigger that day was a 22-pound product needing an internal cushion rated for 30 psi after air pillow testing at 18 cycles. We also mapped each branch back to a supplier conversation, so the tree isn’t just theory—it’s a living playbook. That keeps everyone from settling for “good enough.”
The protective packaging thread runs through every decision. Materials like 350gsm C1S artboard with soft-touch lamination look great, but if the internal liner is only 1/2-inch thick, the item still rattles. I make sure engineers know the inner chamber needs molded pulp or corrugated partitions, and I also ask suppliers for the actual ASTM drop test data, not just their word. I’ve seen factories stamp “ISTA 6-A” on every sample without providing proof; the real data lives in the lab report, not the schmancy brochure from the Shenzhen rep.
Branding decisions fuse into the tree at the final stage. You can have a printed hero panel and still keep a foam cradle by wrapping a printed sleeve around a corrugated shipper so the art shows when the customer peels off the outer layer, while the cushioning stays inside. That pairing keeps the story intact and the structure solid even after pallet stacking and 16 hours of transit.
I remember when a supplier insisted their 32ECT was enough because “the robots love it,” and I had to call it out because their drop data looked like it came from a toddler tossing boxes; their average failure was at 0.8 meters, not the 1.5 meters we needed. Any decision tree that doesn’t include a sanity check on the adhesive pattern is begging for a rewrite. Saying no to good-enough packaging is the part that keeps me awake at night.
Packaging for Shipping Process and Timeline
The blunt timeline is: one week to finalize specs (I literally walked through this with a Chicago team that needed a 6-inch vacuum pump slot cut and a sourcing note for flame-resistant foam), two weeks to prototype, and three to four weeks for production, plus whatever buffer we get from shipping. When a factory slips, I still negotiate air-mix freight with DHL, like the time I changed a container to air-plus-sea after a die delay in Vietnam, saving a 10-day backlog and $2,600 in demurrage fees. That kind of flexibility keeps the plan moving without the chaos.
Process checkpoints keep everyone honest—sample approval, ISTA drop-test scheduling (we use ISTA 3A for parcel freight and ASTM D4169 when a client ships to retail partners), and supplier confirmation of proof. Everyone—from the artwork manager to the supplier quality engineer—gets cc’d on that spreadsheet so no one can blame a miscommunication, and the sheet records exact dates such as “drop test scheduled June 12” and “proof approved June 5.” If you want accountability, put it in writing with dates.
I also insist on milestone invoices with actual dates in the contract, because I learned this after an Instagram beauty brand told me in week three that “the die is delayed” without any invoice to back it up. Adding delivery dates to each payment—like “stage 2: die cut by June 10, pay $1,250”—ensured we could hold the supplier accountable and avoid a surprise two-week slip. Suppliers respond when you make payments conditional on progress.
Packaging milestones shouldn’t be vague. The checklist includes five checkpoints: 1) Design freeze with dielines and materials, 2) Pre-production prototype with noted measurements, 3) ISTA/ASTM lab testing report (often from Intertek or SGS with reference numbers), 4) First production run of 50 units inspected on-site or via live video, and 5) Final run inspection before cartons pack into the container. Missing a checkpoint triggers a short email explaining the delay; factories respond when they know someone is watching the calendar.
During a trade show in Dallas, I walked through a live shipping line with engineers from International Paper. They measured the compression load average—they call it “stack pressure”—and we logged a 1,200-lb load before deformation. That data told us which pallet orientation survived the freight yard and which needed anti-slip dots. The timeline isn’t just about time; it’s about layering tests, materials, and supplier commitments so the schedule can flex without breaking the plan.
Every time a factory tries to slide a timeline without real dates, I channel my inner drill sergeant. I remember calling a supplier at 7 a.m. because the die was “almost ready” for the third week in a row—frustrating and hilarious because their response sounded like they were auditioning for improv.
Key Factors Driving Smart Packaging for Shipping Choices
Material resilience matters. Corrugated board—whether single-wall B-flute or double-wall C-flute—changes behavior with humidity. I’ve seen adhesives fail on a night shift in Miami where humidity jumps to 85%, so I specify moisture-resistant glues and consider wax coatings when the route includes coastal exposure. At our Jacksonville facility, we started measuring the bending moment on crates using a handheld tester after a delivery partner complained about warping; once we upgraded to wax-coated 32ECT, the pallets held their shape and the damage rate dropped from 3.2% to 0.8%.
Fit and fill are a science. You can’t have a hero product rattling around or a box with zero breathing room. Molded pulp from Molded Fiber Glass in Illinois keeps odd shapes rigid even after multiple drops; their foam tolerances maintain cushion after 100 hours of vibration testing and three consecutive 0.5-meter drops.
Regulatory and retail specs must be mapped before production. Need a UPC window, hazardous material labels for fragrance oils, or retail drop-ship guidelines for Walmart or Sephora? Get them penned into the product brief now so they become part of the packaging conversation, not an afterthought. I remind teams to align with ISTA for transit simulation and mention ASTM D5486 when we review the bonding requirements, especially with Sephora’s 48-hour recall SLA. That little extra homework saves a rush job later.
Shipping materials also include inserts, tape, and cushioning. 3M 300LSE tape is my go-to for bonding slick poly mailers, while hot-melt adhesives on corrugated handle weight without sagging. Those adhesives have specs too: I require proof the bond holds 7 pounds per 2-inch strip in a humidity chamber set to 70°F and 60% humidity. Otherwise, the conveyor shakes itself into failure during high-volume days that hit 4,000 units.
Fulfillment center requirements influence the board choice. Amazon’s FC shipments squeeze 5,000 parcels on a pallet, so I keep the edge crush value (ECV) above 44 pounds per inch and add anti-slip dots to the base. Details like that keep your fulfillment partner from rejecting the run; we once avoided a rework hold at the Kansas City FC simply by confirming the ECV and labeling method 24 hours before the truck arrived.
I remember telling a brand we needed to swap to water-resistant coatings and they said, “But that comes with a 6-second delay on the printer.” Honestly, I think that 6 seconds is worth not watching their cartons puff up like sad soufflés on the dock. Treat the coating as mandatory unless you plan to hand-deliver every order.
Step-by-Step Guide to How to Choose Right Packaging for Shipping
Step 1: Audit the product. Measure every nook with digital calipers, weigh it on a lab scale, and pinpoint the weakest point. During a recent visit to our Seattle client, we discovered a thin glass neck was the failure point, so we specified a reinforced cradle. The audit also includes material sensitivity; does the client use fragrance oils that need 72-hour off-gassing before sealing? That drives the adhesives and barrier films we choose.
Step 2: Pick the structure. Decide between a mailer, corrugated shipper, or modular pallet block and ask if nested components are necessary—inner sleeves, cross-bars, segmented foam. One client selling rechargeable tools needed separated compartments to prevent short circuits. We designed a two-tier foam insert with cutouts for the tool, charger, and user guide, and it all fit into a 12x10x5-inch corrugated shipper priced at $1.08 per unit while still clearing UPS dimensional limits. That kind of attention keeps the electronics safe and the carrier bills reasonable.
Step 3: Run the math. Calculate dimensional weight, cushion volume, and analyze whether downsizing the box saves carrier fees. I ran that exact math for a client shipping to Europe—downsizing saved $0.62 per parcel even after adding foam. Factor in the cost of failure too: a single damaged pallet can add $2,500 in expedited replacements and claims.
Step 4: Prototype and test. Put the hero box through drops, vibration, and compression. I’ve run samples at Intertek with shaker tables and documented the pass/fail data, including a 1.2-meter drop at three angles and a 72-hour compression stack. If you don’t have a lab, run the tests on your warehouse floor: a 1-meter drop, a conveyor roll, and four similar boxes stacked for 24 hours. Document every result with photos and notes—when the production team sees data, they don’t shortcut the next run. That’s the kind of proof finance wants to see.
Step 5: Align suppliers. Send the spec pack to your corrugated provider (I stick with Victory Packaging for U.S. runs and our Shenzhen partnership for Asia) and ask for the die-lines, adhesives, and printing samples. During one negotiation, I asked for the glue pattern and found the factory had overlapped the flap, leaving a weak spot. We fixed it before the die was cut and avoided $0.10 per unit rework. That’s how to Choose Right Packaging for shipping with real supplier oversight.
Step 6: Communicate with fulfillment. Send the final design to your fulfillment partner so they can prep automation, including how the top tape opens (horizontal vs vertical), the cushioning tolerance, and any inserts requiring kitting. If you use thermal labels, confirm their printers can handle the adhesive ROI. This avoids those “we can’t scan it” delays the fulfillment line faces with a new SKU. I remember sneaking a prototype onto a conveyor line just to hear the warehouse crew swear they couldn't tell the difference between the hero sample and the final run. Honestly, I think sneaking around like that keeps the quality folks honest.
Pricing Reality: How to Choose Right Packaging for Shipping Without Overpaying
Understand cost drivers. Raw material surges, print complexity, and run length all move the needle. For example, a 10,000-unit run of printed mailers with Pantone inks and embossing is about $0.28 more per piece than plain stock, according to my last quote from our Shenzhen offset house on June 4, which also included a $450 art setup fee.
Supplier savvy helps. I negotiate bulk corrugated with Victory Packaging and lock pricing for 90 days to avoid sudden spikes. When we were sourcing for a seasonal drop in September, that locked price saved us $1,400 because the market hit a 12% spike mid-run, which would have added $0.08 per unit.
Total landed cost is more than the unit price. Factor in packaging, inserts, testing, SKU labeling, and storage. Don’t be the founder counting only the cardboard cost while ignoring the $850 testing invoice and the $0.09 per unit labeling in the fulfillment center. Missing those line items is how damage feedback loops start.
If you look at the price per piece in isolation, you miss the perks of protective packaging. A Custom Poly Mailer with die-cut handles runs $0.45 per piece, but the damage rate plummets and the shipping materials stay consistent. Packaging is an insurance policy; you pay for the premium and avoid the $12 refund to a customer after a break. I always have finance compare claims spend before and after a packaging upgrade to prove the math.
Request a price break analysis from your supplier. Ask how volume, coating, and lamination influence the jump from 5,000 units to 10,000 units. Those conversations reveal opportunities to split the run and stagger shipments so you avoid overpaying for storage or surplus stock clogging the warehouse. After back-and-forth, I remember asking the supplier if their price list was printed on a roller coaster—numbers kept jumping for no reason.
Honestly, I think the only goal that week was to keep my blood pressure below shipping label heat. Money can't scream, but those quotes came close.
| Packaging Type | Typical Per-Unit Cost | Best Use Case | Notes |
|---|---|---|---|
| Custom printed boxes | $1.10–$1.75 | Premium retail packaging + shipping protection | Need proof approval and heat-seal lamination; add $0.25 for soft-touch finish |
| Custom poly mailers | $0.35–$0.65 | Apparel or soft goods for ecommerce shipping | Use tear strips and add panel for branding; best with lightweight cushioning |
| Corrugated shippers | $0.85–$1.40 | Fragile items, multi-piece orders, subscription boxes | Double-wall preferred; add honeycomb inserts when stacking pallets |
Use the table to compare options and always ask for a breakdown from your supplier. I keep a note with the price drivers pinned to my inbox so we can review before every renewal. When the supplier sends a total, I want to see raw board cost, printing, lamination, and adhesive as separate line items; that way, you can swap one element without redoing the whole order.
Avoid These Common Packaging for Shipping Mistakes
Mistake 1: Reusing retail boxes that weren’t designed for shipping crushes under pallet weight, especially when stacked and forklifted. I watched a hemp skincare brand try this and saw their stack collapse during a midday rush. We switched to Custom Shipping Boxes two days later and the next pallet went out without a single dent.
Mistake 2: Assuming the product is “fine” because it survived a single drop test—repeat cycles matter and real couriers shake differently. I once ran a sample through USPS, UPS, and FedEx over three days; one courier threw it over a 4-foot rail and we caught base delamination before the full run shipped.
Mistake 3: Forgetting international handling is fatal. Corrugated perforates faster in humid climates unless you choose water-resistant coatings. Our factory in Ho Chi Minh trashed stock because the cartons swelled in the monsoon; since then we use wax-lined board for international shipments, double-check the FSC-rated certifications, and add a 2% moisture allowance to the packing list.
Mistake 4: Skipping the fulfillment partner’s input. They know the conveyor width, label placement, and whether the bag sealer needs a specific flap design. A beauty brand once had to rework 2,000 mailers because the flaps didn’t align with the robotic sealer; we pulled the line, added a 0.25-inch extension, and re-ran the job without a second invoice.
Mistake 5: Letting marketing override engineering. Foil-stamped shells look great but add $0.18 per unit and can scuff during shipping. I built a flexible influencer-friendly ticket strip so the marketing team could still get that shine without compromising the inner protective structure. That’s how to choose right packaging for shipping while keeping brand aesthetics intact.
I remember telling a team that skipping the fulfillment input was the equivalent of scheduling a dinner party without telling the caterer you had guests with nuts. They were not amused, but once we fixed the kitting, their claims stopped spiking. Honestly, I think a little humility saves a lot of reworks.
Action Plan: Move Forward with Packaging for Shipping Today
Start by mapping your current failures and successes. Document every returned package and note whether cushioning, temperature, or improper structure caused the damage—this is how to choose right packaging for shipping next time you review specs. The goal is to turn gut feelings into data points.
Assign accountability. Who shares specs with the supplier, who signs off on samples, and who tracks carrier claims? At one point, we had the client’s operations lead, vendor manager, and quality engineer responsible for different checkpoints and that saved us a monthly $300 claim fee and a three-week delay on a Jacksonville run.
Next steps: schedule a packaging review call, request updated quotes (I use Custom Packaging Products for sample coordination), and lock a production run. Don’t scramble when the next launch hits—the client that scheduled their run two months ahead in July avoided a steel tariff increase and saved $1,200. Keep a running list of packaging design tweaks and ask your fulfillment partner about their order fulfillment recommendations—they often know what works with their conveyors and label printers. Want alternate options? Explore Custom Poly Mailers for lighter goods and Custom Shipping Boxes when structure and cushioning are non-negotiable.
I remember guiding a founder through that action plan while he tried to multitask on a call with 12 people. I kept repeating why how to choose right packaging for shipping is not a sidebar question but the main act. Honestly, I think he wanted the packaging plan to magically update itself while he sipped cold coffee—and spoiler: it didn’t. He had to actually email the checklist.
Final Considerations for Packaging for Shipping
Every time I remind a founder how to choose right packaging for shipping, I emphasize that the best system balances material resilience, pricing, and the customer experience while still fitting the logistics plan. Reference industry standards like ISTA or ASTM D4169 when validating tests and consider FSC-certified materials for sustainability; likewise, confirm adhesives like 3M 300LSE meet the 7-pound strip requirement. Honestly, the brands that win treat packaging as product packaging rather than an afterthought. Keep the conversations with your supplier (ask about adhesives, edge crush tests, and moisture-resistant coatings) ongoing, and include the finance team when you run the total landed cost so every stakeholder understands the trade-offs.
If you want to keep iterating, the smartest move is to review this checklist quarterly—say, January, April, July, and October—so you stay ahead of material surges, shipping shifts, and evolving package branding ideas. I can’t promise this eliminates every claim because carriers change, but staying ahead of the loop keeps you from being surprised. Remember: how to choose right packaging for shipping isn’t a one-off decision; it’s a loop of data, testing, pricing, and human accountability. Keep refining the loop and you’ll avoid the returns, claims, and sleepless nights that come from underestimating logistics.
Also, I remember when a new founder thought switching to recycled mailers was just a PR move. After the first rainy season and shredded corners, they realized the recycled stock needed reinforcement strips. I still laugh about the horror in their eyes when the shipping manager played the damage report video from Miami. Honestly, I think the delicate ones learn fastest that packaging isn’t optional; it’s the field service team in disguise, and how to choose right packaging for shipping gets rewritten every season for them.
Actionable takeaway: this week, lock the spec sheet, request adhesive and drop-test proof, and schedule the fulfillment alignment call so your next launch doesn’t turn into a damage report.
FAQ
What should I verify before ordering How to Choose Right Packaging for Shipping Every Time?
Confirm the product size, material, print method, quantity, sample route, packing count, and delivery date. A clear packaging spec is easier to quote, easier to approve, and easier to reorder.
How many samples should I review before bulk production?
At minimum, review one production-grade sample or proof that shows scale, color, logo placement, finish, and packing fit. For high-volume orders, keep the approved sample as the reference standard.
What usually changes the final cost?
Material grade, printing method, finish, tooling, quantity, packing method, revision count, and freight assumptions can all move the final price.