Buyer Fit Snapshot
| Best fit | Create Memorable Unboxing Moments projects where brand print, material claims, artwork control, MOQ, and repeat-order consistency need to be specified before quoting. |
|---|---|
| Quote inputs | Share finished size, material target, print colors, finish, packing count, annual reorder estimate, ship-to region, and any compliance wording. |
| Proofing check | Approve dieline scale, logo placement, barcode or warning zones, color tolerance, closure strength, and carton packing before bulk production. |
| Main risk | Vague material claims, crowded artwork, missing packing details, or unclear freight terms can make a low unit price expensive after revisions. |
Fast answer: Create Memorable Unboxing Moments: Board, Finish, Dieline, and Unit Cost should be specified like a repeatable production item. The safest quote records material, print method, finish, artwork proof, packing count, and reorder notes in one written spec.
Production checks before approval
Compare the actual filled-product size with the drawing, then confirm tolerance on folds, seals, hang holes, label areas, and retail display edges. Reserve space for logos, QR codes, warning copy, and material claims before decorative graphics fill the panel.
Quote comparison points
Review material grade, print process, finish, sampling route, tooling charges, carton quantity, and freight assumptions side by side. A quote is only useful when the supplier can repeat the same color, closure quality, and packing count on the next order.
On a humid afternoon at a corrugated plant outside Shenzhen, I watched two sample orders move down the same line: one was a plain kraft shipper with a roll of brown tape, the other was a printed mailer with a soft-touch sleeve, a fitted insert, and a tiny thank-you card tucked under the lid. The difference in reaction was immediate, and it still comes to mind whenever someone asks me how to create memorable unboxing moments. One box got opened; the other got experienced. Honestly, I still think about that day whenever I see a brand spend all its budget on the outside and then forget the actual reveal, which is a little like buying a great front door and forgetting the house behind it.
That’s the real job of how to create memorable unboxing moments: not just to protect a product, but to shape the feeling around the first touch, the first tear strip, the first reveal, and the final “I’m keeping this box.” In my experience, the best packaging never screams for attention; it quietly earns it through structure, fit, material choice, and a sequence that feels intentional from the outside all the way to the inside panel. I remember one launch kit that looked almost too restrained on paper, but the moment the lid lifted and the product sat in that perfectly cut tray, the whole room went quiet for a second. That pause, whether it lasts three seconds or ten, is the good stuff.
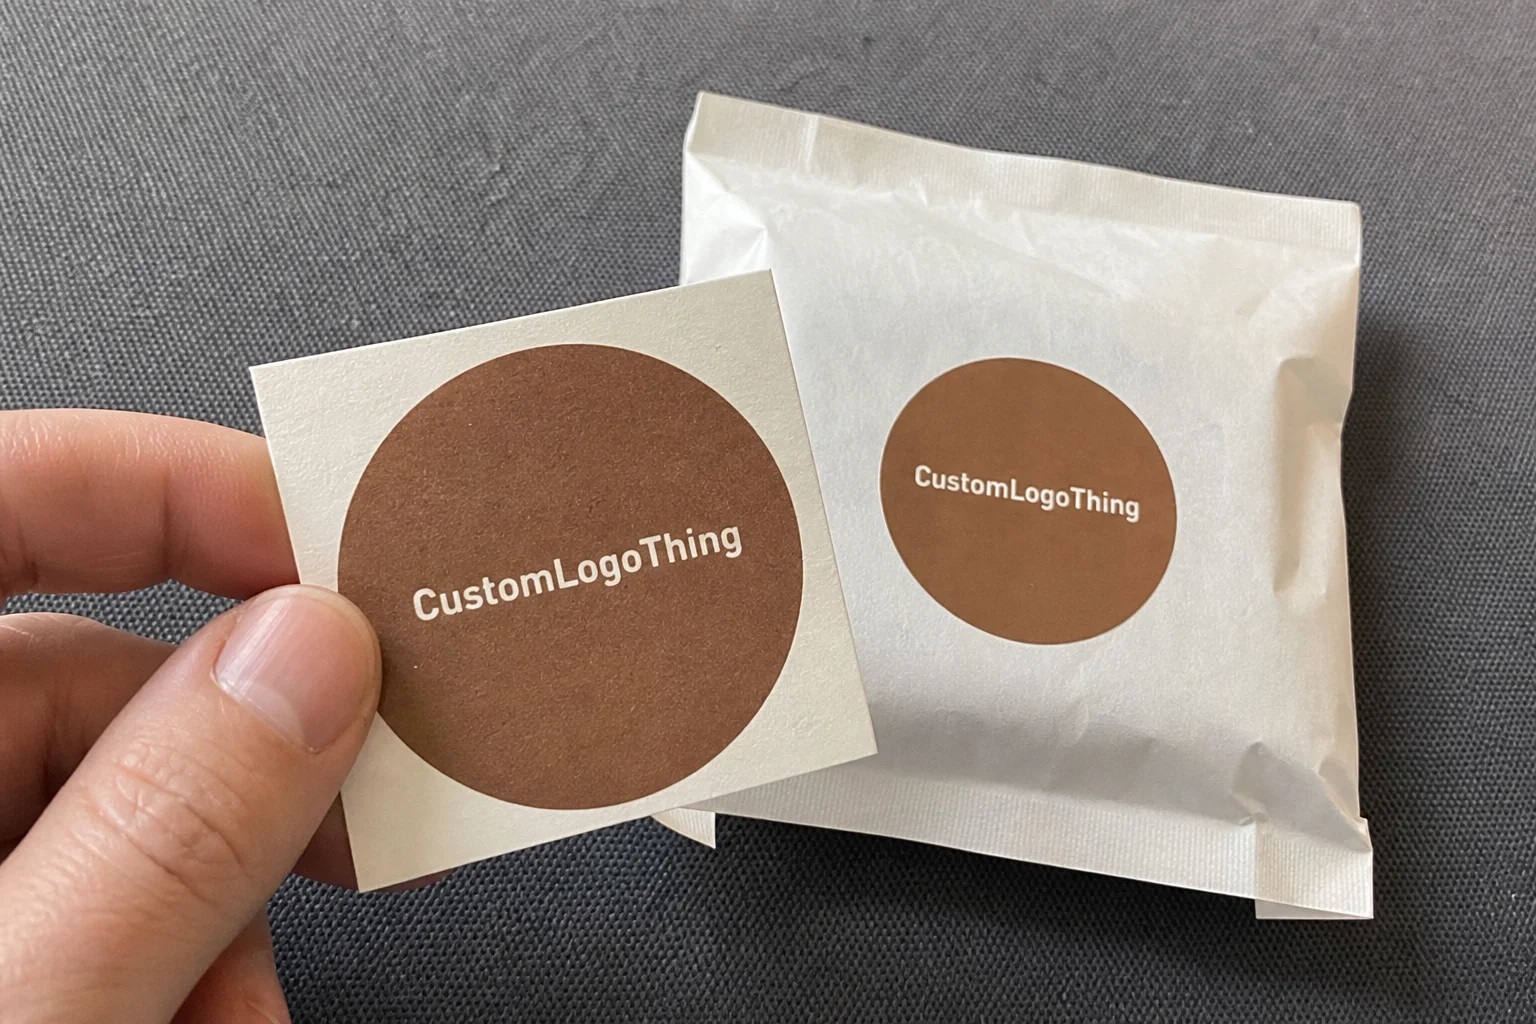
Custom Logo Things sees this same principle across Custom Mailer Boxes, rigid boxes, corrugated shippers, printed sleeves, tissue wraps, inserts, and interior graphics. Brands that understand how to create memorable unboxing moments usually start with the customer’s hands, not the designer’s mood board, and that subtle shift changes everything. I’ve had more than one client come in waving a Pinterest board full of foil and ribbon, and I’ll be blunt: if the box arrives bent or opens like a stubborn drawer that hates you, nobody is talking about the foil.
What Makes Unboxing Memorable in the First Place?
I’ve opened thousands of cartons, set-up boxes, and mailers on factory floors, in client warehouses, and at trade show booths, and the memorable ones always share the same trait: the packaging tells a story before the product is even visible. A plain shipper says “we moved it”; a thoughtfully built package says “we considered your experience,” and that emotional gap is huge. That’s the foundation of how to create memorable unboxing moments. I’ve seen it in a cardboard converting plant in Dongguan, a fulfillment warehouse in Ohio, and, yes, on a table in a cramped office where the tape dispenser kept disappearing like it had a personal grudge against everybody.
A memorable unboxing moment is the point where presentation, protection, branding, and reveal line up cleanly. The tape breaks. The lid opens. The product sits where it should. There’s a pause. That pause matters more than most people realize, because it gives the customer a beat to register care, effort, and quality. If you’re thinking about how to create memorable unboxing moments, that pause is one of the most valuable pieces of real estate you have. I honestly think a lot of brands underestimate this because they’re too close to the product; they know what’s inside, so they forget how much the reveal has to do emotionally.
A lot of brands get this wrong by chasing expensive finishes before they solve the sequence. You can create a strong emotional response with modest materials if the package opens in a satisfying order: outer protection, internal reveal, product presentation, and a final takeaway like a thank-you note or care guide. That sequence is what makes how to create memorable unboxing moments feel repeatable instead of random. And repeatable matters, because the customer isn’t buying one lovely Instagram clip; they’re buying an actual package that has to behave the same way on shipment number 1 and shipment number 10,001.
The psychology is straightforward, but the execution is where the craft lives. People respond to tactile cues like board stiffness, tear-strip resistance, and the soft drag of tissue paper. They notice visual hierarchy, too: logo placement, contrast, empty space, and whether the product looks “framed” or just dropped in. Sound matters as well. A magnetic close, a crisp tuck flap, or even the faint crackle of kraft tissue can signal quality when used with restraint. Add scent, and the whole moment can shift; I’ve had skincare clients use lightly scented tissue, though I’ll say plainly that this should be handled carefully and never near food or fragrance-sensitive products. One overzealous sample once smelled like a candle aisle got into a fight with a shipping carton, and nobody in that meeting was thrilled.
In practice, brands shape this experience with Custom Mailer Boxes for direct-to-consumer shipping, rigid boxes for premium presentation, corrugated shippers for protection, printed interiors for surprise, and inserts that hold the product in a deliberate position. Those elements do not need to be extravagant. They do need to work together. That’s the heart of how to create memorable unboxing moments without wasting material or budget. If the product’s resting place looks accidental, the whole package feels accidental, and nobody wants “accidental” in the customer journey.
“The best package I ever signed off on looked almost simple from the outside, but when the lid lifted, the product sat in a precisely cut pulp tray with a hidden message under the insert. The customer felt cared for before they even touched the item.”
One of my favorite client meetings happened in a small cosmetics warehouse in New Jersey, where the founder kept comparing her starter kit to luxury fragrance packaging she had seen in department stores. I told her, straight up, that she did not need gold foil everywhere; she needed a tighter fit, a cleaner reveal, and one memorable interior detail. That project became a great example of how to create memorable unboxing moments with modest materials and smart sequencing. We ended up using a restrained matte exterior, a printed inside lid, and a paperboard insert that held the products like they belonged there. Nothing flashy. Just well considered. Which, frankly, is usually the point.
How to Create Memorable Unboxing Moments: The Packaging Mechanics
If you want to understand how to create memorable unboxing moments, start with the journey the customer takes. First comes the outer shipper, which should protect the package through the UPS belt, a pallet transfer, or the back of a rideshare if the product is being gifted. Then comes the opening method, which might be a tear strip, a tuck flap, a magnetic lid, or a lift-off cover. After that is the internal reveal, where the product, inserts, and brand message finally appear. The last step is the takeaway, which could be a discount card, care instructions, a loyalty code, or even a reusable insert tray that the customer keeps. I’ve watched people keep a rigid drawer tray for pens, jewelry, receipts, random desk things—the usual chaos of human life—because the box was too nice to toss.
Structure has a bigger effect on memory than most people expect. A drawer-style box builds anticipation because the item slides out gradually, and that controlled reveal can feel more premium than a simple lift-off lid. A magnetic closure adds a subtle snap that people remember. A custom die-cut window can tease the product without exposing everything at once. These are not just design choices; they are mechanical cues that shape how to create memorable unboxing moments in a way the customer can feel in their hands. I remember a beauty brand in Los Angeles that wanted “luxury,” but what they really needed was rhythm: a slow reveal, a clean fit, and a message that didn’t sound like it had been written by a committee fighting over adjectives.
Materials set the emotional baseline. E-flute corrugated works well for lighter mailers and protective DTC packaging because it balances stiffness, printability, and shipping durability. Rigid board delivers a denser, more premium hand feel, which is why it shows up so often in high-end apparel, electronics accessories, and gifting. Kraft paper gives a natural, honest impression; it says practical, earthy, and approachable. I’ve seen brands overpay for premium board when a well-designed corrugated mailer would have delivered the same customer satisfaction at a far better landed cost. Honestly, I think a lot of packaging budgets leak away through pure ego. People want the fancy thing because it feels fancy, then they discover the freight bill, which, rude but fair, has its own opinion.
Printing and embellishment are the second layer of the story. Foil stamping can highlight a logo or border. Spot UV can create contrast on a matte surface. Embossing and debossing add physical depth that people notice with their fingertips. Soft-touch lamination gives a velvety finish that can feel expensive even before the box opens. Full-bleed interior printing is one of my favorite tools when clients want to understand how to create memorable unboxing moments without making the exterior too loud. You can keep the outside restrained and let the inside carry the surprise. I’ve seen that approach land beautifully on apparel boxes, stationery kits, and skincare launch sets because it respects the shelf first and rewards the hand second.
Inserts matter more than many teams budget for, and I’ve seen the mistake firsthand at a subscription electronics brand that tried to save a few cents per unit by removing the molded tray. The product rattled, the box arrived misaligned, and the carefully printed message looked sloppy because the item had shifted two inches during transit. A snug paperboard insert, a molded pulp tray, or a foam alternative can make the package look deliberate instead of overstuffed. That deliberate fit is a major part of how to create memorable unboxing moments. The irony is painful: save a little on the tray, then pay for damage claims, reworks, and customer complaints. Fabulous trade, really.
Below is a simple comparison of common packaging options and how they affect perceived value and budget. Costs vary by print coverage, order quantity, and finish, but this table gives a practical starting point from the kinds of projects I’ve quoted for clients in the 3,000 to 10,000 unit range.
| Packaging Option | Typical Feel | Common Use | Relative Cost | Best Strength |
|---|---|---|---|---|
| Printed corrugated mailer | Clean, practical, branded | DTC apparel, subscription boxes | $ | Durability and cost control |
| Rigid set-up box | Premium, dense, gift-like | Beauty, jewelry, premium kits | $$$ | High perceived value |
| Drawer-style box | Controlled reveal, refined | Luxury accessories, launch kits | $$$ | Anticipation and presentation |
| Kraft mailer with insert | Natural, honest, efficient | Eco-minded brands, food-safe kits | $$ | Simple branding with utility |
One more factory-floor detail that matters: board direction. I’ve stood with a press operator in a Chengdu plant while we flipped a dieline because the grain direction made the lid warp after coating. That kind of issue can ruin a reveal even if the artwork is beautiful. If you want to master how to create memorable unboxing moments, you need to care about the invisible stuff too: board grain, die-cut accuracy, glue line consistency, and whether the print proof was approved under the same lighting the customer will ultimately experience. I remember arguing with a sample that looked perfect on the bench and terrible under warehouse lights; it’s amazing how quickly “perfect” becomes “well, that’s awkward” once the environment changes.
Key Factors That Shape Unboxing Impact and Cost
Brand positioning drives packaging decisions more than people admit. A subscription snack brand, a skincare label, and an electronics startup all need different levels of protection and polish, because they are selling different kinds of trust. Snacks need freshness and efficiency. Skincare needs cleanliness, clarity, and perhaps a tactile premium cue. Electronics need structural protection, compartment accuracy, and a finish that doesn’t feel cheap. That is why how to create memorable unboxing moments is never one-size-fits-all. A kraft mailer with one printed accent might be perfect for a natural snack brand, while a cosmetics launch kit may need a rigid lid, a fitted insert, and a printed inside panel to feel complete.
Cost is usually where the conversation gets real. A printed corrugated mailer might run around $0.55 to $1.20 per unit at a 5,000-piece quantity depending on size, board grade, and print coverage. A rigid set-up box with custom insert and specialty finish can move into the $2.50 to $6.00 per unit range quickly, especially if you add foil, embossing, or a magnetic closure. That doesn’t mean premium packaging is a bad decision. It means the packaging should match the margin, the product price, and the channel economics. If your average order value is $28, a $6 box may be hard to justify. If the item sells for $180, that same box may be entirely rational. I’ve had to say that out loud in meetings more times than I can count, and yes, there is usually a moment where somebody stares at the spreadsheet like it insulted their family.
Here’s the part many teams miss: shipping cost affects packaging cost. Dimensional weight pricing can punish oversized boxes, especially on air and parcel networks. A beautiful package that adds 0.75 inches to each side may feel harmless in a design review, but across 20,000 shipments it can turn into thousands of extra dollars in freight. Warehouse efficiency matters too. If the pack-out takes 90 seconds instead of 25, labor cost rises fast, and that can erase the value of a fancy insert. Understanding how to create memorable unboxing moments means understanding the full chain, not just the box on the desk. The package has to look good, ship well, and move efficiently through fulfillment without making your ops team mutter into their coffee.
There are also practical constraints that show up during production. Custom tooling can add lead time and setup cost. Specialty stocks may require minimum order quantities that are larger than the marketing team expected. A complex insert can be difficult to source in the exact foam density or pulp shape you want. I remember a beverage client in Austin who loved the idea of a custom die-cut pulp cradle until the supplier explained that the mold charge alone would push the first run into a number that made no sense for their launch size. We adjusted the design, kept the reveal, and cut the tooling burden dramatically. They still got a package worth opening, and nobody had to pretend that a terrible spreadsheet was “brand synergy.”
Reusable packaging and minimal ink coverage can help reduce spend while preserving the experience. A well-sized standard box with one strong branded panel, a single color interior print, and a thoughtful insert can still feel cohesive. The goal is not decoration everywhere. The goal is to create how to create memorable unboxing moments with efficient choices that hold up at scale. Sometimes the smartest move is to spend on fit and restraint rather than piling on finishes that add cost without adding memory.
For teams evaluating sustainability alongside cost, I often point them to industry references from the Forest Stewardship Council for responsibly sourced paperboard and to the EPA recycling guidance when thinking about what happens after the package is opened. Those choices influence customer perception, resale value, and operational simplicity in ways that show up long after the first shipment leaves the dock. And if a package is easy to recycle, the customer experience ends on a friendlier note, which I think is a pretty nice final impression.
Step-by-Step Process to Create Memorable Unboxing Moments
The cleanest way I’ve found to approach how to create memorable unboxing moments is to start with the customer journey and work backward. Ask who is opening the package, where they are opening it, and what they should feel at each stage. A repeat customer at home wants speed plus delight. A gifting customer wants presentation and ease. A B2B buyer wants professionalism and order. Those are different emotional targets, and the package should reflect them. I remember one client who kept designing for their internal team instead of the actual buyer, and the result was technically lovely and emotionally flat, which is a very expensive way to learn a very obvious lesson.
1. Write a packaging brief before talking to suppliers
Every good job I’ve seen started with a brief that had the product dimensions, fragility concerns, brand goals, channel requirements, budget range, and expected annual volume. That brief should also include whether the item will ship individually, in a master carton, or in a retail-ready case pack. When someone asks me how to create memorable unboxing moments, I usually say the first step is not design; it is clarity. You cannot build a strong reveal if you do not know the product size to the millimeter or the ship test it must pass. I also like to ask how many hands will touch the box before the customer opens it, because every extra touchpoint is a chance for drift, damage, or somebody “just adjusting it a little” until the whole thing is off spec.
2. Choose the structure first
Structure comes before decoration. A magnetic rigid box, a roll-end mailer, a sleeve-and-tray combo, and a drawer box all create different emotional rhythms. I like to compare them with clients using samples on the table, because the hand feel tells you almost everything. If the product is fragile, you may need a deeper corrugated shipper with a nested insert. If the product is a giftable accessory, a lift-off rigid box might be worth the extra spend. This is one of the most practical lessons in how to create memorable unboxing moments: function sets the stage for emotion. If the structure fights the product, the package will always feel a little off, no matter how pretty the artwork is.
3. Layer in materials and finishes
Once structure is set, add print and finishing details that reinforce the brand. A matte exterior with a foil logo can feel polished without becoming flashy. A kraft exterior with a bright printed interior can create a strong reveal. Soft-touch lamination works well when the product itself is tactile, like cosmetics or premium stationery. I’ve also seen embossing on a simple logo make a box feel more expensive than an all-over printed design because the impression is clean, quiet, and easy to remember. If you’re mapping how to create memorable unboxing moments, every finish should earn its place. My honest opinion? One sharp finish done well beats a buffet of effects fighting for attention.
4. Prototype with real samples
Prototype early, then test honestly. I want to see the box opened by a person who has never seen it before, under typical warehouse lighting, with the actual product packed inside. Check drop protection, opening friction, graphic alignment, and whether the package closes properly after first use. There is no substitute for a physical sample. A render can make a box look elegant, but only a sample tells you whether the lid catches, whether the insert fits, or whether the print bleeds at the fold. That is why how to create memorable unboxing moments always includes real-world testing. And yes, sometimes the sample betrays you in the most irritating way possible, which is oddly useful because it saves you from a much worse surprise later.
5. Plan production and kitting like a factory manager
This is where good projects stay good. You need a timeline for prepress review, tooling approval, proof sign-off, printing, die-cutting, gluing, assembly, and freight. If the box requires hand insertion of a card, tissue, or booklet, you also need a kitting plan that spells out labor per unit. On one apparel account, we saved nearly 11% on total pack-out cost simply by changing the order of operations so the tissue wrap went in before the insert instead of after it. Small process choices matter a lot when you’re trying to scale how to create memorable unboxing moments. I’ve seen teams obsess over a metallic logo and then lose hours to a fold sequence that should have been caught in the first sample review.
Here’s a practical planning view based on common project types. Exact timing depends on scope, but these ranges are realistic for many packaging programs I’ve managed or reviewed:
| Package Type | Typical Development Time | Sampling Notes | Operational Complexity |
|---|---|---|---|
| Printed corrugated mailer | 10–18 business days from proof approval | Usually 1 sample round | Low to medium |
| Rigid box with insert | 18–30 business days from proof approval | Often 2 sample rounds | Medium to high |
| Drawer box with specialty finish | 24–40 business days from proof approval | May require tooling checks | High |
| Custom kit with multiple components | 30+ business days from proof approval | Needs full pack-out testing | Very high |
When people ask me for the “best” path, I tell them to think in terms of repeatability, not just first impressions. A custom sample can look beautiful and still fail in assembly, freight, or fulfillment. The stronger answer to how to create memorable unboxing moments is the one that can survive 5,000 units, not just one photo shoot. The sample room is not the finish line; it’s just the place where the package stops pretending and starts telling the truth.
How to Create Memorable Unboxing Moments Without Common Mistakes
The biggest mistake I see is overdesigning the package until it becomes harder to open, heavier to ship, or disconnected from the product inside. A box with five layers can feel impressive for ten seconds, but if the customer needs scissors, a knife, and a second person to open it, the experience falls apart. Good how to create memorable unboxing moments work should feel intentional, not annoying. I have absolutely watched a beautiful prototype turn into a tiny frustration machine, and the room goes very quiet when that happens because everybody knows the design just lost a fight with reality.
Another common issue is inconsistent branding. I’ve had clients send me an outer box with one logo style, a tissue pattern from a different campaign, and a thank-you card written in a tone that sounded like a completely different company. The result was confusion. A clean reveal depends on a consistent voice, a controlled color palette, and a message that supports the product rather than competing with it. If the packaging looks crowded or visually noisy, even expensive materials will feel generic. That’s one of those annoying truths I wish I could dress up more politely, but there it is.
Protection mistakes are more serious. A beautiful package that arrives crushed creates instant disappointment, and that disappointment can erase the good will of the entire unboxing. If the contents shift, rattle, or show corner damage, customers do not remember the foil or the embossing; they remember the failure. That is why how to create memorable unboxing moments must include drop testing, transit testing, and real pack-out verification. The package has one job before the reveal: get there intact. Everything else is secondary if the product arrives looking like it had a bad day in a sorting hub.
Operations can also sabotage the experience. Slow assembly, awkward insert placement, and hard-to-source materials create inconsistency from batch to batch. If your team needs to fold three tabs, align a sleeve, and tape a flap by hand, your labor cost rises and your error rate usually rises with it. I’ve seen assembly lines in Dallas and Dongguan slow to a crawl because a very pretty insert required too much manual adjustment. Good packaging should make the experience look polished and make the production floor’s life easier, not harder. If your line workers are sighing at the box, the customer will probably feel that energy too—even if they can’t name it.
Another trap is making the package “memorable” only in a sample room. That’s a mistake. A hand-built mockup may look fantastic because someone spent 40 minutes tweaking it, but the real production version has to perform at scale, with tolerances, freight handling, and labor constraints. That’s the difference between a concept and a system. If you are serious about how to create memorable unboxing moments, your package has to survive manufacturing reality. Otherwise you’re not designing packaging; you’re designing a souvenir for the approval meeting.
Here’s a simple checklist I use when reviewing a package for risk:
- Does the product fit within a consistent tolerance of ±1.5 mm for critical inserts?
- Can the box open with one clear motion?
- Will the graphics still align after coating or lamination?
- Can the package survive a standard ship test, such as an ISTA-style transit simulation?
- Does the fulfillment team understand the pack-out sequence in under 2 minutes?
If the answer to any of those is no, the design likely needs another round. That is not a failure; it is part of learning how to create memorable unboxing moments that are both beautiful and practical. And I’d rather catch a problem in sampling than read about it in a customer complaint with three photos and a very creative subject line.
Expert Tips for Better Design, Timing, and Presentation
One of the strongest techniques I’ve seen is contrast. A restrained exterior with a bold interior reveal creates a real sense of discovery. The same works in reverse: a natural kraft outside and a rich, printed inside panel can feel honest and premium at once. The contrast makes the customer lean in, and leaning in is a big part of how to create memorable unboxing moments. I remember a candle brand using this exact idea with a very plain outer mailer and a surprisingly colorful inside, and customers kept posting the interior because it felt like a secret had been let in on the fun.
Design for shareability, but do it with discipline. Social media posts happen when the package has one or two camera-friendly details that read clearly in a phone frame: a centered logo, a striking color block, a neat product cradle, or a short message on the inside lid. I’ve watched content creators ignore a package with too much visual clutter because the photo didn’t know where to focus. If your packaging is trying to do eight things at once, it usually does none of them especially well. My opinion: choose one focal point and let it breathe. A box that knows where to look is much more memorable than one that tries to be the loudest thing in the room.
Keep the message short and useful. A thank-you card, a QR code to assembly instructions, or a care insert can feel personal without sounding promotional. On a stationery project in Chicago, we printed a single sentence inside the lid: “Made to be used, kept, and shared.” It cost very little, but customers mentioned it constantly. That’s a good reminder that how to create memorable unboxing moments often depends on a precise phrase more than a more expensive finish. A well-chosen line can do more emotional work than a pile of embellishments, and it doesn’t add much to the bill of materials, which is delightful for everybody except perhaps the foil vendor.
Test the package under actual shipping conditions. Don’t just drop it from a desk. Put it through the same freight lane it will use in production, whether that means parcel network handling, pallet staging, or regional distribution. If the package includes tissue, tape, or loose inserts, check how those pieces behave after vibration and compression. A clean-looking sample can become a mess after 300 miles on a truck. Real testing is one of the least glamorous but most valuable parts of how to create memorable unboxing moments. The box may look composed on the table and then come back from transit like it had a rough weekend. Better to know early.
Factory discipline matters too. Check dieline accuracy before print plates are approved. Confirm board direction so the box does not warp. Review proofs under neutral lighting, not just under warm office LEDs. Ask the supplier to show a pack-out sample, not only a flat sample, because the product relationship inside the box is often where the experience succeeds or fails. I’ve been in enough plants to know that a 2 mm shift at the die-cut stage can become a visibly sloppy reveal later on. That’s the kind of thing nobody notices until everyone notices, which is generally the worst possible timing.
To keep quality consistent, I also recommend building a simple production specification sheet with these items:
- Box dimensions and board caliper
- Print method and ink coverage
- Finish type, such as soft-touch, matte, gloss, foil, or spot UV
- Insert material and tolerance target
- Pack-out order and component count
- Approved sample reference photos
That sheet becomes the quiet control center for how to create memorable unboxing moments across reorders, new SKUs, and seasonal updates. Without it, every reprint becomes a reinvention, and reinvention is expensive. With it, the package stays recognizable, the team stays sane, and the customer gets the same experience more than once, which, as far as packaging goes, is about as close to magic as we get.
How to Create Memorable Unboxing Moments: Next Steps
If you want to move from idea to action, start by auditing your current packaging honestly. Open one box from your last shipment and ask three questions: Did it protect the product? Did it feel intentional? Would a customer remember it a week later? That simple audit often shows exactly where to begin how to create memorable unboxing moments without spending on the wrong upgrade. I’ve done this with clients who were convinced they needed a brand-new box, only to discover that a better insert and a cleaner inside panel would get them 80% of the way there.
From there, pick one high-impact change. Maybe that’s a custom insert, a printed interior panel, a better opening method, or a more precise box size. You do not need to change everything at once. In fact, most strong packaging programs improve faster when they focus on one major touchpoint per run. If you fix the reveal, then refine the insert. If the box already feels good, then upgrade the interior message. That’s a practical way to approach how to create memorable unboxing moments without spreading the budget thin. I honestly prefer this method because it gives you useful feedback instead of a giant risky overhaul that everybody hopes works out. Hope is not a production plan.
Before requesting samples or quotes, gather the essentials: product specs, shipping requirements, brand assets, target quantity, and budget. If you can, include photos of the product in use and examples of packaging you admire. A good packaging partner can translate that into structure, material, and finish options much faster when the inputs are clear. The more specific you are, the better the quote and the sample will be. And please, for the love of clean dielines, do not send “rough dimensions” if the product already exists in a warehouse. Measure it properly. Your future self will thank you.
A rollout plan helps too. Start with one hero SKU, validate customer response, and then extend the same system across the line. A subscription brand may begin with its best-selling box size, a beauty brand may begin with a launch kit, and an apparel company may begin with premium orders only. That staged approach keeps risk manageable while still moving the brand toward better presentation. It’s a dependable path for how to create memorable unboxing moments at scale. You get to learn, adjust, and improve without betting the whole operation on a single dramatic redesign.
Use this checklist before approving a final package:
- Structure selected and tested
- Material specified with caliper or board grade
- Print method and finish approved
- Insert type confirmed and dimensioned
- Pack-out sequence documented
- Freight and fulfillment impact reviewed
- Prototype checked under shipping conditions
- Reorder plan and lead time understood
In the end, how to create memorable unboxing moments comes down to aligning function, story, and consistency so the package feels intentional from the first touch to the final reveal. If you get those three things right, customers notice. They may not use the technical terms we use on the factory floor, but they absolutely feel the difference.
At Custom Logo Things, that’s the standard I’d push for every time: not packaging that merely arrives, but packaging that leaves an impression worth repeating. When you build how to create memorable unboxing moments around real materials, real operations, and real customer behavior, the box stops being a container and starts becoming part of the brand. And if that box also survives the journey without looking like it lost a fight with the courier network, well, that’s a pretty satisfying day in my book.
Frequently Asked Questions
How do I create memorable unboxing moments on a small budget?
Use a strong structure, clean graphics, and one thoughtful detail like tissue, a thank-you card, or a printed interior rather than adding expensive finishes everywhere. Standard box sizes and efficient materials such as printed corrugated mailers help control costs while still feeling branded. In practice, the first opening moment and the final reveal usually matter more than total decoration, so focus your budget there when planning how to create memorable unboxing moments. I’d also keep the insert simple and accurate; a tidy fit often does more for perceived quality than extra gloss ever will.
What packaging elements make unboxing feel premium?
Rigid board, magnetic closures, soft-touch lamination, foil accents, and custom inserts can all signal quality when used with restraint. A premium feel also comes from fit and finish, including crisp folds, accurate print alignment, and a product that sits neatly inside the package. The experience should feel intentional, not overloaded, which is why how to create memorable unboxing moments often depends on precision more than decoration. I remember a rigid box sample that looked modest on the outside but felt incredibly expensive because the tray fit like it had been machined, not assembled by hand.
How long does it take to develop a custom unboxing package?
Timing depends on structure complexity, sampling rounds, print method, and order quantity, but the process usually includes briefing, prototyping, revisions, and production planning. Simple printed mailers can move faster than fully custom rigid boxes with inserts and specialty finishes. Build in extra time for sample approval and freight planning so the launch is not delayed by packaging details when you are working on how to create memorable unboxing moments. If the timeline feels tight, it probably is—packaging has a way of exposing optimism in the least flattering way possible.
What is the best box style for memorable unboxing moments?
The best style depends on the product and brand, but mailer boxes, rigid boxes, drawer boxes, and custom sleeves are popular because they support a clear reveal. Choose a structure that protects the product and gives you a natural sequence of opening. The ideal box is the one that matches your brand personality and operational needs, which is really the core of how to create memorable unboxing moments. A luxury accessory may deserve a drawer box, while a practical DTC order may shine in a printed mailer with a smart interior print.
How can I make unboxing memorable without increasing shipping damage?
Use inserts, product bracing, and the right board strength so the package protects the item during transit. Test drop performance and pack-out stability before production rather than assuming a decorative design will survive shipping. A memorable package only works if it arrives intact and opens cleanly, so protection has to be built into how to create memorable unboxing moments from the start. Honestly, I’d rather see a slightly simpler box that arrives perfectly than a gorgeous one that arrives looking like it had an argument with a conveyor belt.