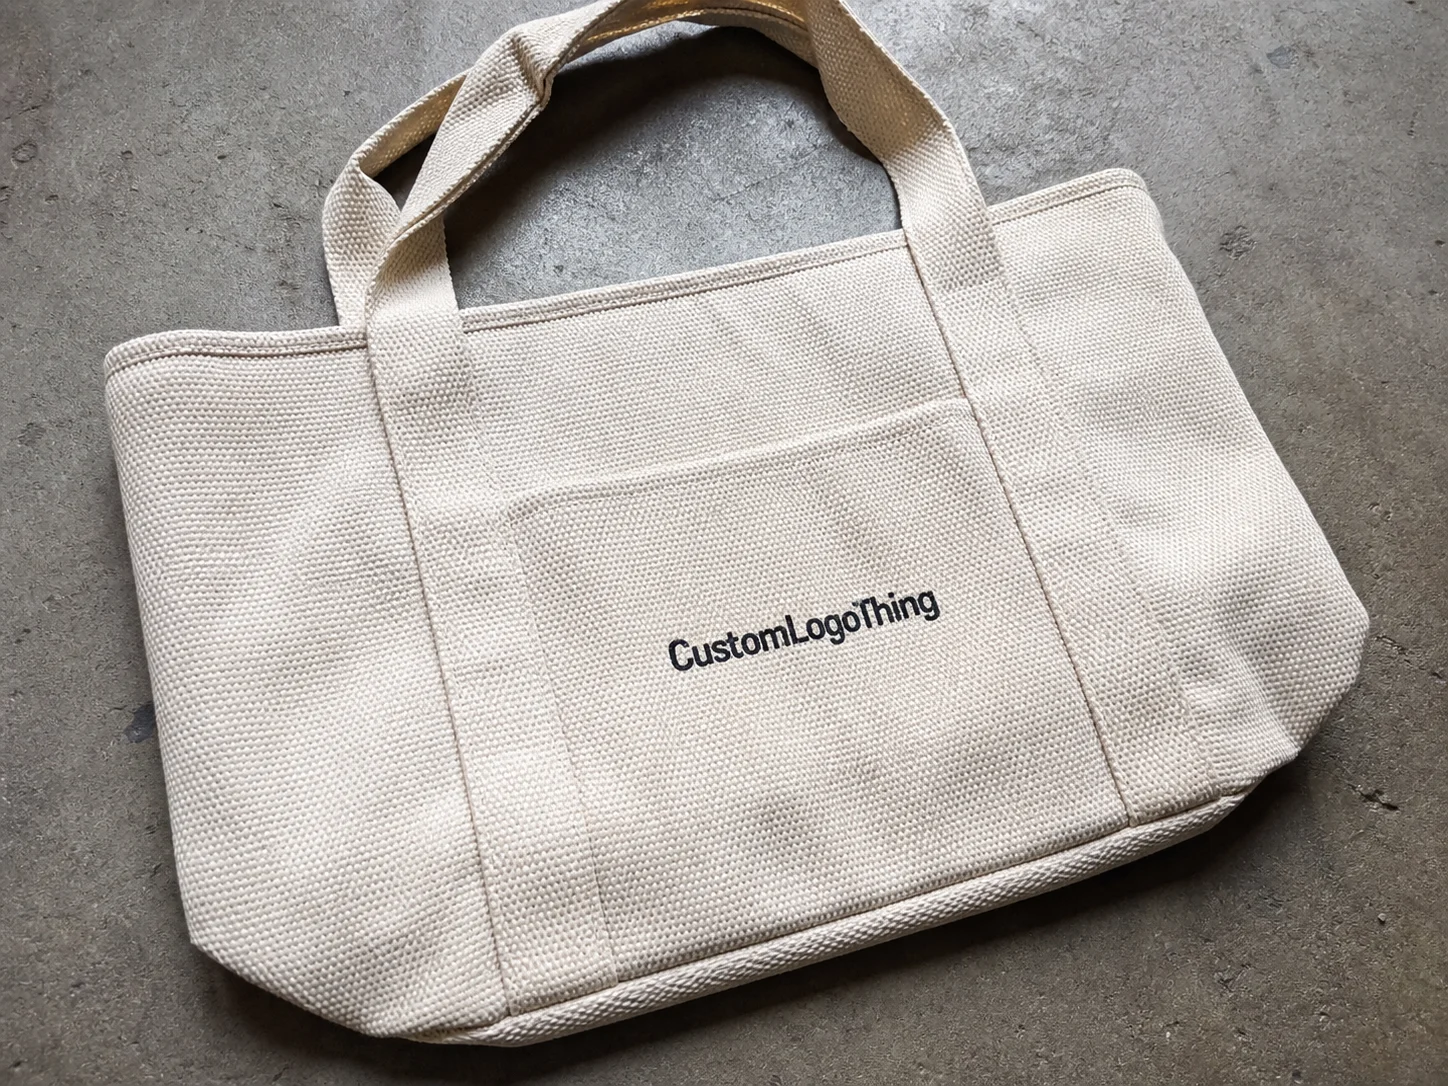
A mini Tote Bag Custom order can look straightforward on paper and still go wrong in production if the dimensions, material, handle, and print area do not work together. Small-format bags are not just reduced versions of standard carriers. They are packaging decisions with their own rules, and those rules are easier to ignore than to fix after approval.
For a jewelry line, a candle launch, a cosmetics sampler, or a boutique event handout, the right mini tote can make the product feel considered and premium. The wrong one can make even a strong brand look underplanned. That gap matters because packaging is often the first physical signal of quality. Buyers usually notice the bag before they notice the item inside.
Why mini tote bags punch above their size
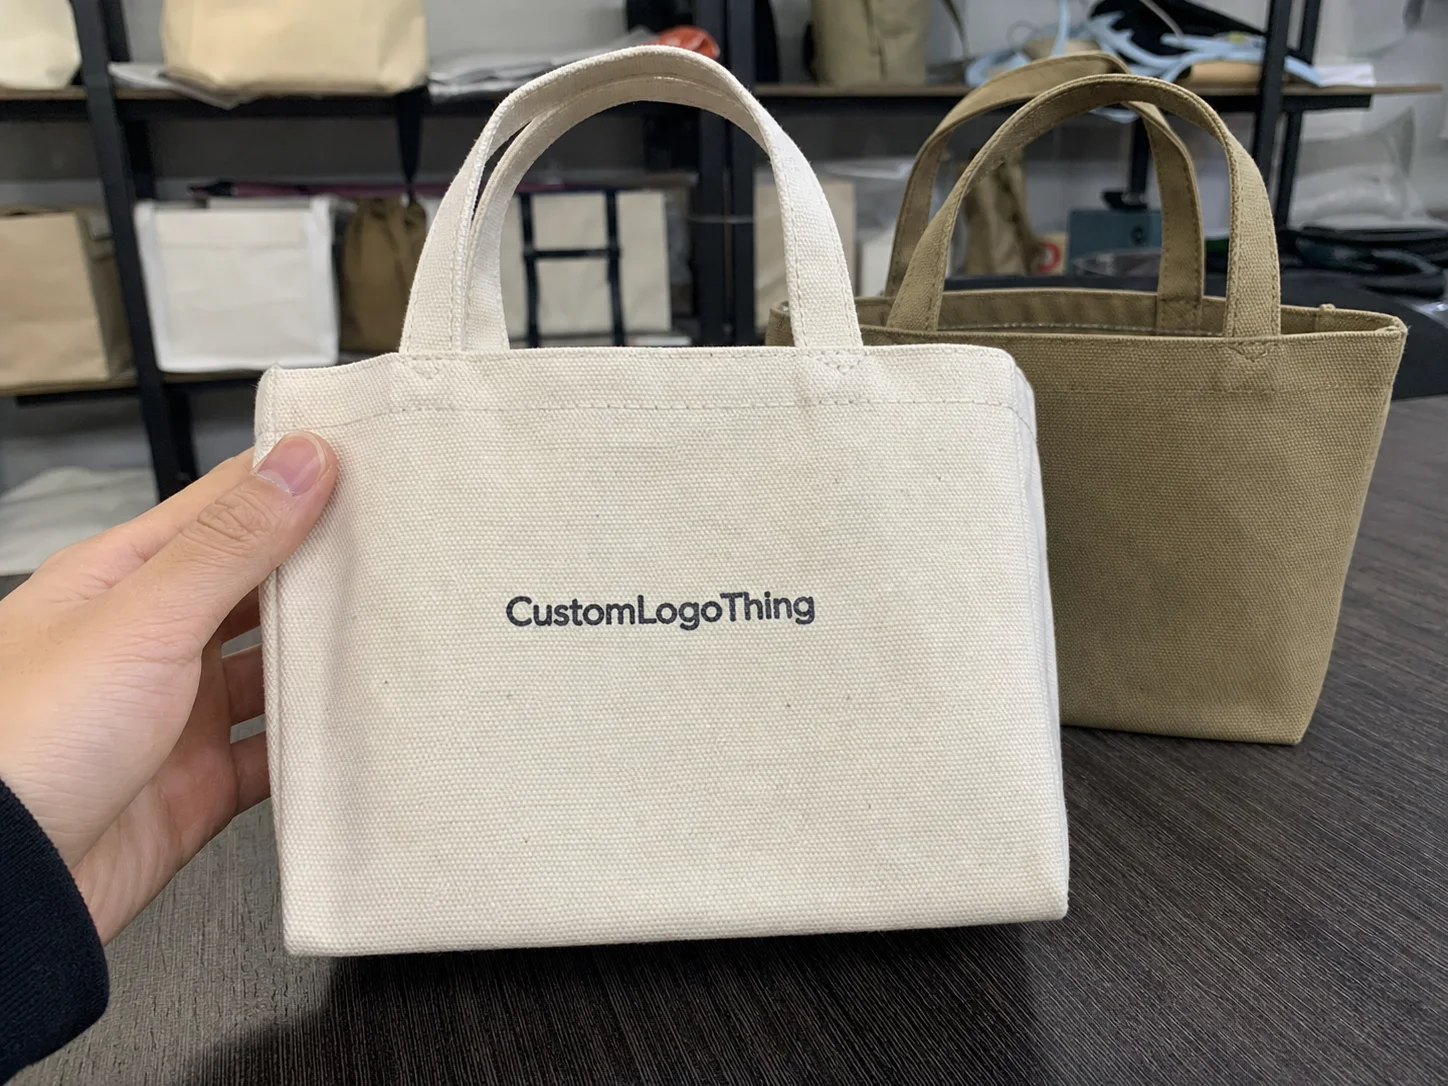
Mini tote bags sit in a useful middle ground. They are smaller than a standard shopping bag, but usually more structured and presentation-ready than a flat gift bag or a generic merchandise pouch. In practice, that makes them suitable for lightweight items that still need a tidy handoff.
Typical contents include earrings, fragrance samples, lip products, small candles, accessories, soap bars, event kits, and compact retail sets. If the carrier is too large, the contents shift and the presentation weakens. If it is too small, the bag bulges, the handles strain, and the brand message looks cramped. The best mini tote bag custom projects solve both problems at once.
There is a quiet tradeoff here. Smaller does not automatically mean better. A mini tote only looks refined when the gusset depth, handle strength, and print area are designed as one system. Buyers often ask for “small” when what they actually need is “well proportioned.” Those are different specs.
A mini tote earns its place when it feels scaled to the product. Oversized packaging can make a good item look like an afterthought.
Mini totes also work well in retail counters and event settings because they stack cleanly, hand out easily, and use less material than larger carriers. Material use is not the same thing as perceived value, though. A small bag can still feel premium if the printing is crisp and the construction is sound.
For related packaging formats, see Custom Packaging Products.
How the custom bag process and production steps work
Most custom bag orders follow the same basic sequence. The buyer sends dimensions, material preference, quantity, artwork, and target ship date. The supplier checks the spec, returns a quote, prepares a proof, and production starts only after approval. From there the bag moves through printing or film prep, sealing or assembly, cutting, inspection, packing, and freight.
That sequence sounds simple, but the quote is only as good as the details behind it. A factory cannot price a mini tote bag custom project accurately if the size is vague, the print coverage is unclear, or the handle style has not been decided. A die-cut handle and a loop handle are not interchangeable. They use different tooling, different materials, and sometimes different packing methods.
Digital mockups help with logo placement and overall balance, but they are not final output. They do not fully show how a small logo behaves on a narrow front panel, or how gloss changes the way ink reads under bright light. Proofing exists because screens do not behave like film, paper, or sewn construction.
The production flow usually looks like this:
- Artwork review and file cleanup.
- Material confirmation and sizing.
- Proof generation and buyer approval.
- Printing or film preparation.
- Sealing, cutting, and handle formation.
- Inspection, carton packing, and shipping.
Delays usually do not start in the press room. They show up earlier, when artwork arrives in the wrong format, when colors are still being debated after the proof is sent, or when the buyer realizes the bag needs to carry more weight than originally described. Clear end use information shortens the whole process.
Key specs that control performance and shelf appeal
Spec decisions do most of the heavy lifting. A bag can look good and still fail in the hand if the construction is wrong. Buyers should treat width, height, gusset, thickness, handle style, finish, and print coverage as one connected design problem, not as separate menu items.
Size and proportion
The first question is not “What is the smallest bag we can use?” It is “What size fits the product with enough clearance to load and remove it comfortably?” A mini tote that is too shallow can tip bottles or compact boxes. One that is too narrow can pinch the front panel and make a logo look compressed. For a single compact item, a front width around 5 to 8 inches may work. For a small assortment kit, the useful range often shifts higher. The product should drive the dimension, not the other way around.
Material and finish
Plastic bag options vary more than many buyers expect. Clear or semi-clear films show the contents and can support retail packaging where the product itself is part of the presentation. Opaque films hide the contents and give more weight to the printed brand. Thickness matters too. A 1.5 mil film may suit samples or very light contents, while 2.0 mil or above usually feels sturdier in the hand. That extra thickness can also help the bag hold shape during packing.
Finish changes the mood. Matte softens glare and tends to look more restrained. Gloss makes color feel brighter and more immediate. Neither is universally better. The right choice depends on the product category, the logo style, and how the bag will be seen under store lighting or at an event table. If the package is part of a premium story, surface texture deserves the same attention as artwork.
For industry context on packaging performance and transport tests, the ISTA standards library is useful, especially if the mini tote is part of a broader retail or shipping workflow.
Handles, structure, and print area
Handle design gets underestimated more often than it should. Reinforced handles improve perceived quality and reduce the chance of tearing at the attachment point. If the contents weigh more than a few ounces, reinforcement is not decorative; it is functional. In many mini tote bag custom jobs, the handle is what separates a promotional feel from a retail-ready feel.
Artwork also needs room. Small-format packaging does not forgive crowding. Keep logo marks away from seal lines, trim edges, and handle anchors. A safe zone of at least 0.125 to 0.25 inch is common, but the supplier should confirm the exact clearance based on the construction. Fine lines and small text often look sharper when the layout is simplified rather than packed with extra elements.
| Spec choice | Typical effect | Best use case |
|---|---|---|
| Thin, clear film | Lower cost, lighter feel, good product visibility | Samples, lightweight accessories |
| Heavier opaque film | More structure, stronger brand presence, hides contents | Gift sets, boutique retail packaging |
| Gloss finish | Brighter color response, more reflection | High-contrast logos, event handouts |
| Matte finish | Lower glare, more restrained premium look | Cosmetics, luxury accessories |
If sustainability claims are part of the brief, ask about material sourcing and recovery options. The EPA’s plastics guidance is a useful reference point for broader material-management questions, especially when multiple vendors describe the same material differently.
Cost, pricing, and MOQ factors buyers should compare
Pricing usually comes down to a few variables: size, thickness, print complexity, special finishes, and volume. Once those are fixed, the quote becomes much easier to interpret. Without them, buyers end up comparing numbers that do not mean the same thing.
For a simple run, a mini tote bag custom order with a single-color print and standard film may land in a lower per-unit range than a more elaborate multi-color order. As a rough benchmark, many buyers will see something like $0.18-$0.28 per unit at 5,000 pieces for a straightforward specification. A thicker bag, fuller print coverage, or upgraded finish can move that higher. Lower quantities push unit cost up quickly because setup is spread across fewer bags. A 1,000-piece run and a 10,000-piece run can look like different products on a quote sheet.
The MOQ matters because it tells you where the factory’s efficiency begins. A supplier willing to make a smaller order may charge more per bag, but that can still make sense for a new retail line or a short promotion. The useful metric is not unit price in isolation. It is the total cost relative to the use case.
Here are the hidden cost levers buyers often miss:
- Setup charges for printing plates or prep work.
- Color changes that add machine time.
- Shipping and freight, especially on larger carton counts.
- Rush production fees when dates are compressed.
- Custom inserts or carton labeling for distribution needs.
Good quote comparison is boring, and that is a useful thing. Ask each supplier to price the exact same spec sheet: same dimensions, same material, same thickness, same print count, same delivery point. If the numbers still differ, the difference is real. If they only look different because the assumptions are different, the quote is not useful.
Timeline, lead time, and turnaround planning
Lead time is usually a chain of small steps rather than one single production block. A realistic schedule includes quote development, artwork review, proof approval, production, packing, and transit. For a clean order, that can be around 12-15 business days from proof approval before shipping, though material availability and print method can change that. If freight is included, transit time sits on top of production time.
The fastest orders usually share three traits: final artwork, standard materials, and a supplier who already understands the expected fill weight. If the bag will carry a 3-ounce candle or a compact accessory set, say so early. That one detail can prevent a spec change later.
The most common scheduling mistake is not technical. It is assuming the production clock starts after approval, while the calendar at the other end stays fixed. It does not. If a launch date, trade show, or retail rollout depends on the bags, build buffer time for sampling and revisions. First runs need more room than repeat orders because the spec still has to prove itself.
Rush production can help, but it narrows the margin for error. There is less time to catch artwork issues, fewer days for inspection, and more pressure on freight. If the order matters, a small buffer usually costs less than a last-minute rescue.
For buyers managing broader packaging schedules, it helps to treat the tote as part of the product calendar, not a separate purchase. That mindset prevents a lot of avoidable timing problems.
How to specify artwork and size without costly mistakes
The easiest way to avoid a bad fit is to measure the product itself, not the shelf and not a competitor’s bag. Measure the actual item that will go inside, then add enough clearance for loading and removal. If the product has an insert or secondary package, include that too.
Artwork problems often start at the edges. If a logo sits too close to the seal line or trim area, it can distort during manufacturing. Fine type and thin linework have the same issue. On a mini format, details disappear faster than buyers expect. Strong contrast, clean shapes, and a restrained layout usually print better than ornate artwork.
File prep matters more than many teams assume. A logo pulled from a website is often too low in resolution. RGB files can shift unexpectedly in print, especially with saturated brand colors. And if the logo has not been outlined correctly, the proof stage can turn into a salvage operation. That is avoidable with a proper file check.
These are the most common artwork checks:
- Use vector files when possible.
- Confirm CMYK or the supplier’s required color setup.
- Keep text away from trim and seal lines.
- Review color on the intended finish, not just on a white screen.
- Ask whether the supplier needs separate art for front and back panels.
Matte and gloss surfaces change how color reads. A deep navy on matte film may look quieter than the same ink on gloss film. That is not a defect. It is a material effect. The proof should be reviewed with the finish in mind, otherwise the delivered bag can seem “off” even when it matches the approved artwork.
One practical step saves a lot of trouble: send a product photo or sample item with the supplier brief. A visual reference validates fit far better than dimensions alone. For a mini tote bag custom order, that extra five minutes can prevent a reprint.
Common ordering mistakes and how to avoid them
The expensive mistakes are usually the predictable ones. The bag is too small. The fill weight is underestimated. The handle is not strong enough. A design that looked balanced on a laptop screen feels crowded under retail lighting. None of that is mysterious, and none of it is hard to prevent.
Skipping sample approval is another recurring problem. If the bags are tied to a launch, event, or paid promotion, a sample is cheap insurance. Even a single pre-production sample can expose issues with size, sheen, print clarity, or handle feel before a full run is committed.
Buyers also get tripped up by inconsistent terminology. One vendor uses “thickness,” another says “gauge,” another says “mil.” If those are not translated into one written specification, the order can be off by a lot. Ask for exact numbers in writing. Measurements beat adjectives every time.
Packaging for shipment deserves the same scrutiny. Carton count, inner packing, and palletization affect storage, damage risk, and receiving efficiency. If the bags arrive with scuffed surfaces or compressed handles, the problem may have started long before transit. Poor packing can undo otherwise solid production.
Think of this stage as a risk audit. Confirm dimensions, material, print method, handle style, carton pack, and delivery window before production starts. That is much easier than fixing the first carton after it lands.
Practical next steps for buying the right mini tote
Start with the product, not the bag. Measure the actual item, note any inserts or accessories, and decide whether the tote needs to hang, stack, or stay flat in shipment. Those use details shape everything else.
Then build a one-page spec sheet. Keep it simple, but complete:
- Bag dimensions
- Material and thickness
- Handle style
- Print colors and coverage
- Quantity and target date
- Ship-to location
Request two or three quotes using the same sheet. If one supplier is dramatically cheaper, check the assumptions behind the number. Maybe the print area is smaller. Maybe the film is thinner. Maybe the lead time is longer. Apples-to-apples quoting is the only fair comparison.
For important orders, ask for a digital proof and, if the schedule allows, a physical or pre-production sample. Then run a short checklist: fit, color, handle feel, print clarity, and carton count. That catches most issues before they become waste.
If the order is tied to retail packaging or a launch event, describe the use case in plain language and share it with the supplier. A clear brief often improves the result more than a glossy design file. Then place the order with enough buffer time to absorb revisions, freight variation, and the occasional proof correction.
What size is best for a mini tote bag custom order?
Choose size based on the product’s actual dimensions plus enough clearance for easy loading. Start with the item’s height, width, and depth, then account for any insert or secondary packaging. If the bag is for retail display, balance compact dimensions with enough front panel area for branding.
What affects the price of a custom mini tote bag most?
The biggest drivers are material, thickness, print complexity, quantity, and any special finish. Setup fees, shipping, and rush timelines can change the total more than buyers expect. Higher volume usually lowers unit cost, but only if the spec stays consistent.
How long does production usually take for mini tote bags?
Lead time depends on proof approval, material availability, print method, and shipping distance. A simple order with final artwork moves faster than a highly customized run with revisions. Build in buffer time for sampling and freight so the bags arrive before your launch or event.
Can I print a logo on a small bag without losing clarity?
Yes, but the design must be sized for the available print area and simplified when necessary. High-contrast art, clean lines, and correct file setup usually print better on small formats. Ask for a proof that shows the logo at actual scale before approving production.
What should I check before placing a mini tote bag custom order?
Confirm dimensions, material, thickness, handle style, print colors, and quantity. Verify the MOQ, unit cost, setup fees, and expected turnaround before comparing vendors. Make sure the spec sheet matches the end use so the final bag fits the product and the timeline.