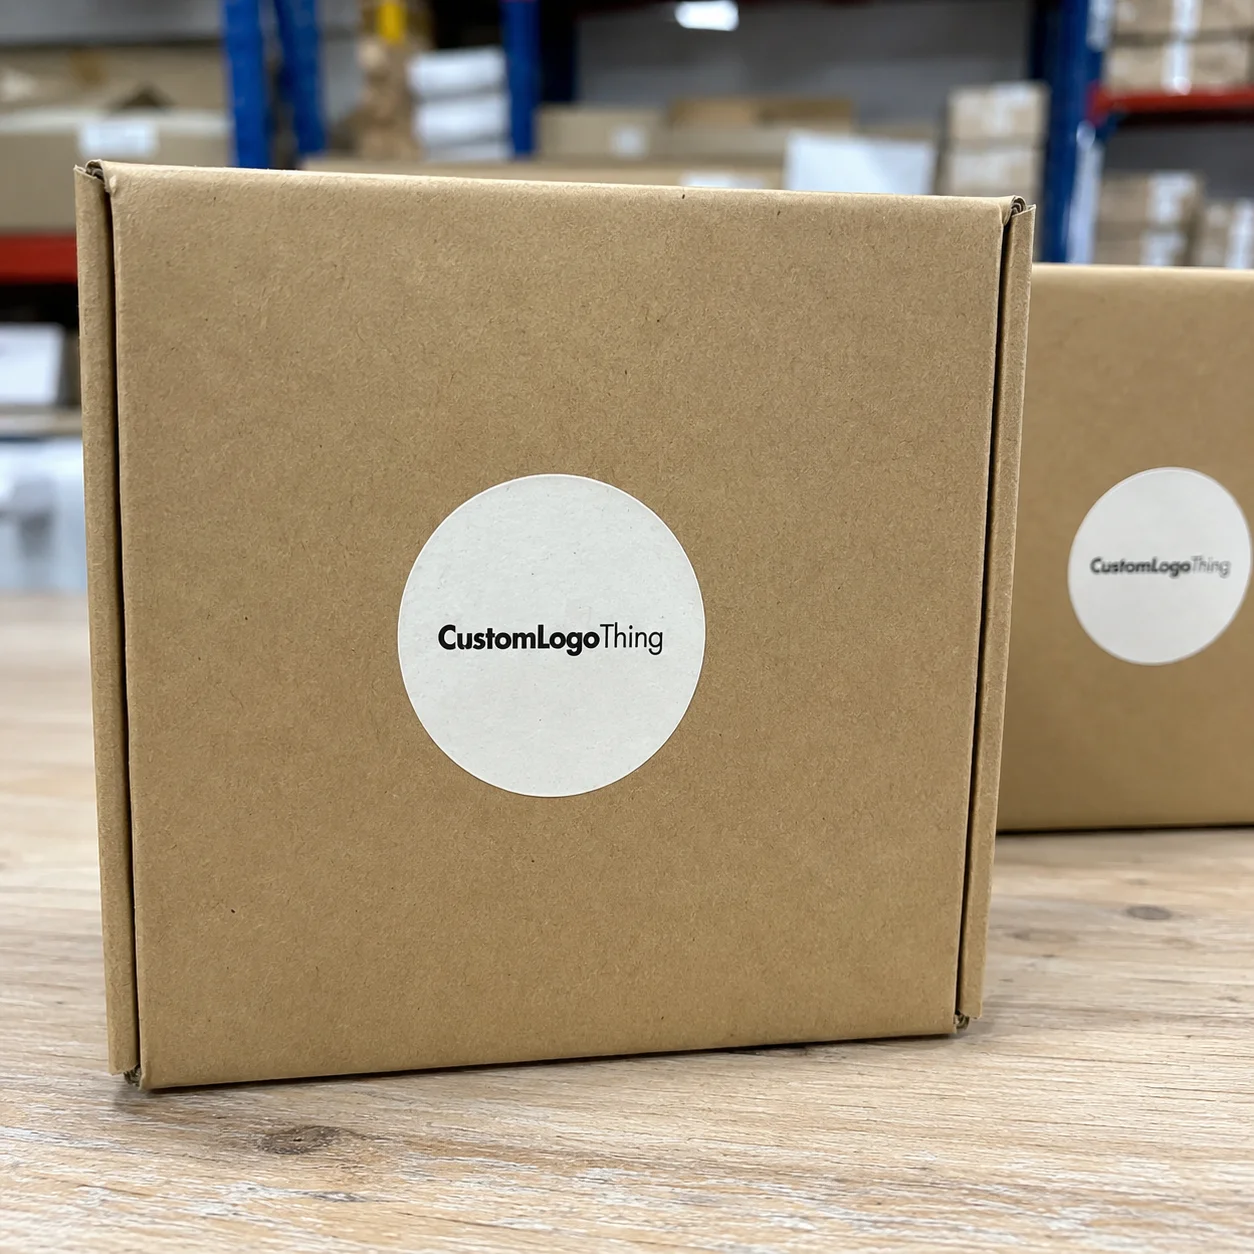
One-inch circles can carry more commercial weight than their size suggests. Custom printed circle stickers can make a plain mailer feel branded, turn a glass jar into a shelf-ready product, or make a bakery box look finished before the customer reads a word.
The appeal is not decoration alone. A round sticker can identify, seal, promote, organize, or reassure. For packaging buyers, the real work is choosing a label that keeps the brand mark clean at small scale and survives the surface it is applied to: paperboard, glass, plastic, foil pouch, kraft mailer, or refrigerated container.
What Custom Printed Circle Stickers Actually Do for a Product
A circle has a useful kind of visual authority. No corners. No awkward edge hierarchy. No sharp points pulling attention away from the center. A well-sized round sticker can sit on a candle lid, close tissue wrap, mark a flavor variant, or turn a sample kit into something that looks planned rather than assembled in a hurry.
That explains why custom printed circle stickers show up across candles, cosmetics, coffee bags, pastry boxes, promotional mailers, and event packaging. They work as box seals, product labels, thank-you notes, tamper-evident accents, envelope closures, limited-edition markers, and quick brand identifiers. On a crowded retail shelf or vendor table, a simple circle often reads faster than a busy rectangle.
Rectangles are stronger when the message needs room. Circles are stronger when the message needs focus. A logo, flavor name, QR code, batch note, or short instruction can sit neatly inside the shape without making the design feel overbuilt. That is why circles are useful for branded packaging, where the sticker is part of the visual system instead of a last-minute add-on.
The buyer question should come first: what job must this sticker do? If it is decorative, the material choices are broad. If it must hold through cold storage, rough shipping, damp hands, or repeated handling, the spec sheet deserves more attention than the mockup.
- Logo stickers for envelopes, shopping bags, and mailers
- Seal stickers for bakery boxes, tissue wrap, and gift packaging
- Product labels for jars, tins, candles, bottles, and sample kits
- Promotional stickers for events, inserts, launches, and giveaways
- Retail packaging accents for seasonal drops and short-run campaigns
The sticker is small, but it can make custom printed boxes, pouches, sleeves, and tags feel like one system. Done well, it strengthens package branding without adding much production complexity.
How Round Sticker Printing Works From Artwork to Adhesive
The production path is usually simple on paper: file review, proof, material selection, printing, finishing, die-cutting, quality check, packing. The difference between a crisp label and a cheap-looking one often lives in those middle steps. Casual file setup creates casual results.
Digital printing is common for shorter runs, multiple designs, and faster turnarounds. It avoids much of the setup burden tied to long offset or flexographic jobs, which makes it practical for small and mid-size orders. Flexographic roll-label production is often better for larger quantities, repeat programs, and machine-applied labels where consistency matters more than short-run flexibility.
Die-cutting is the step many buyers picture incorrectly. The printed sheet or roll is cut into exact circles, but the liner stays intact so each sticker peels cleanly. That liner affects application speed, storage, dispenser compatibility, and whether the labels can run through automated equipment.
Common delivery formats include:
- Individually cut stickers for sample kits, handouts, and flexible use
- Kiss-cut sheets for smaller batches, retail inserts, and easy storage
- Rolls for faster hand application and bulk packaging work
- Machine-ready rolls for automated labeling lines with specified core, gap, and unwind direction
Bleed and safe zones matter more on circles than on many larger labels. A one-millimeter cut shift may barely register on a four-inch rectangle. On a one-inch circle with a thin border, it can make the whole label look off-center. Proof review should cover diameter, cut line, color, safe area, and legibility, not only whether the logo appears correct.
Adhesive choice is just as specific. Paperboard boxes, textured mailers, glass jars, coated plastic, metal tins, and freezer packs all behave differently. A label that grips a smooth carton may lift from a chilled bottle or a lightly oily cosmetic jar. Adhesive is not a background detail; it is the part that decides whether the printed piece stays useful.
For buyers planning packaging that will be shipped or stocked in larger programs, practical standards help frame the decision. ISTA guidance is useful for thinking about distribution and handling stress. FSC certification can matter when paper sourcing is part of the brand or retailer requirement. Neither reference is a sticker manual, but both push the discussion toward fit for purpose rather than just appearance.
The best production decisions come from matching print method, delivery format, material, adhesive, and application surface. That is the line between a sticker that merely exists and one that performs.
Key Specs That Decide Size, Finish, Adhesion, and Durability
Diameter is the first decision, and it controls nearly everything else. Small circles, usually around 1 to 1.5 inches, are best for seals, simple logo marks, and small packaging accents. Mid-size options, around 2 to 3 inches, can hold a short message, flavor name, or QR code. Larger circles work only when the package has enough flat space and the label needs to carry more information.
Readability is the hidden constraint. A design that looks refined on screen may turn into a dense blur once reduced. Thin serif type, tight line spacing, pale colors, and long slogans cause most of the trouble. If the sticker is going on a candle lid, cookie box, jar cap, or mailer flap, the design should be built for quick recognition, not a brochure layout squeezed into a circle.
| Material | Best Use | Strengths | Typical Cost Impact |
|---|---|---|---|
| Paper | Indoor packaging, inserts, dry goods | Budget-friendly, easy to print, good for matte branding | Lowest |
| Vinyl | Moisture, handling, promotional use | Durable, flexible, stronger against scuffing | Moderate |
| BOPP | Jars, bottles, refrigerated products | Water-resistant, clean-looking in damp environments | Moderate to higher |
| Specialty stock | Boutique or premium branding | Distinct texture, tactile feel, strong shelf presence | Higher |
Finish changes the impression fast. Matte feels softer and often more premium. Gloss adds brightness and shelf pop. Clear stock can create a no-label look on glass or plastic, though white ink may be needed if the artwork must stay opaque. Foil accents can lift a logo, but too much shine on a small circle can push the piece from polished to promotional.
Adhesion should be matched to the real container, not the idealized one in the design file. Smooth coated paperboard behaves differently from kraft paper. Glass shows bubbles. Plastic can resist adhesion if the surface is curved, textured, cold, or treated. Refrigerated and frozen products may need adhesives rated for low-temperature application or storage.
The practical rule is blunt: test the sticker on the actual item. Not a similar jar. Not a flat sample sheet. The actual item. Curvature, coating, condensation, and surface energy all change the result. Short sample runs are especially useful when the sticker is part of a launch, retail program, or regulated product presentation.
Custom printed circle stickers look simple only after the right variables have been set. Size, stock, finish, adhesive, liner format, and application surface need to agree with the job. If they do, the sticker feels effortless. If they do not, even a strong logo can look underdeveloped.
Pricing, MOQ, and Unit Cost: What Changes the Quote
Sticker pricing is not mysterious, but it is easy to oversimplify. The main drivers are quantity, diameter, material, finish, adhesive, print coverage, format, and turnaround speed. Specialty effects, tight color matching, custom dies, and machine-ready roll requirements can move the quote more than buyers expect.
Minimum order quantities exist because setup still takes time. File review, proofing, material changeovers, die-cutting, packing, and waste control all happen even when the sticker is tiny. Low quantities carry a higher unit cost because those fixed steps are spread across fewer pieces. Larger runs usually bring the per-unit number down.
As a rough planning range, a short-run order may land around $0.18 to $0.28 per sticker at 5,000 pieces, depending on diameter, stock, finish, print coverage, and supplier setup. Waterproof vinyl or BOPP often costs more, especially with lamination, foil, expedited production, or special adhesives. Very small test runs may price much higher per piece because setup dominates the order.
The cheapest quote can still be expensive if the labels peel, smear, arrive in the wrong format, or slow down packing. A five-second application problem repeated 10,000 times becomes nearly 14 hours of extra labor. That is the kind of cost that never shows up in the sticker line item.
Multiple designs affect the math too. If several versions share the same diameter, stock, adhesive, finish, and roll format, production is easier to group. If every version changes size or material, the quote usually climbs. Buyers ordering seasonal packaging or limited drops should ask whether artwork versions can be combined to reduce setup time and material waste.
Hidden costs often include:
- Rush production fees
- Proof revisions after artwork changes
- Spot color or color matching requests
- Custom die charges for nonstandard sizes
- Roll core, gap, or unwind requirements
- Machine application testing or setup needs
- Shipping weight, carton count, and packaging format
Quote comparisons only work when the specs match. Quantity, diameter, stock, finish, adhesive, format, delivery date, and proof expectations should be listed clearly. Otherwise, one supplier may appear cheaper simply because the scope is narrower.
That matters when the sticker supports a wider packaging system. A slightly better label can protect the perceived value of custom printed boxes, subscription kits, retail displays, and premium mailers. Cheap in production is not always cheap in operation.
Process and Timeline: From File Upload to Finished Stickers
The order sequence usually runs through quote request, file review, proof, approval, production, quality check, and shipping. The slowest part is often not printing. It is the back-and-forth caused by missing artwork, low-resolution files, unclear dimensions, or late changes after proofing.
A production-ready file should include vector artwork where possible, outlined fonts, correct size notes, bleed, and a clear color expectation. If the design uses a QR code or barcode, it should be tested at final printed size. Raster images need enough resolution for the actual diameter. Screenshots are not a safe shortcut for commercial printing.
Turnaround usually starts after proof approval, not after the first inquiry. That distinction prevents scheduling mistakes. A buyer who sends clean files and approves quickly may move through production with few delays. A buyer who waits several days to answer one proof question can turn a standard run into a launch problem.
Rush orders are sometimes possible, but only under the right conditions. Standard materials, clean artwork, available stock, and simple finishing make speed realistic. Specialty finishes, unusual adhesives, strict color matching, and complex roll requirements slow the job down. Machine-applied labels may also need checks for unwind direction, core size, label gap, roll count, and outside diameter.
Quality control should not stop at “does it look nice?” Useful checks include diameter accuracy, cut registration, color consistency, print sharpness, liner release, adhesive behavior, roll winding, and count accuracy. For small labels, even minor issues become visible quickly because there is nowhere for the mistake to hide.
A sample or short test batch is smart when the sticker is mission-critical. Food packaging, cosmetics, refrigerated items, subscription boxes, and event kits all benefit from that extra check. A quick test can reveal curling, edge lift, color shift, scuffing, or sizing problems before the full run is produced.
Timeline planning is risk control. Every early decision reduces the chance of emergency reprints, overnight freight, repacking labor, or a launch delayed by labeling problems. That is worth more than shaving a day off proof review.
Common Mistakes That Make Round Stickers Look Cheap
The first mistake is usually visual: placing a border too close to the cut edge. Circles are unforgiving. A tiny die shift can make the border look crooked, even when the cut is within normal production tolerance. Safer designs leave breathing room at the edge or avoid hairline borders entirely.
The second mistake is overloading the circle. A round sticker rewards focus. It does not reward paragraphs. If the design tries to explain too much, the type shrinks, the logo loses space, and the whole label starts to look like a warning sticker rather than brand packaging.
Low-resolution artwork is another repeat offender. Files pulled from websites, social media profiles, email signatures, or screenshots may look acceptable on a screen and print soft on press. Thin script fonts and pale gray text make it worse. On small-format labels, contrast is not only a style choice; it is a readability requirement.
Adhesive mismatch can make a good design look cheap in a day. Standard paper stickers may be fine for dry inserts and interior packaging, but they are a poor fit for cold bottles, humid bathrooms, oily jars, freezer packs, or textured containers. Once an edge lifts, the customer notices the failure before the logo.
Finish mismatch creates quieter damage. High gloss can show fingerprints on luxury packaging. Uncoated paper can scuff during transit. Heavy lamination may feel too plastic for a natural product line. The wrong finish changes not just the appearance, but how the sticker ages through real handling.
Proof review also gets rushed. Buyers Should Check spelling, QR code scanning, barcode readability, logo placement, safe zone, final diameter, and material assumptions. A small error on a small sticker is still an error. The cost multiplies when the whole batch needs to be corrected.
“The sticker looked tiny on screen, but once it landed on the jar, the border and type size told the whole story.” That comment usually means the spec was approved before it was tested at real size.
Before You Order Round Logo Stickers
Start with the actual package. Measure the application area, check the curve, and note any seams, lids, ridges, handles, or coated surfaces. Then decide whether the sticker’s main job is to seal, identify, promote, decorate, or carry required information. Those jobs can overlap, but one should lead.
A printed mockup helps more than a digital proof alone. Place an actual-size circle on the product or box, step back, and view it from a normal distance. If the text cannot be read quickly, simplify. If the sticker crosses a seam or bends over a tight curve, change the diameter or rethink the placement.
Gather the basics before asking for a quote: logo files, copy, color references, desired finish, indoor or outdoor use, application surface, roll or sheet preference, expected quantity, and deadline. If the label may face moisture, refrigeration, textured paper, oils, or frequent handling, ask for material guidance before pricing is finalized.
For teams building a broader packaging program, the sticker should align with the rest of the system. The label needs to fit the container, shelf story, packing method, and shipping environment. That means thinking alongside Custom Labels & Tags and Custom Packaging Products, not treating the sticker as a separate island.
If the order is high-stakes, get a real sample and test it on the live product. Leave it in the expected environment. Handle it. Chill it if it will be chilled. Ship a test package if shipping is part of the customer experience. A small test can expose adhesion, color, scuffing, or sizing problems while they are still inexpensive to fix.
That is the cleanest way to Order Custom Printed circle stickers: match design, adhesive, finish, format, and delivery date to the exact way the label will be used. Once those pieces line up, the sticker stops acting like a small accessory and starts functioning as part of the brand.
What size custom round stickers should I order for packaging?
Use 1 to 1.5 inches for simple seals or logo marks, 2 to 3 inches for product labels or short promotional messages, and larger sizes only when the package has enough flat space. Print a paper mockup at actual size and place it on the product before approving the diameter. Leave enough safe area so the design does not feel cramped after cutting.
Are custom circle stickers better on rolls or sheets?
Choose rolls for higher quantities, faster hand application, dispenser use, or machine labeling. Choose sheets for small batches, event handouts, retail inserts, or designs that need easy storage and sharing. If the stickers will run through a labeling machine, confirm unwind direction, core size, label gap, and roll outside diameter before production.
What material is best for waterproof round stickers?
Vinyl or BOPP is usually better than standard paper when stickers face moisture, oils, refrigeration, or frequent handling. Add gloss or matte lamination when the print needs extra scuff and splash resistance. Test the sticker on the real container because adhesive performance changes on glass, plastic, metal, coated paper, and curved surfaces.
How much do custom printed circle labels usually cost?
Cost depends on quantity, size, material, finish, adhesive, format, artwork setup, and turnaround speed. Per-sticker pricing usually drops as quantity increases because setup and production time are spread across more units. Ask for quotes at two or three quantity levels if you are deciding between a test run and a larger reorder.
How do I prepare artwork for custom printed circle stickers?
Send vector artwork when possible, outline fonts, include bleed, and keep important text or logos inside the safe zone. Avoid thin borders near the cut edge because small cutting shifts are more visible on circles. Check QR codes, barcodes, spelling, color expectations, and actual-size readability before approving the proof.

