Personalized Labels for Bottles: What Actually Changes
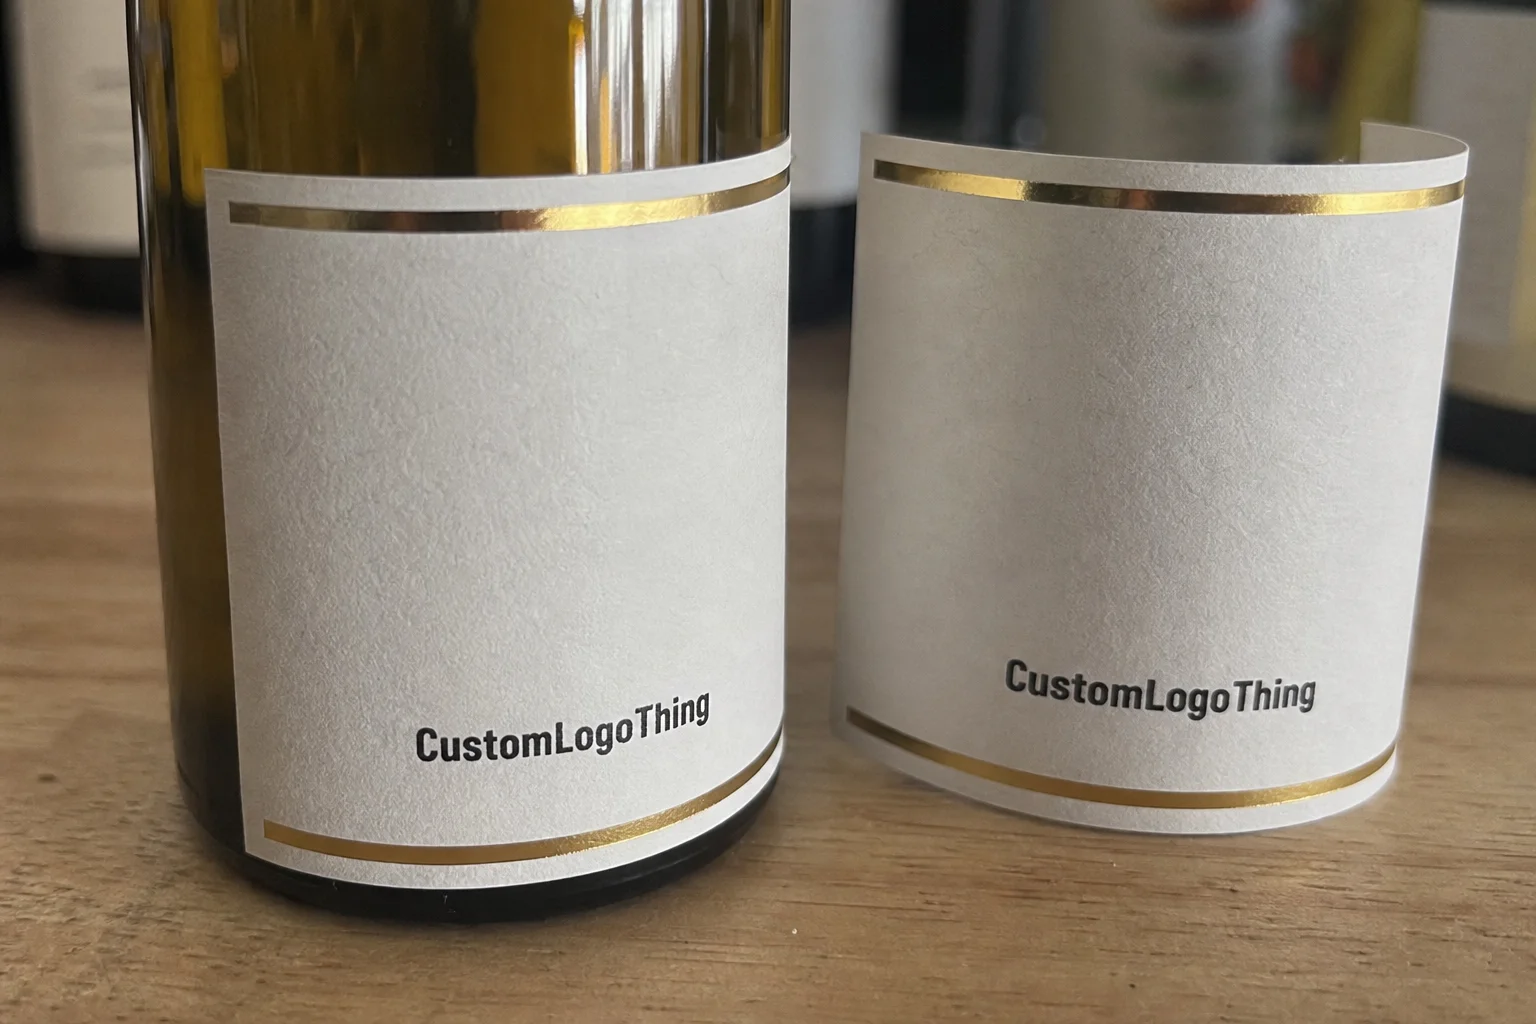
Personalized labels for bottles look simple until the first cold cycle, shipment, or handling pass exposes the weak point. The artwork may be right. The print can be crisp. The failure usually comes from the layer nobody sees on a mockup: the face stock, adhesive, finish, and how that combination behaves on a real container.
That matters because bottles are not uniform surfaces. Glass behaves differently from PET, which behaves differently from HDPE. A straight-sided bottle gives a label more room to settle than a tapered one. Add condensation, abrasion in transit, or repeated handling, and the label becomes a small materials problem rather than a design exercise.
Most buyers end up choosing among four common constructions. Pressure-sensitive labels are the workhorse option for short and medium runs. Wraparound labels cover more of the body and suit cylindrical containers. Shrink sleeves conform to curved or irregular bottles and can deliver full coverage. Specialty builds use clear film, foil accents, soft-touch finishes, or heavy lamination for a more deliberate shelf presence.
The best starting point is not the graphic file. It is the use case. A bottle that sits on a dry retail shelf needs a different specification than one that spends time in a cooler, ice bucket, warehouse, or repeated reuse cycle. That is where buying decisions get expensive if the environment is guessed instead of defined.
A label that survives a studio proof but fails in refrigeration was specified for appearance, not for use.
If the label has to stay presentable through moisture, scuffing, and distribution, the material choice should lead the discussion. The design follows that decision, not the other way around.
How Bottle Labels Are Made
The production path is more disciplined than most people expect. It starts with artwork review, then file cleanup, then proofing, then press setup. Any error caught after that point costs more time and money than it should.
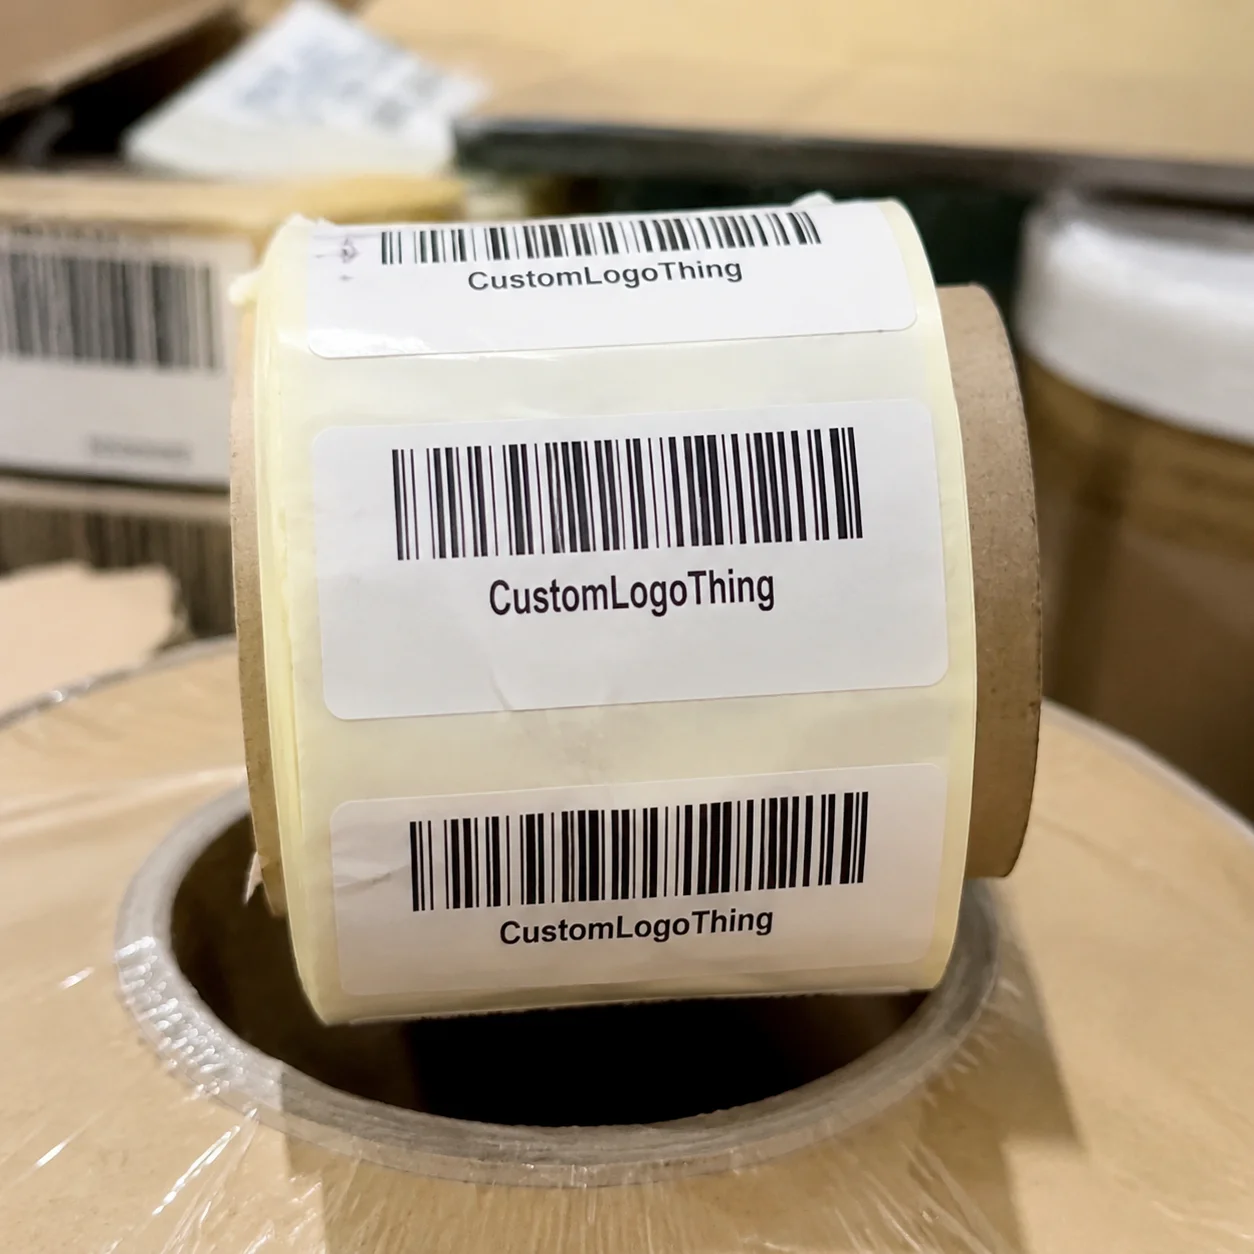
Prepress checks usually include trim, bleed, dieline fit, font conversion, image resolution, and barcode contrast if the label carries scannable codes. On bottle work, dieline accuracy deserves extra attention because even a small dimension mistake can produce lift at the edges or cause the label to bridge over a curve. If the container tapers, that needs to be in the spec from the beginning. A straight label size on a tapered bottle is a common and avoidable error.
Digital printing is often the practical choice for short runs, launches, and designs that change often. It also handles variable data and fast proof cycles well. Flexographic printing usually makes more sense for higher volumes and repeatable artwork because setup cost is spread across more units. Neither process is automatically better. The right choice depends on quantity, finish count, and how stable the design really is.
After printing, the labels are die cut, rewound or sheeted, and packaged for application. That finish step matters. A clean die line keeps edges consistent and reduces the chance of corner lift, especially on narrow bottles or containers with pronounced curvature. For automated application, roll direction, core size, and unwind orientation need to match the applicator. If they do not, the label may technically be correct and still run poorly.
The adhesive is chosen before production starts. It is matched to the container surface, not selected later as a fix. A supplier should ask whether the bottle is glass, PET, HDPE, or coated material, because each surface interacts differently with adhesion and flex.
Proofing is the checkpoint that saves reprints. A digital proof confirms content and layout. A press proof or sample run is better for color, gloss, foil, and clear film, especially where brand color accuracy is non-negotiable. That step is not administrative overhead. It is a quality-control gate.
What Drives Performance on Bottles
Performance starts with the surface. Glass is often more predictable than textured plastic, but it still changes behavior once moisture and temperature shifts enter the picture. PET and HDPE bring their own issues. Surface energy, flexibility, and curvature all affect how securely the adhesive grabs.
Condensation is the issue that exposes weak specs fastest. A label can hold fine in a dry room and fail once it is pulled from refrigeration. If the bottle will be chilled or sit in an ice bucket, ask for a moisture-resistant adhesive and a film face stock rather than standard paper. In those conditions, paper can soften, wrinkle, or show edge wear faster than the brand expects.
Face stock selection is usually a trade-off between cost and resilience:
- Paper: practical for dry shelf products, short runs, and lower-cost applications.
- BOPP film: better for moisture, scuff resistance, and cleaner edge stability.
- Vinyl or specialty film: useful for unusual shapes or harsher handling.
- Clear film: works well when the label should feel minimal and let the container show through.
Finish changes both appearance and durability. Gloss tends to deepen color and hide minor print variation. Matte softens the look and can feel more premium, though it may reveal scuffs sooner in a high-contact environment. Soft-touch lamination gives a different tactile effect altogether, but it adds cost and can affect how a roll moves through an applicator.
For buyers, the right question is practical: what does the bottle actually encounter? Cold storage, oily hands, friction in shipment, or repeated opening and closing matter more than a flat sample under good light. Shipping standards such as ISTA can be useful reference points if you want to think about handling stress rather than only shelf appearance.
That is why the material decision and the use environment belong in the same conversation. A premium label that lifts after one refrigeration cycle is not premium. It is just expensive.
Cost, MOQ, and Pricing Reality
Five variables usually drive price: size, shape, quantity, material, and finishing. Add foil, lamination, heavy ink coverage, clear stock, or an unusual die cut and the unit cost moves quickly. That is expected. A simple pressure-sensitive label should not price like a multi-step specialty build.
Small runs cost more per label because setup time is spread across fewer pieces. Larger runs bring the unit price down, but only if the spec stays stable. If the stock, finish, or shape changes, part of that volume advantage disappears. Buyers often save time by asking for quotes at two or three quantities instead of taking one number as the answer.
As a working range, plain digital label jobs at moderate quantities often land around $0.12-$0.30 per label. More complex builds with film stock, lamination, or foil can move into $0.25-$0.60+ depending on size and coverage. Very short runs can cost more than that, while large flexographic orders can drop below those ranges. These are planning numbers, not fixed quotes. Bottle size, coverage, and finishing complexity change the math fast.
Minimum order quantities vary the same way. A digital run can often start at a lower minimum because the setup burden is lighter. Flexographic jobs usually require more commitment, especially if tooling or specialty finishing is involved. When comparing quotes, check whether proofing, die cutting, finishing, shipping, and rerun corrections are included. A lower headline price can become the costly option once the missing pieces are added back in.
| Option | Best For | Typical Strength | Cost Behavior |
|---|---|---|---|
| Digital pressure-sensitive labels | Short runs, launch programs, frequent artwork changes | Fast setup and flexible proofing | Higher unit cost at very low quantities, then improves with volume |
| Flexographic labels | Longer runs and repeat orders | Efficient at scale | Lower unit cost over larger volumes, higher setup commitment |
| Shrink sleeves | Curved bottles and full-body branding | Strong shelf impact and contour coverage | Usually higher because of more process steps |
| Film labels with lamination | Coolers, transport, and scuff resistance | Durability and moisture protection | Mid to higher cost depending on finish and coverage |
If labels are part of a broader packaging program, keeping the spec language consistent across items matters. In those cases, a supplier that also handles related components such as tags or companion inserts can reduce approval friction. A catalog-style reference such as Custom Labels & Tags can help buyers compare construction options before they lock the spec.
Timeline From Artwork to Shipment
A typical order follows a fairly predictable sequence: submit specs, review the proof, approve the layout, produce, finish, inspect, and ship. The schedule usually slips on the buyer side, not the production side. Missing bottle dimensions or unclear artwork files can stop the order before it reaches press.
Most delays come from small preventable problems. Low-resolution images produce soft edges. Unoutlined fonts can shift if the file is opened differently than expected. A missing dieline forces guesswork. If the bottle is tapered or irregular, that needs to be documented clearly because a flat rectangular label dimension will not behave the same way on a curved body panel.
Turnaround depends on method and complexity. Straightforward digital work can often move in about 5-10 business days after proof approval if materials are available. More complex builds, custom shapes, specialty finishes, or larger flexographic runs often take 10-20 business days or longer. Shipping time sits on top of that. Tooling or unusual stock can extend the schedule further.
There is one simple way to protect lead time: send complete information the first time. Bottle dimensions, label size, artwork files, quantity, target surface, expected environment, and application method are enough to remove a surprising amount of back-and-forth. If the order needs to move quickly, request a proof and a sample build together. That gives you a layout check and a real-world test on the actual bottle, not on a screen.
If paper stock is part of the spec and sustainability documentation matters, sources such as FSC can help buyers think clearly about material sourcing without turning the order into a branding exercise.
Ordering Checklist That Prevents Rework
Before placing an order, reduce the job to facts. That keeps the conversation precise and avoids drift between sales, prepress, and production. A one-page spec sheet is usually enough.
- Measure bottle diameter, panel width, and label height.
- Note whether the bottle is straight, tapered, square, or highly curved.
- Record the surface material: glass, PET, HDPE, coated stock, or another substrate.
- Define the environment: shelf, cooler, freezer edge, shipping carton, or reuse cycle.
- Choose the label style: pressure-sensitive, wraparound, shrink sleeve, or specialty build.
- State the finish: matte, gloss, soft-touch, clear, foil, or laminated.
- Prepare artwork with bleed, safe area, and correct color expectations.
Once those items are fixed, the quote becomes easier to judge. A label for a dry cosmetic bottle is not the same job as a label for a chilled beverage bottle. They should not be priced, tested, or approved as if they were interchangeable.
Artwork needs the same discipline. Keep small text legible. Avoid thin reverse type on busy backgrounds. Make sure barcodes and QR codes are sized for the actual print scale, not just the screen mockup. If the code has to scan in a warehouse or retail setting, test it after print rather than assuming digital files will translate cleanly.
A short sample run is often the cheapest quality-control step available. It can reveal adhesion problems, layout mistakes, and finish issues before a full order is produced. That is a far better place to find a defect than on a finished product run.
Failure Points That Cause Peeling, Wrinkles, and Smudging
The biggest mistake is choosing stock before the bottle conditions are understood. Paper may be fine for a room-temperature shelf item and wrong for a cooler. A strong adhesive may hold on glass and behave differently on textured plastic. Without surface and environment data, the spec is guesswork.
Artwork problems create a second layer of risk. Small type can fill in. Fonts can shift if they are not outlined. A missing bleed can leave a white edge after die cutting. Weak contrast makes the label harder to read once the bottle has fingerprints, condensation, or light scuffing.
Wrinkles usually point to fit or application issues. A label that is too large for a curved panel can bridge and crease. A label that is too stiff for the bottle contour may lift at the corners. On automated lines, roll direction and unwind orientation matter as much as the label design. A correct label wound the wrong way can still apply badly.
Smudging is often a finish or curing issue. If the bottle will be packed tightly, touched frequently, or shipped long distances, scuff resistance becomes a real requirement. That is where lamination or a tougher film stock pays for itself. If the labels will live in moisture, a finish that looks fine in a dry sample may break down faster than expected.
The lowest quote can become the most expensive choice if it leads to reprints, product waste, or shelf failures.
Testing on the actual bottle matters more than approving a flat sample. Curvature, temperature, and container material change adhesion and appearance. A tabletop test does not simulate real use.
Practical Tips Before You Order
If the bottle will be chilled, washed, transported in tight packs, or reused, ask for a sample or short test run before committing to volume. That step catches adhesion and fit problems early. It is cheaper to find a flaw in a test batch than to rework a finished order.
Build a comparison sheet so every quote is judged on the same basis. Include face stock, adhesive type, finish, print method, proofing steps, quantity, and shipping terms. If one vendor quotes laminated BOPP and another quotes plain paper, the prices are not directly comparable even if the unit number looks close.
It also helps to think through the full path the bottle will take. A label may leave production looking sharp, then face a cooler, a warehouse, a retail shelf, and repeated consumer handling. The entire route matters. That is where practical test data and direct questions are more useful than polished sales language.
My working view is straightforward: personalized labels for bottles are a branding asset, but they are also a packaging-spec decision. Measure the container, define the environment, verify the artwork, and test the label on the actual bottle before you place the full order. That is the shortest route to Labels That Stay Put, hold color, and perform the way they were specified.
What materials work best for personalized bottle labels in cold or wet conditions?
BOPP and other film stocks usually perform better than paper when condensation is part of the environment. A moisture-resistant adhesive helps reduce edge lift on chilled glass or plastic, and a lamination or protective finish can add scuff resistance for cooler storage and transport.
How do I choose the right adhesive for bottle labels?
Match the adhesive to the bottle surface, because glass, PET, HDPE, and textured containers all behave differently. If the bottle will be refrigerated or exposed to moisture, ask for an adhesive designed to hold under condensation. If the bottle will be reused, decide whether a permanent or removable bond makes more sense for the product cycle.
What is a normal MOQ for personalized labels for bottles?
MOQ varies by print method, size, and finishing, so there is no single standard number. Digital runs can often start lower than flexographic runs because setup requirements are lighter. The best comparison is to request pricing at two or three quantities and see where the unit cost drops most.
How long does it usually take to produce custom bottle labels?
Timeline depends on proof approval, material availability, print method, and finishing complexity. Simple digital jobs usually move faster than specialty builds with multiple finishes or custom shapes. Fast approval from the buyer side is often the biggest factor in protecting lead time.
Can I test personalized bottle labels before placing a full order?
Yes, and for chilled or high-handling bottles, testing is one of the smartest steps you can take. A short sample run can reveal adhesion issues, color shifts, or fit problems before production. Testing on the actual bottle is far more useful than approving a label on a flat sheet alone.