Personalized Mailer Boxes: How to Order the Right Fit
Personalized mailer boxes do three jobs at once: they protect the product, carry the brand, and shape the customer’s first physical impression before the lid even opens. That mix is what separates them from an ordinary shipping carton. The useful details are the ones that tend to get glossed over at the start: internal dimensions, board grade, tuck style, print coverage, and whether inserts are needed to keep the contents from shifting in transit.
The most reliable way to approach the order is straightforward. Fit the structure to the product first, then build the branding around that structure. For Ecommerce Brands That care about presentation, a mailer box usually delivers more value than a plain shipper. For fragile, premium, or gift-ready products, it also creates a cleaner unboxing path than a poly mailer. Soft goods with very low breakage risk can still be a better fit for Custom Poly Mailers. Everything else usually benefits from the added stiffness and brand surface of a box.
What Personalized Mailer Boxes Actually Are
A mailer box is a folding carton built to ship flat and assemble quickly with tuck flaps rather than tape-heavy construction. It sits between a basic shipping carton and a rigid presentation box. That middle ground is why it shows up so often in ecommerce, subscription packaging, influencer kits, retail sets, and small-batch product launches. It offers more structure than a bag or envelope, but it does not carry the cost or weight of a rigid setup box.
The real specifications matter more than the sales language. Internal dimensions determine whether the product fits without force. Board strength determines whether the box holds its shape during packing, stacking, and parcel handling. Tuck style changes how the lid opens and how much panel movement the box has once it is closed. Print area decides how much of the branding is visible after folds, seams, and flaps are accounted for. If the product can move inside the carton, inserts stop it from sliding into a loose, underfilled look.
Common board choices usually start with corrugated material, often E-flute for a thinner, cleaner profile or B-flute when the packout needs more crush resistance. The right choice depends on what the box is carrying, how far it ships, and how much abuse it is likely to see in transit. A lightweight skincare kit and a heavier candle set do not need the same structure, even if the artwork looks similar.
Personalized mailer boxes work well for branded ecommerce because they make the packaging feel intentional without making the order overly expensive. They are also practical for teams that need repeatable assembly and consistent print results. If the product is soft, low-value, and not judged by packaging presentation, a simpler format may still be enough. Not every shipment needs to perform like a gift box.
How the Box-Building Process Works
The process should start with the product, not the artwork. Measure the packed item first, including sleeves, tissue, inserts, protective wraps, or any accessory that ships with it. Then account for clearance. A box that fits on paper can still be awkward in practice if the customer has to tug the product out of the tray or if the lid presses against the contents.
Once the dimensions are set, the supplier usually provides a dieline. That template marks folds, glue zones, bleed, and safe areas. It is the working map for the artwork. A logo placed too close to a score line can split awkwardly after folding. A background that ignores flap overlap can look clean in a mockup and clumsy on the finished box. Good proofs catch that before production begins.
The print method shapes both the appearance and the economics. Digital printing is common for shorter runs because it reduces setup time and handles artwork changes more easily. Flexographic printing can be efficient for larger quantities, especially if the graphics are simple and repeatable. Litho-laminated construction gives a sharper retail look, but the finish adds cost, handling steps, and lead time. There is no universal best option. The right choice depends on the mix of unit price, visual quality, and volume.
Fit testing matters more than many first-time buyers expect. A flat PDF proof can confirm artwork placement, but it will not tell you whether the insert is too tight or whether the lid catches the product during opening. A physical sample catches those problems before the full run is locked in.
If the product sits close to the edges or includes a fragile accessory, approve a sample before production. A digital proof cannot show packing tension, flap interference, or how the box behaves after repeated handling.
For buyers concerned with transit performance, it is worth asking whether the structure should be checked against an industry shipping standard such as ISTA procedures. If the material story matters, ask for FSC-certified board through FSC. Those questions are not decorative. They affect the actual order, from material selection to how the box will perform after packing.
Pricing Drivers That Change the Quote
Mailer box pricing usually comes from a stack of small decisions, not a single headline number. Size is the first driver because larger boxes consume more board and often increase freight costs too. Board grade comes next. A lighter structure may be fine for apparel or paper goods, but once the product gets heavier or more fragile, moving to a stronger board is usually cheaper than dealing with damage, replacement, and customer complaints.
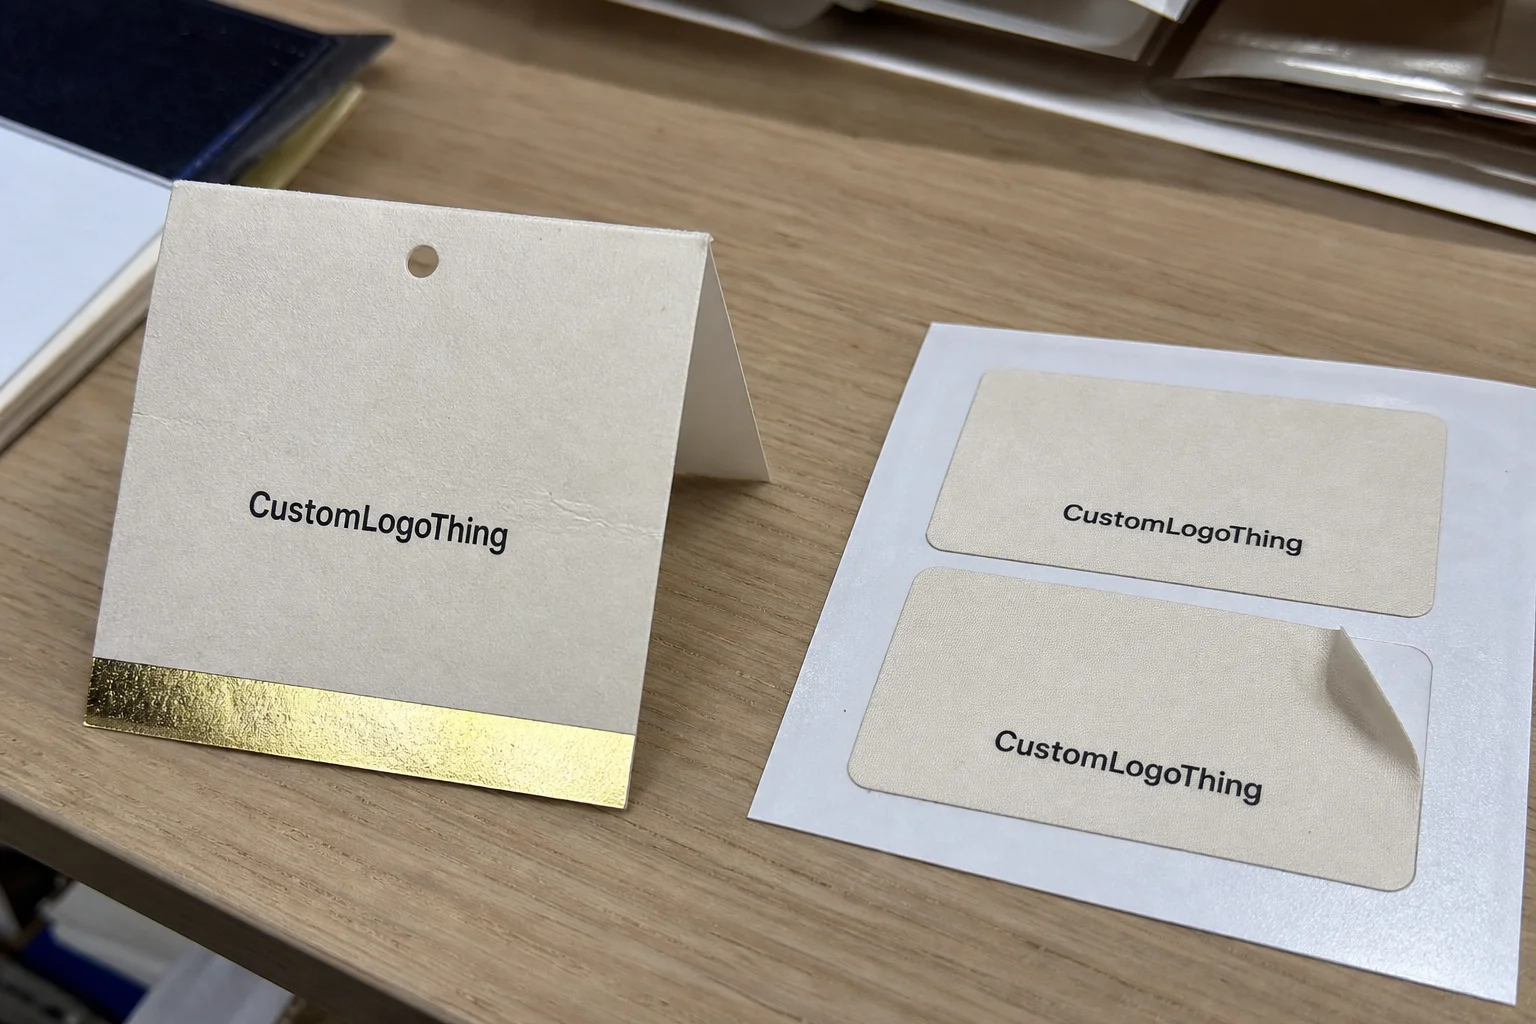
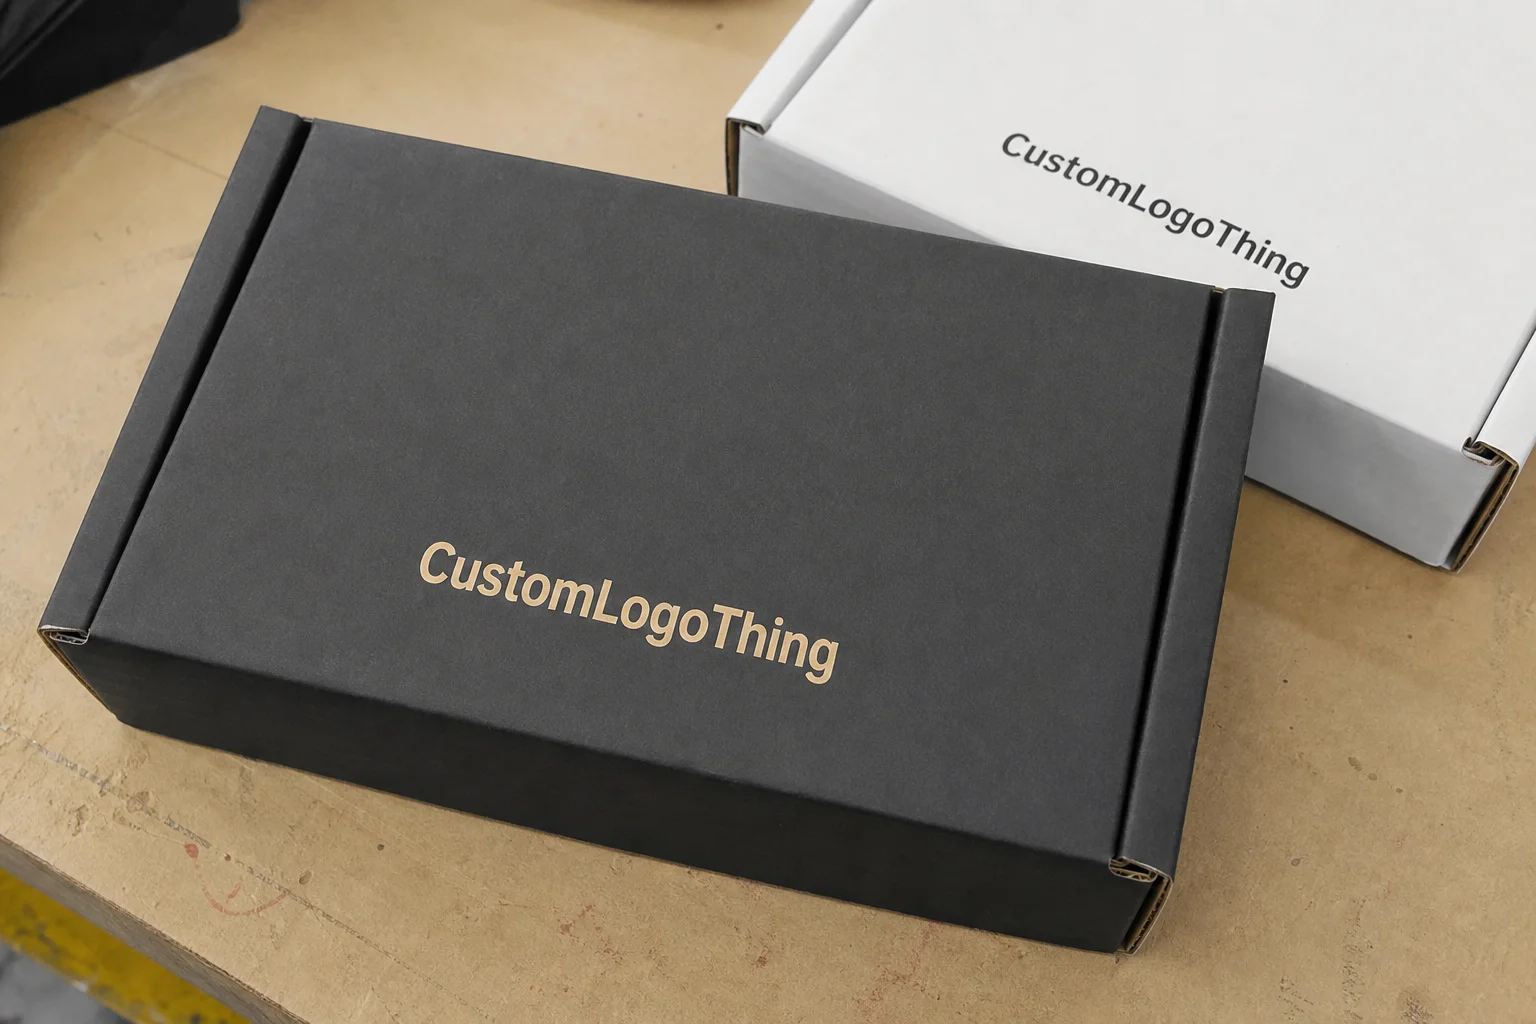
Print coverage also changes the quote more than many buyers expect. A one-color logo on kraft board is usually simpler and less expensive than full-coverage CMYK art, especially when the design uses dark backgrounds or heavy ink coverage. Finishes add their own cost layer. Matte lamination, gloss lamination, soft-touch coating, foil stamping, and spot UV all require extra steps. Inserts can be a small add-on for basic paperboard dividers, or a major cost jump if the product needs a custom-formed structure.
Quantity changes the pricing curve, but not in a neat straight line. Unit cost usually drops as the run gets larger because setup costs are spread across more boxes. The first jump in quantity often creates the biggest savings, then the curve flattens. That is why a 1,000-piece order can feel relatively expensive while a 5,000-piece order looks much more efficient. MOQ thresholds are the practical constraint here. They help production stay efficient, but they can also place small runs into a higher cost bracket than buyers expected.
| Option | Best For | Typical Cost Impact | Tradeoff |
|---|---|---|---|
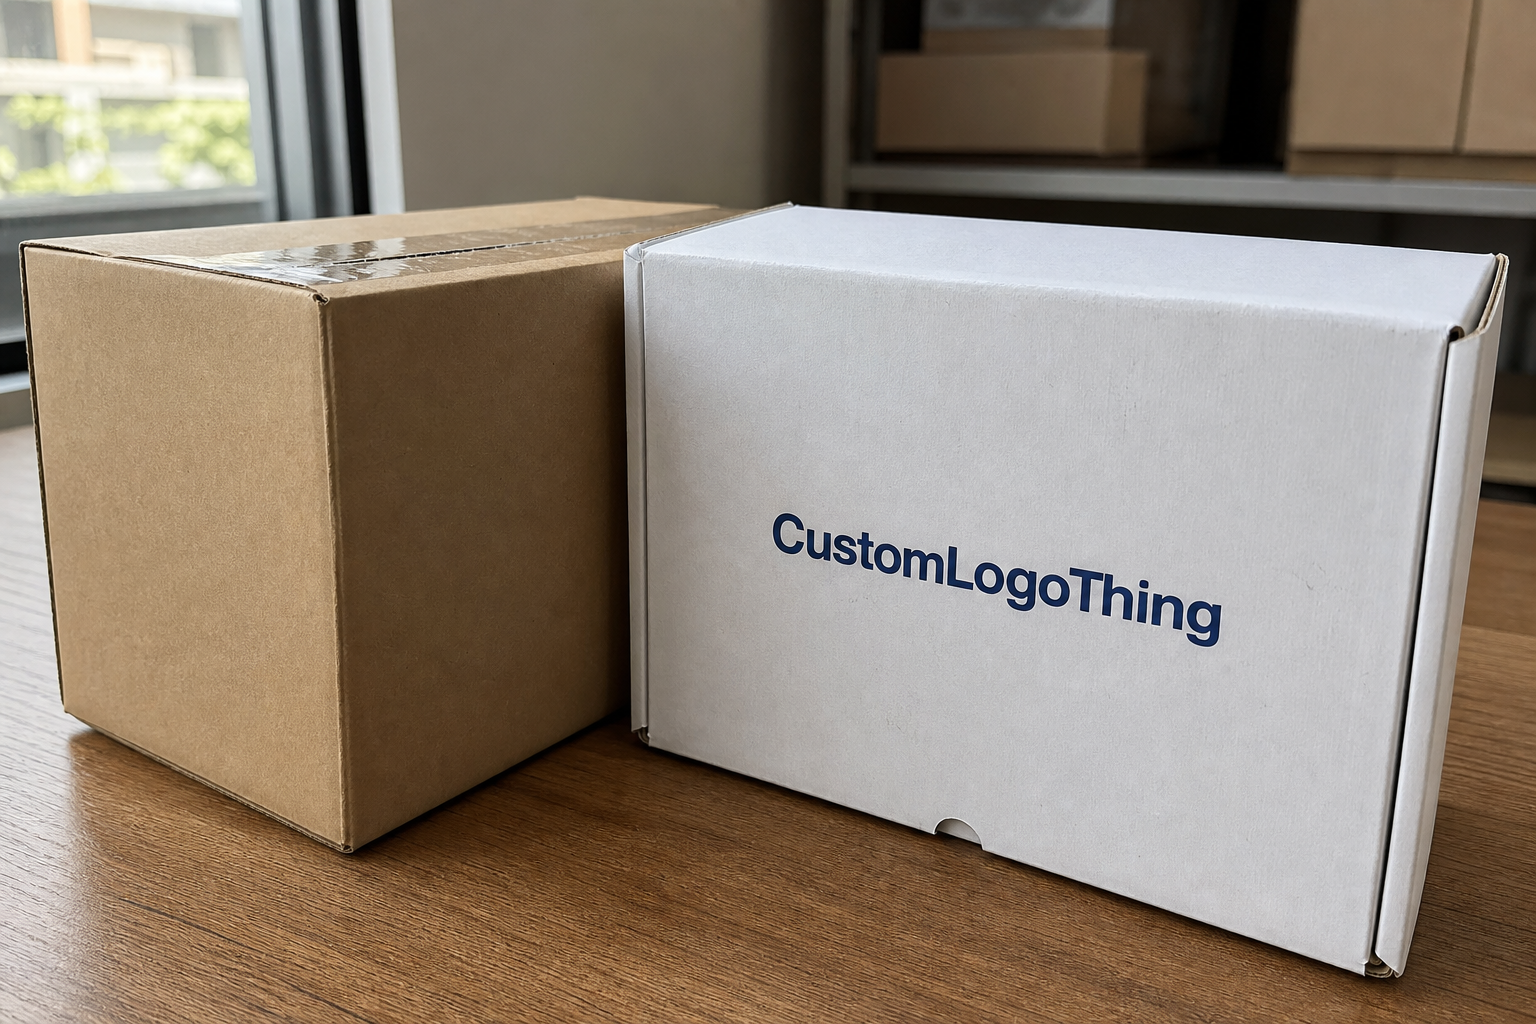
| Kraft mailer with one-color print | Simple ecommerce shipments, natural-brand look | Lowest among printed options | Less visual contrast, fewer premium cues |
| White board with full-color print | Bright graphics, detailed branding, retail feel | Moderate increase | More sensitive to scuffs and color variation |
| Laminated mailer with special finish | Premium launches, gift sets, high perceived value | Higher unit cost | More setup, longer lead time, more finishing risk |
| Mailer with custom insert | Kits, fragile items, multi-part products | Often the largest add-on | Extra tooling and tighter fit requirements |
There are a few dependable ways to keep cost under control without making the packaging feel stripped down. Standardize dimensions where possible. Use interior print only where the customer will actually see it. Keep foil to one panel instead of wrapping the whole box in reflective decoration. If the design does not need a full dark flood coat, do not pay for one just because it looks striking in a render.
Freight can distort the landed cost as much as the box price itself. Oversized cartons take more space. Parcel and air shipping punish dimensional weight. A mailer that saves a few cents in manufacturing can cost more overall if it ships inefficiently. The best quote is not always the lowest box price; it is the lowest total cost once packing, transit, and damage risk are included.
Production Steps and Typical Turnaround
A standard order usually moves through the same sequence: brief, dieline, artwork, proof, sample, production, and shipping. The longest delay is often not the press run. It is the approval stage before production starts. If measurements are incomplete or artwork needs cleanup, the schedule slips before anything reaches the floor.
For a straightforward job, proofing may take one to three business days. If a physical sample is needed, five to ten business days is a more realistic range. A standard production run often takes roughly 12 to 15 business days after approval. More complex builds can take longer, especially when the order includes inserts, specialty coatings, thick board, or litho-laminated construction. Lead time should be treated as a process, not a promise that magically holds under every condition.
Several things can stretch the timeline. Artwork corrections are common. Sample revisions happen more often than buyers expect. Material shortages, equipment scheduling, and shipping congestion can all add time. Packaging teams reduce those risks by confirming opening direction, panel orientation, and print placement before release. Those details sound small until a logo ends up on the wrong face or the box opens opposite the way the packout was designed to work.
Rush production is sometimes possible, but it usually comes with tradeoffs. The job may need simpler print, less complex finishing, or reduced testing. If the launch date is fixed, build a buffer into the calendar instead of counting on a compressed schedule to hold perfectly.
Common Ordering Mistakes That Create Waste
The most expensive mistake is getting the internal size wrong. Too loose, and the product shifts, corners wear, and the package feels cheap. Too tight, and the customer has to fight the carton or risk damaging the item during removal. Buyers often send outside dimensions because those are easier to remember, but outside dimensions do not describe usable space. The inside fit is what matters.
Accessories are another common blind spot. A box that fits the main product perfectly may fail once tissue, a charger, a card, or a small insert is included. Then the lid bulges or the contents move during shipping. The right test is the full packout, not the naked product.
Artwork mistakes are just as costly. Small type disappears on busy backgrounds. Low-contrast logos vanish on kraft board. Graphics that cross fold lines or glue zones can look off once assembled. If the box has multiple panels, the file has to respect the structure, not only the flat artwork on the screen.
Sample approval is where a lot of waste is prevented. It is not a formality. It is the only chance to catch fit problems, print placement issues, and handling quirks before the whole run is committed. If the product includes fragile parts, sample testing should be treated as part of the order, not an optional extra.
A render can look right and still fail in hand. If the insert is 3 mm too tight, the customer will notice immediately.
It also helps to compare packaging systems instead of judging the box in isolation. Sometimes the right answer is a simpler structure paired with stronger external branding elsewhere. Sometimes the better choice is a sturdier mailer that reduces damage and replacement costs. The best result is the one that fits the product, the budget, and the launch plan without creating cleanup work later.
Expert Specs That Make Packaging Feel Premium
Premium packaging does not always require expensive materials. It usually requires decisions that feel deliberate. Customers notice the opening experience first: the feel of the board, the resistance of the lid, the contrast between print and substrate, and whether the inside looks considered rather than empty. Those details often do more for perceived value than oversized graphics.
Matte finishes usually read cleaner and more restrained. Gloss delivers brighter color and a more reflective look, but it can show scuffs more easily. Soft-touch lamination adds a tactile, almost velvety feel, though it increases cost and is not the right choice for every brand. Foil accents are strongest when they are used sparingly. A small mark on the lid can look refined. Foil across every surface can feel overworked.
Interior branding is especially effective when unboxing matters. A printed lid interior, a short message, or a subtle pattern adds a reveal without changing the carton structure. Inserts and compartments do something similar. They make a mid-priced box feel orderly and intentional, which is useful for kits, skincare sets, candles, and products with several components.
Sustainability should stay tied to material reality, not slogans. Recyclable board, FSC-certified material, and fewer mixed-material components usually make more sense than decorative extras that add waste without adding value. Water-based inks and sensible finishes can help, but the bigger improvement is structural efficiency: right-size the box and use less material from the start. That is the part that matters most, even if it is less visible in a marketing deck.
Consistency matters too, especially for brands that reorder frequently. Keep board spec, finish, and print standards stable across runs so the customer sees the same product every time. A box that changes tone, texture, or brightness from one restock to the next can make the packaging feel unreliable even when the product inside is unchanged.
Next Steps Before You Request a Quote
Before asking for pricing, gather the non-negotiables. Product length, width, and height. Quantity. Shipping method. Launch date. Insert requirements. If the packaging goal is already clear, say so plainly: protection first, presentation first, or a balance of both. That answer changes the spec more than most buyers realize.
A useful brief does not need to be long. It needs to be complete. Include the artwork format, finish preference, print coverage, and any brand color standards. If there is a Pantone target, send it early. Correcting color after production starts is slower, more expensive, and usually less pleasant than anyone expects.
Use the same questions when comparing quotes:
- What is the MOQ?
- How do unit prices change at higher volumes?
- What is the proofing process?
- Is a physical sample included or extra?
- What is the expected lead time after approval?
- How are freight terms handled?
If you are comparing formats, bring the decision back to function. Review Custom Packaging Products if you want to compare structures, or move directly to a specific format if the product already points to a clear answer. The right personalized mailer boxes order is the one that fits the product, the budget, and the schedule without creating correction work later. Measure first, confirm the branding goal, set the timeline, and approve a sample before committing to volume. That is how the order stays clean.
What size should personalized mailer boxes be for my product?
Start with the product’s exact length, width, and height, then add only the clearance needed for safe packing and easy removal. If you use tissue, inserts, or a sleeve, include that thickness in the measurement. Ask for an inside-dimension recommendation rather than relying on a box name or outside size.
How much do personalized mailer boxes usually cost?
Price depends mainly on quantity, size, print coverage, board strength, and finish selection. Lower-volume orders usually carry a higher unit cost because setup is spread across fewer boxes. Freight can change the real landed cost more than buyers expect, especially for bulky cartons.
How long does it take to produce personalized mailer boxes?
Lead time usually depends on proof approval, sample needs, and how complex the print and finish are. Simple runs move faster than jobs with inserts, heavy coverage, or specialty coating. Rush orders can be possible, but they usually trade away flexibility, cost efficiency, or both.
Are personalized mailer boxes better than poly mailers for ecommerce?
Use mailer boxes when protection, presentation, or unboxing value matters more than the lowest shipping cost. Poly mailers make sense for soft goods and low-fragility products, but they do not deliver the same brand feel. If damage rates or customer perception are a concern, the sturdier format usually wins.
What files do I need to order personalized mailer boxes?
A dieline is the starting point, along with vector artwork for the logo and any print elements. Provide bleed, safe zone, and color references so the printer can build an accurate proof. If you have brand standards, send them early. Fixing color later is slower and more expensive.