Personalized mailing labels look simple until the wrong size, adhesive, or finish turns a cheap consumable into a packing problem. For clothing shipments, that little label does more than identify a package. It affects pack-line speed, the look of the parcel on arrival, and whether the brand feels deliberate or thrown together.
That is why personalized mailing labels deserve an actual buying process, not a rushed upload and a hopeful shrug. Treat them like a packaging spec instead of a last-minute sticker and you get fewer reprints, cleaner fulfillment, and a stronger first impression on the customer side. The label is inexpensive. The mistakes are not.
What personalized mailing labels do for clothing shipments
Personalized mailing labels are printed labels used on mailers, cartons, tissue wraps, return envelopes, or outgoing parcels to identify a brand, address, campaign, or product line. Some are purely functional, like a return address label. Others carry more brand weight with a logo, color system, QR code, or seasonal message. Same category, different job.
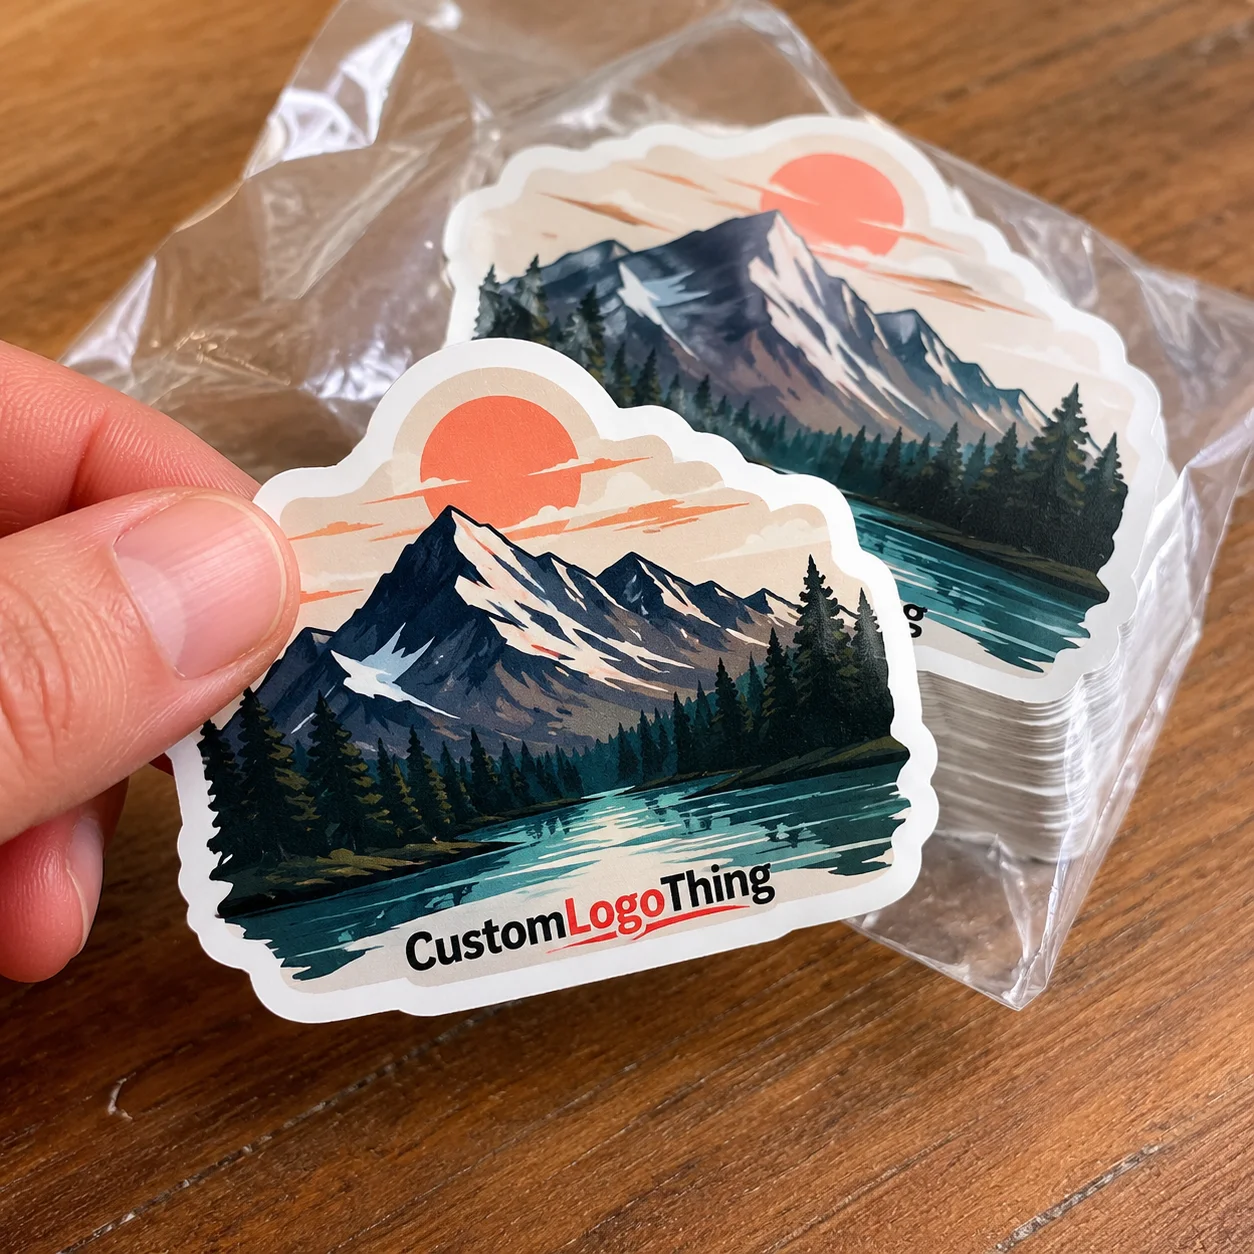
Apparel brands care more than most businesses because every shipment is a small brand moment. A clean label on a poly mailer or shipping box says the order was handled with care. A crooked label, smeared ink, or peeling corner makes the whole package feel rushed, even if the product inside is fine. Small packaging details quietly shape perceived quality.
The use cases are broader than many buyers expect. Personalized mailing labels work well for launches, subscription boxes, wholesale shipments, influencer kits, return envelopes, and seasonal promotions. They also help when you want one label family to cover multiple packaging formats instead of redesigning every touchpoint from scratch.
If you are building a fuller packaging system, it helps to coordinate labels with Custom Labels & Tags and the outer mailer itself through Custom Poly Mailers. Consistency is not flashy, but customers notice it before they can explain why.
There is also a practical side. A label that carries both branding and logistics can replace separate elements on the pack table. That saves seconds on each order, and seconds become labor cost fast when volume climbs. The point is not decoration for its own sake. The point is fewer decisions per shipment.
How personalized mailing labels move through production
The workflow is straightforward, but the details matter. It usually starts with artwork upload, then proof review, then print production, finishing, cutting, packing, and shipping. If any one of those steps is fuzzy, the order slows down. The fastest jobs are the ones where the file is print-ready and the spec is locked before production starts.
What changes the final result most? Four things: the label shape, the print method, the stock, and the adhesive. A square paper label behaves differently from a die-cut vinyl label on a glossy mailer. Sheets, rolls, and singles also change how the order is handled. Rolls are built for speed. Sheets are friendlier for smaller teams. Singles make sense for unusual packaging or inserts.
Buyers usually need to supply the logo file, return address copy, barcode or QR content if needed, label dimensions, and placement instructions. If the label has to fit a specific mailer panel, say so early. A design that looks balanced on screen can become awkward once it meets a seam, fold, or barcode quiet zone on the actual package.
For clothing shipments, dust, fabric lint, humidity, and cold storage can affect adhesive and ink performance. That is not a dramatic edge case. It is normal warehouse life. If the labels are meant to survive parcel handling and transit abuse, ask whether the material has been tested for rough shipping conditions. Standards from groups like ISTA are a useful reference when you want to think beyond the mockup.
Production also depends on how the file is built. A flattened PDF with outlined fonts and embedded images usually causes fewer headaches than a loose design package with missing links. If there is a barcode, keep its contrast high and leave the quiet zone alone. If the label includes a logo over a color field, check that the smallest text still reads at arm’s length. The press does not care that it looked fine on a monitor.
Materials, adhesive, and finish choices that matter
Stock choice is where a lot of people underthink the job. For short-run indoor use, paper labels are usually fine. For moisture resistance, handling exposure, or a package that may sit in a damp bag or warehouse, synthetic labels perform better. Premium paper or specialty film works when the label itself is part of the brand presentation, not just an information carrier.
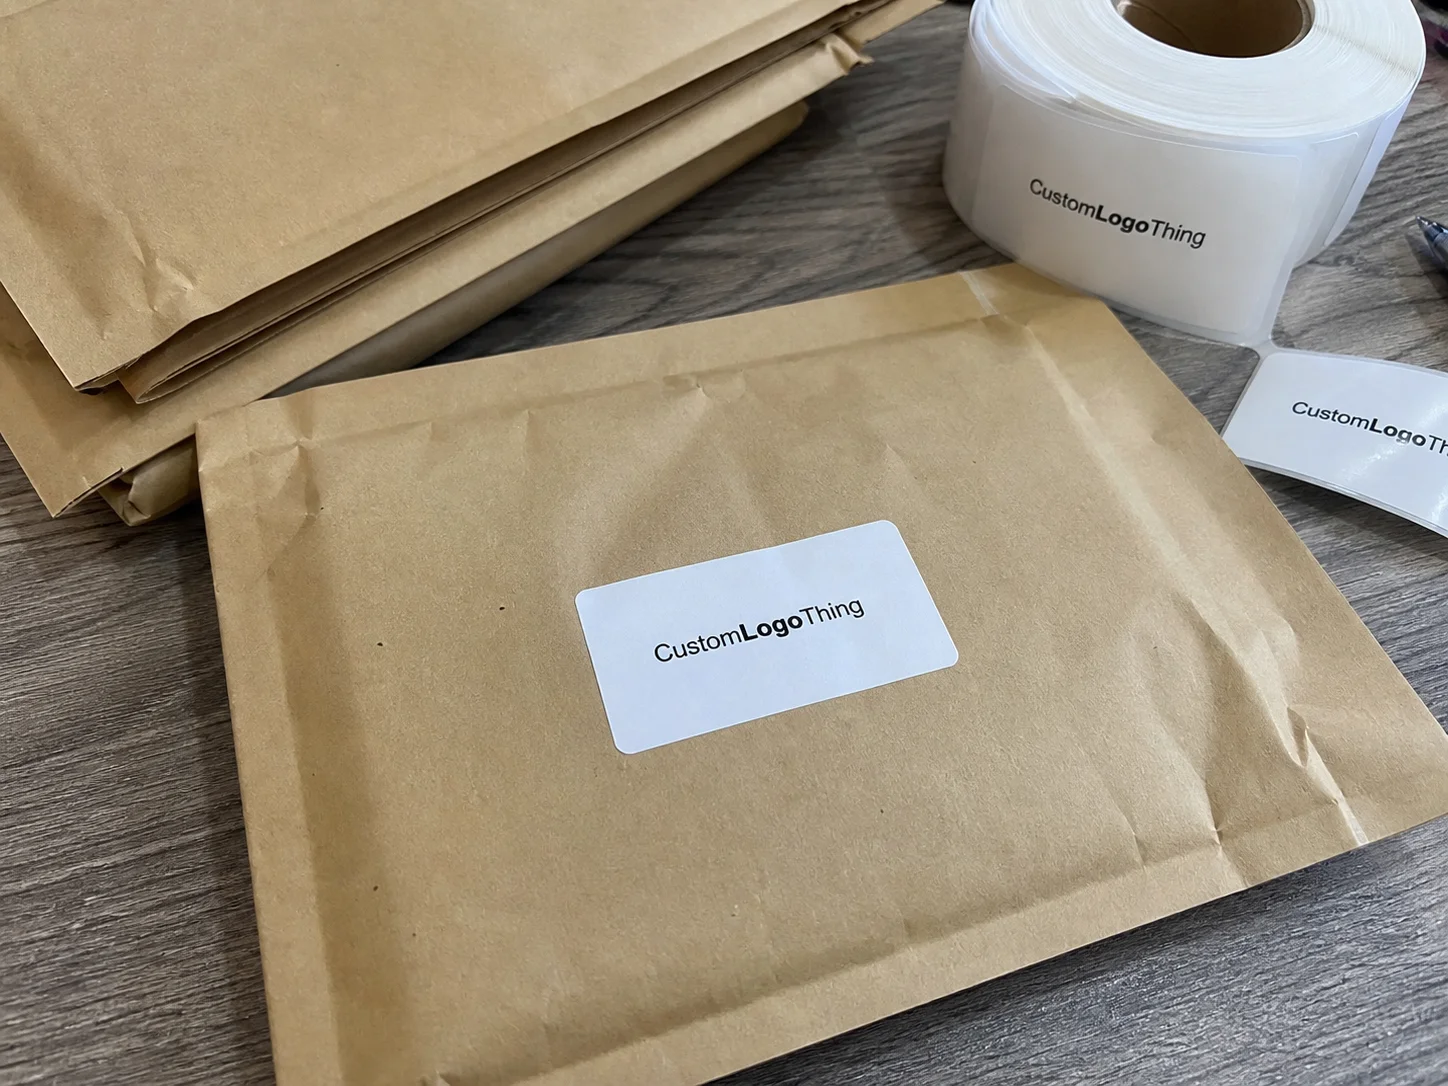
Adhesive has to match the surface. A cardboard carton, a poly mailer, a glassine bag, and a coated box are all different animals. A label that sticks well to uncoated paperboard may lift on a slick mailer. Cold temperatures slow initial tack. Soft packaging can flex enough to stress the corners. If the package surface changes, the adhesive spec probably should too.
Finish changes perception fast. Matte gives a softer, more restrained look. Gloss pushes color harder and tends to read as more vivid. Clear labels clean up the visual field when you want the package surface to show through. If the goal is a polished apparel pack-out, the finish should support the rest of the design instead of fighting it.
There are a few technical details buyers skip too often: label size, corner radius, liner release, and whether the label needs to survive refrigerated handling or outdoor drop-off. If the order uses paper stock, check whether the paper is FSC certified. That is not a marketing flourish. It is a sourcing signal that matters to some brands, and you can verify paper-chain expectations through fsc.org.
For apparel work, the most common practical options are matte paper for low-cost, general-purpose labeling; semi-gloss paper when color needs a bit more punch; and BOPP or similar film when moisture or scuff resistance matters. None of those are universal winners. The right choice depends on where the label lands and how it travels. If a label is going onto a mailer that rubs against other parcels, abrasion matters more than a pretty finish.
| Label format | Best for | Typical strength | Tradeoff | Indicative cost at 5,000 pieces |
|---|---|---|---|---|
| Sheets | Small teams, office use, lower-volume packing | Easy to handle, simple to store | Slower application at scale | $0.10-$0.22 per label |
| Rolls | Busy fulfillment stations, label applicators | Fastest application speed | Setup is less flexible for small runs | $0.08-$0.18 per label |
| Singles | Special inserts, premium kits, custom hand packing | Flexible placement and custom presentation | Higher labor cost | $0.15-$0.30 per label |
That pricing is directional, not gospel. Quantity, shape, print coverage, and finishing move it quickly. But it gives you a practical way to compare personalized mailing labels instead of staring at a quote that looks low until the extras show up.
A step-by-step ordering checklist that avoids rework
Start with the package, not the artwork. Measure the actual surface the label will sit on and leave room for seams, folds, barcode clear space, and handling marks. A label that looks elegant in a design file can turn awkward once it gets squeezed against a mailer fold or taped over a seam.
Next, lock the content hierarchy. Logo first if the label is brand-led. Return address or web info second if the label is functional. Compliance copy, campaign text, or QR code comes after that. Overcrowding is the easiest way to make personalized mailing labels look cheaper than they are.
Request a proof that shows the label at real size. Not a polished mockup. Real size. That is how you catch truncated text, weak contrast, and margins that look fine on a monitor but fail in print. If the order is for a launch, a retailer, or a premium shipment, ask for a sample against the actual packaging before you commit to full production.
“If a label design only works in a mockup, it is not ready.” That is the part people learn after the second reprint, which is usually the expensive way to learn anything.
Check the file for production-ready basics before you send it in. Fonts should be outlined or embedded, images should be high resolution, and black text should not be built out of four colors unless the printer specifically asks for that. If the design uses a barcode, verify the size and contrast. If it uses a QR code, test it from the distance a customer or warehouse scanner will actually have.
Finally, build the reorder file now. Save the approved artwork, the label dimensions, the stock, the adhesive, and the finishing notes in one place. The next order should take minutes, not another round of guessing. Packing teams have enough friction already.
Process, timeline, and turnaround expectations
People tend to ask only about print time, which is the wrong question. The full timeline includes file prep, proofing, approval, production, finishing, packing, and shipping. If any one of those steps stalls, your labels are late even if the press ran on schedule. That is the reality.
Common delays are predictable. Incomplete artwork creates back-and-forth. Vague size specs force confirmation. Color corrections add another round of proofing. Rushed approvals cause mistakes, and mistakes become reprints. Clean files and quick responses still matter more than most buyers want to admit.
As a planning range, simple label orders often move through production in about 5-10 business days after proof approval. More complex orders, custom dies, or specialty finishes can stretch to 12-15 business days or longer. Rush options can work, but only when the spec is already locked and the artwork does not need rescue.
For apparel teams, the safest move is to schedule personalized mailing labels before inventory lands. If product arrives first and packaging lags behind, the pack line stalls. That is avoidable waste. A little timing discipline is cheaper than paying for emergency freight and last-minute revisions.
A good production partner should also tell you which part of the timeline is fixed and which part is flexible. If they cannot separate proofing, press time, finishing, and shipping, the estimate is not very useful. Ask for that breakdown early. It usually exposes whether the date on the quote is realistic or just optimistic.
Cost, pricing, MOQ, and quote factors
The main pricing drivers are quantity, material, finish, shape, print coverage, and whether the order uses a standard or Custom Die Cut. Full-color coverage costs more than a simple one-color mark. Specialty film costs more than paper. A custom shape usually adds setup. None of that is mysterious, but quotes often bury it under generic language.
MOQ matters because lower quantities spread setup cost across fewer pieces. That raises unit price, but it also lowers risk when the design is still being tested. If you are unsure whether the label will stay on a poly mailer or whether the logo lockup is final, a smaller run is usually smarter than ordering a giant batch and hoping for the best.
When comparing quotes, look at total landed cost, not just the sticker price. That means unit cost, setup, shipping, proof fees, and whether revisions are included. A quote that is 8 percent cheaper on paper can be more expensive once freight and revision charges appear. The math is rarely as friendly as the sales email.
Buyers also overspend in two common ways. One is choosing premium stock for labels that will be hidden on the back of a mailer or packed inside a box. The other is underbuying and paying more for emergency reorders. The right answer depends on visibility. If the label is part of the brand reveal, spend on finish. If it is mostly operational, keep it efficient.
For reference, small custom runs can sit closer to $0.18-$0.30 per unit, while larger runs with standard materials often fall lower, especially when the shape is simple and print coverage is modest. Setup can add a flat charge for custom dies or specialty finishing. That is why it helps to request quotes at two or three quantities. The price curve tells you where the real savings are.
One more caveat: a low MOQ is not free flexibility. Short runs help with testing, but they can also hide weak economics if you keep reordering tiny batches. If the design is stable and the application is predictable, scaling up usually improves the unit price fast. If the design is still changing, smaller runs keep waste under control. The right choice depends on certainty, not optimism.
Common mistakes that trigger reprints and returns
The classics never go away: wrong dimensions, unreadable text, poor contrast, and artwork that looks fine digitally but fails at actual print size. Tiny type is the most common self-inflicted wound. If the customer has to squint, the label already lost the job.
Adhesive mistakes are just as painful. Some labels peel off poly mailers. Some curl on coated cartons. Some refuse to stay down in cold conditions. A label that performs well on one substrate can fail on another, so do not assume a successful box label automatically translates to a mailer label.
Content errors cost time and money too. Bad return addresses, outdated URLs, missing barcode quiet zones, and inconsistent brand language all trigger corrections. If the label includes shipping or tracking information, one typo can turn the whole run into scrap. That is why proof review should be boring, slow, and exact.
Overdesign is another trap. Too much copy on a small label makes the brand look cramped and the message harder to read. Keep the hierarchy sharp. Logo, essential info, then the rest. Decorative clutter does not make the package look premium. Usually it just makes it harder to use.
There is also the physical handling issue people ignore. Labels that are too small for manual application slow down the pack table. Labels that are too large can lift at the edges or get placed crooked because operators have to align too many elements by eye. A good size is not just about aesthetics. It should also be easy to apply consistently under real workload.
Expert tips and next steps for your first order
Start with one label family that can cover multiple pack styles. That gives your team a reusable spec, which matters more than it sounds. If the same label size and adhesive can work on mailers, boxes, and return envelopes, reordering becomes routine instead of a new project every time.
Keep a master spec sheet. Include the finished size, stock type, adhesive, finish, artwork version, proof date, and any special placement notes. Purchasing teams hate improvisation for a reason: it costs time, and time gets expensive fast when shipments are waiting.
Test the label on the actual packaging surface before you commit to a full run. That is especially true for new mailers, seasonal boxes, or coated cartons. A ten-minute test with real materials can save an entire batch from becoming a lesson in regret.
If your packaging has to pass parcel handling standards, look at transit conditions as part of the brief, not an afterthought. If your sourcing team cares about responsible paper, make the paper spec part of the order. These are not dramatic decisions. They are practical ones. The boring details are usually the profitable ones.
My short version is simple: measure the package, choose the surface, pick the label type, prepare the file, and request a proof. Treat personalized mailing labels as a repeatable packaging spec, not a one-off design task, and the whole process gets easier the second time around.
FAQ
What size personalized mailing labels work best for clothing mailers?
Use a size that fits the package face without crowding seams, folds, or branding. Small poly mailers usually need compact labels; boxes can handle larger formats. Always test at real size before ordering a full run.
Are personalized mailing labels better on rolls or sheets?
Rolls are usually faster for high-volume packing lines. Sheets are easier for low-volume teams, hand application, or office use. Pick the format that matches how the labels will actually be applied.
How much do personalized mailing labels usually cost?
Price depends on quantity, material, finish, shape, and print coverage. Lower quantities raise the unit cost because setup is spread across fewer labels. Ask for unit cost, setup fees, and shipping together so the quote is comparable.
What is the typical turnaround for custom mailing labels?
Turnaround depends on proof approval, production load, and shipping distance. Clean files and fast approvals reduce delays more than anything else. Rush options are possible, but only when the spec is already locked.
Can personalized mailing labels be used on poly mailers and apparel boxes?
Yes, but the adhesive has to match the surface. Poly mailers, coated cartons, and paperboard each need different hold performance. Test on the exact packaging before committing to a full order.