Pom Pom Beanies Logo Placement Guide for Bulk Orders Buying knit hats in volume looks simple until the artwork meets real fabric. Does a flat mockup really tell the whole story? Once the beanie stretches, folds, and lands on a head, the logo faces a moving target. The pom pulls the eye upward, the cuff shrinks the visible field, and a seam can make a centered design feel oddly off.
That is why placement matters. The best results come from measuring the hat style, choosing a decoration method that suits knit fabric, and checking how the logo behaves when the cuff is folded, worn, or packed for shipment. A beanie is not a flat panel.
What Actually Works on Pom Pom Beanies
The usable space on a pom pom beanie is smaller than many buyers expect. Logo placement has to compete with crown curvature, knit stretch, fold lines, and the visual weight of the pom itself. Put a mark too high, and it can disappear into the crown shape. Put it too low, and the cuff swallows it. Place it too close to a seam, and the whole piece starts to feel off-center even when the artwork is technically aligned.
For bulk orders, the goal is not perfect symmetry on paper. It is legibility on a real head. That usually means giving the logo enough breathing room, keeping it clear of major seams, and choosing a size that still reads after the beanie is stretched. A buffer of about 0.25 inch from seam lines is a practical starting point, though the exact margin depends on the hat construction and decoration method.
Knit hats are less forgiving than woven garments. A design that looks neat on a mockup can become crowded once the cuff is folded differently or the beanie is worn at an angle. The most reliable placements are the ones that tolerate movement, not the ones that depend on one perfect pose.
A good placement survives motion, folding, and shipping. If it only looks right in a polished rendering, it is not ready for production.
This is the core idea behind any practical placement guide: start with the wear pattern, then fit the artwork to it. That order prevents most of the common regrets.
Short answer: legibility wins.
Placement by Style: Cuffed, Slouchy, and Tall-Cuff
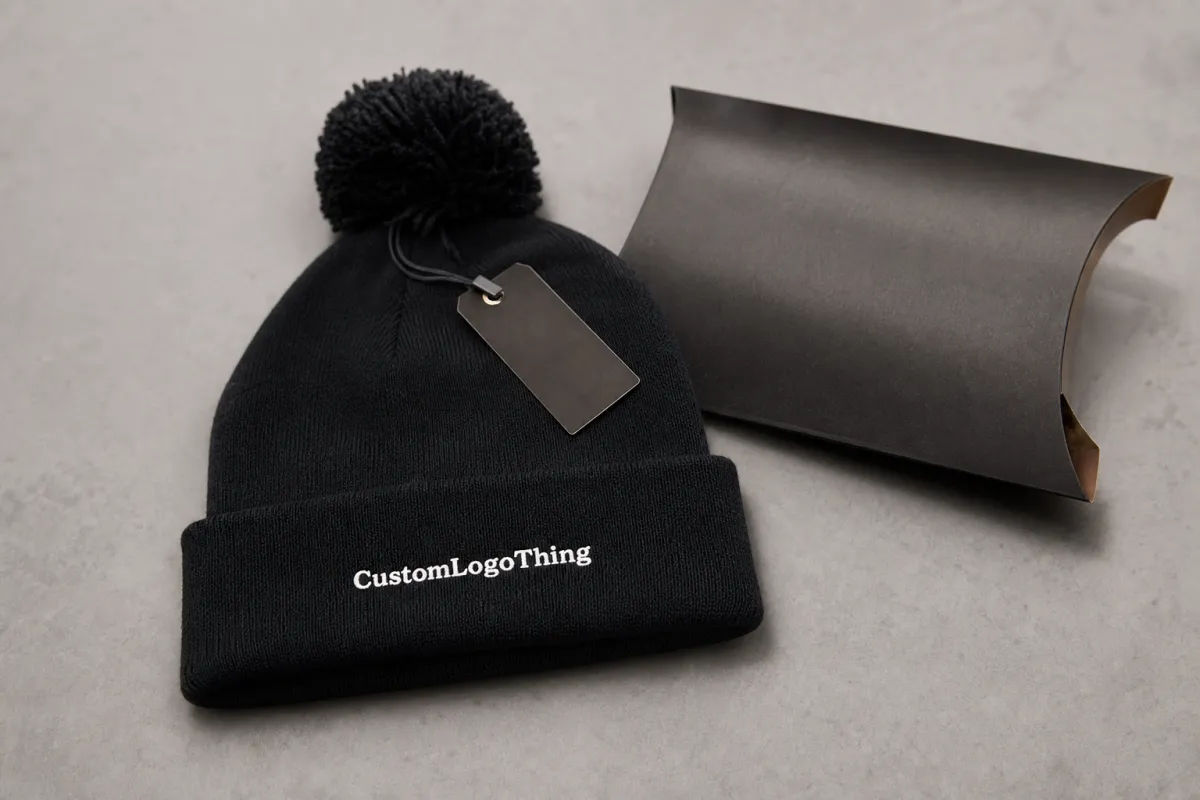
Cuffed beanies are the easiest to brand because the fold creates a flatter area. Front cuff placement is usually the safest option for large runs. It gives the logo a predictable viewing angle, stays readable in group photos, and works with both embroidery and patch applications.
Slouchy beanies require more restraint. The fabric drapes, which means small text can vanish into folds and fine detail can distort once worn. On those styles, a bold icon, thicker lettering, or a woven patch usually performs better than delicate stitching. Tall-cuff beanies sit between the two: they offer more vertical room than a short cuff, but the height can make the logo appear too low if the placement is not adjusted carefully.
The main placement zones are straightforward:
- Front cuff - best for clear branding and repeatability across bulk orders.
- Above the cuff - useful when the cuff is too short for the full logo height.
- Side panel - better for secondary marks, subtle branding, or small icons.
- Low crown - workable for some styles, though knit stretch can affect detail.
Decoration method matters as much as location. Direct embroidery is the simplest option for bold logos, but the knit will expose weak digitizing fast. Woven patches preserve small details better and often produce a cleaner edge on textured fabric. Woven labels are the quietest option; they work well when the goal is subtle branding rather than high visibility.
For logos with fine text, hairline rules, or interior detail, a patch is often the smarter choice. It costs more than a basic embroidered hit, but it usually reads better from a distance and avoids the crushed look knit can create.
On the quality side, ask how finished hats will be packed and handled. If the product is going into retail cartons or ecommerce parcels, transit testing matters. The ISTA methods are a useful benchmark for shipment durability, and FSC is a clean reference for paper packaging and inserts when those are part of the order.
Cost, Pricing, MOQ, and Quote Variables
Does placement really drive the biggest price jump? Usually not. The main cost drivers are decoration method, logo size, stitch count, color count, and order quantity. Placement can still affect setup if the mark is large, sits in an awkward zone, or needs extra proofing.
For bulk buyers, a realistic pricing baseline helps separate fair quotes from vague ones. The ranges below are not universal, but they are useful for an early conversation with a supplier:
| Decoration method | Typical setup | Typical per-piece add-on | Best use case |
|---|---|---|---|
| Direct embroidery | $35-$85 digitizing | $0.60-$1.75 | Simple logos with limited detail |
| Woven patch | $50-$120 setup | $0.85-$2.50 | Cleaner edge and stronger detail on knit |
| Woven label | $40-$90 setup | $0.25-$0.80 | Secondary branding or low-profile placement |
MOQ matters more than many buyers expect. Moving from 100 pieces to 250 can reduce unit cost more sharply than changing the logo position ever will. The practical move is to ask for pricing at two or three quantities before making a final decision on placement.
Before you approve anything, confirm these details:
- Final logo width, in inches or centimeters.
- Thread color count, since each added color increases setup complexity.
- Decoration method, because embroidery, patches, and labels behave differently on knit.
- Placement count, especially if you want a front mark and a secondary side hit.
- Order quantity, since it usually affects unit pricing more than placement does.
Proof changes also add time and cost. If you ask for several placement options, expect the approval cycle to move slower. That is part of preparing a decorated knit item that has to be consistent across a full run.
Do you want the cheapest proof, or the one that actually survives production?
Production Process and Timeline
The cleanest orders follow a simple sequence. Artwork review comes first, where the supplier checks file quality and confirms whether digitizing or patch setup is required. Next is the placement mockup, which should show the logo in proportion to the cuff, seam, and pom. After approval, the order moves to production, finishing, packing, and shipment.
Delays usually come from the same three places: blurry artwork, vague sizing instructions, and repeated revision loops. Low-resolution files force extra back-and-forth. If the logo keeps shifting after the first proof, the schedule stretches quickly.
For straightforward orders, a typical turnaround is about 12-15 business days after proof approval. More complex runs, especially those with multiple decoration locations or patch construction, can move closer to 15-20 business days. Rush schedules are possible, but only when the logo size and placement are already settled.
A practical production workflow looks like this:
- Send vector artwork instead of a screenshot or compressed image.
- Specify exact logo width and the preferred placement zone.
- Approve the proof promptly, or the timeline will slip.
- Confirm whether a physical sample is required before the bulk run.
- Ask how the finished hats will be packed so the cuff does not arrive crushed.
That last point matters more than many buyers realize. Even a perfect logo can be undercut by poor packing if cartons flatten the cuff or bend the patch. On knit accessories, presentation is part of quality control.


