For many apparel brands, the garment gets the spotlight, but pre Printed Clothing Labels are usually the first internal detail a customer touches. They sit inside a collar, along a side seam, or near the waistband, and they have to do several jobs at once: identify the brand, carry sizing, communicate care instructions, and still look tidy after repeated wear and washing.
That combination is harder than it looks. A label that feels soft in a sample can become scratchy in production. A design that seems clear on screen can turn cramped once it is folded, trimmed, and sewn into a garment. Buyers who understand those constraints tend to get better results, fewer revisions, and less waste on the production floor.
Labels are also part of the product structure, not an add-on. When the artwork, material, print method, and application style are planned together, sewing teams work faster and the finished item feels more considered. When they are not, rework starts creeping into the schedule.
What pre printed clothing labels are and why they matter
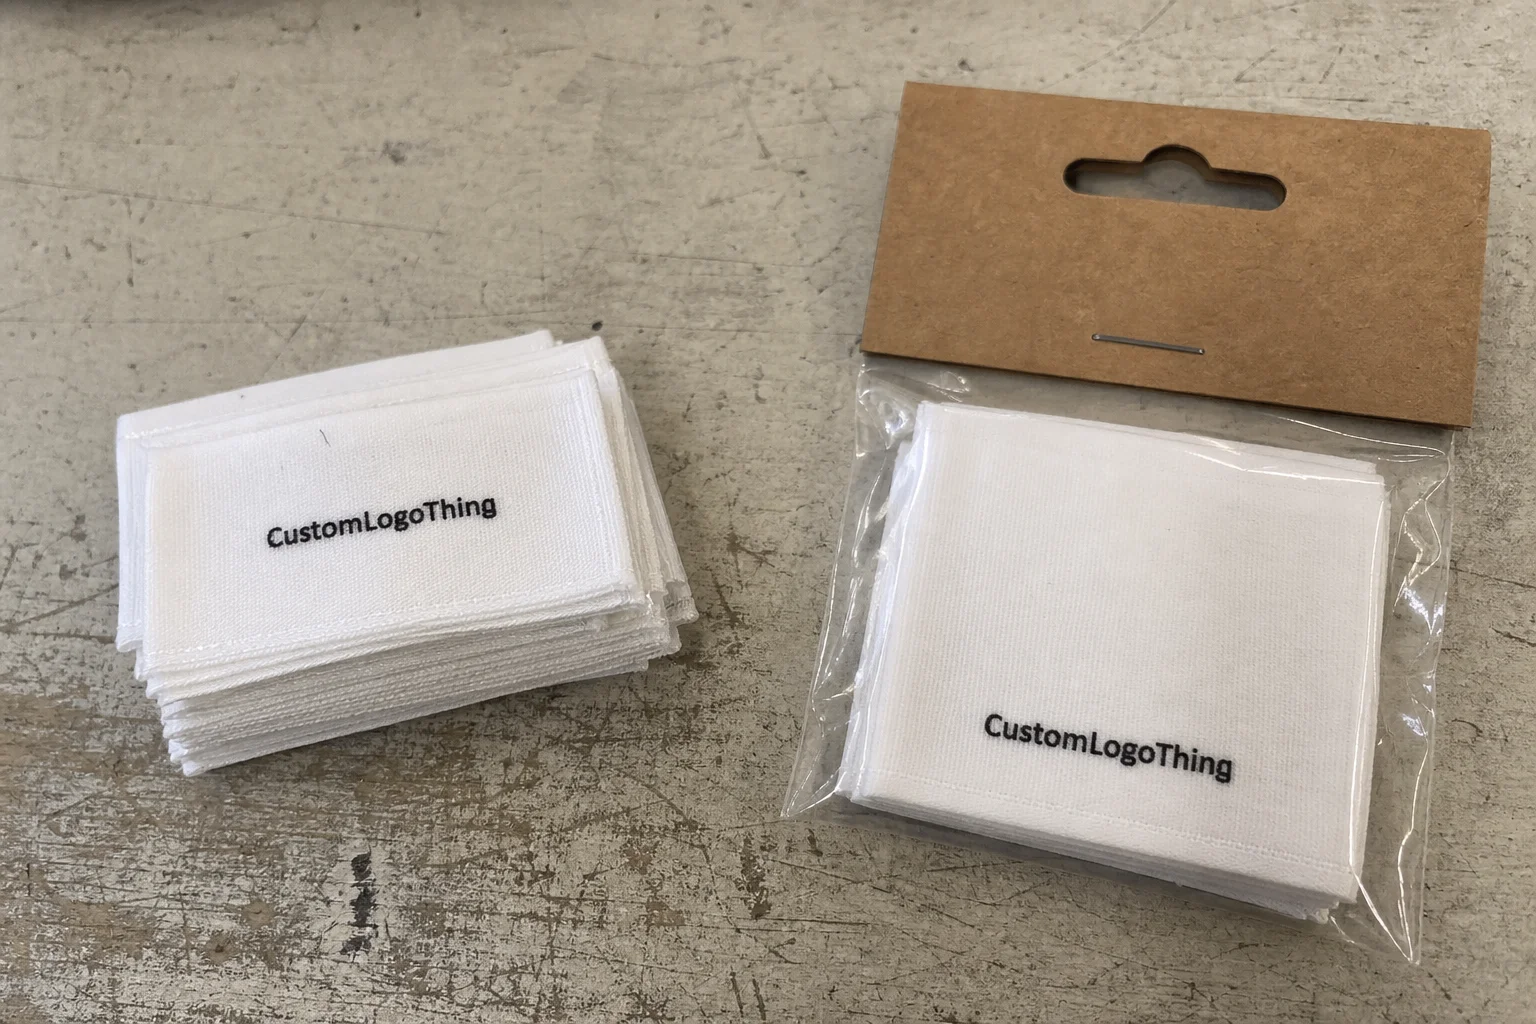
Pre Printed Clothing Labels are labels produced with the artwork already printed onto the label stock before the label is sewn or otherwise attached to a garment. The printed content may include a logo, size, fiber content, care instructions, country of origin, SKU details, or a mix of those elements depending on the market and garment type.
They sit in a practical middle ground between other label formats. Blank stock labels are plain materials intended for later marking. Woven labels are made by weaving threads into the design, which changes the visual texture and limits how fine the artwork can be. Heat-transfer labels are applied directly to fabric and are often used for tagless interiors. Hang tags are removable external tags used for branding, pricing, and barcode information, but they do not replace sewn-in compliance labels.
For new brands, Pre Printed Labels offer a way to look retail-ready without overcomplicating the trim program. For established brands, they help standardize size and care information across multiple styles and seasons. For private-label programs, they reduce variation and make repeat orders more predictable.
The biggest practical advantage is consistency. Once the layout is approved, reorders can follow the same approved spec instead of being redrawn from scratch every time a new colorway or style is added. That lowers the chance of small errors creeping into the line.
There is also a production advantage. A clean label spec helps the sewing team know exactly what they are handling: roll format, repeat length, fold style, cut size, and placement. Those details sound minor until a line is waiting on trim that does not match the garment construction.
How the label printing process works from artwork to finished roll
The label production sequence is usually straightforward, but each step affects the final result. It starts with file review. The supplier checks dimensions, text placement, fold style, repeat length, and whether the artwork is ready for print. Vector files are easier to work with, especially if sharp edges, scaled logos, or small type are involved.
Proofing comes next. This is where spelling, legibility, layout balance, and required text are checked before anything goes to press. A proof that looks “close enough” on a laptop can still fail in production if the label size is small or the fold hides part of the design.
After approval, the shop matches the job to the right material and print method. For short runs or labels with variable text, digital printing or thermal transfer can be efficient. For longer runs with simpler artwork, flexographic printing or screen-based methods may be more economical. The best choice depends on quantity, substrate, ink system, and how much detail needs to survive laundering.
Finishing follows printing. Some labels need drying, heat setting, or curing so the ink stays readable after abrasion and wash cycles. Then the labels are inspected for registration, color consistency, trim quality, and damage before being packed into rolls, strips, or cut pieces depending on how they will be applied.
Small text is where many label jobs are won or lost. Care icons, fiber percentages, and legal notes can look fine in artwork software and still become unreadable if the font is too thin or the layout is too dense. Once the label is folded or sewn in, there is very little forgiveness.
Here is a simple comparison of common label formats and how they are usually used:
| Label type | Typical use | Best for | Practical note |
|---|---|---|---|
| Pre printed woven-style label | Branding, size, care | Retail apparel, fashion basics | Good hand feel, but fine artwork detail is limited by weave structure |
| Pre printed satin or taffeta label | Brand + compliance details | Soft garments, general apparel production | Usually better for crisp text than woven construction |
| Heat-transfer label | Tagless branding | Activewear, kidswear | No sewn-in tag, but application heat and fabric tolerance matter |
| Hang tag | External branding | Retail presentation | Not a replacement for sewn-in compliance information |
Orientation matters more than many buyers expect. A label supplied on rolls with the correct repeat and a clear lead edge can move through sewing more quickly and with fewer stoppages. That can save real time on the floor, especially when a production line is handling multiple SKUs or sizes in one run.
Key material, size, and compliance factors to compare
Material choice is usually the first decision with long-term consequences. Satin has a smoother face and a softer, more polished finish. Taffeta is generally more economical and works well for straightforward branding and care information. Cotton can suit brands that want a natural look and feel, but it is not always the best choice for heavy laundering or rough wear. Synthetic stocks, including tougher Tyvek-like options, can offer better tear resistance for workwear or utility garments.
Size should be driven by the garment, the amount of text, and the intended placement. Neck labels often fall around 1" x 2" or 1" x 3", though there is no universal rule. Side seam labels can be longer and narrower. Waistband labels may need a different orientation so they sit flat and do not twist during wear.
Durability needs to be matched to the product category. Activewear, kidswear, and workwear usually demand stronger wash performance, better abrasion resistance, and a softer edge profile where the label contacts skin. A label that looks premium on day one but fades, shrinks, or irritates the wearer after a few wash cycles creates problems that are more expensive than the label itself.
Compliance is where brands should slow down and verify the details. Depending on the market and the garment category, labels may need fiber content, care instructions, country of origin, brand identification, or RN-style identification. Those requirements vary by region, so the layout should not be guessed from a previous order or a competitor’s garment.
Useful references depend on what the label is made from and how it moves through the supply chain. If the label program includes paper packaging or inserts, certification resources such as FSC can matter. If products are being packed, shipped, or sampled through distribution channels, testing and transport guidance from ISTA can be relevant as well. Those are not substitutes for local labeling rules, but they help keep the larger packaging process organized.
Color contrast is easy to underestimate. Tone-on-tone designs may look refined in a mockup, yet low contrast can make text difficult to read under store lighting or after laundering. Clear contrast and disciplined spacing usually age better than subtle design tricks.
Material and finish choices by garment category
- Fashion basics: satin or soft synthetic stocks with clean, readable type.
- Activewear: tagless or smooth-finish labels that remain legible after repeated washing.
- Kidswear: soft-touch materials with careful attention to irritation and compliance space.
- Workwear: tougher substrates with stronger abrasion resistance and clearer contrast.
Pre printed clothing labels process and timeline: what to expect
The timeline usually follows a predictable path: quote request, artwork submission, proof approval, sampling if needed, production, finishing, inspection, and shipping. The more complete the order information is at the start, the smoother the process tends to be. Missing copy, vague dimensions, or unclear color references are the fastest way to stretch a simple label job into a back-and-forth project.
There are three things that usually accelerate label production. First, send vector artwork when possible. Second, provide final copy for every line of text. Third, include a clear spec sheet with dimensions, fold style, quantity, application method, and any special finishing notes. That is not administrative busywork; it prevents the sort of clarifications that slow down every stage after proofing.
Lead time depends on print method, material availability, order size, and whether the job needs custom color matching or unusual finishing. A straightforward run may complete in roughly 10 to 15 business days after proof approval. More complex orders can take longer, especially if samples are required or if the material has to be sourced specifically for the job. That range is common, not guaranteed, because factory capacity and supply conditions can change.
“The quickest label order is the one that already knows exactly what it is.” That sounds blunt because production usually is blunt: clear specs move faster than open-ended requests.
Sampling is worth the extra time on first orders or when the label will be used across a full collection. A pre-production proof can expose problems that are invisible on screen: text that is too small, a fold that covers part of the logo, a label that feels rough against the skin, or a contrast issue that looks worse under real lighting. Catching those mistakes early is cheaper than correcting them after a run is finished.
Shipping and sequencing matter too. If labels must arrive in sync with cut-and-sew work, the delivery window is just as important as the production window. Labels delivered too early can be misplaced; labels delivered late can stall the sewing line. Either way, the schedule pays for the mistake.
Cost, pricing, and MOQ: what drives your quote
Pricing for pre printed clothing labels comes down to a few core variables: material, size, print complexity, quantity, and finishing style. One-color layouts on standard stock are usually less expensive than multi-color artwork with fine type or custom folds. Larger labels often cost more because they use more material and may need different cutting or finishing steps.
MOQ, or minimum order quantity, matters because setup work has to be spread across the run. A small order may sound simple, but press setup, proofing, and finishing still take time. As a result, the unit price on a low quantity can climb quickly. Larger quantities usually reduce the per-label cost if the design and material stay the same.
Quote comparison should go beyond the headline price. Ask whether art setup, proofs, tooling, packaging, and freight are included. A quote that looks lower on paper can become more expensive once those charges appear. That distinction matters for brands building a trim budget around manufacturing schedules.
Standard sizes tend to be friendlier to production. Fewer spot colors can also reduce cost. Repeatable specs help even more because approved artwork can often be reused with fewer setup steps on future orders. Some buyers also improve efficiency by standardizing a label format across several styles and only changing the size line or care text where required.
Very low pricing deserves scrutiny. Sometimes it is legitimate, but it can also signal thinner materials, weaker wash performance, poor packaging, or limited support if the proof needs correction. The cheapest quote is not always the best value if the label fails after laundering or arrives with inconsistent color.
Step-by-step checklist to order labels without delays
Start by defining the label’s job. Is it branding only, compliance only, or a combined layout that has to fit both on the same piece? That decision controls the rest of the spec, including size, fold style, and how much text can fit without becoming cramped.
- Prepare artwork: use vector files when possible, outline fonts, and confirm any Pantone or brand color targets.
- Write the copy: check spelling, legal text, fiber content, care instructions, and country of origin carefully.
- Choose the format: decide on size, fold style, material, and whether the labels should come on rolls, strips, or cut pieces.
- Request a proof: review it at actual size so line spacing, fold placement, and small text can be judged properly.
- Match the schedule: align delivery with sewing, cut-and-sew, or fulfillment timelines before production starts.
If labels are being sourced alongside other trims, it helps to keep the spec structure consistent across the program. A master file makes reorders easier and reduces the chance that different teams will quietly change dimensions or text over time. Many buyers keep the approved label spec tied to their broader trim record through Custom Labels & Tags, especially when multiple garments need the same brand structure.
One simple habit saves more trouble than most people expect: keep the approved proof in the product file. When a line expands or a reorder is needed later, that approved version becomes the reference point. Without it, teams tend to recreate the label from memory, and memory is a poor production tool.
Common mistakes buyers make with label artwork and specs
The most common mistake is trying to fit too much information into too little space. Tiny text becomes hard to read once the label is printed, trimmed, and folded. If the label is only an inch wide, the layout needs discipline, not optimism.
Skipping compliance checks is another frequent problem. Fiber content, care symbols, and country-of-origin details can differ by market, and those details should be verified before a proof is approved. A beautiful label that misses legal content is not a usable label.
Trim lines and fold direction create more issues than many buyers expect. If the artwork is approved without considering the sewing allowance, important content can end up too close to the edge or hidden inside a fold. That is usually avoidable, but only if the proof is reviewed at full size instead of zoomed out on a screen.
Material mismatch is common as well. A soft fashion label may feel right but fail under heavy laundering, while a durable stock can feel stiff on lightweight garments. The best choice depends on the garment category, the customer experience, and how much friction the label will see during wear.
Color assumptions can also cause disappointment. Different print methods, different substrates, and different inks do not reproduce color the same way. If brand color is critical, ask how the supplier handles references and whether a sample or target standard is being used before the run begins.
Expert tips for cleaner branding and next steps
Keep the layout focused. The strongest labels usually give first priority to the brand name, then the size, then the required compliance text. Decorative elements can help, but only if they do not crowd the functional information that buyers and regulators need to read.
Match the finish to the product category. A soft satin face works well for fashion basics, while a tougher synthetic stock is often better for utility garments or products expected to endure heavier wear. That decision is less about trends and more about how the label will behave after laundering, handling, and repeated contact with skin.
If the same design will be used across a collection, order a sample or proof run before committing to volume. One approved master spec can reduce future friction because reorders become a repeat process rather than a redesign exercise. That matters more than people think once multiple seasons or size runs are involved.
Build a master label spec sheet and keep it current. Include dimensions, fold style, material, print method, artwork files, color references, and every line of compliance text. That document becomes the handoff between design, production, and purchasing, and it keeps everyone aligned when deadlines tighten.
Used well, pre printed clothing labels do more than identify a product. They support compliance, improve the inside finish of the garment, and make the whole line feel more deliberate. The brands that get the best results usually treat the label as part of product engineering, not as a last-minute trim decision.
What are pre printed clothing labels used for in apparel production?
They identify the brand, size, care instructions, fiber content, and origin information. They also help garments look retail-ready and more consistent across a collection. They can be used on shirts, leggings, kidswear, uniforms, and private-label items.
How long does it take to produce pre printed clothing labels?
Timing depends on artwork readiness, quantity, material availability, and print method. Simple orders can move quickly after proof approval, while custom finishes or sampling add time. Delivery also depends on shipping method and whether the labels must align with garment production.
What affects the price of pre printed clothing labels the most?
Material type, size, color count, finishing style, and quantity are the biggest drivers. Setup work and artwork complexity can also influence the quote. Lower quantities usually increase unit cost because setup costs are spread across fewer labels.
Can pre printed clothing labels include care and compliance information?
Yes, many brands print care symbols, fiber content, country of origin, and brand identification on the label. The layout must stay readable and comply with the rules for the target market. Small labels may require careful space planning so the text does not become cramped.
What should I send when requesting a quote for pre printed clothing labels?
Send the label size, material preference, quantity, fold style, artwork file, and any compliance text. Include where the label will be sewn or applied so the supplier can recommend the right format. If you have a deadline, share it early so turnaround can be checked against production capacity.