Beer PVC Garment Bags Packaging Insert Checklist for Buyers
beer pvc garment Bags Packaging Insert Checklist sounds narrow, but that narrowness is the point. The bag, the insert, and the folded garment have to behave as one package. If any one of those pieces is off by a few millimeters, the result can look cheap, even if every individual component looked acceptable on its own.
That usually starts with the spec sheet. Buyers approve a clear bag and assume the insert will take care of itself. It rarely does. A bag can fit the garment and still fail visually because the insert is too short, the board is too soft, the closure lands across the artwork, or the fold pushes the front panel outward. The checklist exists to catch those issues before a supplier locks in tooling or prints a run of unusable stock.
This is not just a branding exercise. It is a control document. Dimensions, film gauge, insert thickness, closure style, hanging method, and retail presentation all need to line up before quoting starts. The same discipline used for custom printed cartons applies here, except the structure is transparent and every error shows through the film. If the brief is vague, the quote will be vague too.
What This Insert Checklist Actually Solves
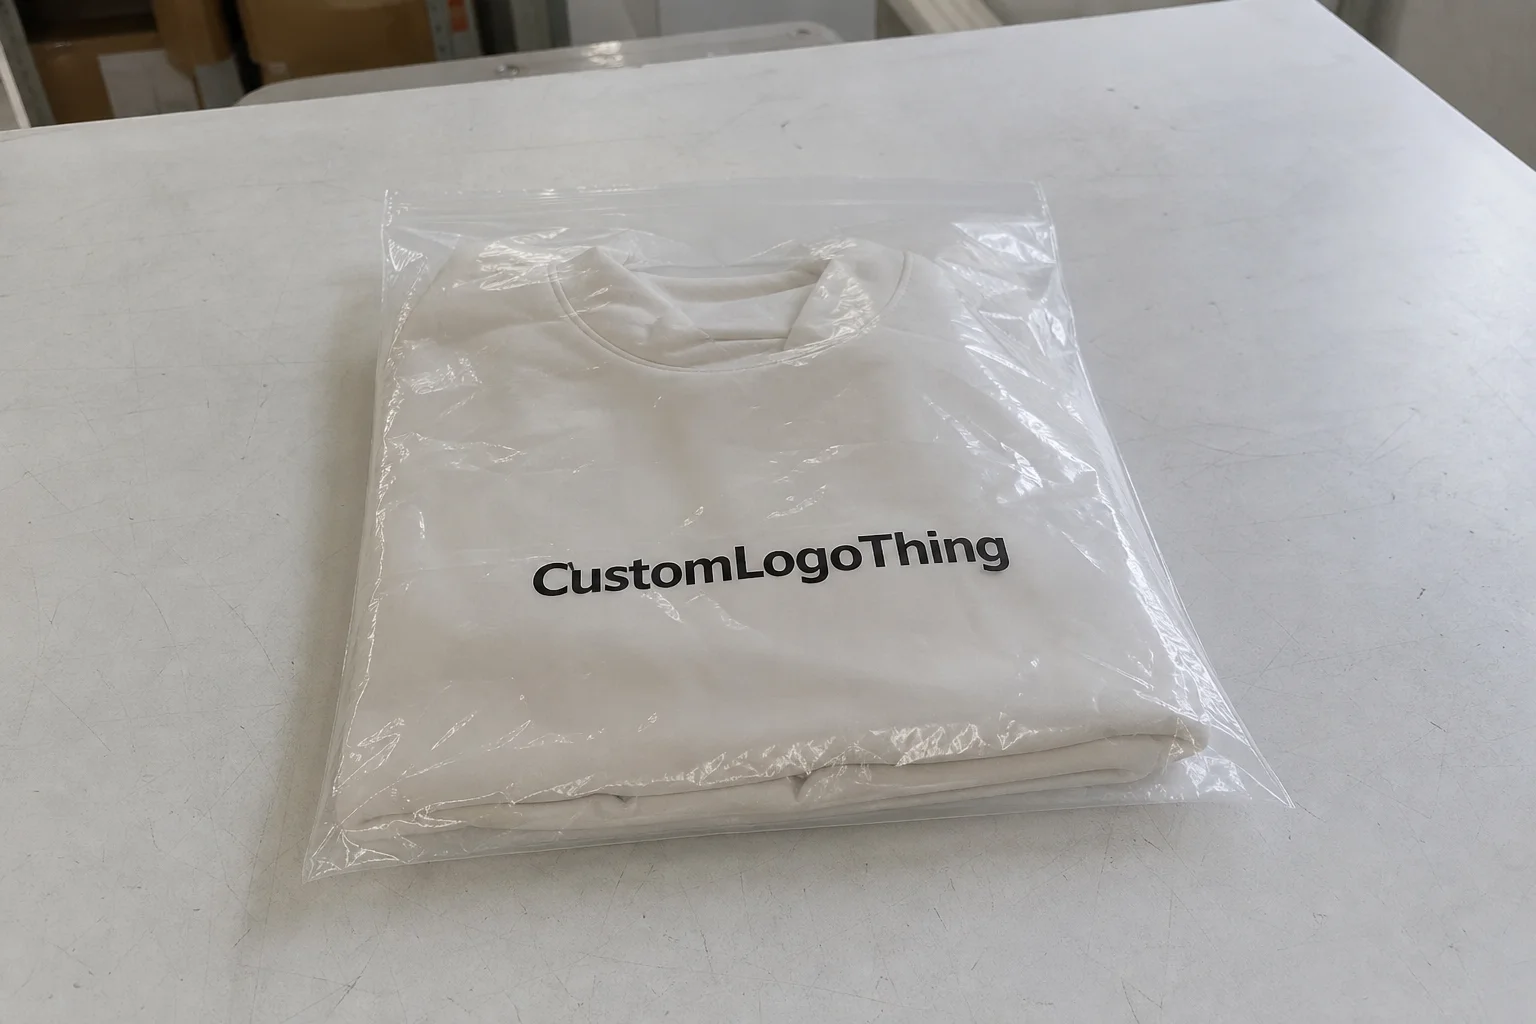
The main job of a beer pvc garment Bags Packaging Insert Checklist is to remove guesswork before the first sample. That sounds obvious. It is still where a lot of orders go wrong. A buyer says “clear bag with insert,” the factory fills in the blanks, and the finished pack looks fine on a flat table but fails once the garment is folded and sealed inside.
Most failures fall into the same few buckets. The bag is wide enough on paper but too tight once seams, labels, and the insert are included. The board is stiff enough to stand alone but curls inside the film. The artwork looks centered in a flat proof, then gets covered by a zipper or gets pushed under a fold line. None of those problems are dramatic. They are routine. That is why they survive so many approval cycles.
The checklist also gives everyone the same reference point. Merchandising, packaging design, operations, and the supplier may all use different language for the same object. One team says “insert card,” another says “backer,” a third says “support board.” If those terms are not tied to size, stock, finish, and position, the order becomes a guessing game. A supplier can only price and build accurately when the same terms mean the same thing in every file.
There is also a retail reality that mockups often hide. A clear pack can look crisp in a rendering and still bow in transit, catch dust, or twist once it is hung. The insert is doing more than carrying a logo. It is holding the folded product in a fixed position, helping the bag read as a rectangle, and keeping the front face from collapsing into the garment underneath. If the insert is supposed to show through the film, the checklist should also specify opacity, print side, and whether coating changes the finish enough to affect clarity.
“The sample looked fine flat on the table, but once the garment was inside, the front panel bowed and the logo sat under the zipper.”
That kind of mistake is expensive only because it is easy to prevent. A proper packaging insert checklist catches it before production, not after the carton is filled.
If your program includes other matched components, keep the visual system aligned with the rest of the line rather than approving each item as an isolated purchase. A bag, insert, hang tag, and outer carton should feel like one system. If they do not, the finished package looks assembled instead of designed. For related specs and companion items, the Custom Packaging Products catalog can help keep that coordination in one place.
How the Bag, Insert Card, and Retail Presentation Work Together
A PVC garment bag is usually a simple structure: clear or lightly tinted film, heat-sealed seams, a hanger opening or punched slot, and a zipper, flap, or adhesive closure. The insert sits inside that shell and changes the way the entire pack behaves. It gives the garment a backing, controls the silhouette, and helps the front panel keep a neat shelf-ready profile. If the insert is undersized, the bag droops. If it is oversized, it can telegraph through the film and create a hard ridge that feels bulky.
Thickness is one of the first decisions that affects appearance and cost. Clear PVC garment bags often sit in the 0.20 mm to 0.35 mm range for the body film, depending on whether the job is for light hanging storage or a more substantial retail presentation. Insert stock is often specified as coated paperboard or SBS board in the 300 gsm to 500 gsm range, though the actual choice depends on the garment weight, the number of folds, and whether the pack has to survive repeated handling without the insert buckling.
Clarity matters more than buyers expect. A film can look transparent in a flat sample and still haze once it is handled, rubbed, or compressed in cartons. Anti-block behavior matters too, especially for flat-packed film that tends to cling to itself during kitting. If the insert is paper-based, some programs ask for FSC-certified stock, and that should be confirmed early rather than after artwork is approved. The certification system itself is straightforward enough to verify through the FSC framework.
What trips up a lot of teams is assuming the bag size alone defines the pack. It does not. The finished footprint depends on fold method, insert thickness, closure location, hanger style, and the actual thickness of the garment at its bulkiest point. A folded shirt can sit cleanly in a 15-inch bag one way and feel cramped in the same width once a stiffer board is added. The same is true for jerseys, knits, and anything with ribbing or multiple layers at the collar.
That is why the checklist should ask for photos of the folded garment. Flat product dimensions are useful, but they do not show where the thickness builds up. Real packed-state images tell the supplier where the extra space is needed and where the pack can stay tight. Without that, the first sample is often the first time anyone sees the real issue.
Specs Buyers Must Lock Before Quoting
If the spec sheet is vague, the quote will be vague too. That is not a supplier failure. It is a brief failure. A proper packaging insert checklist should lock the structure before pricing starts, because the material choices and layout decisions drive almost everything that follows.
At minimum, the buyer should define these items before asking for a quote:
- Finished bag width, height, and any gusset or side expansion.
- PVC thickness target, not just a generic “clear film” request.
- Insert size, stock type, finish, and thickness.
- Print method, number of colors, and whether the print is one side or both.
- Closure style, such as zipper, flap, or adhesive seal.
- Hanger opening style and reinforcement details.
- Folded garment dimensions, including the thickest point.
- Carton count, inner pack count, and whether the order ships flat or pre-filled.
Artwork on its own is not enough. A clean logo file tells the factory nothing about the real build. The die line, seal placement, insert fit, and fold allowance all depend on structural details. I have seen buyers approve a neat visual mockup, then discover the insert curls because the board was too light for the way the garment was folded. The visual was correct. The structure was not.
Tolerances should be written down as well. If a few millimeters of size variation are acceptable, say so. If the insert has to remain within a tighter cut tolerance because it is visible through the clear film, that needs to be explicit. If color shift is acceptable within a defined range, document it. If it is not, the supplier needs to price tighter inspection and more controlled printing. Quality control cannot be priced accurately without a standard.
There is also a practical compliance question that gets ignored until late in the process. Some retail programs restrict certain plasticizers, finishes, or packaging claims. If the program has a compliance policy, confirm it before sample approval. Changing film type after tooling or artwork is approved adds cost quickly and usually forces a second sample cycle.
For teams comparing this order with other custom packaging products, the important thing is to compare like with like. A bag quoted with a thin insert and basic pack-out is not the same product as one quoted with heavier board, tighter alignment, and a retail-ready finish.
Pricing, MOQ, and Unit Cost Tradeoffs
Pricing on PVC garment bags usually comes down to a predictable set of variables: film thickness, insert board quality, print complexity, custom sizing, and any manual assembly or kitting. Order quantity matters just as much. A small run can look expensive per unit even when the design is simple, because setup, cutting, proofing, and inspection costs are spread across fewer pieces.
These figures are rough planning numbers, not fixed quotes. Labor rates, freight terms, finish requirements, and local sourcing all move the price. Still, they are useful for buyer-side budgeting.
| Build Level | Typical Spec | Ballpark Unit Cost at 5,000 pcs | Buyer Risk |
|---|---|---|---|
| Basic clear pack | 0.20 mm PVC, plain insert, no special print | $0.28-$0.48 | Lowest cost, but the presentation can feel thin and less stable |
| Standard retail pack | 0.25 mm PVC, 1-color insert print, standard zipper | $0.42-$0.68 | Good middle ground if dimensions are locked early |
| Premium display pack | 0.30 mm PVC, heavier insert board, 2-4 color print, coated finish | $0.68-$1.20 | Better shelf appearance, but more sensitive to artwork and fit errors |
| Special assembly pack | Custom insert, tags, hangers, pre-fill or kitting labor | +$0.05-$0.18 added labor | Can reduce receiving time, but raises handling cost |
Those numbers are not the whole story. A lower quote can still be the more expensive choice if it causes wrinkling, misalignment, or rejected samples. Buyers sometimes chase the cheapest line item and ignore the build details sitting underneath it. Thin board, lighter film, or a shorter insert can make the unit price look good while increasing the chance of rework later. Low-price packaging is not the same thing as low-risk packaging.
MOQ changes the picture too. If a supplier has to tool a custom size, set up special print, or cut a unique insert shape, the minimum order is often there to protect setup time. A higher MOQ can reduce unit cost, but only when the spec is stable enough to justify the volume. If the artwork may change again next month, a smaller run with a slightly higher piece price can be the cleaner decision.
Compare the full spec sheet first, then compare the price. Otherwise the cheaper quote may simply be the lighter board, thinner film, or shorter insert that creates problems later.
Production Steps and Lead Time
A clean order follows a predictable path. First comes spec confirmation. Then artwork review. Then material sourcing. After that comes proof approval, fabrication, assembly, packing, and shipment. Each step can move quickly if the information is complete. Each step can also slow down if the buyer keeps changing the insert size, artwork, or pack-out method.
For standard builds, a realistic lead time is often 12 to 15 business days after proof approval. More customized jobs can stretch closer to 18 to 25 business days, especially if they need new tooling, multiple print passes, or a revised insert cut after sampling. The schedule should be tied to milestones, not just the date the purchase order was issued. “Two weeks” means very little if the proof has not been signed off yet.
Calendar days matter. If the bags are supporting a launch, a seasonal reset, or a retail shipment window, the buyer should build in slack for revisions. One extra proof round can add several days. A small color correction can move the release if the print slot has already been allocated. The checklist should include the target ship date, the approval deadline, and the date the factory needs complete artwork. Without those dates, the timeline is a wish list.
Transit testing is worth considering for programs that will move through parcel or distribution channels. The broader packaging standards are not specific to one product type, but the logic still applies: if the pack cannot survive handling, the visual work does not matter much. The general test framework can be reviewed through ISTA, then adapted to the product, the route, and the damage tolerance of the brand.
One detail that saves time later is separating approval time from production time in the schedule. That makes it obvious where the delay is sitting. If the proof is pending, the factory is not the bottleneck. If the material is not in house, that needs to be visible before anyone promises a ship date. Schedules fail most often when those two phases get blurred together.
Common Mistakes That Turn a Simple Bag Into a Rework
The expensive mistakes are usually the ordinary ones. Wrong width. Wrong insert height. Artwork too close to the zipper. A fold method that looked fine in email but failed in the sample room. The checklist is meant to catch those problems before they become scrap.
These are the errors that show up most often:
- Approving bag width from garment size alone, without allowing for seams, labels, and insert thickness.
- Sending artwork before confirming bleed, safe area, and seam avoidance zones.
- Calling for a “stiff card” without specifying stock, coating, or edge finish.
- Skipping a real fit test with the folded garment inside the bag.
- Ignoring closure placement, which can block the logo or interfere with the top fold.
- Accepting a sample without checking carton count, inner pack count, and flat-pack condition.
The insert deserves special attention because buyers often treat it as a generic support piece. It is not generic once it is inside a clear bag. If it curls, it tells the customer the pack was under-specified. If it is too soft, the garment drifts off center and the front face looks uneven. If the edges are rough, the film can scuff or show pressure marks under retail lighting. None of that is theoretical. It is what happens when the material spec stops at “board” instead of naming the actual stock.
Sample approval should include a simple quality-control pass: fit, clarity, closure function, print registration, edge finish, and carton count. If the order ships pre-filled, verify that the garment stays centered after movement inside the carton. If the packaging is part of a branded line, compare the sample against the visual rules used elsewhere in the range so the bag does not look disconnected from the rest of the product family.
Packaging design teams can get trapped by the front graphic. The pack is still a physical object, and physics is not negotiable. Film stretches. Board resists. Folds occupy real space. Closures take up their own strip of material. Ignore that and the rework will make the point for you.
Next Steps for a Clean Order and Better Sample Approval
The fastest way to improve approval quality is to turn the beer pvc garment Bags Packaging Insert Checklist into a buyer brief. Gather the folded garment dimensions, bag dimensions, insert spec, artwork files, target quantity, carton plan, and ship date before you ask for quotes. That one step cuts down the back-and-forth that usually slows the order later.
Ask for a proof that shows the bag, insert, and graphics together. Separate drawings are useful, but they hide the real problem. A composite proof makes it much easier to see whether the logo lands under a seam, whether the insert is too short, or whether the closure overlaps the visual field. For retail packaging, that combined view is worth more than a clean but incomplete drawing.
It also helps to ask the supplier what counts as standard tolerance and what counts as a paid revision. That question changes both cost and timing. A buyer who knows the revision rules can make faster decisions and avoid delays caused by small changes that should have been settled earlier.
Before release, do one last review against the physical sample. Check every field in the beer pvc garment Bags Packaging Insert Checklist against the actual piece, not the spreadsheet version. If the insert sits correctly, the bag closes cleanly, the artwork is aligned, and the carton count is right, the order is ready to move. If any one of those checks fails, fix it before production starts. That is the cheapest place to solve the problem.
For related components and matched presentation pieces, the Custom Packaging Products catalog can help keep the full set consistent. The tighter the fit between structure and branding, the cleaner the final pack will look on shelf, in transit, and in the buyer’s hand.
What should be included in a beer pvc garment bags packaging insert checklist?
Include bag dimensions, PVC thickness, closure style, insert size, insert board thickness, and print placement. Add quantity, carton pack-out, artwork files, and approval steps so the factory can quote and build from one source of truth. If the product needs hanger openings, retail tags, or flat-shipping requirements, those should be listed too.
How do I choose the right PVC thickness for garment bags with inserts?
Choose thickness based on how rigid the bag needs to feel, how much the garment weighs, and whether the pack must resist creasing. Heavier or more premium presentation packs usually need a sturdier film so the insert can sit flat without the front panel collapsing. Ask for samples in the exact thickness range you plan to order, because feel and clarity change quickly as gauge changes.
What affects unit cost the most on custom PVC garment bags?
Material gauge, print complexity, custom sizing, insert board quality, and order quantity are usually the biggest cost drivers. Small runs often cost more per piece because setup work is spread across fewer units. Special assembly or kitting can add labor even when the bag design looks simple on paper.
How long does production usually take after sample approval?
Lead time depends on materials, print count, and whether the insert or bag needs new tooling or revised artwork. Standard builds move faster than highly customized packs with multiple revisions or special assembly. Ask the supplier to tie the timeline to sample approval, not just the order date, so the schedule reflects the real production sequence.
What are the most common mistakes with packaging inserts?
The most common errors are wrong insert size, unclear board specs, and artwork that was approved without checking the final bag layout. Buyers also forget to test the folded garment inside the bag, which can reveal bulging or shifting after production starts. A final pre-production review should confirm fit, print, closure, and carton count together.


