A wedding Frosted Zipper Bags packaging insert checklist sounds straightforward until the details start moving around: bag size, insert length, print contrast, seal line, and the order in which everything gets packed. Frosted film changes the way a design reads. It softens edges, reduces glare, and hides minor handling marks better than a fully clear bag, but it also punishes weak contrast and loose sizing.
That is why the smartest checklist does not begin with artwork. It begins with fit, sequence, and the final viewing effect. A package can look clean in a mockup and still fall apart in hand if the insert curls, drifts, or crowds the zipper area.
From a buyer’s point of view, the job is part branding, part assembly, and part quality control. The bag and the insert should be designed as one system, not as two separate purchases stitched together at the end.
Why frosted zipper bags change the wedding insert experience
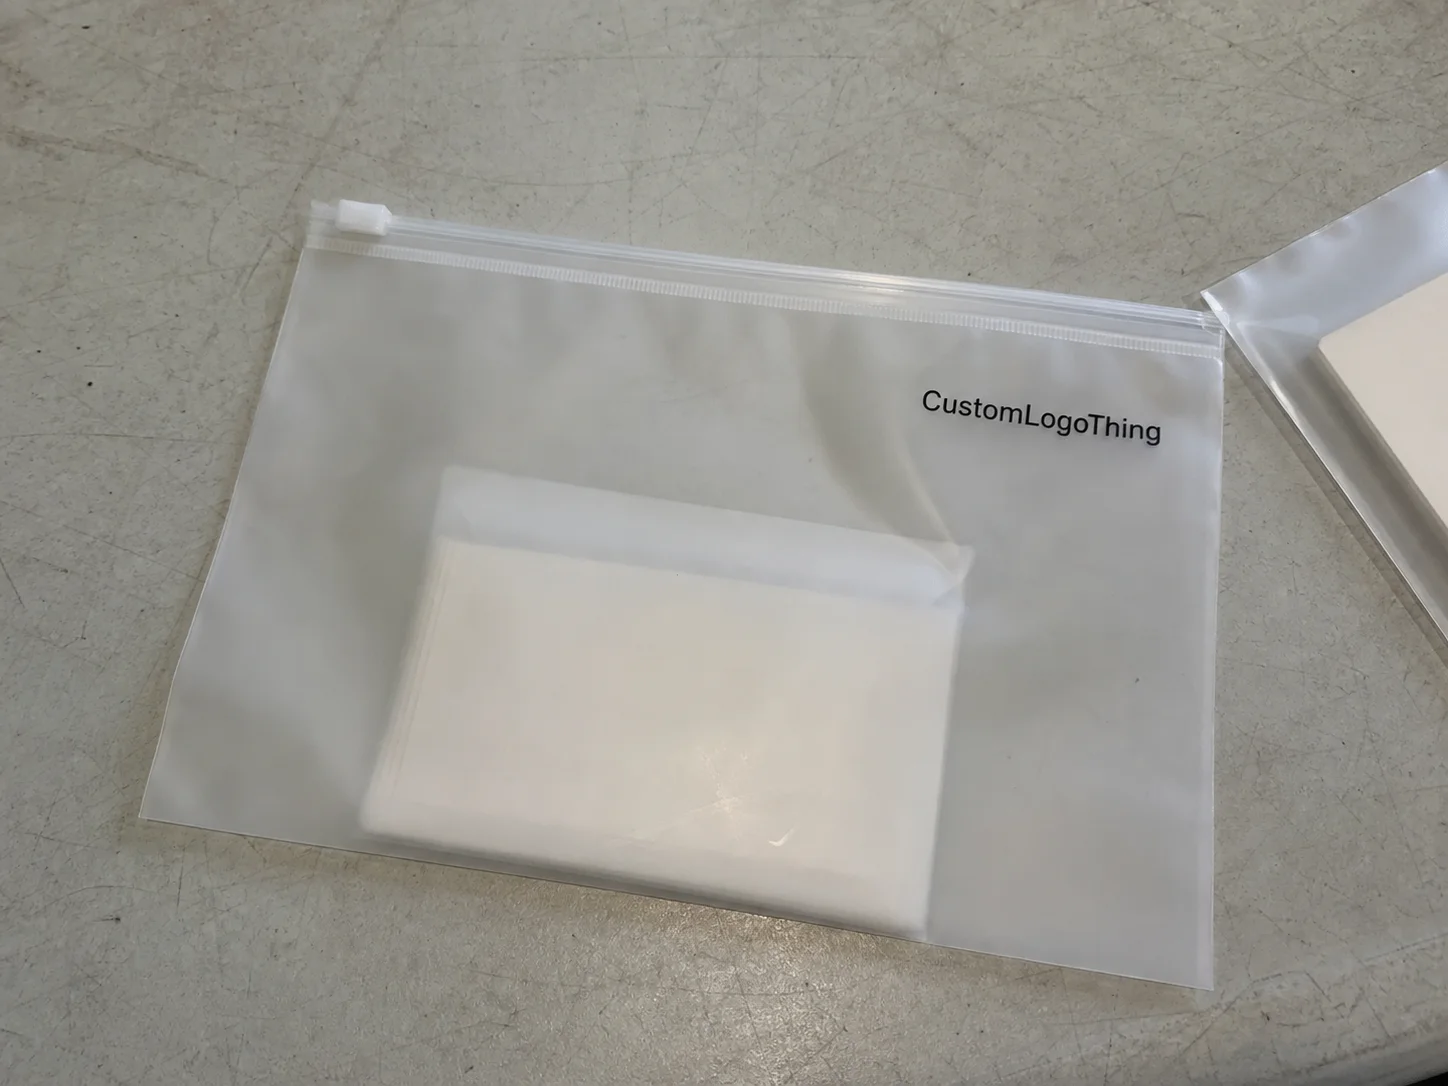
Frosted bags behave differently from clear bags. The film diffuses what is inside, cuts reflections under venue lighting, and tends to hide fingerprints and small scuffs. That matters because wedding packaging is usually viewed up close, often photographed, and often handled several times before it reaches the guest.
A clear bag exposes every fold, every shift in alignment, and every fingerprint. A frosted zipper bag gives more forgiveness, but it does not make poor setup disappear. If the insert is too small, it floats inside the bag and looks unfinished. If it is too large, the edges buckle and the top band gets crowded. If the fold is off-center, the whole piece reads as hurried.
A frosted bag hides minor handling marks, but it does not hide a poor fit.
Wedding packaging also carries more information than a standard retail insert. A favor bag might need the couple name, event date, welcome line, scent note, care instruction, or a thank-you message. The insert has to communicate all that without looking busy. In practice, the best layouts use one main line, one supporting line, and enough empty space for the eye to rest.
The bag measurement should come first, not the artwork. Use the usable interior width and height, not the nominal outside size. Then account for the zipper line, the top seal area, and any fold that changes the visible panel. If the item will travel in a secondary shipper, treat the bag as more than a photo prop. It has to hold up through packing, transit, storage, and venue setup.
- Measure the usable interior width and height of the bag.
- Allow a small margin so the insert slides in without curling.
- Check how the zipper line and top seal affect the visible area.
- Review the package under normal room light and event lighting.
That same logic applies to other product packaging formats too: the container should protect the contents, support the message, and stay efficient to assemble in quantity. Wedding work is just less forgiving because the deadline does not move.
What belongs on the insert and in what order
Content hierarchy should be decided before design begins. The most visible line is usually the couple name, logo, or event name. After that comes the short welcome line, then the product or favor description, then any care note or event detail. If all the text carries equal weight, the eye has nowhere to land, especially through frosted film that already softens the edges.
A good insert is not crowded with copy. It should read in one or two seconds. The important information belongs highest on the panel, with secondary details lighter in size and weight. That rule holds whether the package is a welcome kit, a favor bag, or a small branded insert for display.
For a clean setup, use this order:
- Confirm the message priority.
- Lock the insert dimensions.
- Set the fold direction, if any.
- Place the main branding element.
- Add event or product details.
- Review the seal orientation and final presentation.
The copy itself needs a proofing pass with real names, dates, venue names, and contact details. Wedding packaging has a narrow margin for error because the deadline is fixed and the correction window is short. Read the text out loud, then compare it with the invitation suite or planning sheet. Simple transpositions and mismatched event names are still the most common mistakes.
There is also a meaningful difference between an insert that is decorative and one that is informational. Decorative inserts can tolerate more visual space and fewer words. Informational inserts need stronger hierarchy and, often, a smaller amount of copy so the most important detail stays legible through the frosted plastic. A useful wedding frosted zipper Bags Packaging Insert Checklist should settle that early, because it affects font size, line spacing, and margin treatment.
Materials, print finish, and visibility choices
Paper stock changes how the whole package feels. A heavier card, such as 14pt or 16pt C1S, holds shape better and resists curling, which matters inside a zipper bag where the insert may sit close to plastic. A lighter stock may reduce cost, but it can look flimsy once packed and photographed. For premium events, buyers often choose a smoother face so the print edges stay crisp and solid color blocks hold up under indoor lighting.
Finish matters just as much. Matte and soft-touch finishes reduce glare, which helps if the package will be photographed or placed under bright reception lighting. Light gloss can boost color pop, but it can also throw reflections back through the frosted film. The goal is not simply attractive print. The goal is legibility through the bag material.
Frosted film changes contrast in ways that are easy to miss on a monitor. Pale gray type, thin script fonts, and faint pattern backgrounds often fade once the insert sits behind the plastic. Darker inks, stronger strokes, and a little more white space usually perform better. If the bag has a pronounced frost level, the insert should not try to be too delicate. It needs enough contrast to be read from a normal viewing distance.
For buyers who care about sourcing, ask about recycled board or FSC-certified paper. You can verify forest stewardship claims through FSC. That does not make the package automatically better, but it gives the material choice a clearer rationale when sustainability is part of the brief.
Physical samples are worth the time. Screen proofs will not show how the frosted bag dulls a pale background, how the paper catches on a zipper edge, or how a finish behaves after folding. One working sample with the actual bag material tells you more than several polished PDFs.
If the package will be shipped assembled, or packed tightly in outer cartons, test it with transport in mind. The ISTA framework is useful because it pushes teams to think about drop, vibration, compression, and scuffing instead of stopping at shelf appearance. That matters for wedding sets that move from printer to packer to venue.
| Option | Typical MOQ | Typical Unit Price | Best For |
|---|---|---|---|
| Insert only, single-color print | 250-500 | $0.10-$0.22 | Simple welcome notes and favor cards |
| Insert with full-color print and matte finish | 500-1,000 | $0.18-$0.34 | Branded packaging with stronger visual impact |
| Frosted zipper bag plus insert, unassembled | 1,000+ | $0.28-$0.48 | Buyers managing their own stuffing and sealing |
| Frosted zipper bag plus insert, kitted or assembled | 1,000+ | $0.38-$0.65 | Event teams that need labor removed from setup |
These numbers are practical ranges, not promises. Quantity, print coverage, stock choice, and finishing all shift the quote. Foil, spot UV, die-cut shaping, or multiple inserts per package will move the cost quickly. For buyers comparing options, ask whether the bag, the insert, and the assembly labor are priced separately or rolled into a single line.
Sometimes a frosted zipper bag is the right format. Sometimes a folded card in a printed sleeve or a small rigid box does the job better. If the item will be handed out on-site, the bag may be the fastest choice. If the contents are fragile or need a stronger reveal, another format may justify the extra spend. The best spec is the one that fits the event, not the one that looks most elaborate on paper.
Process and timeline: from proof to packed cartons
A clean production flow reduces surprises. The basic sequence is simple: content collection, layout setup, proof review, approval, print, finishing, packing, and shipment. The delay usually appears at the handoff points. Artwork may be ready while dimensions are still changing, or the bag spec may be final while copy is still being edited.
Timeline matters more for wedding work than for ordinary promotional jobs because the event date does not move. If the packaging arrives late, the problem is not only shipping delay. It can interfere with venue prep, favor assembly, rehearsal dinner setup, or the day-of team’s labeling schedule. A job that would be acceptable next week can be too late for a wedding by one day.
Build approval checkpoints into the calendar:
- Artwork and copy approval.
- Dimension and dieline approval.
- Quantity confirmation.
- Sample approval, if a physical round is included.
- Final release to print.
A realistic lead time is often 12 to 15 business days after approval for a straightforward print-and-pack job, plus transit time based on distance. Special finishes, more complex folding, and peak-season demand can push that longer. If the bags must be inserted and sorted by table number or guest group, add labor time for kitting. That is where the job stops being just printing and becomes assembly work.
A useful wedding frosted zipper Bags Packaging Insert Checklist also defines what “approved” means. Does approved mean the PDF looks right, or does it mean the physical sample matches the intent? Those are not the same thing. For a wedding package that will be touched, photographed, and handed to guests, a physical approval is the safer choice whenever the schedule allows it.
Cost, pricing, MOQ, and quote variables
Pricing is easier to read once it is split into controllable pieces. The main levers are quantity, print colors, stock choice, special finishes, custom sizing, folding, and whether the bags are assembled or shipped flat. A low unit price can look attractive, but if the quote leaves out kitting, labeling, or hand insertion, the real total can rise quickly.
MOQ affects both unit cost and cash tied up in the order. Smaller runs usually carry a higher price per piece because setup costs are spread across fewer units. Larger runs lower the unit cost, but they demand more storage and more upfront spend. For wedding buyers, the right quantity is usually a balance between guest count, spares, and the planner’s tolerance for overage.
Here is the kind of quote breakdown that is actually useful:
- Bag price by size and thickness.
- Insert price by size, stock, color count, and finish.
- Assembly cost for insertion, folding, sealing, or bundling.
- Shipping by carton count and total weight.
- Rush charges if the deadline is compressed.
That separation matters because it shows where the budget is going. A package can look inexpensive if you only look at the bag and ignore the labor. Once the job needs hand assembly, the labor line can matter as much as print. A serious quote should distinguish materials from services rather than folding everything into a single number.
| Quote Factor | Low Impact | High Impact |
|---|---|---|
| Quantity | 500 pieces | 5,000+ pieces |
| Print Complexity | 1-color logo | Full-color design with bleed |
| Finish | Uncoated or matte | Soft-touch, foil, spot UV |
| Assembly | Flat ship | Inserted, folded, labeled, bundled |
If a supplier cannot explain the difference between those variables, the quote is not ready. The value is in the breakdown. It shows where the spend is going and what can be simplified without hurting the final result.
Common mistakes that create waste or rework
The most common failure is copy that runs too long. Wedding text tends to expand because everyone wants to add one more note, one more thank-you line, or one more detail. Inside a frosted bag, that extra wording often becomes clutter. The better move is to trim the copy until the insert reads fast and clean.
Another expensive mistake is approving a digital proof without checking the real bag dimensions. Even a small mismatch can create buckling, awkward folds, or a loose fit that shifts during transport. If the bag has a gusset, zipper edge, or sealing lip, those features reduce the usable area more than people expect. The outside measurement is not the number that matters.
File setup issues also slow everything down. Missing bleed, low-resolution imagery, unoutlined fonts, and broken linked assets can hold up a proof cycle. That is not only a design problem. It is a production problem. A clean file saves time, and time saves money.
Here are the errors I see most often in wedding packaging:
- Overcrowded copy that ignores the available insert area.
- Color choices that disappear behind frosted film.
- Artwork built before the bag size is final.
- Skipping a physical sample and ordering the full run first.
- Assuming assembly will be fast without testing the actual workflow.
Overordering before sample approval is another waste trap. A mockup can look clean on a monitor and still reveal spacing or color issues once it is packed. One small sample round is usually cheaper than reprinting a full batch. That is especially true for custom printed boxes and other event-ready packaging where the presentation is part of the product, not just the container.
Next steps for approving samples and placing the order
Start with a physical sample using the final insert size, the actual frosted zipper bag, and the intended packing order. Hold the sample at normal viewing distance. Check whether the main line reads quickly, whether the paper sits flat, and whether the zipper or seal creates an awkward band across the design. Small details decide whether the piece feels custom or merely assembled.
Before release, confirm the final checklist in writing:
- Artwork version.
- Copy and spelling.
- Bag and insert dimensions.
- Quantity and overage allowance.
- Ship date and delivery address.
- Carton marks and packing method.
- Whether folding, insertion, or kitting is included.
It also helps to ask for a final approval file and a production schedule that shows each milestone. That keeps everyone tied to the same version of record and reduces the chance of last-minute edits slipping into the run after approval. For a wedding, that kind of control is not excess. It is the difference between a clean handoff and a messy one.
Use this wedding Frosted Zipper Bags Packaging Insert checklist to lock the details early, avoid rework, and keep the finished package consistent from the first unit to the last. If the bag, insert, and assembly are treated as one system, the result looks more intentional, holds up better in handling, and delivers the polished finish guests notice immediately.
How do I build a wedding frosted zipper bags packaging insert checklist?
Start with the bag size, insert size, copy blocks, finish, and sealing method so each later choice fits the package instead of fighting it. Add a clear approval step for spelling, dates, and names, then confirm the final packing order before production starts.
What should a wedding frosted zipper bag insert include?
Include the couple or brand name, a short message, event details, and any care or use instructions guests need after opening the bag. Keep the layout simple enough to read through the frosted film without crowding the design.
How do I size the insert so it fits frosted zipper bags correctly?
Measure the usable interior space of the bag, then leave enough margin so the insert slides in cleanly without bending or forcing the zipper area. Test a sample with the actual paper stock, since thicker material changes how the finished piece sits inside the bag.
What affects pricing for wedding frosted zipper bags with inserts?
Quantity, print complexity, stock choice, finishing, and assembly labor are the main cost drivers. A useful quote should separate materials from kitting so you can see exactly where the budget is being spent.
How long does production usually take after approval?
Timeline depends on quantity, print method, finishing, and whether a sample round is required before the full run. Build in extra time for approvals and shipping so the packaging arrives before the wedding assembly deadline.


