A chocolate frosted zipper Bags Packaging Insert Checklist looks narrow on the surface, but it is usually where a packaging order either stays controlled or starts drifting into rework. A bag can pass a PDF review and still fail in hand if the insert is too tall, too glossy, too stiff, or placed close enough to the zipper track that it interferes with closure.
For chocolate assortments, bakery samples, seasonal candy kits, and retail-ready pouch packaging, the insert is not decoration. It carries product information, strengthens package branding, and changes how the customer reads the bag the moment it is picked up. The checklist exists to confirm fit, print, materials, and commercial terms before a run becomes expensive to fix.
Why This Checklist Matters Before You Order
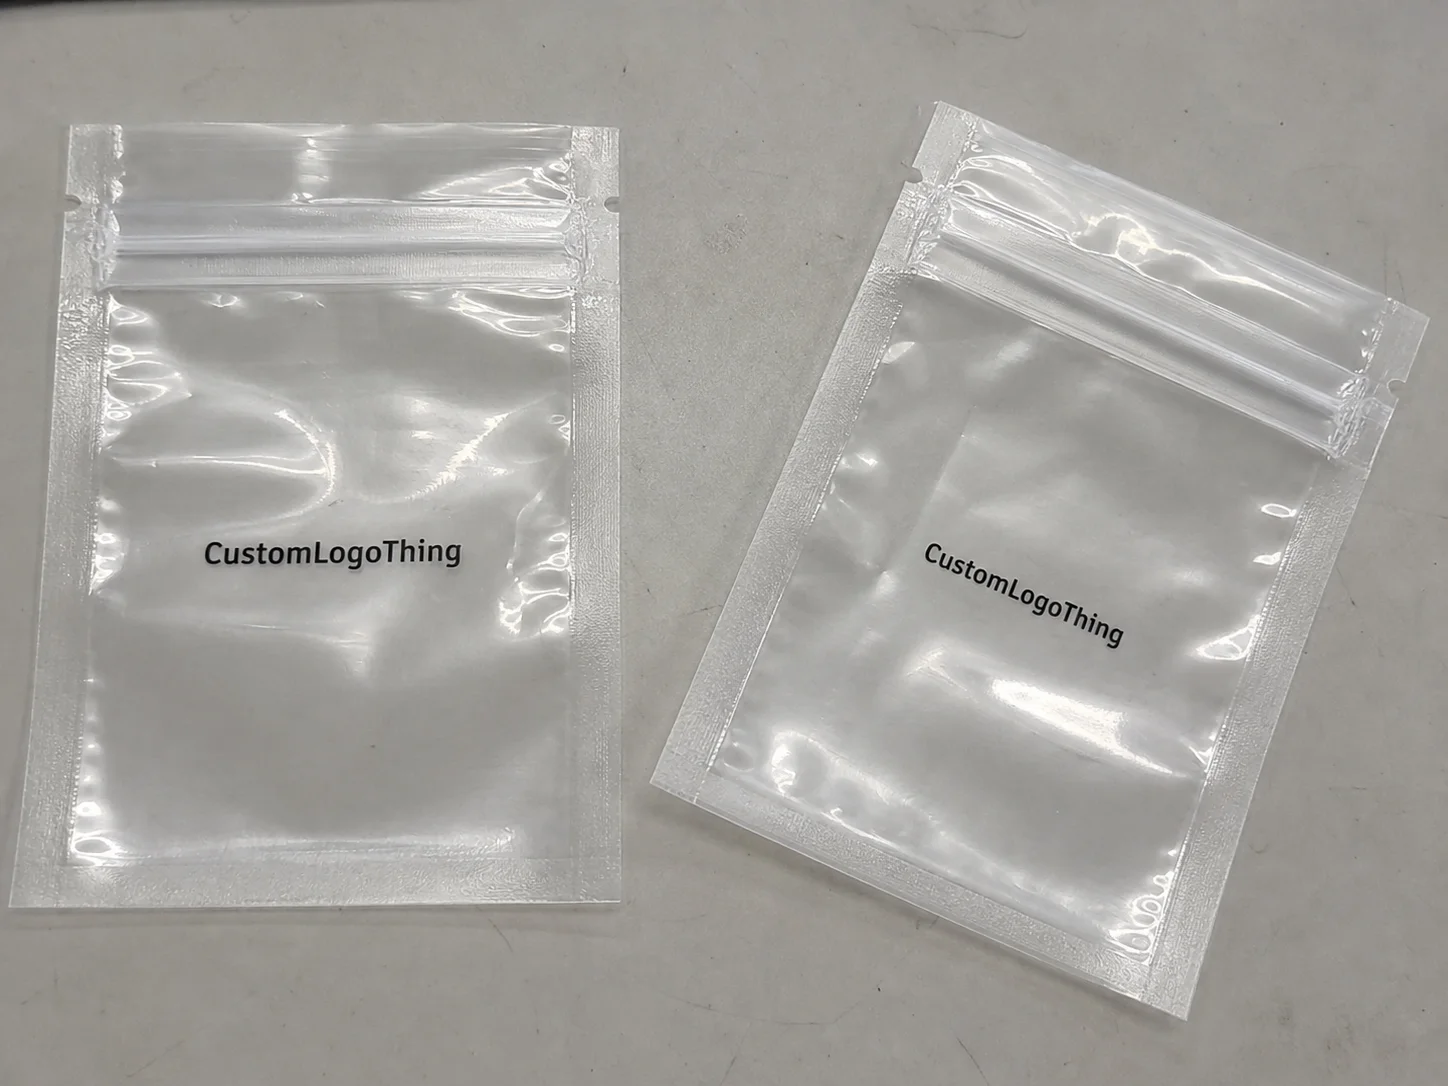
Most packaging mistakes show up at the edges: the fold line, the zipper, the trim margin, or the place where a customer’s fingers meet the product. A frosted zipper bag gives you a soft, premium look, but that finish also makes the insert work harder. The sheet has to stay readable through the translucent film, sit flat without curling, and support the presentation instead of fighting it.
That is why the chocolate Frosted Zipper Bags Packaging Insert checklist is a buying tool, not a creative exercise. It keeps dimensions, copy length, fold style, material compatibility, and production details in one place so a supplier can quote accurately and a designer can build to something real. If the insert needs to coordinate with cartons, mailers, or label systems, it helps to compare it with your broader Custom Packaging Products so the visual language stays consistent across the line.
In practice, the insert usually serves one of four jobs:
- It explains the product or flavor story for retail packaging.
- It adds ingredients, storage guidance, or compliance text for food-safe presentation.
- It promotes a seasonal offer, subscription, or limited batch.
- It reinforces branding so the bag feels intentional instead of generic.
The insert is judged by more than artwork. Buyers, store teams, and end customers judge it by fit, visibility, and how it affects the unboxing moment. A clean insert can make a modest pouch feel polished. A cramped one can make strong packaging look improvised.
A pretty insert that hits the zipper line is not a design win. It is a packaging defect.
How the Insert Works Inside a Frosted Zipper Bag
The insert and the bag structure have to cooperate. The sheet needs enough stiffness to stand up inside the pouch, but not so much rigidity that it buckles against the curve of the bag. On a frosted finish, high-contrast layouts usually read better than delicate gray type because the film diffuses light and softens edges. The same file that looks crisp on a monitor can look subdued once it is packed.
Placement matters just as much as print quality. A top-loading insert usually sits behind the product, but if the bag has short headspace or a prominent zipper track, the usable area shrinks quickly. Side-loading can solve some handling problems, though it may complicate assembly and change labor cost. A folded insert can save space, but the fold must land away from the strongest line of text or the barcode.
Material choice changes performance too. Common options include 14pt or 16pt cover stock, coated paper for sharper image hold, and matte or soft-touch finishes when the brand wants a quieter premium feel. If the bag will be handled near grease, humidity, chilled product, or frequent touchpoints, a light aqueous coating or film lamination may help the insert survive longer. None of that is automatic; it depends on the use case, the target shelf life, and how the bag is stored before sale.
For buyers comparing branded packaging pieces, the same logic applies to inserts, sleeves, and custom printed boxes. The layout has to respect the structure that carries it. Packaging design is not only visual polish. It is fit, print, and handling working together under production limits.
Specs That Drive Cost, Pricing, and MOQ
Pricing usually turns on a short list of variables, and the earlier they are fixed, the cleaner the quote will be. Bag size, zipper style, film thickness, print coverage, insert size, paper stock, coatings, and finishing all affect the number. Add multiple SKUs, language versions, or a seasonal graphic swap, and the quote shifts again because every version carries its own setup and approval path.
There is also a practical difference between unit cost and total program cost. A buyer may focus on the per-piece number, but the real budget includes proofing, plate or digital setup, assembly, kitting, shipping, and sometimes a packout charge if the insert ships preloaded into the bag. That is the commercial side of a chocolate Frosted Zipper Bags Packaging Insert checklist; it keeps the conversation grounded in what the order actually costs to produce and deliver.
| Option | Typical Use | Approx. Unit Cost | Notes |
|---|---|---|---|
| One-color digital insert on 14pt C1S | Simple product info, promo card, short copy | $0.12-$0.22 at 5,000 pieces | Good for tighter timelines and lighter content |
| Full-color offset insert on 16pt C2S | Retail packaging, higher image quality, richer branding | $0.18-$0.35 at 5,000 pieces | Better for stronger color control and detailed graphics |
| Insert plus bag kitting | Preassembled packs ready for shelf or shipment | $0.28-$0.55 and up | Assembly labor and handling raise the program cost |
Minimum order quantity depends on the print method and how many versions you need. Digital runs may start lower, sometimes around 500 to 1,000 pieces for the insert alone, while offset work often makes more sense at 2,500 or 5,000 and up. If the artwork is complex or the insert needs special folding, the MOQ can rise because the press and finishing lines need enough volume to stay efficient.
For brands that care about sustainability claims, material sourcing matters too. If the paper is meant to carry an FSC claim, the chain of custody needs to be real and documented, not assumed. The certification framework is available at fsc.org. For packed goods that may move through parcel networks, some buyers ask for distribution testing aligned to ISTA methods so they are not guessing about how the product behaves in transit.
Timeline: From Artwork to Final Pack
The workflow is straightforward, but the handoff points are where delays show up. It starts with spec review, then dieline or template confirmation, then artwork setup, proofing, production, finishing, inspection, and shipment. If the insert is tied to a launch date or seasonal display, the schedule should be mapped before the order is released.
The slowdowns are predictable. Missing safe margins cause text to sit too close to a fold. Unfinalized copy forces a second proof. Barcode changes trigger another check. Regulatory language for food packaging can also slow the process if the buyer has not reviewed it internally. That is common in product packaging where the insert needs ingredient details, storage notes, or a contact line that has to match the approved copy deck exactly.
Lead times vary with the print method and finish. A clean digital insert order may move in 7-12 business days after proof approval, while a more involved offset or kitted order often needs 12-20 business days, sometimes more if materials are sourced separately. If the bag and insert are produced in separate runs, build in extra time for alignment and inspection. A disciplined chocolate frosted zipper Bags Packaging Insert Checklist pays for itself by forcing the buyer to confirm what can still change and what is already locked.
For buyers comparing printed components, the schedule for inserts is often similar to other branded packaging pieces, but the tolerances are less forgiving because the sheet has to fit inside another package. Proof approval should include both the flat file and a visual placement check in the bag.
Step-by-Step chocolate frosted zipper bags packaging insert checklist
This is the working version you can hand to a supplier, a designer, or an internal approver. It keeps the order moving and reduces back-and-forth.
- Measure the usable interior space. Confirm the bag width, height, zipper location, and the space lost to the seal or gusset. Do not rely on the outside dimension only.
- Set the finished insert size. Decide whether the insert will be flat, folded once, or folded more than once. Account for trim, score, and the area that disappears into a fold.
- Define the content hierarchy. Put the logo, product name, and primary message first. Then add ingredients, instructions, storage guidance, QR code, and any compliance text.
- Choose the stock and finish. Match the material to handling conditions. A bakery sample insert may need a different coating than a retail shelf card.
- Check the color expectations. If the bag is tinted or heavily frosted, the insert may need stronger contrast or denser ink coverage to stay readable.
- Test barcodes and small type. Verify scannability and legibility at the smallest intended size. Fine lines and tiny legal copy are where print issues show up first.
- Confirm packing instructions. Say clearly whether the insert ships loose, nested, or preassembled inside the bag. That changes labor and freight.
- Review the proof in context. A flat PDF is not enough. Ask for a mockup or placement proof that shows the insert inside the frosted zipper bag.
If the order includes several versions, repeat the checklist for each SKU. A seasonal strawberry card, a dark chocolate promo card, and a plain ingredient insert may share the same bag, but they should not share assumptions about copy length or finish. That is the sort of detail that separates clean package branding from a rushed rush-order look.
Mistakes That Create Rework
The first mistake is assuming one standard insert size fits every bag. Zipper placement and headspace vary enough that a generic template can be off by a visible margin. The second mistake is copy overload. Buyers often want to say everything at once, but dense text makes the insert harder to read and leaves too little room for hierarchy.
A third problem is finish mismatch. A high-gloss insert inside a soft matte bag can look visually disconnected unless the design intentionally calls for contrast. A fourth issue is approving artwork before checking fold behavior. If important text lands in a crease or too close to the edge, the insert may be technically printed correctly and still fail on the shelf.
There is also tolerance drift. Even a well-made insert has normal production variation, and that variation matters more when the fit is tight. A buyer who ignores that reality can end up with inserts that look fine on a screen but feel awkward in hand. That is why the checklist has to include physical fit, not only print approval.
Finally, do not treat the insert as an isolated file. A clean program often connects the insert to the rest of the package family, including mailers, labels, and branded packaging pieces that carry the same visual language. Consistency is a practical selling tool, not just a design preference.
Practical Tips for Better Shelf Appeal
Keep the hierarchy simple. The most important information should be visible as soon as the customer opens the bag, and the second-most important item should be visible without rotating the package. That usually means the logo or product name sits highest, then the selling message, then details like ingredients or storage notes.
Use a hard-copy mockup before full production if the order is sensitive. A printed sample reveals fit issues, color shift, and awkward folds that are easy to miss on screen. If the bag will be displayed under warm lights, test it under that condition. If the product is food-related and the presentation needs to feel clean, check whether the paper stock or coating holds up against grease, moisture, or handling.
For compliance-heavy orders, align the insert language with the buyer journey. Retail packaging needs to sell in a glance. Fulfillment inserts need to explain storage, use, or compliance clearly. Those are not the same brief, even if they live inside the same zipper bag. A sharp chocolate Frosted Zipper Bags packaging insert checklist helps the buyer Choose the Right message for the right moment.
If the project has tight tolerances, unusual folds, or several version changes, ask for a production sample or short pilot run. That extra step costs more up front, but it can prevent a much more expensive miss when the full quantity is already on press. The same advice applies to custom printed boxes and other pieces of product packaging: test early, not after the whole order is committed.
The best insert is the one the customer understands in two seconds and never has to unfold to make sense of.
For sourcing credibility, buyers should ask whether the paper, ink, and coating choices match the claims they want to make. If there is no certified content, do not imply there is. That is a trust issue, not just a paperwork issue.
What to Prepare Before Requesting a Quote
Before you ask for pricing, gather the bag dimensions, zipper style, insert dimensions, artwork files, quantity, finish preferences, target ship date, and any assembly instructions. If the order has multiple versions, list them in a simple tracker so each SKU is easy to approve. That gives the supplier a real basis for quoting and keeps the conversation on the same spec sheet.
Ask whether the quote includes proofing, assembly, packaging, and freight. Those line items are easy to miss when the quote is presented as one number. If you are comparing suppliers, compare the same scope. A lower unit price is not useful if it excludes the labor needed to make the insert usable.
Then do one final review against a physical checklist: size, copy, barcode, fold line, color, and placement inside the bag. That last pass is the difference between a smooth launch and a scramble. For chocolate frosted zipper bags, the insert is part of the customer experience, so the spec needs to be as careful as the bag itself.
The value of the chocolate frosted zipper bags packaging insert checklist is simple: it reduces surprises. Buyers who use it early usually get cleaner quotes, faster approvals, and fewer corrections on press.
What should be included in a chocolate frosted zipper bags packaging insert checklist?
Include bag dimensions, insert size, artwork files, print finish, material choice, quantity, and any folding or assembly instructions. Add proofing details like barcode placement, color expectations, and the exact ship date needed for launch or replenishment.
How do I keep the insert from interfering with the zipper bag closure?
Confirm the zipper track and headspace before finalizing insert dimensions. Keep the insert clear of the seal area and test a folded sample inside the bag before approving the run.
What affects pricing the most for custom inserts in zipper bags?
The biggest drivers are quantity, paper stock, print coverage, finishing, number of versions, and whether the order includes assembly or kitting. Tighter timelines or special proofing steps can also increase cost.
How long does production usually take for this kind of packaging insert order?
Timing depends on artwork readiness, proof approval, print method, and whether the bag and insert are produced separately. The fastest projects are the ones where specs are final before quoting and no layout revisions are needed after proofing.
What is the most common mistake buyers make with bag inserts?
Approving artwork without checking fit in the actual bag is the most common problem. The next biggest issue is trying to fit too much information onto the insert, which hurts readability and slows production approvals.


