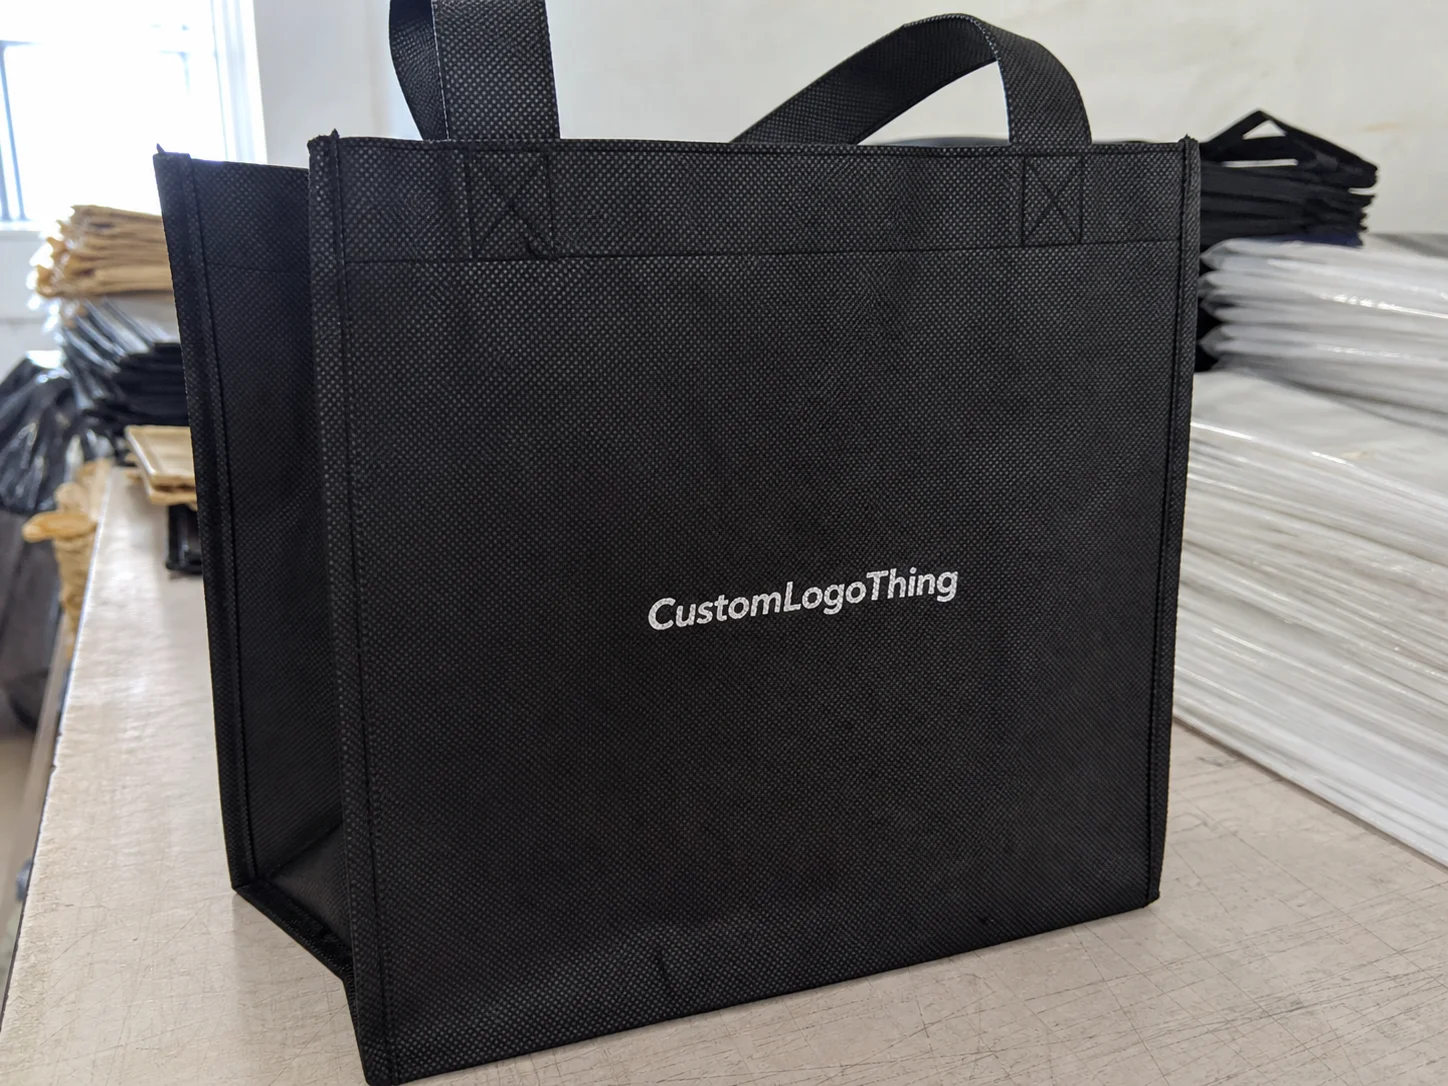
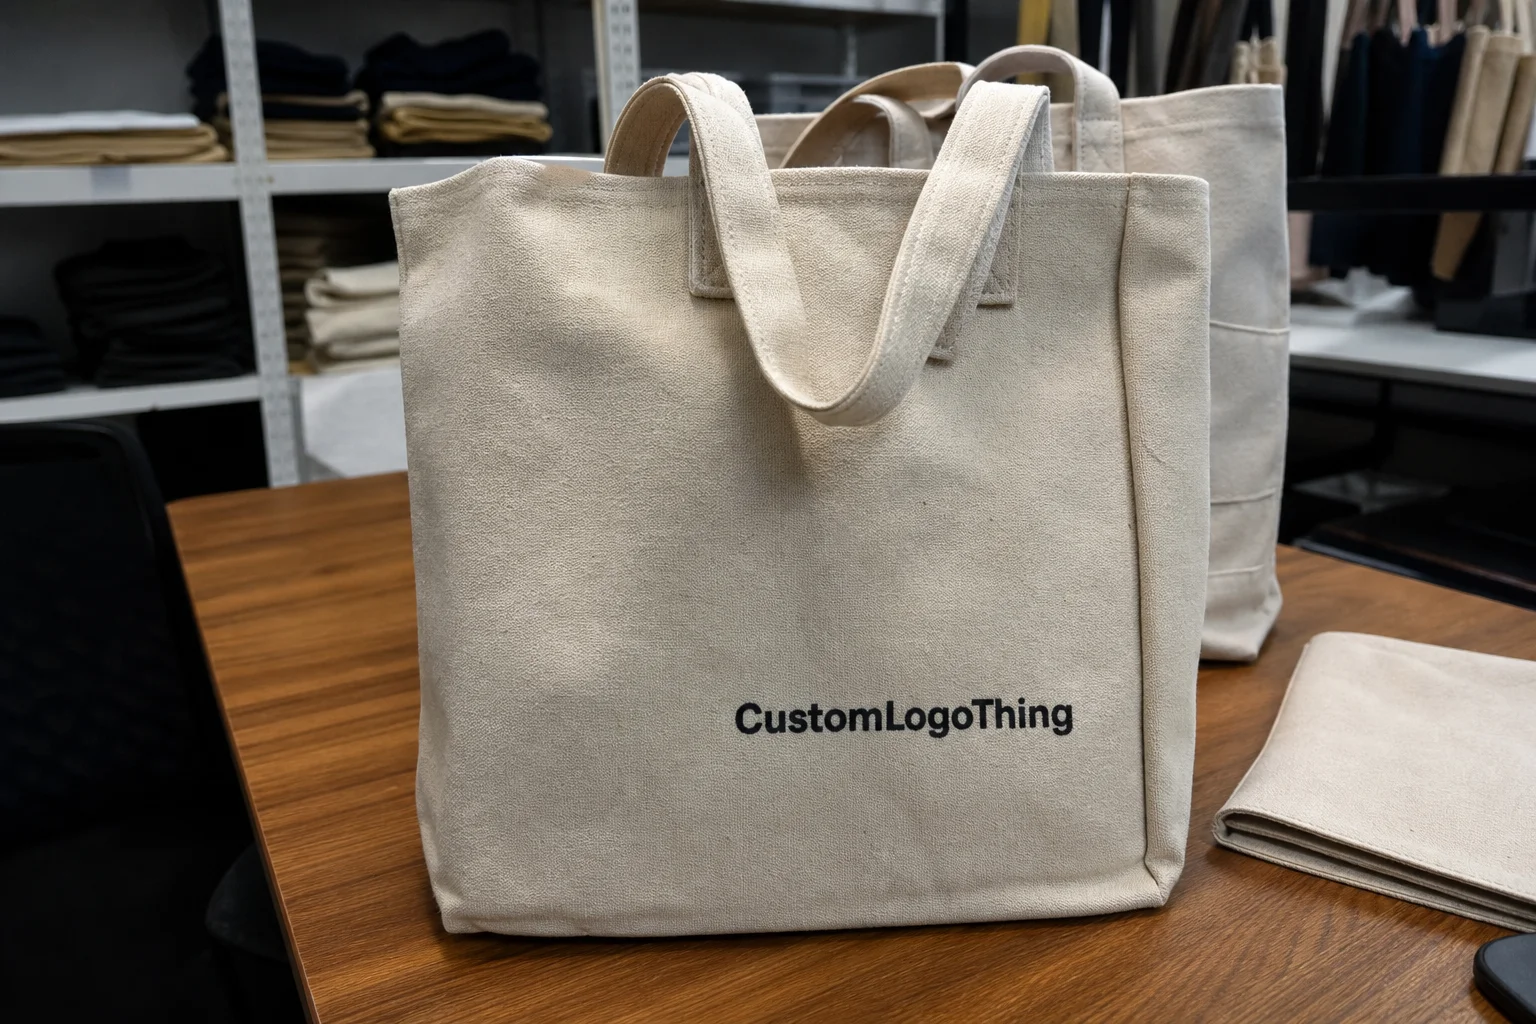
Screen printed bags are still one of the most practical ways to put branding on plastic. The process is strongest when the artwork is simple: a logo, a short line of text, or a one- or two-color mark that needs to stay readable at a glance. That is where the method delivers value without overcomplicating the job.
For buyers, the main advantage is control. Once the bag spec, artwork, and color count are fixed, pricing becomes easier to quote and compare. The tradeoff is also clear: the more detail, color, and tonal variation you ask for, the more the process works against you.
These bags also have to survive handling, packing, and shipment. If the ink scuffs, smears, or fails after the first few touches, the job misses the mark before it reaches the customer. That is why print method and cure quality matter as much as the artwork itself.
Why screen printing still wins on plastic bags
Screen printing uses a mesh stencil to push ink onto the bag surface. The open areas of the screen accept ink, the blocked areas do not, and the result is a controlled deposit that works well for solid shapes and clean typography. The process is simple in concept, but output still depends on material choice, ink chemistry, and curing.
It remains popular because plastic bags usually reward clarity over complexity. A bold one-color mark often looks sharper and lasts better than a busy full-color composition squeezed onto a thin film. On packaging, restraint often produces a better result than trying to force too much detail into the print area.
Screen printed bags are a good fit for retail carryout, trade shows, event giveaways, promotional packaging, and simple branded distribution bags. They are less suitable for photographic art, gradients, or fine tonal detail. Those effects can be printed by other methods, but screen printing is built for shape, contrast, and repeatability.
Compared with digital printing, screen printing usually gives a heavier ink laydown and stronger coverage on darker films. Compared with flexographic printing, it can be a better choice for smaller design sets where the goal is a crisp brand mark rather than a long multi-color illustration. The right method depends on the design, the bag material, and the order quantity.
In practice, the best orders tend to be the simplest ones. A clean logo, readable contact line, or short message usually prints better and costs less than a layered layout with several effects competing for space. On a bag, legibility beats cleverness more often than not.
How screen printing on bags actually works
The process starts with artwork separation. Each ink color generally requires its own screen, which means a one-color design is simple to produce while a three- or four-color design adds setup time and registration risk. Every added color introduces another point where alignment can shift during press setup or production.
Once the screens are prepared, the printer aligns the bag and prints the image through the mesh. The print area has to fit the bag structure, not the other way around. Handles, side gussets, seams, welds, and folds all reduce usable space. If the artwork ignores those limits, the result can look cramped or distorted even when the design itself is strong.
The next step is curing or drying. On plastic, this is not a minor detail. Ink that is not cured correctly can scuff, smear, or transfer during packing. The failure may not appear immediately, which is why buyers sometimes receive bags that look fine in the carton and fail later during handling.
Here is a simple way to judge design complexity before you send a file to production:
| Artwork type | Print result | Typical risk |
|---|---|---|
| Bold one-color logo | Clean, efficient, easy to repeat | Low |
| Two-color logo or icon set | Still practical if spacing is solid | Moderate setup |
| Thin text or fine rules | Possible, but sensitive to press conditions | Fill-in or blur |
| Gradient or photo art | Poor fit for this process | Muddy detail and weak transitions |
Thick strokes and open shapes are forgiving. Tiny type, close letter spacing, and delicate outlines are not. If the design depends on precise tonal transitions, screen Printing on Plastic is usually the wrong path.
Cost, pricing, and MOQ basics you should know
Pricing is driven by a short list of variables: bag size, film thickness, print sides, number of colors, total quantity, and any packing or shipping requirements. If two quotes differ a lot, the reason is usually in one of those levers.
Setup costs matter most on smaller runs. Screen preparation, registration, and press setup have to be paid for whether you print 300 bags or 30,000. Spread across a small order, those costs raise the unit price quickly. Spread across a large run, they become much easier to absorb.
MOQ, or minimum order quantity, depends on the supplier and the bag style. A basic poly bag with a one-color logo may have a lower threshold than a heavier custom bag with gussets, special dimensions, or multiple print positions. If a quote looks unusually cheap without a quantity attached, the missing information is probably the real story.
Common extra costs buyers overlook:
- Artwork cleanup for raster files, low-resolution logos, or incomplete brand files
- Screen charges for each print color
- Rush fees if the schedule needs to be pulled forward
- Special inks such as custom Pantone matches, metallics, or dense whites for dark film
- Freight when the order is bulky enough to move by carton or pallet
For early budgeting, simple one-color printing on standard bags at 5,000 pieces may land around $0.12-$0.30 per unit before freight. Heavier film, wider print areas, or extra colors can move pricing upward fast. Screen or setup charges commonly range from $25-$100 per color, but the exact number depends on the supplier’s process and the artwork.
The useful rule is simple. If the design is bold and the quantity is decent, screen printing usually compares well. If the artwork is detailed and color-heavy, the process starts working against you.
Production steps and lead time from artwork to shipment
A typical job moves through quote review, artwork check, proofing, screen prep, printing, curing, packing, and shipment. Delays often come from the art file, not the press. A blurry logo, an unapproved color change, or a last-minute revision can stop the job faster than a machine issue.
For well-prepared artwork, a common production window is about 12-15 business days after proof approval. That can stretch to 3-4 weeks or more if the run is large, the season is busy, or the bag spec requires special sourcing. Rush service is possible in some cases, but it usually raises cost and narrows the margin for error.
The most common delay points are predictable:
- Low-resolution files instead of vector artwork
- Color expectations that were not defined clearly
- Too many approval layers between the supplier and the buyer
- Artwork revisions after the screens are already being prepared
- Shipping changes made after production has started
Vector files such as AI, EPS, or print-ready PDF files are the safest starting point. They scale cleanly and reduce cleanup work. If exact brand color matters, provide Pantone references and ask how the supplier will match them on the chosen film. A digital proof is useful for layout and placement, but for larger orders, a physical sample or pre-production check is stronger evidence than a screen preview alone.
Packaging buyers who care about handling and transport often use standards such as ISTA as a reference point for transit expectations. That matters when the bags are packed in cartons, sent through multiple handoffs, and expected to arrive without scuffing or ink transfer.
Key design and material factors that affect print quality
Plastic film is not a neutral surface. Thickness, finish, opacity, and resin type all influence how the print looks and how well it holds up. A glossy film can make colors appear more vivid. A matte surface can soften the appearance slightly. A thin film may move more on press, which can affect registration.
Thickness changes more than the hand feel. It also affects durability, opacity, and print stability. Common film thicknesses for bags may range from about 1.5 mil to 4 mil depending on use. Thin bags are lighter and cheaper, but they are more vulnerable to stretching and show defects more easily. Thicker bags cost more, yet they usually feel better in the hand and present the print more cleanly.
Color choice matters as much as the ink itself. High-contrast combinations usually read faster and print more cleanly. White on dark film, black on light film, and bold brand colors with enough separation tend to outperform subtle tonal layouts. Subtle can look refined on a concept board. On a moving bag, subtle often disappears.
Artwork should also respect the geometry of the bag. Important text should stay clear of seals, folds, gussets, and handle cutouts. Leave enough breathing room around the logo so the structure of the bag does not intrude into the mark. A design that looks balanced on a flat mockup can fail once it is wrapped around a real package shape.
Material choice also affects sustainability conversations. If the project involves paper packaging, check certifications such as FSC. For plastic bags, ask about resin type, local recycling rules, and whether the material choice aligns with the markets where the bags will be used. Disposal rules vary more than many buyers expect.
Good print quality usually comes from three things:
- Simple, high-contrast artwork
- The right ink for the film and finish
- A bag format that gives the design enough usable space
Common screen printing mistakes buyers make
The first mistake is sending a low-resolution JPG and assuming the printer can repair it completely. Sometimes artwork can be cleaned up. Sometimes it can only be improved enough to expose the flaw in a less obvious way. Production files need to be treated as production files.
A second mistake is overloading the design. Multiple colors, tiny text, thin lines, shadows, and gradients can all fail on plastic if the layout is not built for the process. The result is often muddy detail, weak registration, or a logo that prints technically but does not read well at normal viewing distance.
Buyers also misjudge the bag format. A standard carrier bag, a gusseted retail bag, and a heavier boutique-style bag behave differently on press. The print window, the amount of stretch, and the way the film sits under the screen all change the result. A design that prints well on one bag type may look crowded or distorted on another.
MOQ causes a lot of frustration, mostly because it is misunderstood. Small orders can be done, but setup costs do not disappear because the quantity is low. A 200-piece order will often carry a much higher unit cost than a 5,000-piece order, even if the print is identical.
Approving a proof too quickly is the last common error. A placement issue, a spelling mistake, or a color mismatch is far cheaper to catch before production starts. Once screens are made and the run begins, changes become expensive or impossible without rework.
Expert tips to order better printed plastic bags
Start with artwork that suits the process. Bold shapes, thicker strokes, and clean typefaces print more reliably than fine detail. If the logo must remain readable from a few feet away, simplify it before the supplier has to explain why the artwork did not hold.
Ask for a digital proof every time. For larger runs or exact brand color work, ask whether a pre-production sample is possible. If the color is critical, speak in Pantone references rather than vague descriptions like “bright red” or “warm blue.” Ink on plastic has practical limits, and a realistic expectation is more useful than a perfect one.
Choose the print method based on the actual job. Screen printing is strong for bold spot-color branding and durable coverage. It is not the right answer for every bag, and pretending otherwise only creates expensive disappointment. If the design depends on photographic fidelity, consider another process before approving the run.
Before accepting a quote, confirm these points:
- Exact bag dimensions
- Material and film thickness
- Handle style and bag construction
- Print area and print sides
- Number of colors and ink type
- MOQ, setup fees, and lead time
Plan the schedule with some margin. Rush orders can be done, but they reduce room for proof corrections and raise the probability of a compromise somewhere in the process. A few extra days at the front end are usually cheaper than paying for a correction after printing has started.
Next steps for choosing screen printed bags
Before asking for a quote, gather the essentials: bag size, material preference, quantity, number of colors, print sides, and delivery date. That reduces back-and-forth and gives you a quote that can actually be compared across suppliers.
It also helps to compare a basic option with a heavier or more premium version. Side-by-side pricing often reveals whether a film upgrade, better print surface, or stronger construction is worth the added cost for your use case. A small difference per bag can add up quickly, but sometimes the better bag reduces damage, reprints, or complaints.
If the artwork is not fully built for production, ask for a cleanup review before screens are made. That one step often tells you whether the design is ready or whether it needs simplification. Thin lines, cramped text, and poor file formats are easier to fix at that stage than after the press schedule is booked.
Confirm the commercial terms in writing. MOQ, screen charges, proofing expectations, and lead time should all be visible before approval. That is the part of the process that prevents the most unnecessary surprises.
Bottom line: screen printed bags work best when the design is disciplined, the material is chosen with the print process in mind, and the buyer pays attention to setup, timing, and quality checks.
Are screen printed bags better than other printed plastic bags for simple logos?
For bold logos and spot colors, yes. Screen printing usually gives cleaner coverage and a more durable-looking finish than low-cost alternatives, especially when the design is simple and the contrast is strong.
How many colors can screen printed bags handle without pushing cost too high?
One or two colors is usually the most efficient range. More colors are possible, but each additional color increases screen setup, registration work, and the chance of variation during production.
What lead time should I expect for custom screen printed bags?
A well-prepared order often takes about 12-15 business days after proof approval. Larger runs, special materials, or busy production periods can push that into the 3-4 week range or beyond.
What file type should I send for screen printed bag artwork?
Vector files such as AI, EPS, or print-ready PDF are the safest choice. They scale cleanly and reduce the cleanup that is often needed with JPG or PNG files.
Why does MOQ matter so much for screen printed bags?
Setup costs are fixed, so small orders carry more cost per bag. Higher quantities spread those costs out and usually create much better unit pricing.