For apparel brands, resale shops, and lean shipping teams, staples personalized Return Address Labels do more than fill a corner of the mailer. They create a small but visible brand signal before the package is even opened, and on small poly mailers or folded garment shipments, that return block is often the first printed detail a customer notices. A clean label suggests control and consistency. A handwritten one can work in a pinch, but it tends to look different from parcel to parcel, which matters more once order volume starts creeping up.
The return address also carries a practical burden. It has to be readable at a glance, stay put on the mailer, and survive the trip through sorting, stacking, and the occasional rough patch in transit. That is why the buying decision is usually less about decoration and more about production details: size, stock, adhesive, finish, Proofing, and Reorder discipline. Those pieces decide whether the labels help the operation or become one more thing the packout table has to manage.
For small businesses, the question is not whether personalized labels are useful. It is whether the version you buy fits your mailer surface, your print workflow, and your timeline without creating unnecessary friction.
Why Staples Personalized Return Address Labels Stand Out on Shipping Mailers
On an apparel mailer, the return address is usually squeezed into a compact space. That makes the label one of the few places where you can communicate both function and brand with very little real estate. A well-built return label can include the business name, a suite or unit number, and a support line without looking crowded, as long as the layout is kept disciplined. That is the difference between a label that looks intentional and one that looks assembled in a rush.
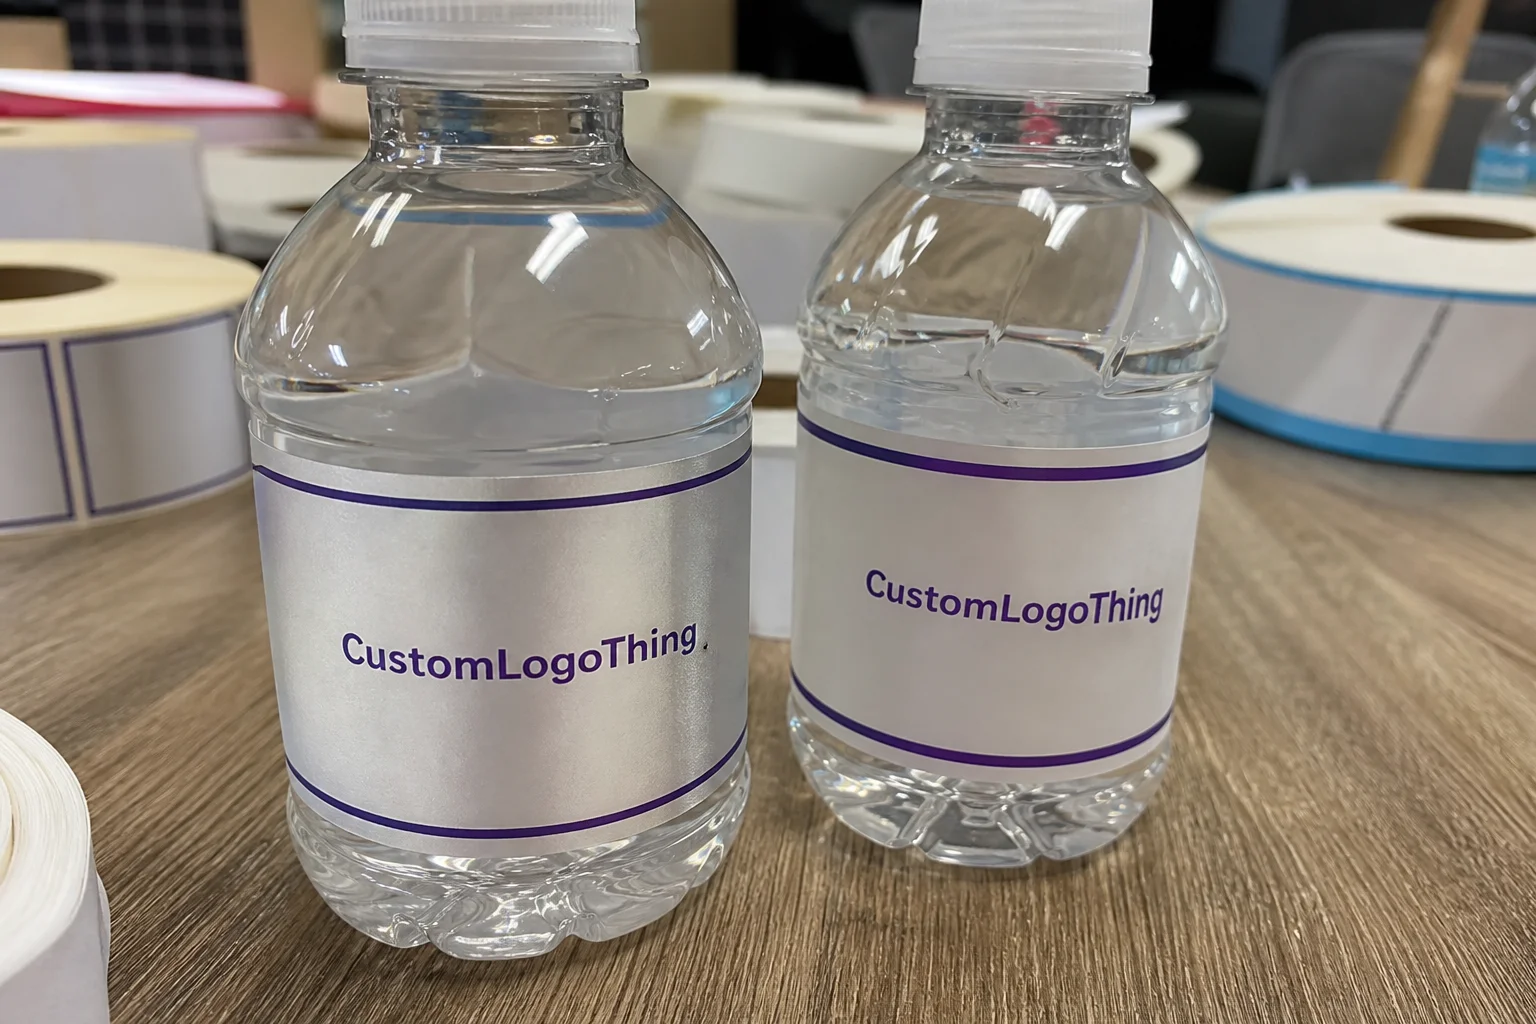
Generic office labels can handle the address, but they rarely match the rest of the packaging system. Personalized labels give you control over typography, spacing, and the way the address sits on the mailer. If the outside of the package is clean, the inside can stay simple and still feel considered. That matters for brands that use a lot of plain kraft or white mailers and want the shipping face to look coherent with branded tissue, inserts, or Custom Labels & Tags used elsewhere in the order.
There is also a basic operational advantage. Handwritten labels are slow, and they introduce variation. One person writes neatly, another compresses the line spacing, and a third writes through a pen that smears on coated stock. Printed return labels solve that problem by locking the address into one approved format. That consistency saves time during packing and reduces the chances of a wrong or incomplete return line making it onto a shipment.
- Handwritten return addresses are flexible, but they are slower and often inconsistent.
- Generic office labels are functional, yet they usually do not match brand typography or packaging style.
- Staples personalized return address labels give you repeatable placement, cleaner legibility, and a more finished shipping presentation.
For low-volume senders, handwriting may still be acceptable. Once the same address is being applied dozens or hundreds of times a week, the labor cost becomes obvious. A printed label is not a luxury at that point. It is a small workflow control that removes one repetitive step from fulfillment.
A good return label does a quiet job: it stays readable, survives handling, and does not slow the pack-out table down.
Process and Timeline: From Proof to Applied Labels
The production workflow is straightforward, but the details matter. It starts with the exact address copy, including business name, street line, suite or unit number, city, state, and ZIP code. If the layout includes an email, website, or logo, those elements need to be confirmed before the proof stage so they do not get adjusted later under pressure.
Once the copy is locked, the label size and format are set, artwork is placed, and a proof is issued. That proof is the point where most avoidable problems show up: spacing that feels fine on a monitor may crowd the address in print, and a logo that looks crisp in a PDF can become soft if the source file is too low-resolution. If the artwork is clean and the information is final, proofing moves quickly. If the address keeps changing, the schedule slips.
Typical turnaround depends on the print method, finishing, and the number of revisions, but simple label runs often move through production in about 5-10 business days after proof approval. More complex jobs, especially those with color matching, specialty stock, or extra finishing, usually take longer. Reorders from an approved file are usually faster because the layout does not need to be rebuilt from scratch.
| Order Type | Typical Setup | Usual Timeline | Best Fit For |
|---|---|---|---|
| Simple one-color label | Standard address block, no specialty finish | About 5-10 business days after proof approval | Routine shipping and reorder runs |
| Branded label with logo | Logo placement, adjusted spacing, possible color matching | About 7-12 business days after proof approval | Apparel brands and resale packaging |
| Specialty label job | Multiple colors, custom stock, or finish upgrades | Often longer depending on proof changes | Premium presentation or niche use cases |
Lead time is only part of the story. The real bottleneck is often internal. If the approved file is not saved where the reorder person can find it, the whole process resets. A good buyer keeps the proof, the final copy, the quantity, and the size together in one place so the next order can move without detective work.
Cost, Pricing, and MOQ Factors That Change Your Quote
Pricing for staples personalized Return Address Labels is driven by the usual print variables: quantity, stock, size, finish, and the amount of setup required. Quantity matters most. A 500-piece order usually costs more per label than a 5,000-piece order because the fixed setup work is spread across fewer units. That does not mean the bigger run is always the right move, but it does explain why unit price drops as volume increases.
Material choice also changes the quote. A standard white paper label is usually the least expensive option. Film or BOPP stock costs more, but it gives better resistance to scuffing and moisture. Special finishes, exact color matching, and custom shapes add more labor and more potential for proof revisions. Even small artwork issues can add cost if the file has to be cleaned up before production starts.
As a rough planning range, buyers often see something in the neighborhood of $0.08-$0.22 per label for larger, simpler runs, with smaller orders landing higher depending on the supplier, stock, and setup. That is not a quote, and it should not be treated as one. It is still useful for budgeting because it shows where the money goes: the per-unit price is only one part of the order.
Watch for these common add-ons:
- Setup fees for first-time artwork or new layouts.
- Proof revisions if the address or spacing changes after review.
- Rush handling for tighter deadlines.
- Shipping charges if the labels need to land before a launch or peak shipping window.
Minimum order quantity is another practical factor. Some buyers want a low entry point so they can test the format, while others prefer a larger batch because they already know the label works. If the same return label will be used across daily shipments for months, a slightly higher MOQ can make sense because it reduces reorder frequency and usually improves the unit cost. The right answer depends on how stable your address, branding, and shipping volume are.
When comparing quotes, ask for the same size, same stock, same adhesive, same finish, and same ship method. Otherwise, the lowest number may be missing something important.
Materials, Adhesives, and Finish Choices for Apparel Mailers
Material selection affects both appearance and performance. Paper labels are common because they are cost-effective, easy to print, and suitable for many indoor fulfillment setups. They work well on standard mailers when the package is dry, the storage area is controlled, and the label is not expected to take much abuse before it reaches the customer. For brands trying to control spend, paper is often the sensible default.
BOPP and other film labels cost more, but they hold up better against moisture and abrasion. That matters if packages sit in bins, travel through a humid packing space, or get handled more than once before they are scanned. Film stock is also a safer choice when the outer mailer surface is slick or when the label needs to stay legible after some rubbing in transit.
Adhesive strength deserves more attention than it usually gets. A permanent adhesive that performs well on smooth poly mailers may struggle on recycled paper, textured stock, or surfaces that carry dust or a little oil from handling. Cold rooms can make adhesives feel less aggressive at application, which is one reason labels sometimes lift at the corners after they leave the packing table. If the environment is inconsistent, testing on the actual mailer surface is the best way to avoid surprises.
Finish affects both readability and visual tone. Matte is usually the safer choice for small return labels because it cuts glare and keeps the text easy to read under bright lights. Gloss can look sharper at first glance, but on a compact label it can reflect enough light to make the address harder to read quickly. Writable finishes can help when staff need to add batch marks or notes, though they are not always the cleanest choice for a premium brand presentation.
- Paper labels: practical for standard shipping conditions and lower cost.
- BOPP or film labels: better for moisture resistance and handling abuse.
- Matte finish: easiest to read and usually the best all-around choice for return addresses.
- Gloss finish: sharper appearance, but more reflective on small surfaces.
For apparel mailers, the label has to survive a fairly ordinary but unforgiving route. It gets packed, stacked, touched, shifted, and sometimes reused on the return side. A label that looks good in a proof but curls at the edge after 24 hours is the wrong label, even if the artwork is strong. The practical test is not whether it prints well. It is whether it still looks clean after handling.
If you want a broader standard to think against, the ISTA resources are useful for understanding transport stress and package handling. Return labels are not usually tested as standalone shipping units, but the handling logic still applies.
Step-by-Step Buying Checklist for a Cleaner Setup
Start with the address. Use the exact business name that appears on invoices, shipping profiles, and customer-facing records. Include suite or unit information in the right order, and keep the city, state, and ZIP formatted consistently. Small address differences are easy to miss on screen, but they can create confusion later when someone has to reorder the same label.
Then match the label to the mailer. A small rectangular format is usually the safest choice for apparel shipments because it gives the address enough room without dominating the front panel. If the label is oversized, it can crowd shipping information. If it is too compact, the text becomes dense and the entire design works harder than it should.
After that, check how the label fits into the rest of the packaging system. If the brand uses a specific logo treatment, font style, or color family on tissue, inserts, or hang tags, the return label should not look disconnected from that system. The goal is not to overbrand a shipping mailer. The goal is to make the package feel like it came from one organized operation.
- Confirm the final return address copy.
- Pick the label size based on the mailer panel.
- Select paper or film stock based on handling conditions.
- Choose matte, gloss, or writable finish.
- Approve the proof and save the final file for reorders.
Keep one master file for the approved label. If multiple people can reorder it, the file name and the proof record should be obvious enough that nobody has to guess which version is current. The buyer who controls the file also controls a lot of avoidable waste.
For broader packaging alignment, keep your return labels consistent with the rest of your branded materials through Custom Labels & Tags so the external mailer and internal presentation feel like part of the same system.
Common Mistakes That Create Smudges, Peeling, or Delays
Most label failures start before production. A common mistake is trying to cram too much detail into too little space. Thin scripts, tiny icons, and overly intricate logos can look fine in a layout file and fall apart once the label is printed at actual size. A return address label does not need to be decorative first and functional second. It needs to be readable first.
Adhesive mismatch is another frequent issue. A label that sticks cleanly to a smooth mailer may fail on textured or recycled surfaces. If the packing area is cold, dusty, or humid, the adhesive can behave differently during application than it did in a test on a desk. That is why a small real-world sample test is worth doing before a larger run goes out.
Proofing mistakes can be expensive too. A missing suite number, a line break in the wrong place, or text that sits too close to the edge can create a reprint even if the rest of the design is correct. On a small label, spacing errors show up fast. The proof is the last good chance to catch them.
There is also the reorder trap. If the original approved file is lost and someone rebuilds it from scratch, the layout often drifts just enough to create another proof cycle. Keeping the approved version, the quantity, and the size together avoids that problem. It sounds basic because it is, but basic file control saves time every month.
Clean labels usually come from boring discipline: exact copy, the right size, a tested adhesive, and one approved proof that does not get recreated from memory.
If your operation wants fewer label issues, create a one-page spec that lists the address format, size, stock, finish, adhesive preference, and reorder file name. It is not glamorous, but it prevents most of the friction that shows up later as delay or rework.
Expert Tips and Next Steps for a Faster Reorder System
Set the master address format once and stop changing it unless the business itself changes. That means the same business name, the same suite format, and the same ZIP line every time. If you include a website or support email, decide whether those lines are worth the space and keep them consistent across reorders. Small variations make the label look less settled than it should.
Build a buffer into your stock plan. Labels are cheap enough that running out is usually more expensive than carrying a little extra inventory. If you ship on a predictable cycle, keep enough on hand to get through at least a few weeks of normal volume. That protects you from launch-week pressure, holiday congestion, and any supplier delay that lands at the wrong time.
Review your label inventory on a schedule. A monthly check is usually enough for smaller teams. Confirm the approved proof is still current, make sure the art file is stored in the same place every time, and note whether the reorder quantity should be adjusted based on recent usage. A little routine here is better than scrambling later.
For buyers comparing options, total value matters more than the lowest unit price. Size, stock, adhesive, finish, and turnaround should be judged together. A label that costs a bit more but arrives on time and stays readable is usually the better operational choice. If sustainable sourcing is part of your packaging standard, it can also help to check material guidance from EPA sustainable materials resources and certification references from the FSC when paper content matters.
For staples personalized return address labels, the cleanest path is simple: Choose the Right size, match the stock to your mailer surface, approve a proof that is easy to read, and keep the reorder file organized so the next run does not start from scratch. That is the kind of detail that pays off quietly, shipment after shipment.
FAQs
What size works best for staples personalized return address labels?
Choose a size that fits the full return block without crowding the edges, especially if you include a logo or support line. For small apparel mailers, a compact rectangular format usually reads better than a square label. Match the size to the mailer panel so the label is visible without competing with shipping information.
Are staples personalized return address labels good for clothing shipments?
Yes. They help apparel brands keep outgoing mail clean, consistent, and easy to identify during fulfillment. They are especially useful when packages are folded, bagged, or shipped in poly mailers with limited front-panel space. They also create a more polished first impression if customers reuse the packaging for returns.
How much do personalized return address labels usually cost?
Pricing depends on quantity, material, finish, and whether the labels are printed on sheets or rolls. Lower quantities usually carry a higher unit cost, while larger runs reduce the price per label. Ask whether setup, proofing, and shipping are included so you can compare quotes accurately.
How long does the process usually take?
Simple orders move fastest when the artwork is clean and the address copy is finalized before proofing. Timeline depends on proof approval, print complexity, finishing, and whether the job needs rush handling. Reorders from an approved file are usually faster because the layout does not need to be rebuilt.
What should I include on return address labels for a clothing brand?
Include the full business name, street or suite information, city, state, and ZIP code. Add a support email or website only if the label size stays readable. Keep the format consistent with your other branded materials so the packaging looks deliberate rather than improvised.


