Tamper Evident Plastic Bags Print Method Comparison Basics
A tamper evident plastic Bags Print Method Comparison is not a branding exercise. The print has to do a job: warn, identify, record, scan, and survive handling without making the bag look fake or careless. If the closure says "secure" but the barcode smears, the whole package loses credibility fast.
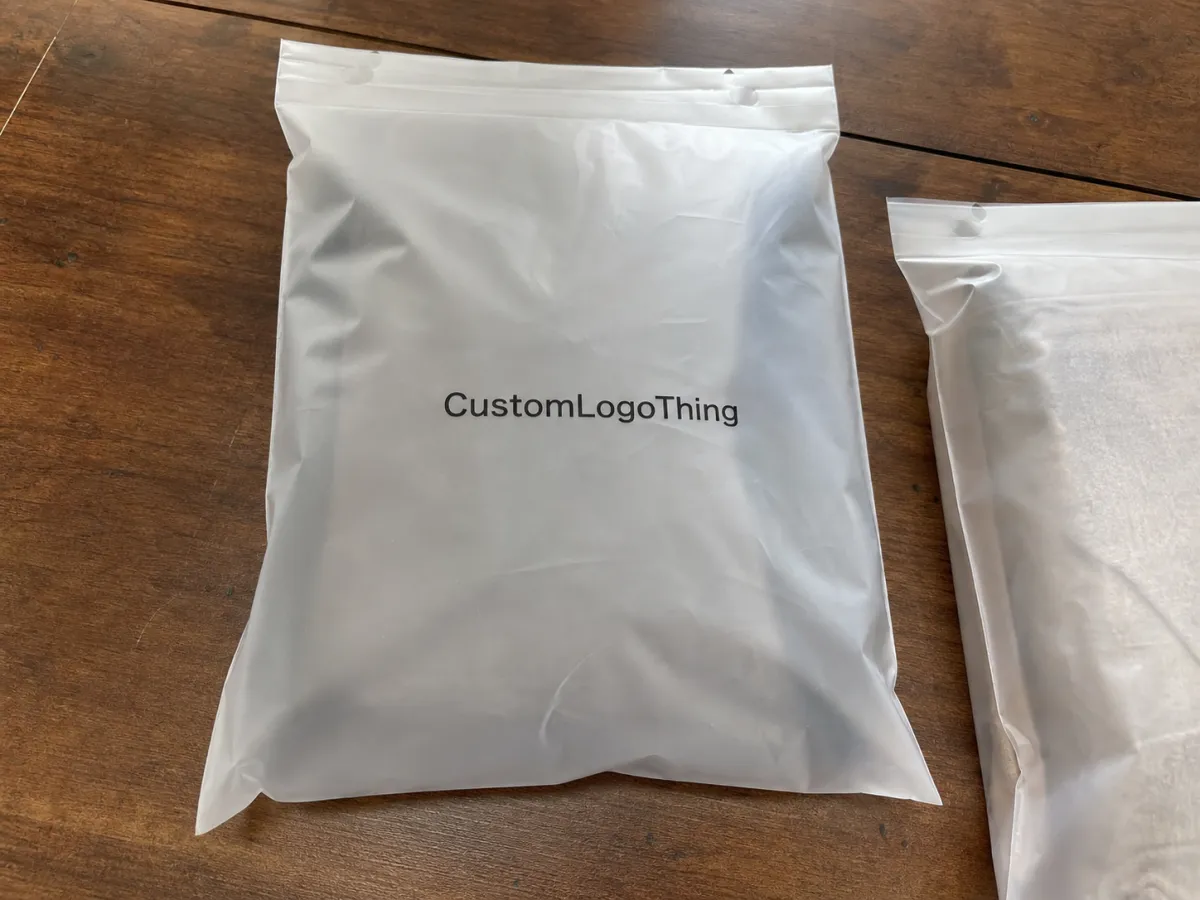
That reaction is practical, not cosmetic. A tamper evident plastic bag usually combines a permanent adhesive closure, void tape, tear strips, perforations, serial numbers, barcodes, write-on areas, or opaque film that shows interference. The seal proves access. The print explains how to use the bag and how to track it.
Buyers often underrate how much the print carries. In evidence handling, returns, healthcare, cannabis, banking, and logistics, the printed surface may include opening instructions, custody fields, warnings, department IDs, or a unique number that has to match a database. One unreadable code can add manual work every time the bag moves. That cost shows up quietly, then keeps repeating.
This comparison looks at flexographic printing, digital printing, thermal transfer, inkjet coding, labels, and hybrid builds. The real question is not which method is cheapest on paper. It is which one survives the bag structure, the use case, the print volume, and the inspection process without creating new problems.
How Printing Works on Tamper Evident Poly Bags
Start with the film. Most tamper evident poly bags use LDPE, HDPE, co-extruded film, opaque film, recycled-content film, or specialty security film. A common gauge sits around 2.0 to 4.0 mil for many security mailers and custody bags, although heavier-duty applications can sit above that. The film matters because ink behavior changes with the resin, the gauge, and the surface finish.
Polyethylene is not paper. Untreated film resists ink, especially if the print sits near a seal or gets handled before it cures. Suppliers often use corona treatment to raise surface energy so ink can anchor better. In practice, a target around 38 dynes or higher is common discussion territory, but the real requirement depends on the ink system, the film blend, and the converting line. A good sample on one film can fail on a slightly different one.
The print method has to match the role of the graphic. Flexo is usually for repeat artwork, warning panels, logos, and fixed instructions. Digital works well for short runs and frequent changes. Thermal transfer handles serial numbers and barcodes. Inkjet coding adds dates, lot codes, and tracking marks. Labels can add data after the bag is made. None of those methods behaves like the others.
The closure changes the layout too. Security tape, adhesive zones, perforations, vents, gussets, and write-on panels all carve out areas that should stay clear. Print that crosses a tear line can look damaged before use. Print that crowds the seal can hide the opening cue or trigger doubts about whether the bag will close properly.
Inside print and outside print each have a place. In some structures, reverse printing protects the ink under film layers. Surface printing is simpler and often cheaper, but it sits closer to abrasion and scuffing. The right answer depends on the route the bag takes after packing, not just the artwork file. A clean proof is not enough if the code fails once the bag is filled and rubbed against other cartons.
Flexo, Digital, Labels, and Coding: What Each Method Does Best
Flexographic printing is the standard choice for larger custom runs. It handles repeat warnings, logos, opening instructions, and simple spot-color graphics well. If the design stays stable for months and the artwork uses one to four colors, flexo usually makes sense. Once plates are made, the cost per bag can get attractive at volume.
The trade-off is setup. Plates cost money. Press prep takes time. Artwork changes can turn an efficient job into a new round of rework. Flexo also dislikes some things buyers ask for casually: tiny text, rich gradients, full photographic effects, or too many versions on one run. It can be done, but the cost and complexity climb quickly.
Digital printing is the safer option for short runs, prototypes, seasonal programs, and version-heavy orders. It avoids traditional plate costs and gives buyers room to test color, barcode placement, copy changes, or department-specific layouts before committing to a large quantity. The catch is that digital still has to prove itself on the actual bag film. A sample that looks sharp on a flat sheet can behave differently once the bag is sealed, filled, and handled.
Thermal transfer and inkjet coding belong in the variable-data lane. Serial numbers, lot codes, dates, QR codes, and internal tracking marks usually fit here. Thermal transfer tends to give very crisp codes. Inkjet is useful when the line moves quickly and the code only needs to hit a defined area. Both still need scan verification. A code that prints fine but scans badly is just expensive ink.
Labels are useful, but they are not free of risk. They can support late-stage compliance changes, temporary programs, or stock bag inventory. They can also peel, wrinkle, cover a security feature, or look like an afterthought. A label adhesive that works on corrugated board may fail on polyethylene. That mismatch causes more trouble than the label usually saves.
| Method | Best Fit | Typical Cost Pattern | Variable Data | Main Risk |
|---|---|---|---|---|
| Flexographic printing | Repeat runs, logos, warnings, spot-color graphics | Higher setup; lower unit cost at scale | Limited unless paired with coding | Plate rework if artwork changes |
| Digital printing | Short runs, prototypes, multiple versions | Lower setup; higher per-bag cost at volume | Good, depending on equipment | Ink durability and film compatibility |
| Thermal transfer | Serial numbers, barcodes, QR codes, lot codes | Low tooling; ribbon and maintenance costs | Strong | Poor ribbon-film match or abrasion |
| Inkjet coding | Dates, batches, tracking codes at speed | Low setup; consumable ink cost | Strong | Code spread, low contrast, drying issues |
| Labels | Stock bag programs and compliance updates | Low tooling; added labor and label stock | Strong | Peeling, wrinkling, or covering tamper evidence |
| Hybrid | Security plus branding plus unique IDs | Moderate to high, but controlled risk | Strong | More checkpoints to manage |
Hybrid builds are often the most practical choice. A common setup is a preprinted warning panel plus variable barcode coding. Another is branded flexo print plus an applied compliance label. A digital short run can also bridge the gap before a flexo program scales. The best tamper evident Plastic Bags Print method comparison weighs permanence, readability, change flexibility, scan speed, and the chance of a user misunderstanding the bag.
Cost, Pricing, MOQ, and Unit Cost Trade-Offs
Quote sheets can be misleading. Setup cost, unit cost, and total landed cost are not the same number, and buyers who treat them that way end up paying later in labor or rework. A bag that looks cheap per unit can get expensive if it creates scanning delays, label labor, obsolete inventory, or a second round of printing.
Flexo pricing usually includes plates, setup, ink, film, converting, packing, and freight. For a simple one-color custom tamper evident poly bag, smaller orders can look pricey because the fixed setup cost is spread across fewer units. At higher quantities, the economics improve fast. A 5,000-piece run might land around $0.18 to $0.45 per unit depending on bag size, gauge, closure type, opacity, print coverage, and freight. Bigger repeat runs usually improve that, although specialty film or heavy security features can hold the price up.
Digital printing shifts the balance. Setup is lower because there are no traditional plates, but the per-bag cost often stays higher at volume. That is fine for short runs, version-heavy programs, or projects still being tested. Buying 1,000 bags for five departments can make more sense digitally than paying for five flexo setups and holding the wrong inventory.
Labels and coding look cheap at first glance. No plate charge. Fast changes. Stock bags may already exist. Then the hidden costs appear: label stock, ribbons, printer maintenance, application labor, rejection rates, and checks against the database. Ten extra seconds per bag does not sound serious until a busy operation runs thousands of bags a week.
MOQ depends on film width, bag size, adhesive system, number of print colors, print repeat, security features, and whether the bag is stock or fully custom. Over-specifying is common. Full-color artwork on a back-room custody bag may not add any real security value. Under-specifying causes worse trouble. A barcode with poor contrast becomes a permanent handling problem.
Before asking for pricing, define the bag size, gauge, film color, closure type, print colors, sides printed, quantity tiers, variable data requirements, barcode standard, opacity, write-on area, pack count, and shipping destination. If the artwork is stable and usage is predictable, flexo deserves serious attention. If versions change often or the program is still being tested, digital, labels, or coding can control risk better.
Production Steps, Timeline, and Lead Time Realities
Lead time is not the same as press time. That distinction matters more than most buyers expect.
A custom printed tamper evident bag program usually moves through discovery, bag engineering, artwork setup, proofing, plate or file preparation, material scheduling, printing, converting, quality checks, packing, and freight. Stock bags with labels or coding can sometimes move in a few business days if materials are already available. Fully custom film, closure, and print usually need more like 12 to 25 business days after proof approval, and special materials can stretch that further.
Several things slow the schedule: film availability, adhesive selection, security tape sourcing, barcode testing, bilingual copy review, compliance sign-off, and freight routing. A small copy edit can become a delay if the plates are already made. That kind of miss is preventable, which is why it is so annoying when it happens.
Proofing deserves more attention than it usually gets. Check the dieline, closure position, warning placement, barcode quiet zones, serial number range, color callouts, and whether the artwork crosses folds, gussets, vents, or perforations. A PDF proves layout. A physical sample proves how the bag behaves. Ink adhesion, opacity, scan performance, and user clarity only show up when the bag is in hand.
Practical rule: approve the bag as it will be used, not as a flat file. Fill it, seal it, rub it, scan it, stack it, and hand it to someone who has not memorized the instructions.
Rush jobs are possible in some cases, but the fastest safe route is often a stock tamper evident bag with custom labels or variable coding while the fully custom printed version is prepared. Reorder planning should be tied to monthly usage and lead time, not optimism. The last carton should not be the trigger.
Key Factors That Decide the Right Print Method
The environment should drive the print method. Bags used in warehouses get abraded and dusty. Lab bags may deal with moisture, gloves, refrigeration, or chemical residue. Delivery routes add temperature swings. Dispensaries and banks need fast visual checks under counter lighting. Evidence rooms care most about chain-of-custody clarity.
Information hierarchy matters more than color count. The most important items are usually warning text, opening instructions, barcode or serial data, custody fields, and department identification. Branding can help, especially in customer returns or visible handoff programs, but it should never bury the instruction that keeps the bag usable.
Readability under stress is the real test. Tiny type, weak contrast, glossy film, wrinkles, and print placed too close to seals slow inspection. Black print on clear or white film is usually safer than light print on dark opaque film. If privacy requires opacity, a white knockout panel for codes or a tested label may be the better choice.
Security perception and actual security are not the same thing. A large red warning panel can look serious and still do very little if the bag lacks readable identifiers or if the closure is easy to defeat. A scannable unique ID paired with a closure that clearly shows interference usually delivers more value than dramatic graphics.
Standards can help frame the discussion. For distribution testing, the International Safe Transit Association publishes protocols that packaging teams use to evaluate shipping stress. For sustainability claims around paper inserts or cartons, FSC certification can be relevant, though it does not say anything about the security performance of the plastic bag itself.
Sustainability also affects print choices. Recycled-content film, thinner gauges, and mono-material constructions can print differently, seal differently, and show opacity differences. That does not automatically make them worse. It just means they need testing. A 2.0 mil recycled-content film may not behave like a virgin 3.0 mil structure, especially with heavy ink coverage or a more aggressive adhesive.
Artwork durability depends on the route the bag takes. Surface print may be enough for a one-way internal transfer. Longer shipping routes, repeated handling, or high-friction totes may justify more durable ink systems, protected print, or a label-plus-code approach. The best method protects the evidence story from packing bench to final inspection, not just the logo.
Common Mistakes That Make Security Bags Look Untrustworthy
The first mistake is treating tamper evident bag printing like ordinary retail packaging. Retail graphics chase shelf impact. Security packaging needs instructions, traceability, and evidence integrity first. Pretty can help. Pretty cannot rescue a barcode that fails.
Printing too close to the adhesive seal is another common error. Users may miss the opening instruction, cover critical text with a fold, or confuse a tear strip with the closure. In poor layouts, ink or coating near the seal can even raise questions about adhesion. A clean print-safe zone around the security feature is basic engineering, not decoration.
Low-contrast barcodes cause quiet chaos. Black codes on dark opaque film, reflective surfaces, tiny QR codes, and codes placed on curved or wrinkled areas all slow scanning. A barcode should be tested on a filled bag, not just on screen. Quiet zones need protection. Human-readable serial numbers should still be clear if the scanner fails.
Labels bring their own problems. Not every label adhesive is security-grade, and not every security label bonds well to polyethylene. A label that peels too easily can weaken the custody record. If the label carries critical data, test peel resistance, temperature exposure, and abrasion before production starts.
Serial number management sounds dull until it breaks. Duplicate ranges, skipped sequences, unreadable digits, and numbers that do not match the internal database create audit problems later. Ask whether variable data can be verified before shipping and whether the supplier can provide a production file showing the number ranges used.
Artwork overload is another quiet failure. Too many icons, claims, compliance statements, logos, and handling notes can bury the one instruction a tired employee needs. A useful tamper evident plastic bags print method comparison asks a simple question: what must someone understand in three seconds? That question strips out a lot of noise.
Poor proof review habits round out the list. A flat PDF does not show fill volume, fold lines, glare, or how the bag looks after packing. Procurement teams also miss things when they review alone. Warehouse staff, compliance, finance, loss prevention, and customer support each catch different flaws. The bag needs to survive all of them.
Next Steps: Build a Print Spec You Can Actually Quote
Start with the job the bag has to do. What goes inside? What is the threat level? How many hands touch it? Where is it inspected? Which data fields must survive the trip? Those answers matter more than the print method at the beginning.
Then build a comparison that a supplier can quote cleanly. Put flexo, digital, thermal transfer, inkjet coding, labels, and hybrid methods in rows. Compare MOQ, setup cost, variable data, durability, lead time, scan reliability, and evidence risk. If the choice still feels fuzzy, a sample test will tell you more than a round of price-only quotes.
Gather five references before you send an RFQ: the current bag, a failed bag if one exists, a barcode label, the product being packed, and any compliance language that must appear. Add the minimum technical details: size, gauge, film color, closure type, print colors, sides printed, quantity tiers, numbering rules, barcode type, artwork files, pack-out requirements, and delivery deadline.
Run a small test protocol. Fill the bag. Seal it. Rub the printed area 20 to 30 times with moderate pressure. Scan the code before and after handling. Chill it or warm it if the route demands that. Ship it internally. Ask a receiving employee to interpret the warning and opening instructions without coaching. Simple tests expose expensive assumptions.
Ask suppliers direct questions: What print method are you quoting? Is offset printing actually relevant here, or is this really flexo, digital, or coded? Is the barcode tested on the actual film? Are plates included? What changes trigger rework? Which finishing steps affect durability? Can variable data be verified before shipping?
The best tamper evident plastic bags print method comparison ends with a spec that can be bought, tested, and repeated without guesswork.
FAQs
Which print method is best for tamper evident plastic bags with barcodes?
For fixed barcodes on high-volume orders, flexographic printing can be cost-effective if contrast, quiet zones, and placement are set up correctly. For unique serial numbers, QR codes, lot codes, or changing data, thermal transfer, inkjet coding, digital printing, or a hybrid build is usually more practical. Always test scan performance on the actual film, with the bag filled and handled, before approval.
Is flexo or digital printing cheaper for custom tamper evident bags?
Flexo usually wins on unit cost for larger repeat orders because setup costs are spread over more bags. Digital can be cheaper for short runs, prototypes, or artwork that changes often because it avoids traditional plates. A fair comparison includes setup, MOQ, waste, proofing, freight, and the cost of unusable inventory if the artwork changes later.
Can labels be used instead of printing on tamper evident poly bags?
Labels can work for short runs, variable data, compliance updates, or stock bag programs. They become risky if they cross a seal, cover tamper evidence, peel from the film, or carry mission-critical custody data. Use label stock and adhesive tested specifically on polyethylene or the chosen bag film.
How long does custom printed tamper evident bag production take?
Lead time depends on the print method, bag construction, film availability, proof approval speed, security closure sourcing, and freight. Stock bags with labels or coding can sometimes move faster than fully custom printed bags. A realistic timeline should include specification review, artwork proofing, physical sample checks when needed, production, quality Control, and Delivery.
What artwork details matter most in a tamper evident plastic bag print comparison?
Prioritize warning text, opening instructions, barcode readability, serial number placement, custody fields, and contrast before decorative branding. Avoid placing critical print across folds, gussets, perforations, heavy wrinkles, or adhesive areas unless the supplier has tested it. Provide vector artwork, color targets, barcode specs, numbering rules, and a marked dieline showing the seal and usable print zones.


