Buyer Fit Snapshot
| Best fit | Shipping Clothes in Poly Mailers Without Damage projects where brand print, material claims, artwork control, MOQ, and repeat-order consistency need to be specified before quoting. |
|---|---|
| Quote inputs | Share finished size, material target, print colors, finish, packing count, annual reorder estimate, ship-to region, and any compliance wording. |
| Proofing check | Approve dieline scale, logo placement, barcode or warning zones, color tolerance, closure strength, and carton packing before bulk production. |
| Main risk | Vague material claims, crowded artwork, missing packing details, or unclear freight terms can make a low unit price expensive after revisions. |
Fast answer: Shipping Clothes in Poly Mailers Without Damage: Film, Print, MOQ, and Carton Packing should be specified like a repeatable production item. The safest quote records material, print method, finish, artwork proof, packing count, and reorder notes in one written spec.
Production checks before approval
Compare the actual filled-product size with the drawing, then confirm tolerance on folds, seals, hang holes, label areas, and retail display edges. Reserve space for logos, QR codes, warning copy, and material claims before decorative graphics fill the panel.
Quote comparison points
Review material grade, print process, finish, sampling route, tooling charges, carton quantity, and freight assumptions side by side. A quote is only useful when the supplier can repeat the same color, closure quality, and packing count on the next order.
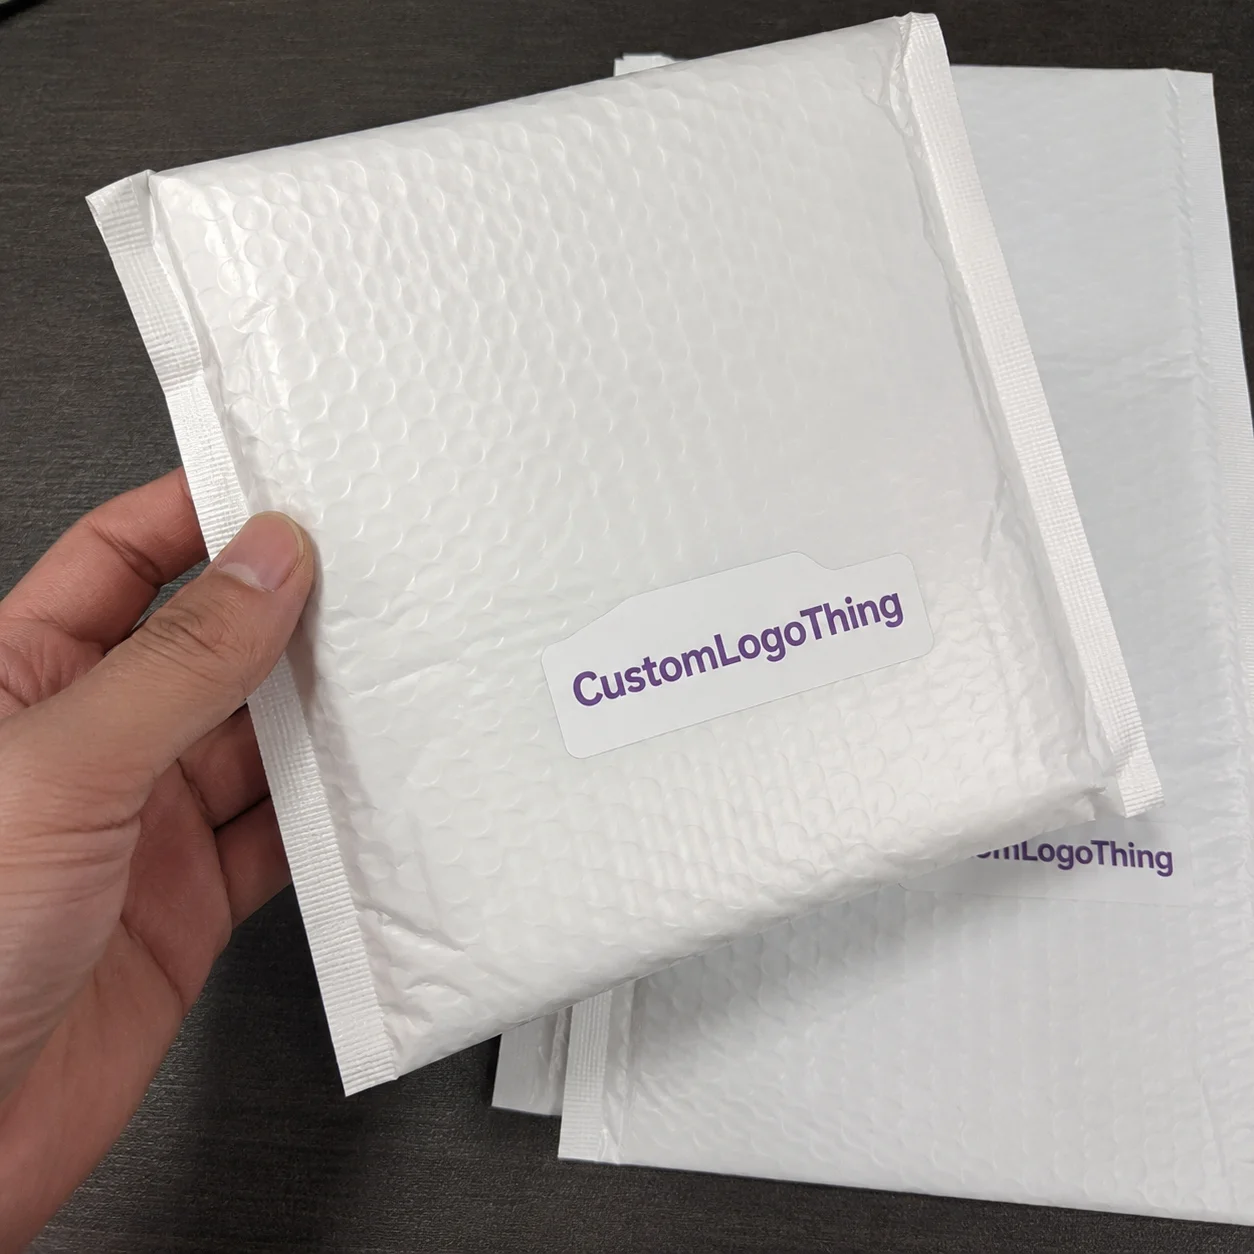
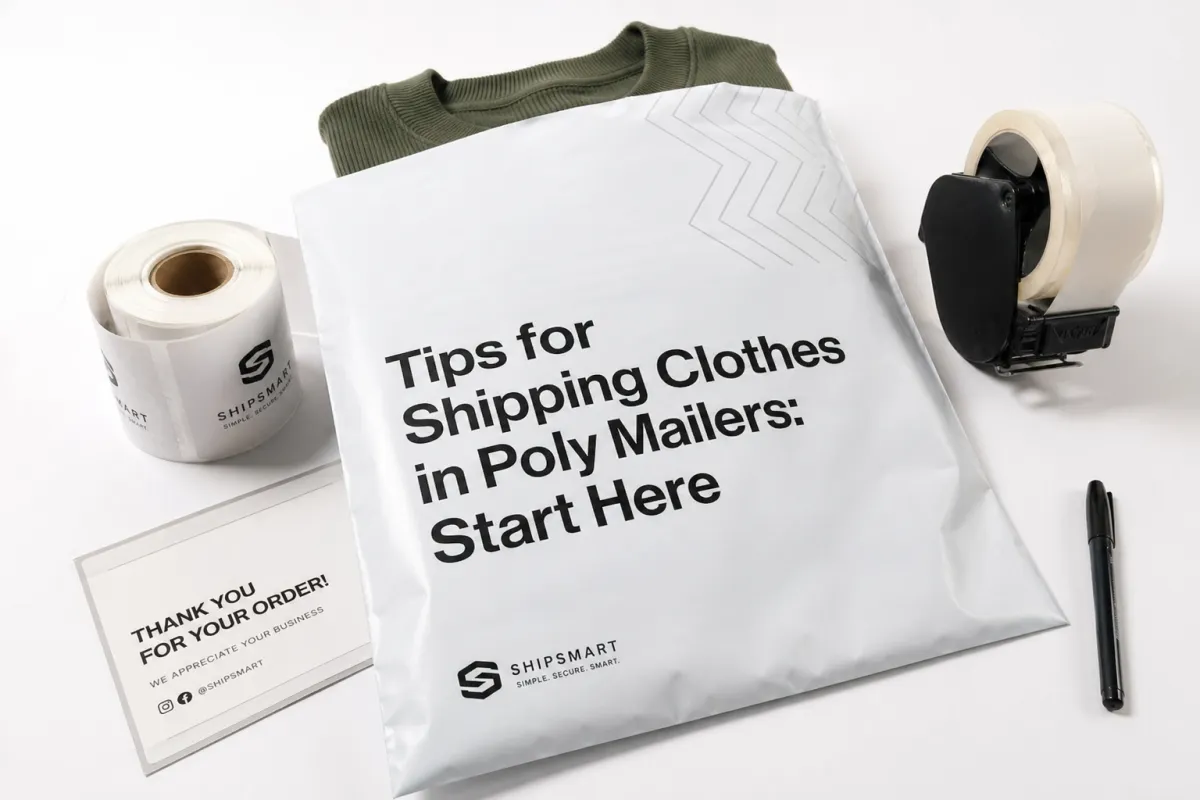
Tips for Shipping Clothes in Poly Mailers
I still remember the first time I watched a brand save $0.03 on a thinner bag and then absorb an $18 replacement when a folded hoodie punched through the seam on the way to Chicago, after the parcel had already been scanned twice. That is the kind of math that keeps me interested in tips for shipping clothes in poly mailers. A cheap mailer stops being cheap the minute it creates damage, refunds, or a customer service inbox full of "my order arrived torn" messages before coffee. I have seen that mistake in a Shenzhen packing room, in a Los Angeles fulfillment center, and at a supplier table in Dongguan where a converter tried to tell me that "almost the same" film thickness would be fine. It was not. Not even close.
Poly mailers still dominate a lot of apparel shipping because they keep ecommerce shipping fast, light, and easier to scale across the U.S., Canada, and Australia without forcing every shirt into a carton. They are not magic. They are thin polyethylene bags with a seal strip, not a substitute for corrugated structure or careful packing, and a 2.5 mil film from a factory in Zhejiang is still only 2.5 mil, even if the print looks fancy. For soft garments with a low profile, though, they can be the right answer. That is the sweet spot for tips for shipping clothes in poly mailers: protect the product, control postage, and keep order fulfillment moving without making the package feel like an afterthought.
What Are the Best Tips for Shipping Clothes in Poly Mailers?
The best tips for shipping clothes in poly mailers are to match the mailer size to the folded garment, use the lightest film that still protects the fabric, keep the fold consistent, seal the adhesive strip fully, and test a small batch before you scale. That simple sequence keeps lightweight apparel packaging clean, controls dimensional weight, and reduces damage claims without turning the pack-out into a science project.
The short version is simple: use poly mailers for soft, foldable apparel that does not need rigid package protection. T-shirts, leggings, light knits, socks, athletic sets, and simple loungewear usually fit this lane well, especially when the folded item stays under about 1.5 inches thick. I would not put a heavy fleece hoodie, a structured jacket, or a premium garment with delicate trims into the thinnest bag I could find and hope for the best. Hope is not a packing spec, and a 0.75 inch seam allowance does not care about optimism.
I once sat with a brand owner who thought poly mailers were just "the cheap plastic bags." That line always makes me smile a little, because anyone who has spent time on a factory floor knows the bag matters. Film gauge, seal width, adhesive strength, and print coverage all change the customer experience, and a 3 mil bag made in Shenzhen behaves differently from a no-name equivalent stamped out on a night shift outside Guangzhou. A bag can look flimsy and still hold up; it can also look fine and split at the side seam after a rough sort at a carrier hub in Memphis. Good tips for shipping clothes in poly mailers start with the product, not the packaging catalog.
Poly mailers are not a crush-resistant box, not a moisture-proof vault, and not the right answer for every SKU in your catalog. They are a low-cost form of transit packaging that can protect against dirt, light rain, abrasion, and handling scuffs while staying light enough to avoid unnecessary postage creep, which matters once a parcel crosses the 16-ounce threshold. For the right garments, that is a very good deal. For the wrong garments, it is a tiny disaster wrapped in poly.
Brands often get into trouble when they treat packaging like an afterthought. They buy whatever is cheapest, then act surprised when the seam fails or the folded shirt arrives wrinkled like it came out of a backpack after a red-eye flight from San Francisco to Newark. If you want tips for shipping clothes in poly mailers That Actually Work, start by matching the bag to the product, the shipping lane, and the customer expectation. A $0.12 bag that prevents one return is usually a smarter spend than a $0.08 bag that causes a mess and a complaint ticket, especially once you factor in a $14 refund and 9 minutes of support labor.
Here is the rule I use: if the garment is soft, flat, and not easily crushed by a light squeeze, a poly mailer is usually worth testing. If it has hardware, bulk, or shape that fights the bag, move up to a box or a padded shipper from Custom Packaging Products or compare a sturdier format with Custom Shipping Boxes. Good tips for shipping clothes in poly mailers are really about fit. Fit drives cost. Fit drives damage. Fit drives whether the shipment feels clean or careless.
How Poly Mailers Work for Clothing Shipments
A poly mailer is usually made from polyethylene film, often co-extruded for strength and printability, with heat-sealed edges and a pressure-sensitive adhesive strip. The bag itself adds almost no shipping weight, which is exactly why tips for shipping clothes in poly mailers can save money for apparel brands sending 300 orders a week or 30,000. You are shipping fabric, not cardboard air, and the difference shows up in the invoice faster than people expect, sometimes within the first FedEx bill after a launch.
In practical terms, the workflow is straightforward. A garment gets folded to a consistent footprint, placed in the mailer, the adhesive strip is sealed, the label goes on flat, and the carrier scans it as a lightweight parcel. That sounds boring. Good. Boring is what you want in order fulfillment. I have watched teams lose an hour a day because they used three different fold methods for the same shirt. One method made the package too thick. Another made it too loose. The third looked neat but shoved the hem against the seam. Consistency matters more than people think, and nobody enjoys fixing avoidable chaos at 4:30 p.m.
Poly mailers are popular because they flex around the garment instead of forcing the product into a fixed shape. That flexibility helps keep dimensional weight down, which becomes a real issue once you compare them with boxes. A box protects better, sure, but it also creates dead space unless the product truly needs structure. If your shipment can stay thin and rectangular, you usually win on postage and handling speed, especially on routes where a 0.5-inch change can tip you into a higher rate band. That is not glamorous, but it is how margins stay alive.
One client in my old packaging days ran a streetwear label and insisted on boxes for every tee. The packaging looked fancy. The freight bill did not. We switched the tees to 3 mil poly mailers with a clean folded insert and cut their average parcel cost by $0.41 per order, mostly because the shipments stopped being oversized for no reason. That is the kind of math people forget when they talk about tips for shipping clothes in poly mailers. A little less drama, a little more profit. Everybody wins except the box supplier.
There is a tradeoff, and I want to be direct about it. A poly mailer gives you less structural package protection than corrugated packaging, even if the film is 4 mil and the seal strip feels strong in your hand. It will not shield a product from hard impact the way a box can. For the right apparel mix, though, the speed savings are real, the warehouse process is cleaner, and the total landed cost stays sane. That is why so many brands keep poly mailers in their core shipping materials lineup instead of treating them as a backup option.
For brands comparing formats, I also tell them to look at the whole pack-out, not just the bag. If you need branded tissue, inserts, size cards, or return info, build that into the spec before you buy 10,000 units. A common setup is a 350gsm C1S artboard insert printed in Hangzhou or Ningbo, with production usually taking 12-15 business days from proof approval and another 4-7 days for domestic freight to a Los Angeles warehouse. You can source those pieces through Custom Poly Mailers and coordinate the rest of the shipment around the same visual standard. That keeps the packaging story coherent. Customers notice that more than suppliers like to admit, even when they pretend not to.
Key Factors: Size, Cost, and Fabric Type
The first filter in tips for shipping clothes in poly mailers is size. The folded garment should sit flat without rattling around or forcing the seam open. If the mailer is too large, the package looks sloppy and the garment can slide, bunch, or wrinkle. If it is too small, the seam stretches and the adhesive takes a beating. I like enough room for a neat fold plus a little margin, usually 0.5 inch to 1 inch on each side depending on fabric bulk. Tiny wiggle room, not a yoga mat.
Fabric type matters just as much. T-shirts, joggers, leggings, thin hoodies, tank tops, and soft knits usually work well. Heavy fleece, structured denim, embellished pieces, and anything with sharp zippers or hardware need more caution, especially if the route includes hot trailers through Phoenix or humid hubs in Atlanta and Dallas. I have seen a metal zipper chew through a thin mailer in transit like it was a free snack. That is why tips for shipping clothes in poly mailers should always include a fabric check before you decide on bag thickness. The garment is the main character here, not the bag.
Cost is not just the unit price. That is where a lot of people get sloppy. A bag that costs $0.09 can still be more expensive than a $0.16 bag if the cheaper one causes more labor, more re-packs, and more refunds. Add postage, labor minutes, inner materials, and damage rate, then look at the full number. I have seen a 20-second longer pack-out save $1.80 in replacement cost, and I have also seen a supplier in Dongguan quote a "special" price that disappeared the moment we asked about print plates and carton counts. That trade is obvious once you stop staring only at material price. The spreadsheet has a funny way of telling the truth if you actually let it.
Here is a simple comparison I use in procurement conversations:
| Option | Typical Use | Approx. Unit Cost at 5,000 Pieces | Strength / Protection | Best Fit |
|---|---|---|---|---|
| 2.5 mil poly mailer | Light tees, leggings, socks | $0.08 to $0.12 | Light-duty, low puncture resistance | Low-profile apparel with smooth edges |
| 3 mil poly mailer | Most apparel basics, light knits | $0.12 to $0.18 | Balanced cost and durability | General ecommerce shipping |
| 4 mil reinforced mailer | Bulkier garments, longer routes | $0.18 to $0.28 | Better puncture resistance | Heavier folds or rough handling lanes |
| Boxed shipment | Structured apparel, premium kits | $0.35 to $0.75+ excluding inserts | Highest structure and stacking protection | Premium presentation or fragile items |
That table is not gospel, because every converter quotes differently and every print spec changes the math. Still, it gives you a useful starting point for tips for shipping clothes in poly mailers. I once negotiated custom-printed 3 mil bags at $0.18/unit for 5,000 pieces with a Shenzhen supplier after they tried to sell me thinner film at the same price. Nice try. We tested both. The thicker bag won because the seal held better after a drop test and the brand stopped seeing split corners. The supplier was not thrilled; the customer was delighted. I know which one I cared about.
Buyer perception is the part people underestimate. A premium label can absolutely use poly mailers, but the bag has to look intentional. Cleaner print registration, a stronger adhesive strip, and maybe an inner sleeve or tissue can change the whole impression. If the brand voice is elevated, the packaging should not scream bargain-bin supply chain, especially if the mailer was printed in Xiamen and the return card was cut in a 350gsm C1S artboard shop in Suzhou. That is why I tell clients to source their full shipping materials plan with the product story in mind, not just the freight quote. Packaging speaks before customer service ever gets a chance.
The best tips for shipping clothes in poly mailers are not glamorous. They are a mix of sizing discipline, fabric awareness, and cost math. Boring? Yes. Effective? Also yes. And in ecommerce shipping, effective is what pays the bills, whether your warehouse is in Louisville or your production run came from Ningbo.
Step-by-Step Tips for Shipping Clothes in Poly Mailers
If you want the process to run cleanly, build the pack-out the same way every time. The strongest tips for shipping clothes in poly mailers start before the item reaches the station. Fold the garment consistently. Remove excess air from layered items. Add tissue, a thin product card, or a clear inner sleeve if the fabric needs a sharper presentation. I learned that from a warehouse supervisor in New Jersey who kept one "golden sample" for each SKU taped above the packing table, along with a 9 x 12 inch reference board and a roll of 1-inch tape. Smart move. It cut mistakes fast, and it looked a little like a shrine to good habits.
1. Fold to a fixed footprint
Choose one fold method per SKU and stick to it. If a medium tee finishes at 9 x 12 inches, every order should look close to that, with no more than a half-inch drift in either direction. That is the easiest way to keep tips for shipping clothes in poly mailers consistent across shifts and staff. A wild mix of folds creates random thickness, random fit, and random complaints. I have seen that movie, and the ending is always a stack of avoidable returns.
2. Match the mailer size to the garment
Do not force a winter hoodie into a mailer made for lightweight tees. Size up before you stretch the seam, and keep one or two oversize SKUs on the packing bench for the days when the order mix changes. The difference between a good pack-out and a bad one is sometimes just 1 inch of margin. I have seen a brand burn half a day repacking because they tried to save on a bag that was clearly too tight. Saving two cents while creating six dollars of work is a strange kind of victory.
3. Choose the right inner finish
Tissue paper, a printed insert, or a clear sleeve can help a package feel polished without adding much weight. A 350gsm C1S artboard insert with a matte AQ coating costs more than a plain slip sheet, but it can lift the perceived value of a $28 tee in a way customers notice. That matters if you are trying to keep postage down while still looking professional. For some brands, this is where their packaging gets branded; for others, it is just a way to control wrinkling. Either way, it belongs in the spec. I am biased toward simple, clean inserts because they do a lot of quiet work.
4. Seal with discipline
Press the adhesive strip fully, especially on recycled or textured film. If the seal is weak, the carrier will expose the problem faster than your team will. In my experience, a seal failure is usually not a dramatic burst. It is a slow split at the corner that turns into a customer complaint after two sort points and one bad van ride from a regional hub. Annoying, yes. Also completely preventable if someone actually presses the strip like they mean it.
5. Label flat and test the route
Place the label on the flattest face possible, then test a small batch through the same carrier route you actually use. This is one of the most practical tips for shipping clothes in poly mailers I can give. A package that survives your packing table still has to survive conveyor belts, trailer loads, and a few minutes of being mashed under other parcels. The route is where confidence goes to be questioned, usually by a scanner in a facility outside Indianapolis or Salt Lake City.
Before you scale up, I recommend a short pilot. Run 25 to 50 orders with one mailer style, one fold standard, and one seal method. Watch for corner splitting, label lift, wrinkling, and postage surprises. That pilot is cheap compared with a full rework after 2,000 orders are already in the wild, and most Custom Packaging Suppliers can turn a proof in 2-3 business days before a 12-15 business day production window begins. If you need other packaging components for the trial, you can cross-check options through Custom Packaging Products and keep the whole setup aligned.
I also tell teams to keep the packing path short. Less handling means fewer drops, fewer re-folds, and fewer chances for dust or lint to get inside the bag. That may sound minor, but the customer notices. People do not open a parcel and think, "Wow, the transit packaging was optimized." They think, "This shirt looks clean and intentional," or they think the opposite. Packaging gets judged fast, usually before the return policy is even out of the envelope.
Some of the best tips for shipping clothes in poly mailers come down to habit. If your team can repeat the same motion 200 times in a row without thinking too hard, you are on the right track. If every order requires a decision, your process is too loose. Loose processes are how tiny savings turn into annoying reorders and a lot of head shaking in the back office, especially when a Friday rush hits 600 labels before 2 p.m.
Common Mistakes That Turn a Cheap Shipment into a Return
The first mistake is overstuffing. It sounds obvious, and yet I keep seeing it. Someone wants to fit one more garment into the bag, the seam stretches, and the whole package ends up looking like a stuffed envelope after a bad lunch. One of my clients had a 4.8% damage complaint rate on one SKU because the team kept forcing a heavyweight fleece into a mailer that was designed for tees. A slightly larger bag fixed most of it. That is the sort of practical correction hidden inside tips for shipping clothes in poly mailers.
The second mistake is ignoring sharp or bulky details. Zippers, rivets, buttons, tags, and stacked hems can all become puncture points. If your apparel has hard edges, do not pretend a thinner film is suddenly invincible. It is not. I watched a buyer try to save $240 on a whole carton of mailers and then spend nearly $1,100 replacing shipments that tore on the route from a fulfillment center in Southern California to customers in Denver and St. Louis. Smart? Not really. Expensive? Very. Memorable? Unfortunately, yes.
The third mistake is skipping inner protection when the garment needs it. You do not need to wrap every tee like a museum piece. Some products need a little more polish or a little more slide resistance. Tissue, a sleeve, or a simple insert can help the garment arrive flat and presentable. That is especially useful for premium brands that care about unboxing without moving into box territory. The trick is choosing restraint, not excess, and ordering inserts in runs of 5,000 instead of 500 so the per-unit cost stays around $0.11 instead of drifting upward.
Weak sealing habits are another classic failure. People peel the strip, close the bag, and move on without pressing the adhesive line properly. A half-seal might survive the warehouse table. It probably will not survive the carrier network. This is where tips for shipping clothes in poly mailers become very unromantic: 100 percent of the job is in the boring details. Boring details are rude like that.
Then there is label chaos. If your label covers a seam, wraps over a fold, or sits on a wavy surface, you are begging for scan problems and reprints. Use a flat placement zone and keep the artwork, barcodes, and returns information clear. Bad labeling can add more labor than the bag saved in the first place. I have seen a team spend an hour hunting down "lost" parcels that were never lost; they were just labeled badly and sent into scanner purgatory in a hub outside Columbus.
One more mistake: using the same spec for every SKU. That is lazy, and laziness gets expensive. A light tee and a structured sweatshirt are not the same pack-out, even if they both fit under the "apparel" label. Good tips for shipping clothes in poly mailers respect SKU differences. Bad programs treat the catalog like everything weighs the same. It never does. If anyone tells you otherwise, check their return rate, then check whether their factory is quoting from Yiwu or just guessing.
For brands that need to move between packaging types, I like to map the exceptions. Maybe tees go in mailers, but hoodies move to a box from Custom Shipping Boxes. Maybe premium bundles need a thicker mailer with an insert. The point is to decide on purpose, not by habit. Purpose is cheaper than damage claims, and far less annoying than apologizing for split seams.
Expert Tips From Factory Floor Testing
Factory testing is where the theory gets humbled. I have stood in a line in southern China with a supplier manager who swore the 2.8 mil sample was "basically 3 mil." Then we dropped a packed hoodie from waist height three times, shook it for 30 seconds, and watched the corner tear on the third drop. That ended the debate. The better option cost $0.02 more per unit. It also saved the account. That is one of the most honest tips for shipping clothes in poly mailers I can give: test the real packed product, not just a flat sample sheet that has never seen a sleeve, a fold, or a label.
Use the same kind of thinking the test labs use. The ISTA testing family exists for a reason: packaging should be validated against handling stress, not guessed at from a catalog page. I am not saying every apparel brand needs a full lab certification. I am saying that drop tests, compression checks, and seal inspections are cheap compared with preventable damage. Even a basic internal routine can catch the bad stuff early, which is a lot better than finding out from a pile of returns.
Thickness choice should be based on route, climate, and handling patterns. A bag going a short distance through a clean regional route does not face the same abuse as one moving across the country through multiple sort centers in wet weather. If your lane is rough, increase film strength or add a little more structure. If the lane is easy, do not overbuild and waste money. That is where tips for shipping clothes in poly mailers become operational instead of theoretical. Packaging decisions get much easier when you stop pretending every route behaves the same, from Miami humidity to a dry December run through Minneapolis.
I also like to look at adhesive quality. Some strips are fine in dry conditions and weak in humidity. Others hold up better but slow down pack-out because the release liner is annoying or the strip placement is inconsistent. Again, this is why sample testing matters. I have had teams fall in love with a cheap mailer that looked fine on paper and then discover the seal failed after 48 hours in a warm warehouse in Texas. Annoying, but fixable if you test early. Miserable if you do not.
There is a sustainability angle too, and I want to be careful here because not every "eco" claim is worth much. If you use paper inserts or printed cards, look for responsible sourcing and verify it. The FSC standard is one place to start if your brand is using fiber-based components. That does not make the mailer itself perfect. It does make the supply chain discussion more honest, which is rare enough to be refreshing, especially when a printer in Suzhou offers a recycled board option with a 10-day lead time and actual chain-of-custody paperwork.
My factory-floor quality check is pretty simple:
- Weigh the finished parcel to confirm postage accuracy.
- Inspect the seal line for full contact.
- Check the folded footprint against the SKU standard.
- Keep one reference pack for each top-selling item.
This takes minutes, not hours. It prevents the kind of sloppy drift that turns a good packaging spec into a disappointing one. It also keeps tips for shipping clothes in poly mailers grounded in actual operations, which is where they belong. Nice theory does not pay for replacements; disciplined process does.
Next Steps: Test, Pack, and Ship a Small Run
If you are ready to apply tips for shipping clothes in poly mailers, start small and document everything. Choose one garment category, one mailer size, and one film thickness. Run 25 to 100 orders. Record the fold method, seal placement, label position, and final postage weight. That data matters more than the sales pitch from any supplier. I have seen brands make better decisions from one careful pilot than from three glossy quote sheets, and the pilot usually comes with fewer headaches.
Then compare the full cost. Not just the bag. Count the labor seconds, the insert cost, the postage effect, and the return rate. If a 3 mil bag adds $0.04 but reduces your damage claims by 2 percent, that is not an expense problem. That is a good business decision. People love to chase unit cost because it is easy to see. The smarter move is to chase total cost per shipped order, which is where the real savings hide, especially once monthly volume passes 8,000 units.
Document the standard in plain language. Use one folding guide, one photo of the packed SKU, one seal placement rule, and one shipping weight target. Put that into your packing station SOP so the team can repeat it without guessing. I have watched operations improve just by removing ambiguity from the pack-out. Fewer decisions. Fewer mistakes. Better results. Simple, almost boring, and exactly what you want, whether your team ships from Brooklyn or from a 12,000-square-foot floor in Phoenix.
If you need a place to compare formats, colors, prints, and add-ons, review Custom Poly Mailers alongside your other shipping materials. If you discover the item needs more structure, move it to a box instead of trying to force the bag to do a box's job. The right packaging for apparel is not a pride issue. It is a cost and damage issue. That is why tips for shipping clothes in poly mailers should always include a backup plan, a second option, and a realistic lead time of 12-15 business days from proof approval for any custom run.
I also suggest doing a reality check with customer service after the first batch ships. Ask what complaints show up: wrinkles, tears, seal failures, label problems, or presentation issues. The answers will tell you where the process still needs work. I have seen brands obsess over the mailer price and ignore the fact that customers cared more about the fold and the first impression than the bag itself. Customers are funny like that. They notice the thing you thought was minor, and they will absolutely mention it, usually in the first three lines of the email.
And yes, keep a sample archive. Save one perfect packed unit from each SKU and each bag style. When a dispute comes in six weeks later, you will be glad you have a reference. That habit alone can save hours in order fulfillment investigations and help your team stop arguing about what "normal" looked like, especially if the original production run came from Dongguan and the reprint came from Ho Chi Minh City.
My blunt advice: use tips for shipping clothes in poly mailers to build a process, not a hope. Test the fit, watch the seal, measure the postage, and keep the pack-out simple enough that your team can repeat it at 6 a.m. on a Monday. If you want the shortest possible version, it is this: start with a 3 mil mailer for your most common soft-goods SKU, run 25 real shipments, and only approve the spec after you have seen the seal, the label, and the carrier route hold up under pressure. That is how apparel ships cleanly, affordably, and without the usual drama.
FAQ
Are tips for shipping clothes in poly mailers different for T-shirts and hoodies?
Yes. T-shirts usually fit well in standard thin mailers, while hoodies often need a larger size and a thicker bag, often 3 mil or 4 mil depending on the fold. For bulkier items, leave room for a clean fold and test the seal before you ship a full run. If the garment feels tight in the bag, size up instead of forcing it and risking seam failure. That tiny bit of margin can save a lot of frustration later, especially if your average replacement costs $14 to $22.
What thickness poly mailer should I use for clothing orders?
Light apparel like tees and leggings often works well with 2.5 mil to 3 mil film. Heavier or sharper-edged items usually need a thicker bag to reduce punctures and split seams, and some brands use 4 mil reinforced film for cross-country routes from California to New York. Always test with your actual folded product, not just a sample flat inside the bag, because real pack-out pressure changes everything. A flat sample tells you almost nothing useful once the zipper, tag, or hem gets involved.
How do I keep clothes from wrinkling in a poly mailer?
Fold each garment the same way every time so pressure lands evenly across the package. Use tissue, a clear inner sleeve, or a flat insert if you want the shipment to look cleaner and hold shape better. Avoid overstuffing, because tight compression is one of the fastest ways to create ugly crease lines. If the product needs more structure than that, the bag may not be the right format, and a small box can be the cheaper fix after returns are counted.
How much does it cost to ship clothes in poly mailers?
The mailer itself is usually inexpensive, but the real cost comes from postage, labor, and the damage rate. A lighter package can reduce shipping charges, especially when compared with a box that pushes dimensional weight higher, and some apparel brands save $0.30 to $0.60 per parcel by switching formats. Track your total cost per order, not just the unit price of the bag, or the math will lie to you. It is very persuasive, but still a liar.
Can I reuse poly mailers for clothing returns?
Yes, if the bag has a strong enough second seal and the first use did not damage the film or adhesive strip. Many brands add a dual-adhesive strip so the same mailer can work for outbound and return shipping, and the extra strip usually adds about $0.01 to $0.02 per unit in volume runs. If the package looks worn, torn, or dirty, replace it instead of gambling on a customer-facing return. Nobody wants to receive a creased, dusty, half-stuck bag and call it premium.