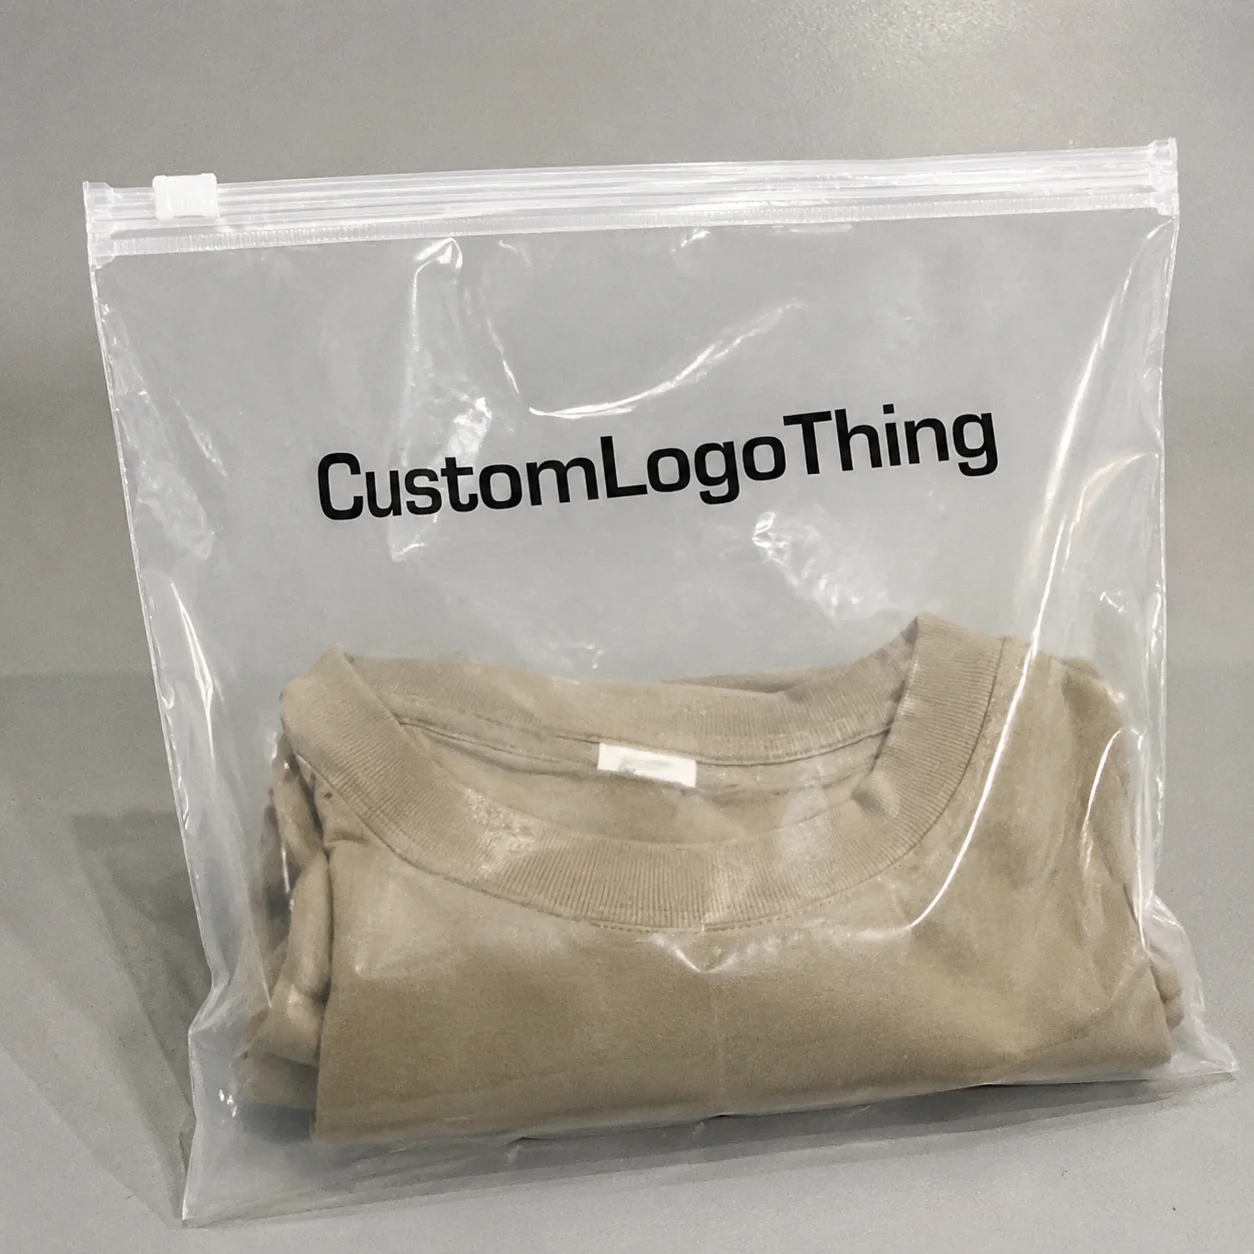
Ziplock custom bags look straightforward until a buyer starts comparing samples, quotes, and production specs. Then the small details begin to matter fast. A closure that feels too loose, film that wrinkles under tension, or artwork that crowds the seal can undermine the package even when the product inside is strong. That gap between appearance and function is why ziplock custom bags deserve a careful review before an order is placed.
From a packaging buyer’s point of view, the bag has to do several jobs at once: protect the product, present the brand, and stay easy to open and reseal. Miss one, and the package feels unfinished. Get them aligned, and even a modest SKU can look deliberate on shelf, in a mailer, or inside a fulfillment kit.
This is where experience usually beats guesswork. Buyers who have ordered resealable packaging before tend to ask about seal strength, film clarity, shipping weight, and print durability early. Buyers who skip those questions often discover the problems later, when the bags are already in transit or stacked in the warehouse.
For teams comparing formats, our Custom Packaging Products page is a useful place to line up bag styles with product needs before requesting quotes.
What Ziplock Custom Bags Are and Why Small Details Change Results
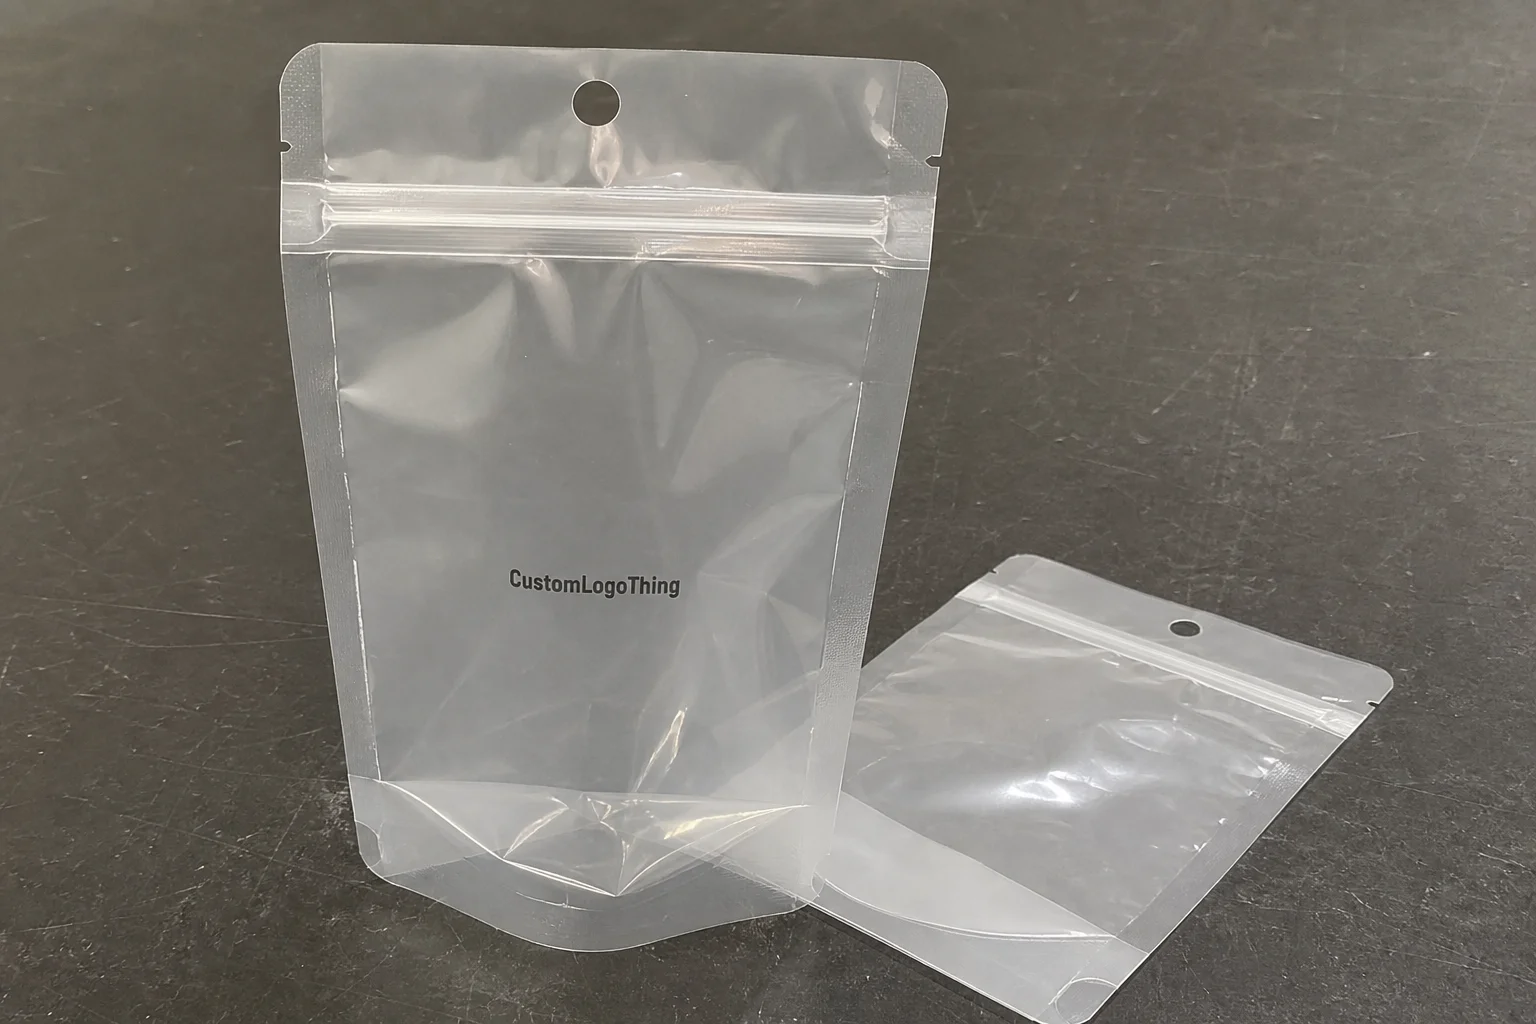
Ziplock custom bags are resealable plastic packages built to protect, portion, and present products while carrying branding on the surface. The “ziplock” part usually refers to an interlocking press-to-seal closure. The “custom” part means the size, film, print, and finishing details are matched to a specific product instead of pulled from generic stock.
The value is easy to see in side-by-side comparisons. A plain clear bag may keep an item clean, but it does little for shelf appeal. A custom-printed version can do more than decorate the package. It can add structure, improve the first impression, and make the product feel more intentional. That perception matters whether the item is sold in retail, shipped in a kit, or included in a sample program.
These bags show up across a wider range of uses than many first-time buyers expect. Food brands use resealable pouches for snacks and dried goods. Supplement companies use them for trial sizes and sample packs. Apparel sellers use them for socks, accessories, and folded soft goods. Hardware brands use them for fasteners and small parts. The common thread is utility: the format is light, compact, and easy to reseal.
Customization is not limited to a logo. Buyers can often choose the film thickness, gloss or matte finish, print placement, transparency level, and extras like a hang hole or tear notch. Those details affect how the package feels in hand, how it sits on a shelf, and how it holds up in transit. A bag that looks good on a screen mockup can still fail in real use if the seal is weak or the film is too thin for the contents.
“A resealable bag is part protection, part presentation. If the closure feels flimsy or the print looks improvised, customers notice immediately.”
Stock resealable bags and custom-printed bags solve different problems. Stock bags are usually the better choice for internal storage, simple packing tasks, or rushed sample runs. Custom versions make more sense when the package itself contributes to the sale, when branding needs to stand out, or when the product needs a more polished retail presence.
The practical difference is often monetary in the short term and reputational in the long term. A few cents saved on material can disappear quickly if the bag tears, the print rubs off, or the product looks underpowered next to competing items. Packaging is rarely the cheapest line item that matters least.
How the Zip Closure, Film, and Printing Work Together
The zipper closure looks simple, but it carries a large share of the user experience. Inside the track, two interlocking profiles press together to create the seal. That seal has to be predictable. Too loose, and the bag opens too easily. Too tight, and customers struggle to close it after the first use. The best closure is the one that feels secure without becoming annoying.
Film choice matters just as much. Polyethylene is common because it is flexible and cost-effective. Laminated structures add stiffness and can improve barrier performance. If the product needs protection from moisture, odor, or oxygen, buyers often move toward barrier layers rather than a basic single-layer film. That usually increases cost, but it can also improve shelf life and reduce damaged goods or returns.
Printing interacts with the film in a way that is easy to underestimate. Surface print sits on the outside and can be more vulnerable to scuffing. Reverse print is placed behind a clear layer so the graphics are protected. Clear-window layouts allow product visibility while still carrying branding around the visible area. For retail packaging, that choice affects both appearance and durability. A package that scratches quickly can look tired before it reaches the customer.
Thickness and clarity also shape buyer perception. A thin bag may be fine for samples or lightweight items, but it can feel flimsy around heavier or sharper contents. A thicker film usually feels more stable and resists puncture better. Clear film works well when product visibility helps the sale. Frosted or opaque finishes can look more premium and hide inconsistent fill levels better than transparent film.
| Bag style | Best for | Typical buyer value | Tradeoff |
|---|---|---|---|
| Clear resealable bag | Samples, fasteners, visible products | Low cost, easy product viewing | Less branding impact |
| Printed ziplock bag | Retail packaging, branded kits | Stronger shelf presence | Higher setup and print cost |
| Laminated barrier bag | Food, supplements, odor-sensitive items | Better protection and shelf life | More expensive, longer lead time |
For products with sharp edges or repeated opening, a stronger closure and thicker gauge reduce failure risk. For soft goods or lightweight samples, a lighter structure may be enough. Matching the build to the product is usually smarter than choosing the most expensive option and assuming it will solve everything.
Buyers also run into confusion around seal strength versus reseal convenience. A strong closure is not automatically a better closure if the user has to fight it every time. For food, supplements, and frequently used accessories, the opening feel matters nearly as much as the initial seal. That is one reason physical samples are so helpful. A specification sheet can show dimensions and materials, but it cannot tell you how the zipper behaves after the first open-close cycle.
Ziplock Custom Bags: Specs That Affect Cost and Performance
Pricing starts with the basics: size, material, thickness, print coverage, and finish. Each of those can move the unit cost enough to matter, especially when comparing several quotes. Larger bags use more material. Thicker bags use more resin. Full-coverage print costs more than a one-color logo on a clear base. Matte and specialty finishes add another process step, which usually raises the price.
MOQ, or minimum order quantity, can change the economics just as much. Some projects start around 5,000 units; others need 10,000 or more depending on size, print method, and setup complexity. Small orders usually carry a higher unit price because press setup, proofing, and labor are spread across fewer bags. Larger runs lower the cost per unit, but over-ordering can tie up cash and storage space. That tradeoff is easy to overlook until cartons arrive and occupy more room than expected.
A realistic price range depends on the spec, but buyers often compare a simple printed bag at one level and a thicker, fully printed, barrier-style build at another. A difference of a few cents per unit sounds small until the order reaches tens of thousands of pieces. Then the gap can become a meaningful budget line. The key question is not which quote is lowest. It is which spec gives the best cost-to-performance ratio for the product in front of you.
Add-ons can move the math quickly. Hang holes help with peg display. Tear notches improve opening. Gussets increase fill capacity and help the package stand better. All of those can be useful, but none are free. For buyers building a launch budget, the best practice is to select extras intentionally instead of defaulting to every possible feature.
A few price drivers repeat across most jobs:
- Size — larger dimensions use more material and add shipping weight.
- Thickness — thicker films usually improve durability, but cost more.
- Print coverage — full bleed and multiple colors increase setup complexity.
- Finish — matte, gloss, or soft-touch effects can alter both look and cost.
- Quantity — higher volume usually lowers unit cost, up to storage limits.
Buyers often ask for pricing at two or three volume points for exactly this reason. The quote sheet shows how quickly the unit cost falls as quantity rises. Sometimes the difference between 5,000 and 10,000 units is modest. Sometimes it is large enough to justify a different ordering plan. The numbers tell the story better than a sales pitch does.
There is also a difference between quoted price and landed cost. Freight, customs handling, sample revisions, and rush changes can push the final figure upward. A bag that looks inexpensive on paper may become less attractive once shipping and timing are included. The cleanest buying decision accounts for the entire project, not just the per-unit print price.
Production Process and Lead Time: From Artwork to Delivery
The workflow is straightforward, but delays tend to appear in the same places. It starts with a quote. Then comes artwork prep, proofing, setup, production, inspection, and shipping. The fastest projects are usually the ones where the buyer sends clean files early and responds quickly to proof questions. The slowest are the ones that bounce back and forth because the logo sits too close to the seal area or the copy is too dense to read.
Artwork approval is often the biggest schedule variable. Many buyers expect production to begin right after quote acceptance, but that is rarely how it works. Files still need to be checked for bleed, safe zones, font size, contrast, and print resolution. If the printable area is tight, even a small correction can trigger another proof round. Packaging schedules should be built around that review cycle, not around the optimistic assumption that every file arrives print-ready.
Lead time changes with print complexity, size, and material availability. A simple one-color order may move through production in about 12 to 15 business days after proof approval, depending on volume and factory scheduling. A multi-color run with special film or extra finishing can take 15 to 25 business days or more. Shipping time sits on top of that, and international freight can add more variability than buyers expect.
For projects tied to a launch date, trade show, or seasonal spike, schedule margin matters. One extra week can prevent a rush freight charge or a late delivery that throws off the rollout. For regulated categories, the deadline pressure can be even sharper because compliance review may take as long as production itself.
A practical comparison helps here:
- Simple order: one-color logo, standard film, standard size, clean artwork files — faster setup and fewer revision cycles.
- Complex order: multiple colors, barrier film, matte finish, gusset, hang hole — more setup, more inspection, and more room for delay.
One useful reference point for shipping durability and transit testing is the International Safe Transit Association’s work on package testing standards. Buyers who need distribution confidence can review ISTA guidance at ista.org. For broader packaging industry context, the Packaging Machinery Manufacturers Institute publishes additional industry resources.
Lead time is not only about the press schedule. It also includes the time needed to approve graphics, confirm samples, and align the spec sheet with the actual product. A quote can look straightforward on day one and become messy if the artwork file is missing key details or the packaging dimensions were estimated instead of measured. That is where many delays start.
Step-by-Step Ordering Guide for Buyers
The cleanest orders start with the product, not the artwork. Measure the item’s dimensions, fill weight, and shape first. Then decide what the bag must do. Does it need to stand upright? Hang on a peg? Reseal many times? Protect against moisture or odor? Answering those questions early keeps the spec from drifting.
1. Define the product requirements
For food and supplements, storage performance may matter more than decoration. For apparel or samples, appearance may matter more than barrier level. Sharp products need thicker film or extra clearance. Soft products can often use lighter construction. The point is to match the bag to the product’s behavior, not to a generic category label.
2. Choose material and thickness
If the contents are fragile or abrasive, ask for thicker film. If the product is odor-sensitive or moisture-sensitive, consider barrier layers. If the item is purely promotional, a lighter structure may be enough. Buyers often begin with a design concept and only later ask whether the film can protect the product in transit. That sequence should be reversed.
3. Prepare artwork correctly
Use the printable area, bleed, and safe zone exactly as requested. Keep copy readable at arm’s length. Avoid placing logos too close to the zipper line or bottom seal. A good packaging design is not only about how it looks in a file preview. It has to look right when the bag is filled, sealed, handled, and displayed.
4. Request samples or digital proofs
Whenever possible, ask for a sample or proof before full production. A digital proof confirms layout and colors, but a physical sample tells you more about the feel of the seal, the clarity of the film, and the way the bag sits once filled. That is especially useful for retail packaging, where first impressions affect purchase behavior.
5. Confirm the quote against the spec
Before approving the order, check the MOQ, unit cost, timeline, closure type, finish, and shipping terms. Small changes can alter the whole project. A quote that looks attractive on price can become expensive once rush freight, revised artwork, or a last-minute spec change enters the picture. Review the details before production starts.
One simple internal checklist prevents a lot of wasted time:
- Product dimensions and fill weight
- Material type and thickness
- Closure style and reseal frequency
- Artwork files, bleed, and copy review
- Target quantity and reorder expectations
- Proof approval contact and deadline
That list is basic on purpose. In packaging, basic is what keeps the project moving. A buyer who can answer those six items usually moves faster than one who is still debating logo placement while production slots are filling up.
For recurring orders, it also helps to save the approved spec as a reference sheet. Packaging projects drift when teams rely on memory alone. A documented dimension, film choice, and approved print version makes reordering cleaner and reduces the chance of accidental changes months later.
Common Mistakes That Create Waste, Delays, or Weak Packaging
The most common mistake is buying on price alone. Low-cost ziplock custom bags can work well, but the cheapest option is not always the best fit. Thin film may wrinkle more, feel flimsy, or fail under pressure. In some cases, buyers save a small amount per unit and lose far more through returns, damaged goods, or poor shelf performance.
Wrong sizing is another expensive error. A bag that is too large can make the product look underfilled. A bag that is too small may not close properly or may stress the seams. Both problems hurt the customer experience. For branded packaging, size is not just a functional detail. It affects perceived value.
Storage and shipping conditions matter too. Humidity can affect some materials. Sharp product edges can puncture lighter films. Temperature swings can change how a closure feels in use. None of these issues is dramatic on its own, but together they can make a decent bag underperform once it leaves the warehouse.
Artwork errors are just as common. Crowded copy, low contrast, or a logo pushed too close to the printable edge can ruin the presentation. Print files should always be checked on the actual bag dimensions, not just in a design mockup. A design that looks elegant on screen can become unreadable on the finished package.
Another mistake is skipping validation steps. Before mass production, verify the closure, request samples, and confirm any product-specific compliance needs. Food contact, supplement packaging, and some industrial uses may require different material checks or documentation. Sustainability claims can also require supporting paperwork, especially if the packaging program includes related paper components or sourcing requirements. For forestry-related sourcing standards, FSC resources at fsc.org are a useful reference point.
There is also a quiet but costly mistake: not testing how the bag performs after repeated opens. Some closures feel fine on first use and weaken after several cycles. That matters for products customers access daily, not just once. A sample that passes visual review can still disappoint if the reseal action is awkward or inconsistent.
Expert Tips for Better Packaging Decisions and Next Steps
Use print space strategically. Put the logo where hands naturally fall, and keep essential text easy to scan. If the bag will be displayed on a shelf or peg, think about what the customer sees first from three feet away. That distance test is honest. If the brand name cannot be read there, the layout probably needs work.
Finish matters more than many buyers expect. Clear film gives visibility. Gloss can make colors pop. Matte often feels more premium and can reduce glare under retail lighting. Soft-touch options, where available, add a tactile layer that can support a higher price point. The best finish depends on the brand position, not on personal preference alone.
Ask for side-by-side samples of two material options if the project matters. A small difference in clarity, stiffness, or seal feel can change the final choice. This is especially useful for ziplock custom bags used in retail packaging, where the bag itself contributes to the buying decision. A physical comparison usually reveals details a quote sheet cannot.
If multiple SKUs are involved, keep one internal sheet with the essentials: dimensions, target quantity, artwork version, approval owner, pricing, and timeline. That one document cuts down on backtracking and makes reorders easier when sales move up or down.
It also helps to compare bags with other packaging formats before committing. Custom printed boxes may be better when structure and stacking matter more. Carton-based packaging can also improve presentation for heavier items. Bags tend to win on flexibility and cost for many products, but they are not the answer to every packaging problem.
For buyers focused on ziplock custom bags, the smartest next move is practical: measure the product, estimate monthly volume, prepare final artwork, and Request a Quote that includes specs, MOQ, proof timing, and shipping terms. That sequence keeps the project grounded and helps prevent the kind of mistakes that waste money before the first unit is sold.
Strong packaging decisions rarely come from the most enthusiastic pitch. They come from the dull but necessary details: exact dimensions, correct material, realistic lead time, and a proof that matches the final use case. That is not glamorous. It is what keeps the package doing its job after the sale.
Are ziplock custom bags better than standard resealable bags for retail products?
Custom versions usually improve shelf appeal and brand recognition, while standard bags are faster and cheaper for basic storage. The better choice depends on whether the bag is meant to sell the product, protect it, or both.
What affects the price of custom ziplock bags the most?
Size, material, thickness, print coverage, number of colors, and order volume are the biggest cost drivers. MOQ and setup complexity can also move the unit price significantly.
How long does the production timeline usually take for custom ziplock bags?
Simple orders move faster, while multi-color or special-material projects take longer. Artwork approval is often the biggest variable, so having final files ready can shorten the schedule.
What should I check before approving a proof for ziplock custom bags?
Verify size, closure type, material, colors, logo placement, and readable text. Confirm that the proof matches the intended fill weight and packaging use case.
Can ziplock custom bags be used for food, supplements, and non-food items?
Yes, but the material, barrier level, and compliance requirements should match the product type. Food and supplement applications may require more careful attention to safety and storage performance.