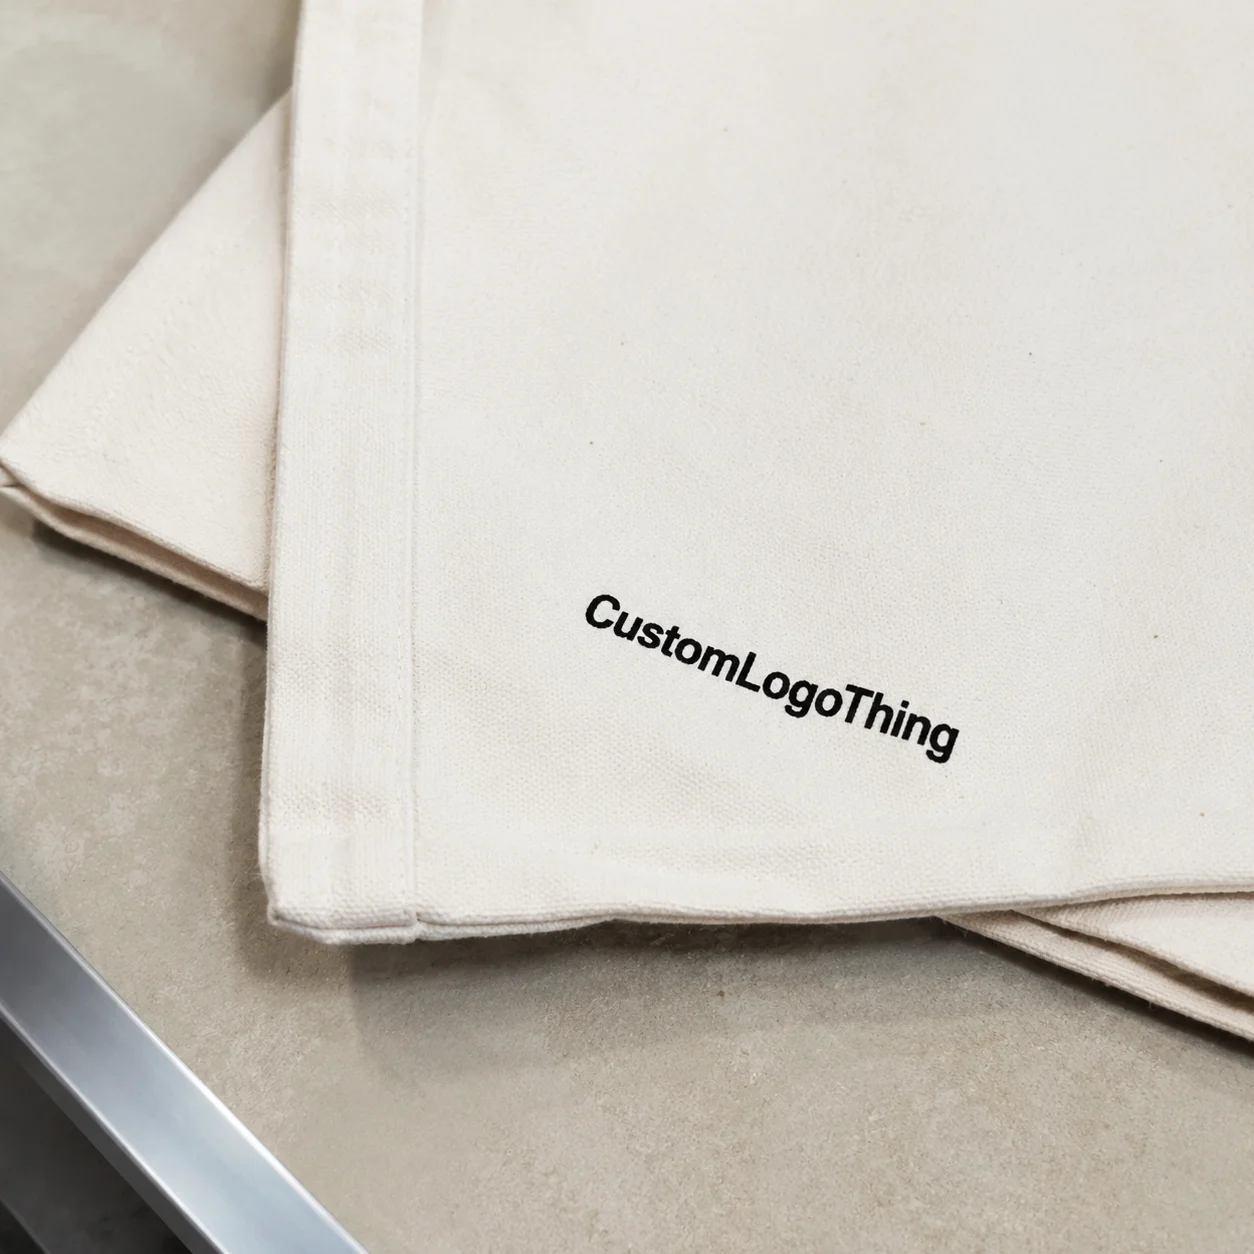
A sticker is often the cheapest branded item a customer keeps. It is also one of the fastest ways to expose weak design, poor adhesive choice, or fuzzy ordering specs. Austin custom stickers matter because local brands, event teams, restaurants, artists, breweries, retailers, and service companies use them in very different places, from refrigerated cans to hot car windows.
That range is why a good sticker order starts with performance, not just artwork. A 2-inch laptop decal, a 4-inch food truck packaging seal, and a 6-inch window promotion may all use the same logo. They should not automatically use the same stock, adhesive, finish, or cut style.
What Austin Custom Stickers Really Need to Do
Custom stickers are printed adhesive graphics made to match a specific size, shape, finish, material, and use case. That last part does the heavy lifting. Generic labels can close a bag or mark a price. Custom printed stickers have to carry brand identity, survive handling, and still look intentional after the customer has touched the package, chilled the bottle, tossed the box into a car, or peeled the sticker from its liner at a crowded merch table.
Buyers often use sticker, decal, label, and seal as if they mean the same thing. Close, but not quite. A sticker is the broad category. A decal usually suggests a more durable or decorative application, such as a laptop, window, vehicle, water bottle, or equipment case. A label often carries product information, ingredients, barcodes, compliance text, or batch details. A packaging seal closes tissue, cartons, bags, or sleeves and may be more about presentation than long-term display.
The practical question is not “what looks good?” It is “what survives the surface, handling, weather, and brand impression it will face?” That question changes the order fast.
Austin custom stickers show up in demanding use cases: brewery can promotions, food truck clamshells, boutique retail bags, tech conference swag, delivery boxes, coffee bags, art prints, product packaging, custom printed boxes, and window graphics for pop-up sales. A sticker on a dry kraft bag may only need to last a few days indoors. A sticker on a cooler lid may face moisture, abrasion, and UV exposure for months.
Packaging buyer rule: define the surface and lifespan before picking the finish. A beautiful sticker that peels after 48 hours is not a branding asset. It is a small failure customers can hold in their hands.
Blunt, yes. Also accurate. The “small stuff” is usually where reorders get expensive.
How Custom Sticker Printing Works From Artwork to Finish
Most sticker jobs follow a predictable path: artwork review, material selection, print method, coating or lamination, cutting, quality check, packing, and shipment or pickup. From the outside, the order looks simple. Inside production, each step either removes risk or adds it.
Digital printing is common for short runs, multiple designs, variable artwork, and fast sampling. It is flexible and economical when a buyer needs 100, 250, or 1,000 pieces across several designs. Screen printing can work well for bold, durable graphics with fewer colors, especially when opacity matters. Flexographic printing is often used for larger label-style quantities because it runs efficiently at scale once plates and setup are justified.
Artwork quality is the quiet gatekeeper. Vector files such as AI, EPS, or print-ready PDF keep logos crisp, type clean, and cutlines accurate. A low-resolution screenshot may look fine at 3 inches wide on a phone, then print with jagged edges, color banding, or muddy small text. Print is rude that way.
If the sticker uses a custom shape, the cutline should be built intentionally, usually as a separate vector path with bleed extending beyond the trim area. Bleed is the extra artwork that extends past the final cut. Without it, even a tiny trim shift can leave a white sliver around the edge.
Die-cut and kiss-cut are not interchangeable. A die-cut sticker follows the outer shape of the design, so the sticker and backing share the same contour. It looks polished and retail-ready. A kiss-cut sticker cuts through the sticker layer but leaves a larger backing sheet around it. That extra backing makes peeling easier for bulk giveaways, event tables, and handouts where speed matters.
Finish choices change the customer’s perception. Gloss can make colors pop and works well for energetic branding. Matte feels quieter and more premium, especially for retail packaging or minimalist design. Clear stickers create transparent effects on glass, plastic, and colored substrates, but they need contrast planning. Holographic material can work for merch and artist drops. UV coating or lamination helps outdoor decals resist sunlight, scuffing, and moisture.
Proofing is not administrative theater. It catches size, spelling, QR code, bleed, cutline, color, and orientation issues before the order becomes physical inventory. One missed decimal point in a 1.5-inch label spec can turn readable product packaging into a squint test.
Material, Adhesive, and Surface Factors That Change Results
Two stickers can look identical on screen and behave completely differently on cardboard, glass, plastic, metal, coated paper, textured board, or compostable packaging. Material choice is the hidden performance variable. It is also where buyers can save money intelligently or create a failure by accident.
Paper stickers are economical and useful for indoor applications such as envelope seals, dry retail bags, thank-you stickers, short-term product labels, and branded packaging inserts. They are not ideal for heavy moisture, coolers, or outdoor exposure unless the construction is specifically upgraded.
Vinyl stickers are more durable, flexible, and weather-resistant, which makes them a better fit for laptops, bottles, windows, vehicles, and outdoor markets. BOPP, short for biaxially oriented polypropylene, is common in product labels because it resists moisture and oils better than standard paper while still running well on rolls.
Adhesive matters just as much as face stock. Permanent adhesive is used for long-term branding and product labels where removal is not expected. Removable adhesive is better for temporary promotions, window campaigns, or surfaces that should not be damaged. Freezer-grade adhesive is designed for cold storage and condensation cycles. High-tack adhesive helps with difficult surfaces, including some recycled boards, textured papers, low-energy plastics, or slightly curved containers.
Austin conditions can be rough on the wrong construction. Heat softens some adhesives. Humidity challenges paper stocks. Sunlight fades inks and weakens unprotected surfaces. Condensation from coolers can lift edges. Outdoor markets add dust, hand oils, and abrasion. If a sticker will live outdoors for six months, specify that from the start. “Outdoor use” is not a design note; it changes material, adhesive, ink, and laminate decisions.
Size and shape add another layer. Small stickers need simpler typography. A 1.5-inch circle does not leave much room for a logo, tagline, QR code, social handle, and legal copy. Unusual shapes need smarter cutline planning because narrow points can curl, tear, or catch during peeling. Large decals may need a split backing or transfer tape so the customer can install them without bubbles and finger marks.
For food-adjacent uses, the sticker may never touch food directly, yet it still has to behave responsibly. Clean materials, readable information, and reliable adhesion matter. If the sticker supports retail or food packaging, align it with the broader packaging design system instead of treating it as a last-minute patch. The Forest Stewardship Council is worth knowing if paper sourcing claims or FSC-certified materials are part of your brand position.
Pricing, MOQ, and Unit Cost: What Drives the Quote
Sticker pricing is not just square inches. A quote reflects quantity, material, finish, cut complexity, color coverage, setup, proofing, packing, and delivery requirements. Austin custom stickers ordered as 250 matte die-cut vinyl decals will price differently from 10,000 roll labels on BOPP, even if the art looks similar.
The unit-cost curve is straightforward. Small runs cost more per sticker because setup, proofing, file review, and finishing are spread across fewer pieces. Larger runs usually lower the per-unit price, although specialty materials, multiple versions, or complex finishing can narrow that gap.
As a rough planning range, a simple 3-inch paper sticker might land around $0.18 to $0.35 per unit at 5,000 pieces, depending on finish and supplier. A short-run vinyl die-cut decal may be closer to $0.65 to $1.50 per unit at 250 pieces. Premium holographic, clear, freezer-grade, or outdoor laminated pieces can climb higher. Rush work costs more because it disrupts the schedule. Shocking, I know.
MOQ means minimum order quantity. It is the smallest quantity a printer or manufacturer wants to produce without turning the job into a custom sample run. For digital sheets, that number may be low. For roll labels or flexographic production, MOQ can be much higher because setup, plates, waste, and press time need to be justified.
| Sticker Type | Typical Use | Common Quantity Range | Cost Driver |
|---|---|---|---|
| Paper packaging sticker | Retail bags, envelopes, dry cartons | 500–10,000 pieces | Stock, finish, roll or sheet format |
| Vinyl die-cut decal | Laptops, bottles, windows, merch | 100–5,000 pieces | Material, laminate, cut complexity |
| BOPP product label | Jars, cans, bottles, cosmetics | 1,000–50,000 pieces | Roll setup, adhesive, moisture resistance |
| Clear sticker | Glass, plastic, premium packaging | 250–10,000 pieces | White ink, opacity, contrast control |
| Outdoor laminated decal | Vehicles, windows, equipment | 100–5,000 pieces | UV protection, adhesive, durability target |
Before asking for pricing, prepare the variables a supplier actually needs: final size, shape, quantity, indoor or outdoor use, surface type, artwork file, finish preference, number of designs, deadline, and packing format. Sheeted stickers, roll labels, individually cut decals, and bundled stacks can all change handling time.
Cheap and cost-effective are not the same. The lowest quote may skip laminate, use the wrong adhesive, or produce a sticker that looks acceptable on day one and tired after a week. Better savings usually come from standardizing sizes across designs, grouping several designs into one production run when possible, simplifying fragile shapes, ordering event inventory early, and choosing finishes based on need rather than novelty.
Process and Timeline: From Idea to Delivered Sticker Order
A sticker timeline is a sequence, not one vague printing window. Inquiry, quote, artwork upload, proofing, approval, production, finishing, quality check, and delivery are separate steps. A supplier may be able to print quickly, but a job cannot move cleanly if the file is missing bleed, the size is undecided, or the proof sits unapproved in someone’s inbox.
For a standard digital sticker order, a practical schedule might look like 1–2 business days for quoting and file review, 1–2 business days for proofing, 3–7 business days for production after approval, and 1–5 business days for shipping depending on service level. More complex work, such as specialty films, high quantities, roll labels, outdoor decals, or multiple versions, can push production closer to 8–15 business days after proof approval. That range depends on supplier capacity and material availability, not optimism.
Approval speed is often the hidden delay. A same-day proof that waits three days for internal review has already moved the delivery date. If legal, marketing, operations, or a restaurant manager must approve the design, build that into the schedule before the order is placed.
Common slowdowns are predictable: low-resolution files, missing fonts, unclear quantities, late size changes, custom shapes with no cutline, specialty material requests, multiple design versions, and changes after proof approval. Late revisions are especially painful because they may restart proofing or production setup.
- Define the use case, surface, and expected lifespan.
- Choose size, material, adhesive, and finish.
- Request pricing with quantity, deadline, and artwork details.
- Review the proof at actual size, not just enlarged on screen.
- Approve production only after checking cutline, bleed, and text.
- Confirm delivery method and inspect the first box on arrival.
Rush orders can be possible for standard materials, simple cuts, and small-to-medium quantities. They are harder with clear films, holographic stock, freezer-grade adhesive, heavy lamination, or complex decals. Build backward from the event, launch, or packaging date. Add buffer for proof revisions, shipping delays, and internal approvals.
The International Safe Transit Association, through ISTA packaging test protocols, is a useful reminder that distribution stress is real. Even small branded components should be considered as part of the wider product journey, especially if they travel through shipping cartons, coolers, retail shelves, or event bins before reaching the customer.
Common Ordering Mistakes That Make Stickers Fail
The biggest mistake is ordering based on artwork alone. A supplier can print the logo beautifully and still deliver the wrong sticker if no one names the surface, environment, or expected lifespan. Austin custom stickers for a window, a paper bag, a refrigerated bottle, and a shipping carton need different assumptions.
Low-resolution artwork is the second common failure. Screenshots, compressed logos, tiny web graphics, and copied social media images may look acceptable on a phone. Print is less forgiving. Edges get fuzzy. Gradients band. Small text fills in. QR codes lose scan reliability. If the design will be printed at 3 inches wide, review it at 3 inches wide.
Finish selection can also backfire. Glossy stickers can glare under retail lighting or photography setups. Unlaminated stickers may scuff in transit. Clear stickers can disappear on dark or busy backgrounds unless white ink or contrast is planned. Matte finishes can look sophisticated, but on some materials they may show oils or handling marks more readily than gloss.
Size misjudgment is painfully common. On a screen, a sticker can appear large because the design is zoomed to fill the monitor. In hand, a 2-inch circle has limited real estate. Taglines, social handles, QR codes, ingredient snippets, and icons compete quickly. For QR codes, many buyers aim for at least 0.8 to 1 inch square for basic scanning, then test with multiple phones and lighting conditions.
Cutline and bleed errors create visible problems. Artwork too close to the edge may trim awkwardly. No bleed can leave thin white slivers. Highly detailed shapes can create weak points that peel, tear, or catch. If a sticker has narrow lightning bolts, script tails, or tiny points, ask whether a simplified contour would perform better.
Inventory planning deserves attention too. Ordering too few raises reorder costs and can leave event teams short. Ordering too many dated campaign stickers creates waste, storage clutter, and stale messaging. For repeatable branded packaging, a larger run may make sense. For a seasonal promotion, test a tighter quantity first.
One more overlooked detail: stickers should match the rest of the packaging system. If your boxes, labels, inserts, and bags all use different whites, finishes, or logo sizes, the brand starts to feel assembled rather than designed. For broader packaging coordination, review related items such as Custom Labels & Tags and other Custom Packaging Products before locking the sticker spec.
Before You Request a Sticker Quote
A vague “how much for stickers?” message almost always creates extra back-and-forth. A stronger request gives the printer enough information to price the job, flag risks, and recommend the right construction. It also makes quotes easier to compare because each supplier is responding to the same spec.
- Quantity: include target count and any price breaks you want, such as 500, 1,000, and 2,500 pieces.
- Size and shape: provide final dimensions, not just “small” or “medium.”
- Surface: name the material, such as glass, cardboard, plastic, metal, kraft paper, or coated box stock.
- Environment: state indoor, outdoor, refrigerated, freezer, wet, dry, or high-handling conditions.
- Lifespan: explain whether the sticker must last three days, three months, or a year or more.
- Finish: request gloss, matte, clear, holographic, UV coating, or lamination only if it supports the use case.
- Artwork: send vector files when possible and note the number of designs.
- Deadline: include the date needed in hand, not just the event date.
If you are testing a new surface, premium finish, outdoor application, or product launch that has not been through real-world handling, consider a sample or smaller first run. Budget and timing may not always allow it. Still, a short test can reveal edge lift, glare, condensation issues, or readability problems Before You Buy thousands.
For repeat orders, create a simple spec sheet. Include size, stock, adhesive, finish, roll or sheet format, color notes, cutline file, reorder quantity, and approved proof. That one-page record keeps future reprints consistent even when the campaign changes or a new team member handles purchasing.
Inspect the proof carefully. Check spelling, QR code function, cutline position, bleed, color notes, and actual-size readability. If the sticker is part of retail packaging or package branding, compare it against the box, bag, label, or insert it will sit beside. Small mismatches can become obvious once the finished pieces are assembled.
Austin custom stickers are easier to order well when the buyer treats them like small-format packaging, not throwaway swag. Define the job, match the material to the surface, respect proofing, and buy for the conditions the sticker will actually face. That is not glamorous. It is just how you avoid paying twice.
FAQs
What are Austin custom stickers best used for?
They work well for product packaging, event giveaways, retail bags, food truck containers, brewery promotions, laptop decals, window graphics, and branded shipping boxes. The best use depends on material and adhesive, so a sticker for a water bottle should not be specified the same way as a paper bag seal.
How much do custom stickers in Austin usually cost?
Cost depends on quantity, size, material, shape, finish, artwork readiness, and turnaround time rather than a single flat sticker price. Larger orders usually reduce unit cost, while specialty finishes, outdoor materials, rush production, or complex die-cuts can increase the quote.
What file type should I send for Austin sticker printing?
Vector files such as AI, EPS, or print-ready PDF are usually best because they keep logos, text, and cutlines crisp at any size. High-resolution PNG or TIFF files can work for some designs, but screenshots, social media images, and low-resolution JPGs often cause print quality problems.
How long does it take to produce custom decals or stickers?
The timeline usually includes quoting, proofing, approval, printing, cutting, finishing, quality checks, and delivery, so proof approval speed matters. Simple standard jobs can move faster, while specialty materials, rush quantities, complex shapes, or multiple artwork versions may need extra lead time.
Are vinyl stickers better than paper stickers for Austin businesses?
Vinyl is usually better for outdoor use, moisture, handling, sunlight, and longer-term applications such as bottles, laptops, vehicles, or windows. Paper stickers are often more economical for indoor packaging, short-term promotions, envelope seals, and dry retail applications.


