Ordering avery Custom Address Labels sounds simple until the first batch meets reality. A label that looks clean in a mockup still has to adhere to the right surface, print clearly at size, survive handling, and fit the rest of the packaging system. Miss one of those and the job gets more expensive than it should have been.
That is why buyers who manage shipping, returns, or branded inserts usually judge labels by performance first and appearance second. A label is not just a small piece of paper with an address on it. It is a functional part of fulfillment. If it peels off a mailer, smears in transit, or forces the team to stop and relabel packages, the savings disappear fast.
Used well, avery Custom Address Labels can make small-run shipping feel organized, improve return handling, and give simple packaging a more finished look. Used badly, they become a recurring operational problem that shows up as delays, reprints, and avoidable customer confusion.
Avery custom address labels: what they solve in practice
For apparel brands and other light-fulfillment businesses, address labels do three jobs at once. They speed up shipping, standardize return information, and remove the inconsistency that comes with handwriting addresses on envelopes or mailers. Once order volume rises, that consistency matters more than people expect.
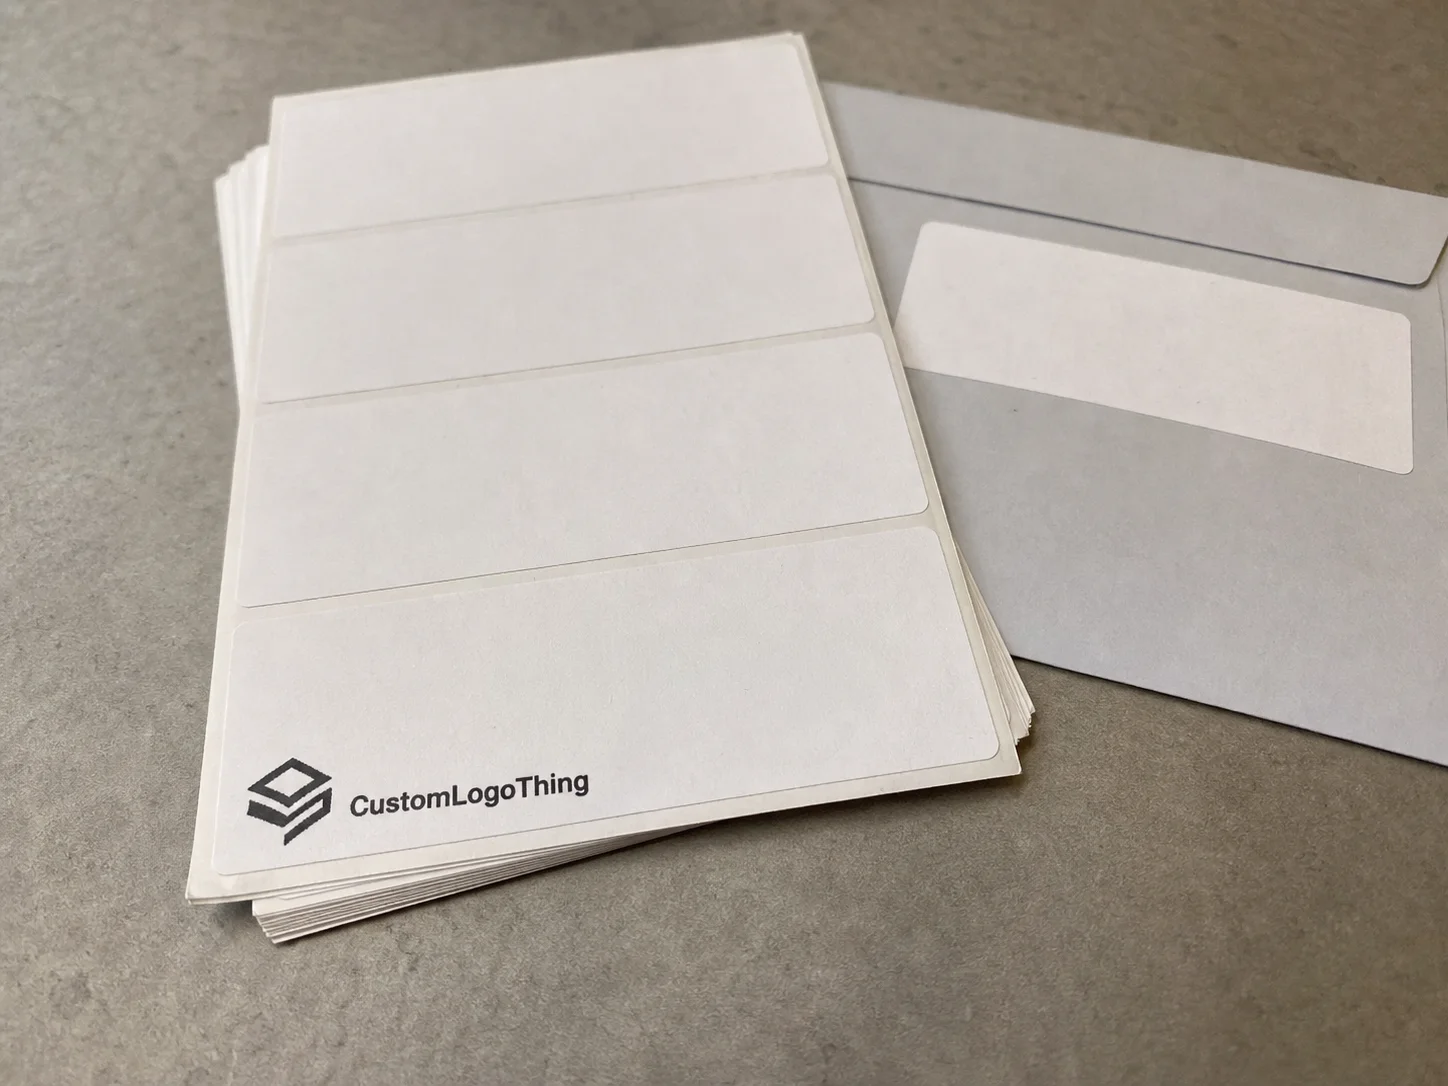
They also help separate the practical from the improvised. A handwritten return address can be acceptable for a few parcels, but it starts to look rushed as volume increases. A printed label is easier to read, easier to repeat, and easier to keep aligned with the rest of the package presentation. That is useful on shipping cartons, poly mailers, return envelopes, and insert packs.
The cheapest-looking label is not always the cheapest label. If it lifts at the corners on a recycled box, smudges on a coated mailer, or gets rejected because the barcode will not scan, the first savings are quickly erased by labor and replacements. People who buy packaging for a living usually compare durability before they compare artwork.
There is also a practical middle ground that many smaller brands overlook. Full custom boxes can be expensive and inflexible, especially when packaging changes every season. A label lets you keep the base mailer simple and still add a branded layer where it matters. That flexibility is often more valuable than a heavier investment in printed packaging.
“The label should do its job quietly. If anyone notices it, that notice should come from the finish, not from a failure.”
That is one reason avery Custom Address Labels work well for seasonal launches, short product runs, and temporary campaigns. They can be updated quickly, reused across orders, and adapted without committing to inventory that may become outdated before it is used up.
In practice, labels sit between two extremes: all handwritten fulfillment on one side, and fully printed packaging on the other. That middle position is often the most rational one. It is not glamorous, but it keeps the operation moving.
How ordering, proofing, and turnaround usually work
The normal sequence is straightforward: choose the size, upload the artwork, review the proof, approve it, then move into print, finishing, packing, and shipment. The mechanics are simple. The schedule risk usually comes from proofing, not production.
Most delays start with artwork that was built for the wrong size or a different template. A design meant for a shipping label may need bleed adjustments, re-centering, or a cleaner address block before it can be printed correctly. If the file is not prepared properly, even a small correction can push the job back by a day or more.
For standard production, many orders move through proof approval and print in roughly 7 to 12 business days, depending on quantity and finishing. Rush service can shorten that, but it usually costs more and leaves less room for revision. If the proof sits unapproved, the rush option stops mattering.
Before placing an order, buyers should have four things ready: the final size, the exact address format, the artwork file, and the surface the label will stick to. That last item is the one people forget. A label that behaves perfectly on plain paper may fail on a slick poly mailer or a dusty recycled box.
If the labels are part of a broader packaging system, the layout should match the rest of the printed materials. Keep the logo treatment, type size, and spacing aligned with your Custom Labels & Tags so the package reads as one system instead of a series of unrelated pieces. Consistency does not need to be flashy. It just needs to look intentional.
For shipping into retail or wholesale channels, it also helps to know what the label is expected to survive. If packages are going through rough handling, reference shipping test standards such as ISTA rather than assuming the sample will behave the same in transit. If sustainability claims are part of the presentation, keep the language close to the actual material and check it against public guidance such as the EPA recycling guidance. That keeps the copy honest and avoids overpromising.
Stock, adhesive, and finish choices that change the result
Paper, coated paper, and synthetic stocks each solve a different problem. Standard paper labels are the least expensive and work well for dry, low-friction use. Coated paper produces cleaner typography and stronger print contrast. Synthetic stock costs more, but it handles moisture, abrasion, and extended handling much better.
The adhesive matters just as much as the face stock. On smooth envelopes, a standard pressure-sensitive adhesive is often enough. On textured cardboard, recycled mailers, or slightly dusty surfaces, a stronger adhesive is usually worth the extra cost. On cold-chain or freezer applications, you need a different adhesive entirely. That detail gets ignored more often than it should, and the problem usually shows up after the order has already shipped.
Finish changes both readability and presentation. Matte reduces glare and usually reads better under warehouse lighting. Gloss can look brighter and more polished, but it tends to show scuffs sooner and can make long address blocks harder to read under strong light. If the label needs to carry a barcode, matte is usually the safer choice.
| Option | Typical Use | Durability | Cost Impact |
|---|---|---|---|
| Paper stock | Dry mailers, inner envelopes, low-volume shipping | Basic | Lowest |
| Coated paper | Sharper typography, standard retail packaging | Moderate | Low to moderate |
| Synthetic stock | Poly mailers, moisture exposure, rough handling | High | Moderate to higher |
| Matte finish | Readable addresses, barcode use, understated branding | Good | Usually neutral |
| Gloss finish | Brighter presentation, display-oriented packaging | Good, but more scuff-prone | Usually neutral to modest |
A simple rule works better than a clever one: choose the finish that matches the package surface and handling conditions, not the one that looks best in a sample image. That is less exciting, but it saves reorders.
For many apparel brands, a coated paper label with a matte finish and a pressure-sensitive adhesive tested on the actual mailer is the most practical starting point. It usually balances cost, readability, and shipping performance better than showier options that look good only in controlled conditions.
A practical ordering checklist
Start with the use case. Are these labels for outbound shipping, return addresses, internal packaging, or a hybrid setup? If one label has to serve too many functions, the layout can get crowded and the result gets harder to read. A clear purpose usually produces a better design.
Next, check the artwork at final size. A label that looks readable on a monitor may be too small once printed. Font size, line breaks, contrast, and safe margins all matter. If a barcode or QR code is part of the layout, it needs enough contrast and enough surrounding space to scan reliably. Templates help, but only if they match the real trim size.
Then match the dimensions to the package surface. Small envelope panels need tighter layouts than large mailers, but that does not mean every bit of space has to be used. White space is not waste. It gives the design room to breathe and keeps the label from looking cramped.
- Confirm the exact label size and shape.
- Identify where the label will sit on the package.
- Verify the address format and line breaks.
- Check artwork resolution, bleed, and contrast.
- Review the proof at 100 percent if possible.
- Test one sample on the actual packaging surface.
That last step is the one that saves the most money. A one-minute test on the real mailer tells you more than a polished mockup. If the surface is slick, textured, coated, or slightly dusty, the adhesive can behave differently than expected. Labels fail more often because of surface mismatch than because of bad design.
For repeat orders, keep one master address file and one approved layout. That makes reordering faster and lowers the chance that an outdated version slips into production. It is boring operational discipline, but it works.
What drives cost and unit price
Unit price drops as quantity rises. That is true across most print production, including avery Custom Address Labels. A 250-label order will usually cost more per piece than a 5,000-piece run because setup, proofing, and press time are spread across fewer units. There is no shortcut around that structure.
The main price drivers are consistent: material type, adhesive strength, finish, size, color count, and any custom shape work. Simple artwork on a standard size usually stays at the lower end of the quote. Specialty die cuts, synthetic materials, and higher-performance adhesives move the price up. Extra embellishment pushes it further.
Hidden cost is the part that causes real damage. Proof revisions consume time. Rush fees add up. Incorrect file prep creates back-and-forth. And if the first batch fails on the package surface, the replacement order erases the original savings. Cheap labels are only cheap until they need to be printed twice.
A practical way to budget is to compare landed cost rather than unit price alone. Include setup, shipping, revision time, and the likelihood of rework. A label that is slightly cheaper but unreliable on your packaging is not really cheaper. It is deferred expense with better marketing.
For smaller clothing brands, the decision often comes down to quantity and material. Simple paper labels usually sit at the lowest end of the quote, coated paper is the middle ground, and synthetic stock or specialty adhesive work sits higher. That pattern is common enough to plan around even when the exact numbers vary by supplier and order size.
It also helps to keep the larger packaging strategy in view. Branded packaging matters, but not every order needs a full packaging overhaul. Sometimes the better spend is a well-made label that improves the presentation of a plain mailer. Other times a stronger box or a better insert system will do more. The right answer depends on shipping volume, margin, and how often the packaging changes.
Mistakes that lead to reprints and waste
The most common failure is a material mismatch. A label that looks perfect in the proof can still peel off a recycled mailer or fail on a slightly rough carton. That is not a design issue. It is a surface issue. If the packaging substrate changes, the label spec may need to change with it.
Crowded typography is another recurring problem. Tiny text, weak contrast, and busy layouts make shipping and return addresses harder to read. The warehouse may still be able to use the labels, but the margin for error gets smaller. If the label is supposed to be functional first, readability should be treated as a requirement rather than a style choice.
Skipping proof review is a common own goal. If the file was built for a different template, the proof is where you catch the clipped margins, the off-center artwork, or the wrong line spacing. Once the job is printed, those mistakes become inventory.
“Most label issues are either file-prep mistakes or surface mismatches. The press usually exposes them; it does not create them.”
Environmental conditions matter too. Heat can stress the adhesive. Moisture can soften paper stock. Dust reduces tack. Gloss finishes scuff more easily during rough handling than many buyers expect. If packages move through hot trucks, damp storage, or heavy sorting, the lowest-cost option is often the wrong option.
Another mistake is treating the label as an isolated design problem. It should work with the mailer, the insert, and the broader packaging presentation. If the parts do not feel related, the package reads as patched together instead of deliberate.
Practical tips before the first order
If the packaging surface, printer setup, or artwork is new, order a test run first. A short batch of 50 to 100 pieces can show whether the adhesive holds, whether the label reads cleanly at size, and whether the finish survives handling. That small test is cheaper than discovering a problem across a full order.
Keep the file system simple. One master layout. One approved address block. One naming convention. That structure lowers the chance that the wrong version gets uploaded just before production. It is not exciting, but it prevents avoidable errors.
Do not judge the label by the mockup alone. Compare it on the actual package, under real warehouse lighting, and with real handling. If the labels are part of the same presentation as your Custom Labels & Tags, test them together so the look and the behavior match. A package only feels coherent when the pieces behave like they belong together.
If you are upgrading product packaging over time, keep the label decision grounded in use rather than style drift. A label that works on one mailer should still work if the mailer changes next quarter. That is the difference between a nice sample and a stable system.
For a first order, the practical path is simple: gather artwork, confirm dimensions, test one sample on the actual mailer, then place the order with the stock and quantity that fit the real use case. That is the safest way to buy avery Custom Address Labels without paying for avoidable mistakes.
If you build out the rest of the presentation later, start with the basics first. A reliable label, a clean mailer, and a consistent address format do more for package branding than most decorative upgrades ever will. The rest can wait until the fundamentals stop costing money.
FAQ
Are Avery custom address labels suitable for clothing shipments?
Yes, as long as the label stock and adhesive match the packaging surface and shipping conditions. They work well for outbound orders, return addresses, and insert packs, especially when speed and consistency matter more than heavy embellishment.
What size should I choose for Avery custom address labels?
Choose a size that fits the longest address line without forcing the type down below easy-reading size. Leave enough margin so the label still looks clean on smaller mailers and envelope panels. If the proof feels crowded, the finished label usually will too.
Will Avery custom address labels hold on poly mailers?
They can, but adhesive choice matters more than the artwork. Use a stock and adhesive intended for slick surfaces, and test one sample on the actual mailer before approving the full run. Poly mailers expose weak adhesive quickly.
How long does proofing and production usually take?
If the artwork is clean, proofing can move quickly. Revisions add time immediately. Production depends on quantity, finish, and whether you need standard or rush turnaround, but many orders move through the process in about 7 to 12 business days.
How can I keep the cost of Avery custom address labels down?
Choose a standard size, keep the design simple, and avoid special finishes unless the packaging really needs them. Larger quantities usually lower unit cost, but only order what you will use before the design changes. Dead stock is not a discount.


