Custom Address Labels for Clothing: Buy Smart
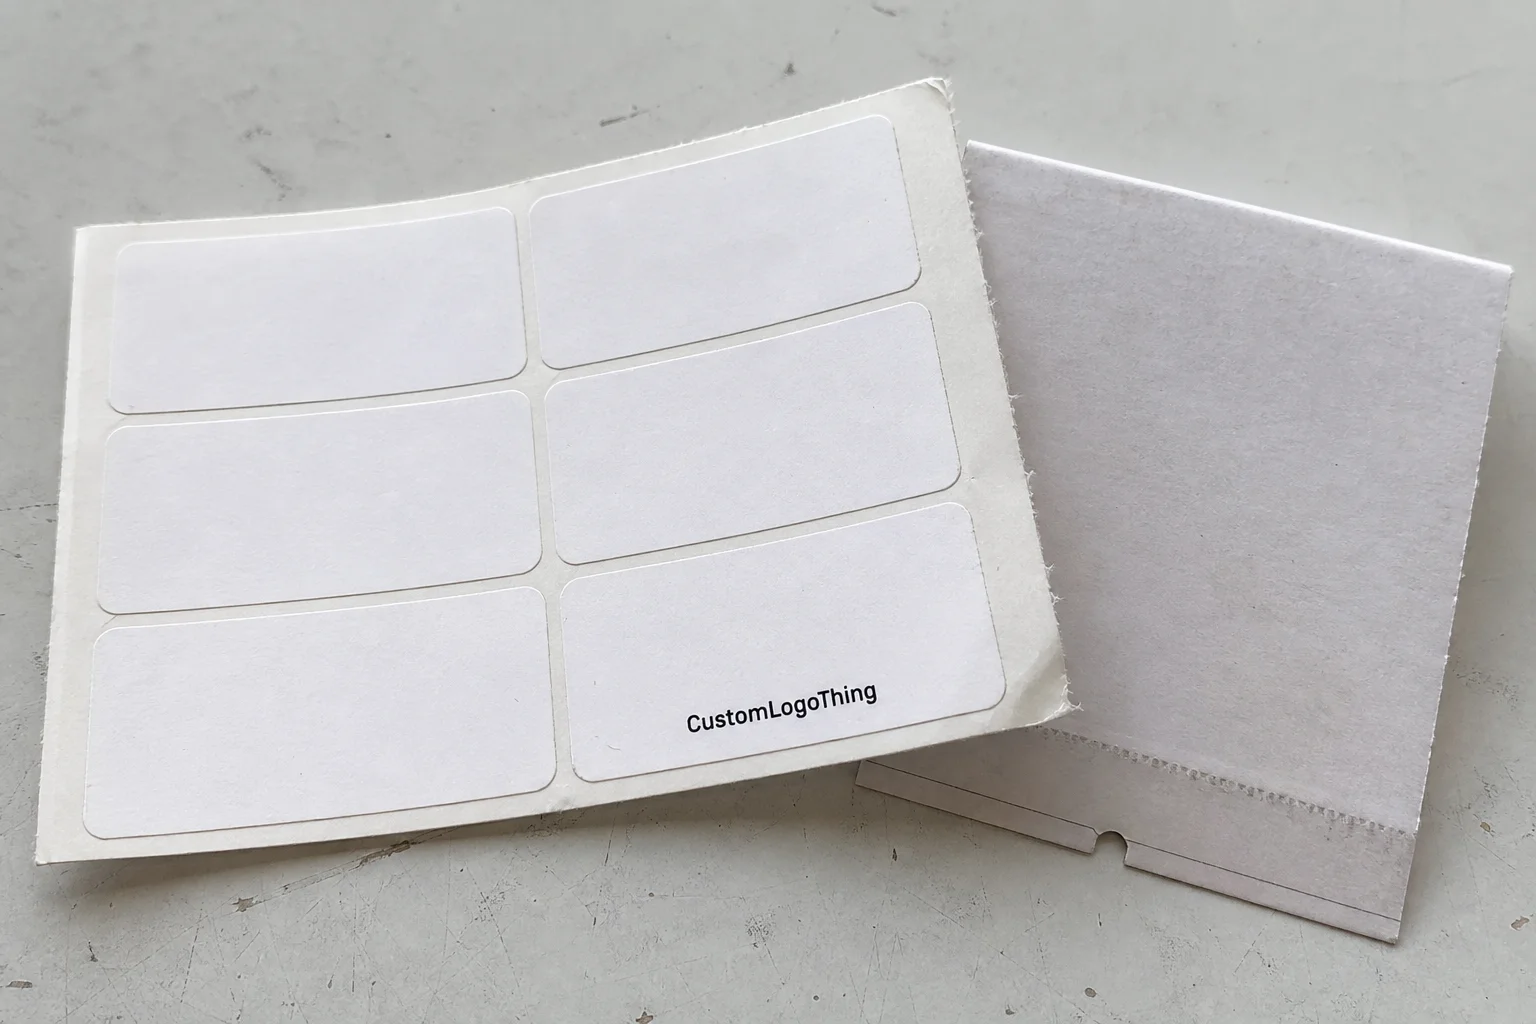
For boutiques shipping returns, exchanges, and personalized apparel, Custom Address Labels do more than direct a parcel. They reduce mix-ups, keep the packing table moving, and give outbound shipments a cleaner finish.
In apparel operations, those labels may go on poly mailers, rigid boxes, return envelopes, or internal bins, and each surface calls for a different adhesive, finish, and print method. A label that looks fine in a mockup can still curl on textured packaging, smear under handling, or fail on a damp receiving dock.
Custom address labels in clothing labeling: what they actually do
In an apparel business, a label is rarely just a label. Sewn-in garment labels identify the product. Hang tags support pricing and merchandising. Care labels carry compliance information. Address labels handle shipping identity, return identity, or internal routing. The work is repetitive, which is exactly why accuracy matters.
Picture a week with outbound orders, return processing, and a small batch of personalized tees. A clean address label speeds all three. It tells the carrier where the parcel belongs, helps the packing team spot the right order quickly, and gives the customer a more deliberate first impression.
That is why many brands use custom address labels alongside coordinated Custom Labels & Tags or broader Custom Packaging Products. The goal is not to make every surface identical. The goal is to keep the system coherent so the box, mailer, insert, and shipping label feel like one operation.
A label that saves 15 to 20 seconds per parcel does not sound dramatic until it is repeated hundreds of times in a day. Then it becomes labor, accuracy, and brand perception at once.
How labeling works with apparel packaging
The workflow starts before printing. A supplier needs the final copy, the exact label size, the shape, the surface it will touch, and whether the design is static or variable. Static labels repeat the same return address, brand block, or handling note. Variable data labels change the recipient, SKU, or route on each piece, which is common for shipping, returns, and internal bins.
For clothing packaging, layout is the first practical decision. The eye scans quickly at a packing table. The address block needs to be readable at a glance. A logo can sit above it or beside it, but it should not compete with the ship-to information. If the label also carries a barcode or QR code, leave enough quiet space to scan cleanly.
Printing method matters, too. Digital printing is a good fit for short runs, frequent artwork changes, and colored branding. Thermal printing is common for high-volume shipping labels where speed and text clarity matter more than color. Pressure-sensitive construction is the standard because it applies quickly to mailers, cartons, and inserts.
Surface compatibility is where buyers get surprised. A smooth polyethylene mailer behaves differently from a recycled kraft box or a lightly textured tissue wrap. Cold storage, humidity, and rough handling all affect adhesive performance. A supplier should ask about those conditions before recommending a stock, because a label that holds on a sample sheet can fail on the real packaging.
If the shipment needs validation, transit testing logic helps. The methods used in ISTA transit testing are widely used to evaluate packaging under shipping stress, and the same thinking applies to labels: test what happens after the box leaves the table, not just what it looks like in a proof.
Key factors that affect material, durability, and branding
Material choice drives more of the result than many buyers realize. Paper labels are usually the lower-cost option and work well for clean indoor handling. Synthetic film labels, often polypropylene or similar, hold up better against moisture, abrasion, and rougher surfaces. If the package may sit in a damp receiving area, ride through temperature swings, or rub against other parcels, film often earns its price.
Adhesive deserves the same attention as facestock. Permanent acrylic adhesive is a strong default for poly mailers and cartons because it performs across a wider range of conditions. Removable adhesive can work for internal bins or temporary routing, but it is the wrong choice for many outbound shipments. On recycled packaging, textured surfaces, or cold stock, adhesion failure means reprints, relabeling, and labor waste.
Finish changes how the label reads under real warehouse lighting. Matte stock is easier on the eyes and usually looks more restrained. Gloss can sharpen color, but it can also reflect light and show handling marks faster. That choice matters if the label is part of a premium packaging system. When the brand already uses a particular typeface or color on custom printed boxes, the address label should feel like part of the same family, not a separate purchase.
There is also a sustainability question, but it needs specifics. Paper stocks may align better with FSC sourcing goals, while some film labels reduce waste by lowering reprint rates. If environmental claims matter, ask for documentation rather than marketing language. A credible chain-of-custody trail from FSC is stronger than a generic “eco-friendly” claim with no backup.
For most apparel buyers, the decision can be narrowed with a simple comparison:
| Option | Best for | Typical unit cost | Tradeoff |
|---|---|---|---|
| Paper pressure-sensitive label | Short runs, clean indoor use, low-cost mailers | $0.03-$0.08 each at 5,000+ | Less durable on moisture-prone surfaces |
| Thermal shipping label | High-volume fulfillment, plain address data | $0.02-$0.06 each at 10,000+ | Limited branding and color options |
| Synthetic film label | Premium packaging, scuff resistance, humid storage | $0.07-$0.18 each depending on coverage | Higher upfront spend |
| Specialty adhesive label | Textured mailers, cold rooms, difficult substrates | $0.10-$0.25 each | Needs testing before full production |
If the label is carrying both shipping data and branding, the extra penny or two can be cheap insurance. A failed label on a returned garment costs more than the difference between stock grades.
Process and timeline: from proof to production
A proper order starts with a specification sheet, not a quick email. Gather the final copy, logo file, label size, shape, and exact use case. Then define where the label will go: outbound shipping, returns, care-card envelopes, or internal sorting bins. That one decision changes the whole build.
Proofing is where preventable mistakes show up. A digital proof should confirm scale, margins, spelling, barcode placement, and bleed. For a first run, ask whether the printer can show how the label will behave on the actual substrate. If the packaging surface is uncertain, a physical sample is worth more than a screen mockup because it can expose curling, adhesive weakness, and contrast problems.
Production time depends on quantity, setup complexity, and whether the artwork is static or variable. A simple reorder can move quickly if the spec already exists. A first-time custom job often needs color calibration, die-cut confirmation, adhesive review, and approval cycles. As a planning range, many first runs land around 7-15 business days after proof approval, while reorders are often faster.
There is a practical reason to keep the workflow disciplined. In apparel operations, labels often sit inside a larger packaging schedule. Inserts, mailers, tissue, and boxes may all need to arrive together. If one component changes late, the whole kit can slip. Stable specs and fewer late edits save time.
Before you approve anything, verify these items:
- Final shipping and return copy
- Logo file in vector format, if available
- Exact label dimensions and shape
- Package surface: poly mailer, carton, tissue, or bin
- Finish preference: matte, gloss, or synthetic
- Any barcode, QR code, or variable data fields
- Delivery address and in-hand date
That checklist is the difference between one proof cycle and a week of back-and-forth. Teams that keep a standard spec sheet usually move faster because the printer is not rebuilding the job from scratch.
Cost and pricing: what drives unit cost
Pricing for Custom Address Labels follows the same pattern as most packaging components: higher quantity lowers unit cost, while more complexity pushes it up. A small test run can feel expensive because setup is spread across fewer pieces. At 5,000 or 10,000 units, the per-label cost usually drops, but the upfront invoice is larger. The real question is whether the inventory will be used before the artwork or packaging spec changes.
Material and print method are the biggest drivers. Paper labels with simple one-color static print are usually the least expensive. Full-color digital labels, synthetic stocks, and specialty adhesives cost more because they need more material control and more careful production. Variable data also adds complexity. A label that changes recipient details on every piece is inherently more involved than a single static run.
The most useful buying rule is simple: pay more when the failure would cost more than the upgrade. If a stronger adhesive prevents relabeling, or a weather-resistant stock avoids rejected returns, the premium makes sense. If the label lives inside a dry box and never sees rough handling, the least expensive acceptable stock is usually the better answer.
For planning purposes, buyers often see ranges like these:
- Simple paper labels: roughly $25-$80 for small test runs, depending on quantity and size
- Mid-tier branded labels: often $90-$250 for moderate volumes with color print
- Premium synthetic or specialty adhesive labels: commonly $150-$400+ when the spec is demanding
Those numbers move with coverage, size, and order volume, so they are best used as budgeting guides rather than fixed quotes. Still, they are useful because they show how quickly a low sticker price can disappear once reprints, labor, and shipment corrections are counted back in.
Step-by-step ordering guide for address labels
Step 1 is defining the use case. Is the label going on outbound mailers, return packaging, internal sorting bins, or branded inserts? One size rarely fits all. A shipping label needs readability and scan performance. A return label may need room for instructions. A bin label may need durability more than decoration. If the brand wants a coordinated look across custom packaging products, the label spec should be built with that wider system in mind.
Step 2 is choosing the format. Decide on size, shape, finish, and adhesive based on the packaging surface and handling conditions. A 3 x 5 inch label may be ideal for a mailer with a return block and logo, while a 4 x 6 inch format may work better for larger boxes or when more line spacing improves legibility. If the package will face texture, cold, or humidity, do not assume the cheapest adhesive will hold.
Step 3 is preparing artwork and content. Keep the address hierarchy simple. Put the most important data where the eye lands first. If a barcode is included, give it quiet space. If the label carries package branding, keep the logo small enough that the address remains the hero. That restraint usually improves readability and makes the package feel more deliberate.
Step 4 is proof review. Check spelling, spacing, postal lines, barcode placement, and bleed. Verify the return address. A small typo there can create more customer-service work than the label is worth. Step 5 is approval and reorder planning. Confirm the delivery date, then set a restock threshold so inventory is replenished before the last roll or sheet disappears.
One practical split works well for many apparel teams: keep a branded version for customer-facing parcels and a plainer version for internal or bulk workflows. That lowers complexity without sacrificing presentation where it matters.
Common mistakes to avoid with address labels
The first mistake is assuming a label that looks good on screen will stick in the real world. Textured mailers, cold surfaces, and recycled materials can expose weak adhesion quickly. The second mistake is designing for aesthetics alone. Tiny type, low contrast, and overprinted backgrounds may look stylish, but they can slow fulfillment and create misreads.
A third mistake is ordering too little. Underbuying feels cautious, but it often raises unit cost and forces emergency reorders during a busy stretch. Overbuying can be just as bad if the brand changes packaging, address details, or seasonal artwork before the stock is used. The cleaner approach is to match quantity to a realistic shipping forecast, with a small buffer for peaks and replacements.
The fourth mistake is skipping proof review. That is where most avoidable errors show up first: reversed zip codes, truncated return fields, barcodes too close to the edge, or a logo that prints smaller than intended. For brands that care about presentation, proofing is not a formality. It is the cheapest inspection step available.
The short version: test the adhesive, keep the layout readable, and avoid committing to a format you have not used on the actual packaging. That is the difference between a label that supports the operation and one that quietly drains time.
Expert tips and next steps for smarter ordering
Start with a sample run if your shipments use more than one surface. The cheapest label on paper is often the most expensive after failures. A small test batch can reveal whether the adhesive holds on poly mailers, whether the finish smudges under handling, and whether the address block is readable from normal packing distance.
Standardize one primary label format for most orders, then create a second version only where it is truly needed. Returns are the obvious example. Special packaging is another. That keeps inventory simpler and reduces the number of artwork files your team has to maintain. It also helps suppliers quote faster because the spec is clear.
When you ask for a quote, ask for the details that matter: material spec, adhesive recommendation, proof turnaround, minimum order quantity, and whether the supplier can flag failure risk for your packaging surface. A quote without those answers is incomplete. If you are building a program around custom address labels, treat them as part of the shipping system first and a branding asset second.
Are custom address labels the same as clothing labels?
No. Address labels identify shipping or return information, while clothing labels usually mean sewn-in care, size, or brand labels. In apparel packaging, custom address labels still matter because they organize mailers, bins, and returns around the rest of the label system.
What size should custom address labels be for apparel packaging?
Choose a size that fits the package surface and keeps the address readable at a glance. Small mailers usually need compact formats, while boxes and branded inserts can support larger labels with more room for a logo and return details.
What affects the price of custom address labels the most?
Quantity, material, print method, and finish usually drive the biggest differences in unit cost. Variable data and specialty adhesives can raise pricing because they add setup time and production complexity.
How long does production usually take for custom address labels?
Timing depends on proof approval, order size, and whether the design is static or variable. First-time runs usually take longer than reorders because artwork review, calibration, and setup can add extra steps.
How can I make sure address labels stick to clothing mailers?
Match the adhesive to the actual mailer surface, especially if it is textured, recycled, cold, or exposed to humidity. The safest way to confirm performance is to test the label on your real packaging before you place a full order.


