Printed size Labels for Clothing are small enough to get ignored and important enough to cause trouble when they fail. If the type is too faint, the label scratches the skin, or the size codes drift from one SKU to the next, the problem shows up later as returns, customer complaints, and avoidable rework. A label only earns its place if it stays readable, stays comfortable, and survives the same wash cycle as the garment.
That makes the buying decision less about artwork and more about production reality. The right substrate, print method, and finishing choice matter more than a polished mockup on a screen. If you are sourcing Custom Labels & Tags, the real test is simple: will the label still do its job after wear, washing, and folding have done their worst?
“A size label that fails after a few washes is not a decoration issue. It becomes a product quality issue.”
What Printed Size Labels for Clothing Need to Do
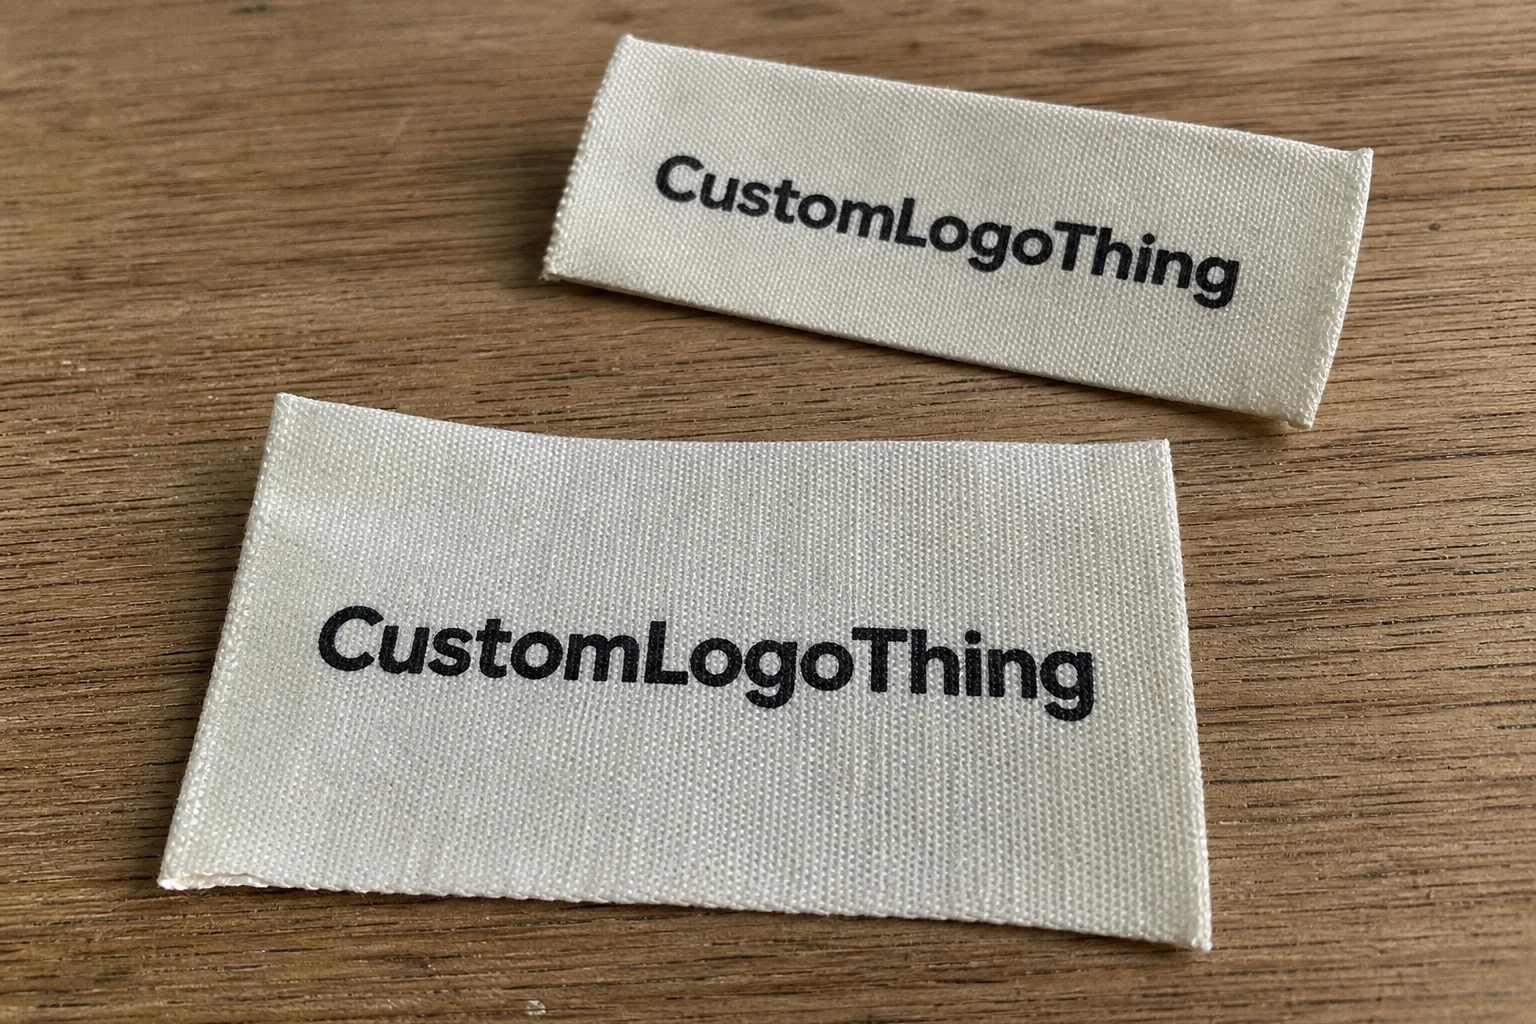
The job sounds straightforward. Show the size clearly. Fit inside the garment cleanly. Survive use. In practice, those three requirements pull in different directions. A softer label is usually easier on skin, but softer materials can trade away wash resistance. A tougher substrate can hold up better, but if it feels stiff, customers notice that too.
Printed labels are a good fit for tees, basics, kidswear, underwear, athleisure, and other garments where the inside neck area needs to stay low-profile. They are thinner than many sewn-in or woven constructions, which helps on lightweight fabrics and in tag-free programs. That matters more than brands admit. A rough label can be enough to make a $20 garment feel cheaper than it is.
For simple size identification, printing is often the cleanest route. It keeps the inside of the garment uncluttered and avoids the bulk that comes with layered branding. It also makes repeated sizing across a range easier to standardize. If your line runs from XS to 3XL, or mixes adult and youth sizing, consistency is easier to manage when the format is controlled from the start.
The first thing buyers tend to overvalue is font style. The better question is contrast. A plain sans serif in the right size will beat a stylized font that looks clever but blurs after finishing. Legibility after laundering is the standard that matters. The screen proof is only a hint.
For internal spec work, the practical checklist is short:
- Readability: the size should be easy to identify at a glance.
- Comfort: the label should not add noticeable scratch or stiffness.
- Durability: print and substrate should hold up through wash and dry cycles.
If the size also appears on hangtags, cartons, or carton labels, keep the naming exactly aligned. A mismatch between packaging and sewn-in information is a small mistake that creates a lot of checking downstream. Warehouse teams, packers, and QC staff all pay for that kind of sloppiness.
Size labels can also carry secondary information such as style codes, region codes, or care symbols. That is useful, but the size should still be the easiest element to read. If everything is given equal visual weight, nothing is given enough attention.
How the Production Process Actually Works
Most label jobs move through the same sequence: file prep, proofing, material selection, printing, finishing, and inspection. The sequence matters because each step can introduce delay or error if it is handled casually. This is where a lot of quote-to-order confusion starts. A supplier may sound fast until revisions, sampling, or finish changes enter the picture.
Artwork setup is usually the first gate. The printer checks the final dimensions, spacing, contrast, and bleed before anything goes to press. If the order includes multiple sizes, the artwork may need to be imposed in a way that keeps the run efficient without mixing size codes. That is not cosmetic work. It determines whether a label can be cut, packed, and sorted without mistakes.
Size architecture matters more than many brands expect. A men’s basics line with S through XL is easy to lay out. A children’s line that mixes toddler, youth, and junior sizes needs a more disciplined hierarchy. If the supplier has to guess whether “L” means youth large or adult large, you are already in the zone where mispacks happen.
Printing methods vary by label type. Thermal transfer is common for many simple applications. Screen and flexographic methods are used when volume, durability, or ink coverage make them a better fit. Heat-transfer labels are useful when the goal is minimal bulk and no neck tag. The right method depends on the material and the end use, not on what the supplier happens to prefer that week.
Lead time is usually shaped by one question: how much is standard, and how much is custom? A repeat order on the same substrate with the same artwork can move quickly. A new layout, multiple versions, or a specialty finish pushes the job into proofing and extra handling. Shops that keep setup and inspection in-house tend to catch issues earlier. Outsourced finishing can still be fine, but the bottleneck should be clear before the PO is issued.
Industry resources are useful when you want a better handle on handling, transit, and packaging standards around apparel components. For transit and packaging basics, ISTA is a useful reference point. For paper-based packaging and environmental materials, FSC is relevant when your broader packaging program includes paper goods. The label itself is small, but the discipline should be the same: define the spec, test the product, and approve against the real use case.
Cost, MOQ, and Unit Price
Price is driven by four variables more than anything else: quantity, material, print method, and how many versions you need. A lot of buyers want a single number, but the quote is usually a reflection of setup labor and waste spread across the run. Lower quantity means those fixed costs hit harder. That is normal, even if it is annoying.
For printed Size Labels for Clothing, small runs often sit in the highest unit-price range because the setup does not shrink just because the order does. A run of 250 to 500 labels may land around $0.20 to $0.60 per unit, with setup or proof fees often in the $30 to $125 range. Around 1,000 to 2,500 pieces, pricing often moves into the $0.08 to $0.22 range. At 5,000 pieces and above, simple jobs can fall to $0.03 to $0.12 each if the spec stays straightforward.
Those numbers change quickly if you add more colors, custom cuts, specialty coatings, or a material that is harder to convert. A size-only strip is not the same job as a label that carries branding, size, and care symbols. More print coverage means more ink and more risk of variation. More versions mean more handling and more chances for the wrong file to make it into the stack.
| Order Size | Typical Unit Cost | Common Setup Reality | Best Fit |
|---|---|---|---|
| 250-500 pcs | $0.20-$0.60 | Higher setup impact, proof fee likely | Samples, small drops, new styles |
| 1,000-2,500 pcs | $0.08-$0.22 | Setup cost starts to spread out | Seasonal launches, growing brands |
| 5,000+ pcs | $0.03-$0.12 | Lowest unit cost on simple specs | Core basics, replenishment, repeat programs |
MOQ exists because suppliers have to cover setup, labor, and material waste. Some shops set the floor at 500 or 1,000 pieces. Others will accept less, but the unit price usually rises enough that the quote no longer looks friendly. The minimum itself is not the problem. The hidden cost of tiny runs is the problem.
One detail that gets missed often: MOQ may apply per design or per total order, depending on how the supplier batches work. A 2,000-piece order split across six size versions is very different from 2,000 pieces of one design. Ask for the allocation in writing. If the quote is vague about counts, expect accounting headaches later.
For vendor comparisons, use the same file set every time. Same dimensions. Same material. Same color. Same pack format. Otherwise, the price comparison is distorted before it starts. A quote on a satin label with one print color is not comparable to a heat-transfer version with broader coverage.
Materials, Finish, and Durability
Material choice affects feel, print quality, and wash performance all at once. Satin is common because it balances softness with clear print. Polyester is the workhorse option when durability matters more than texture. Cotton can feel natural, but it is not always the strongest performer in repeated laundering. Heat-transfer constructions are popular when bulk has to stay near zero.
Finish matters in ways that are easy to underestimate. Matte surfaces usually read better under glare and can feel less slick against the skin. A glossier surface can make some marks appear sharper at first glance, but it also highlights scuffs, surface inconsistency, and tiny print defects. On a size label, where the graphic is tiny and the margins are tight, those differences are not decorative. They affect legibility.
Wash durability is where the spec either proves itself or falls apart. A label that looks fine after proofing but softens after three wash cycles is not suitable for retail use. If the garment is likely to see hot water, tumble drying, or high abrasion, ask for a realistic sample or strike-off before approving the run. That is especially important for labels applied to stretch fabrics, where the mark may crack or distort if the substrate and print method are mismatched.
The tradeoff is simple but unpleasant: the softest option is not always the toughest, and the toughest option is not always the most comfortable. A scratchy label gets cut out. A durable label that looks harsh gets rejected by the customer in a different way. The middle ground is usually where a commercial garment needs to live.
For brands with broader packaging goals, the label should sit inside the same quality conversation as cartons and inserts. If paper goods are part of the system, it is worth checking whether FSC-certified material is relevant. The label itself may not be the environmental headline, but it still belongs in the overall material spec.
- Satin: soft hand feel and solid print clarity.
- Polyester: better for tougher wear and repeated washing.
- Heat-transfer: very low bulk for tag-free applications.
- Cotton blend: natural feel, but not always the strongest choice for wash-heavy programs.
Choosing the Right Size Format
The size format should match the product line, not the preferences of the design file. If your assortment is simple, keep the label simple. If the line spans different regions or fit systems, the format needs to make that obvious. Confusion at the size stage is not a branding problem. It is a fulfillment problem.
Alphabetic sizing is common because customers can scan it quickly. Numeric sizing can work better in markets where shoppers expect it. Dual sizes such as S/M or L/XL help when a garment has a broader fit range. Kidswear deserves extra care because toddler, youth, and junior sizing can look similar in layout even when the fit logic is very different.
Layout affects production efficiency too. A brand with a narrow size range can often run a simple repeated format. A brand with many categories may need separate layouts or different imposition patterns. That adds setup time and can raise unit cost without changing the finished size label itself. This is one of those production truths that feels boring until it starts affecting the margin.
Size consistency across the product line saves people from checking the same information twice. If one garment puts the size under the logo and another buries it near the care symbols, warehouse and QA teams end up slowing down to confirm what should have been obvious. Consistent placement looks small on a spec sheet and large in the pack room.
Problems usually show up in the same few places:
- The size names differ by region but are laid out identically.
- The hangtag and sewn-in label do not match.
- Style codes sit where the size should be easiest to see.
- The label is crowded enough that no one can read it fast.
If one label has to carry size, care, and branding, the hierarchy needs to be deliberate. The size should win the visual contest. Everything else is secondary unless the garment category demands otherwise.
Common Ordering Mistakes
Most reprints come from preventable approval errors, not from dramatic printing failures. A wrong size table. A proof approved too fast. A contrast ratio that looked acceptable on a laptop and then disappeared on the finished label. A missing bleed area that only becomes visible after cutting. The expensive mistakes are usually unglamorous.
Another common issue is approving artwork without thinking through wear conditions. A size label inside a stretch garment is under different stress than a label inside a rigid woven item. If the supplier can provide a sample, ask for it. If the sample shows cracking, edge curl, or poor contrast after handling, stop there. A cheap reprint is still more expensive than catching the problem before the full run.
Finished dimensions deserve more attention than they get. A label that reads fine in design software can shrink into illegibility once it is trimmed and folded. Ask for measurements in millimeters or inches, not just a screenshot. The finished size is the spec that matters. Everything else is an approximation.
Before releasing the order, confirm the following:
- Exact size list: including regions, dual sizes, and any special codes.
- Finished dimensions: not just artwork dimensions.
- Print color and contrast: enough to read quickly in low light.
- Wash requirement: the number of cycles the label should realistically survive.
- Attachment method: sewn, heat-applied, or integrated into another label system.
- Allowance for shrink or stretch: especially on soft or elastic fabrics.
Screen proofs are useful, but they are not the same as a finished garment component. If the supplier cannot explain how the print behaves under heat, stretch, or repeated laundering, that is not a minor gap. It is the part of the job that determines whether the label earns a second production run.
Timeline, QC, and Order Prep
A clean order starts with a clean specification. Define the size list, final dimensions, substrate, color, finish, and attachment method before asking for a quote. If those variables are still moving, every vendor will price a different job and the comparison will be meaningless. The more precise the brief, the less time gets wasted in revision loops.
A practical production flow looks like this:
- Confirm the exact size breakdown by SKU.
- Request a spec sheet and quote from the supplier.
- Review the proof for readability, contrast, and dimensions.
- Approve a sample if the garment is new or the material is sensitive.
- Lock quantity, packing format, and ship date.
Turnaround depends on how much is standard. Simple repeat jobs can move in roughly 5 to 10 business days after approval if material is in stock. Custom runs with multiple size versions, proof revisions, or specialty finishing often take 10 to 15 business days or longer. Rush service exists, but the premium is real because you are moving ahead of the normal queue.
Quality control should not be vague. Check that the label text matches the approved file, that the size codes are correct, and that the color holds up under the same lighting conditions used for receiving and packing. If the order is for a garment that will be folded tightly, packed densely, or handled a lot before retail presentation, inspect for surface cracking, curl, or scuffing. Those defects are easy to miss if nobody is looking for them.
Vendors should also be able to explain how labels are packed. Flat-packed, roll-packed, and sheeted formats each create different handling patterns. A format that saves time in production can cost time at receiving if the count is hard to verify. That is why packaging detail matters even on a tiny component. Small parts create large process noise when they are not counted correctly.
The safest move is still the unexciting one: finalize the size list, choose the material, decide on the finish, and send the same file set to each supplier. That keeps pricing comparable and approval cleaner. It also gives you a better chance of getting printed Size Labels for Clothing that stay legible, hold up in washing, and fit the garment without extra bulk.
What are printed size labels for clothing used for?
They identify the garment size clearly inside the product. That helps customers, packers, and retail teams read the size quickly without adding much bulk to the inside of the garment.
Are printed size labels better than woven labels?
Printed labels are usually thinner, softer, and better for low-profile size identification. Woven labels can feel more premium in some programs, but they are not always the better option if comfort and simplicity matter most.
What affects the cost the most?
Quantity, material, print method, and the number of size versions drive most of the cost. Smaller runs carry a higher unit price because setup and proofing are spread over fewer pieces.
How long does production usually take?
Simple repeat jobs can often ship in about 5 to 10 business days after approval if stock material is available. Custom jobs with revisions or multiple versions usually take longer.
What should I check before placing an order?
Confirm the exact size list, finished dimensions, print color, wash requirement, and attachment method. If the garment is new or sensitive, ask for a sample or strike-off before full production.
Good labels are almost invisible in use. They do the job, survive the wash, and stay out of the way. That is the standard worth paying for.