Boutique Retailers OPP Header Bags Warning Label Guide
Retail packaging has a habit of looking finished right up until one small detail is missing. The artwork may be clean, the logo may sit perfectly on the header, and the product may fit the bag exactly, then somebody notices the warning is absent, too small, or buried where no customer will ever see it. That is the problem this boutique retailers opp header Bags Warning Label guide is meant to solve before the order goes to print.
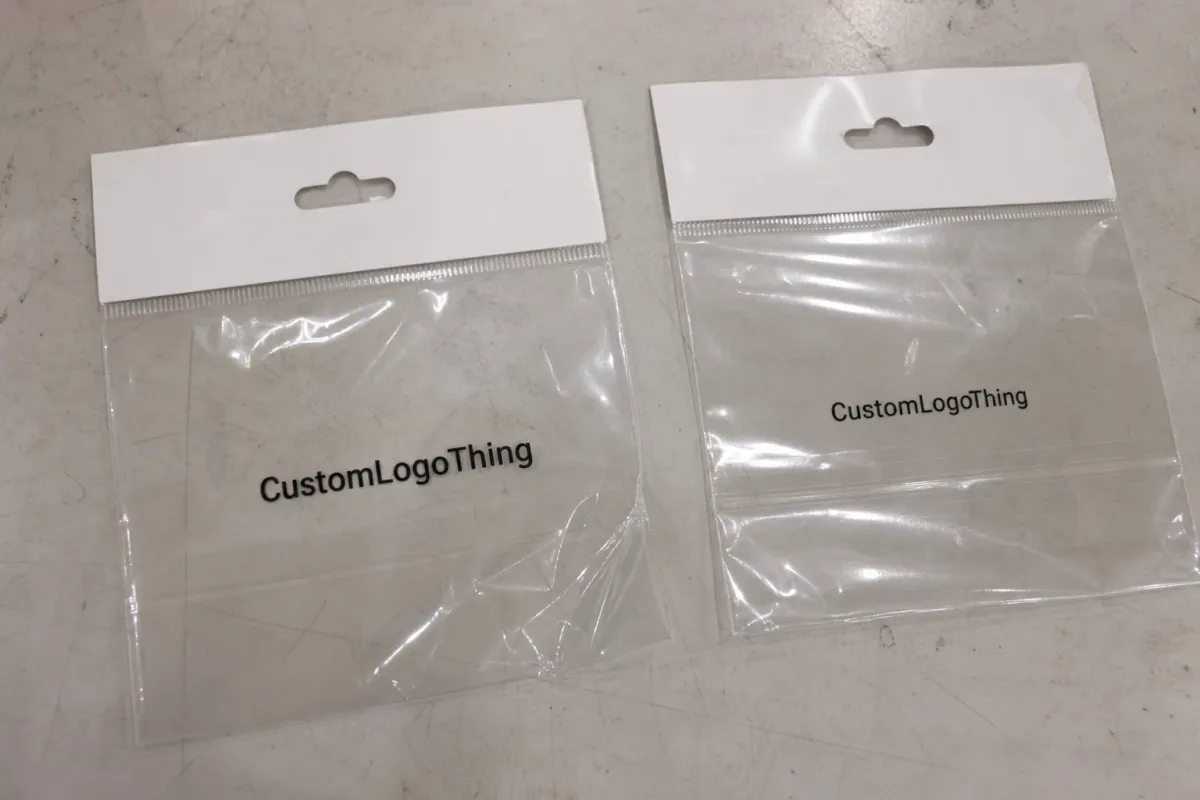
OPP Header Bags are clear polypropylene retail bags with a rigid-feeling, high-clarity film and a reinforced header area for hanging on peg hooks. They are used for earrings, enamel pins, socks, hair accessories, stationery add-ons, craft items, and lightweight apparel pieces. The appeal is practical: the product stays visible, the bag looks crisp on the peg, and the header gives you room for branding, barcodes, size information, and required safety copy.
Most boutique buyers care about two things at once. They want packaging that looks premium enough to support the product, and they want packaging that behaves predictably in the store. OPP helps with both. A typical retail gauge might land around 1.2 mil to 1.6 mil, though the right thickness depends on the item inside, how sharp its edges are, how often staff handle it, and whether the bags will be packed tightly for shipment or displayed immediately on arrival.
The warning label is not an accessory. It is a safety communication tied to the physical characteristics of the bag and the way it will be used. Exact requirements can vary by location, retail channel, and product category, so supplier templates are useful starting points but should never be treated as a final legal review. For boutique teams, the practical job is to keep the warning visible, accurate, and consistent without letting it fight the brand design.
That means thinking about the bag as a system rather than a blank canvas. The header, hang hole, adhesive flap, barcode zone, logo placement, warning copy, and product insert all affect one another. If one part moves, the others usually need to move too. Packaging works best when those decisions happen together, not in separate rounds of surprise.
How OPP Header Bags Work on the Retail Floor
A header bag looks simple from a distance, but the structure does a lot of work. The clear body shows the product. The side or bottom seals hold the shape. The header strip gives room for print, a hang hole, and any required label area. Some bags use a peel-and-seal adhesive flap for quick packing, while others use a more permanent closure. Either way, the bag has to open cleanly, close straight, and remain readable once it is hanging on the fixture.
Retailers often choose OPP because it has a smooth gloss, good stiffness, and strong print definition. Logos and simple type hold up well, especially in one- or two-color layouts. Flexographic printing is common for larger runs. Digital print or applied labels make more sense for smaller programs, mixed SKU assortments, or packaging that may still change after the first season.
There are also practical details that affect day-to-day use. Small vent holes can help a packed bag lay flatter in a carton or reduce the trapped air that makes it puff out on the peg. That helps the display stay tidy, but it does not replace the warning. Venting and warning copy solve different problems.
The warning itself can be handled in two ways. It can be printed directly onto the bag, or it can be added later as a pressure-sensitive label. Printed warnings usually look cleaner and remove one labor step from the store side. Separate labels are more flexible if the retailer is testing sizes, regions, or legal copy. The right choice depends on how stable the package is likely to stay over time.
Placement deserves more attention than many teams give it. A warning printed under the fold of the header, hidden behind the product card, or placed across the adhesive seal can look acceptable in a proof and then fail in the real world. Once the bag is filled, hung, and tagged, the visible area shrinks fast. A warning that still reads clearly after those steps is the one that matters.
That is why packaging decisions should start with the product, not with the artwork file. A thick folded sock pack, a black velvet jewelry card, and a patterned accessory insert all change how the warning reads through the clear film. A layout that looks neat on a white PDF background can disappear once real merchandise is inside the bag.
Key Warning Label Factors: Size, Copy, Placement, and Readability
Warning requirements are not identical everywhere. Different jurisdictions, retailers, and marketplaces can apply their own packaging rules, and the stricter standard usually wins in practice. A boutique selling through a single local shop has a very different burden than one shipping wholesale, selling online, and supplying larger retail accounts at the same time.
The wording itself is usually plain by design. It needs to state the hazard, tell the user to keep the bag away from babies and children, and include any specific instructions required for the market. The language is not there to sound technical or decorative. It exists to be understood quickly, even by someone who only glances at the package for a second.
Practical shop-floor rule: if the warning disappears after the bag is filled, sealed, labeled, and hung, the layout still needs work.
Size and contrast matter as much as copy. Fine gray text on a clear bag may look elegant in a proof, but it often performs badly in store lighting, especially over dark fabric, metallic hardware, or busy print patterns. Black ink usually reads well. A white label can also work if the design leaves enough room for it. Tone-on-tone treatments should be used with caution because they are the first thing to vanish once the bag is packed.
Font choice should stay simple. Condensed type can save space, but it can also close up once printed on flexible film. Very thin fonts tend to lose clarity. A straightforward sans serif with sufficient line spacing is usually the better choice for warning copy, especially if the bag will be handled often or the print run is large enough that small inconsistencies become visible across cartons.
Placement should be designed around the real packing workflow. Ask where the barcode goes. Ask whether staff put the price label on the front or the back. Ask whether the flap seals on the front panel or behind the bag. Ask whether the bag hangs flat or tilts on the hook. The answer to each of those questions changes how much of the warning remains visible.
Multilingual packaging can also affect the layout more than expected. A second language often means a taller block of text or smaller type, and shrinking copy until it is barely legible defeats the purpose. If your sales footprint crosses regions or includes bilingual stores, build enough room for the full warning before artwork is finalized.
Document the approved warning exactly in the dieline or art file. Include minimum type size, ink color, placement coordinates if your vendor uses them, and any no-print zones. Reorder errors are common when an old PDF gets reused and someone moves the logo by a few millimeters. That kind of drift is easy to miss and annoying to fix after bags are already in production.
Pricing, MOQ, and Unit Cost for Printed Warning Options
Pricing for custom OPP Header Bags is shaped by several moving parts: bag dimensions, film thickness, print colors, print coverage, adhesive type, hang hole style, pack count, label application, and order quantity. A small jewelry bag and a larger sock bag may both be simple, yet they will not price the same because the film use, press setup, and packing labor are different.
Printed warnings usually cost less in labor after the first setup and often look more polished on the shelf. Factory-applied labels are useful when copy may change or the bag family is still in testing. Retailer-applied labels can be the cheapest way to start, but they move labor into the store and create more opportunities for crooked, missed, or covered warnings.
MOQ has a direct effect on unit cost because setup work does not shrink much at low volume. Artwork preparation, plate or cylinder setup, press adjustment, conversion, punching, packing, and quality checks all happen whether the run is 1,000 pieces or 20,000 pieces. The fixed costs simply spread out more efficiently as quantity rises.
For planning purposes, a small-format OPP header bag with one-color print may land around $0.08 to $0.18 per unit at moderate quantities. Smaller test runs, extra label work, or more demanding pack requirements can push the effective cost higher, sometimes into the $0.20 to $0.35 range or beyond. Those are working ranges, not promises. Film gauge, freight, current resin pricing, and print coverage can move the number quickly.
| Warning Method | Best Fit | Typical Cost Behavior | Tradeoffs |
|---|---|---|---|
| Printed directly on bag | Repeat programs, stable artwork, consistent bag size | Lower labor after setup; better at higher quantities | Less flexible if copy or layout changes |
| Factory-applied warning label | Medium runs, mixed SKUs, cleaner operations | Adds label material and application labor | Label placement must be controlled carefully |
| Retailer-applied warning label | Short tests, uncertain volume, changing specs | Lower initial commitment; higher in-store labor | More risk of crooked, missed, or covered labels |
Good quoting starts with specifics. Give the supplier the filled product size, the target film gauge, the number of print colors, the closure style, the hang hole type, the warning method, and the expected annual usage. Ask for pricing at more than one quantity, because the break between a test run and a reorder quantity can be surprisingly wide. A bag that looks inexpensive at 1,000 pieces may price much better at 5,000, and a slightly larger run might buy enough savings to justify the extra cartons.
Also account for the less obvious costs. Artwork cleanup, label application, rush freight, rework from hidden warnings, and obsolete packaging after a branding update can quietly erase the benefit of a cheap unit price. The right comparison is not just film cost, but the finished bag delivered and ready to use.
Production Steps and Timeline from Artwork to Delivery
A well-run OPP header bag project usually follows a familiar path. Start by measuring the product at its thickest point, not only its flat width and height. Add room for the insert card, closure, and loading tolerance, but avoid making the bag so large that the product floats inside it. Oversized packaging can make small items look less considered than they are.
After sizing comes the film and closure choice. A light accessory may not need the same gauge as a folded textile pack with a stiff edge. Resealable adhesive is useful when staff need to insert the product by hand or when the customer may open the package later. Permanent closure can give a neater appearance in some displays, but it removes flexibility for repacking and sample handling.
Artwork should be built on a real dieline. The dieline needs to show the opening, seals, header fold, hang hole, adhesive strip, no-print zones, and safe areas for the warning. If the warning is printed, place it in the file exactly where it should appear. If a separate label will be used, reserve the space and keep it clear of other elements.
Digital proofs are useful for checking spelling, barcodes, hierarchy, and placement. Physical samples are better for understanding stiffness, gloss, adhesive behavior, and warning visibility with the actual product inserted. A sample can expose issues that a proof cannot, especially if the item has sharp corners, hardware, folds, or a dark surface that affects contrast.
Timelines vary with complexity. A straightforward custom run may take roughly 12 to 20 business days after proof approval. More elaborate printing, custom tooling, heavy seasonal load, or unresolved copy changes can stretch that. Shipping method matters too. Parcel, pallet freight, domestic trucking, and ocean freight all live on different clocks. A delayed approval on warning copy can move the whole schedule.
Internal review often takes longer than suppliers expect. Legal, compliance, merchandising, and marketplace teams may each want a look, especially if the packaging will be used across stores or channels. That is not bureaucracy for its own sake. It is usually the difference between a clean first run and a costly reprint.
Rush orders are possible in some cases, but they usually compress the margin for error. Sampling may be shortened, freight costs may rise, and there is less time to catch a warning placement issue. First-time custom packaging rarely benefits from speed alone. A proven spec can be rushed. A new one usually needs breathing room.
After the first approved production run, save a reorder file that includes the final dieline, warning copy, print colors, OPP gauge, closure details, carton pack, approved photos, and barcode test results. If the packaging system includes hang tags or branded stickers, keep those references together with your Custom Labels & Tags specs so the look and the safety information stay aligned across the shelf.
For shipping and carton performance, standards from organizations such as ISTA can help teams think through vibration, compression, and handling. If your header cards or inserts rely on responsibly sourced paper, certification programs such as FSC may also matter when sustainability claims are part of the packaging story.
Common Mistakes Boutique Retailers Make with Header Bag Warnings
The most common mistake is treating the warning as leftover space. The logo goes in first, then the hang hole, barcode, size callout, pattern, and website. Only after those choices are made does someone remember the warning, which then gets compressed into a tiny corner. That sequence produces attractive artwork and weak packaging.
Another problem is relying on a removable card or sticker that may not stay with the bag. If the plastic bag itself remains in use, the safety message should usually stay on the bag too. A card insert can support the warning, but it should not be the only place the message appears unless the package spec has been reviewed for that structure.
Readability errors show up constantly. The type is too small. The ink is too light. The warning crosses a seam. The flap wrinkles after sealing. The font is narrow enough to look neat in a proof and weak in print. Clear film makes these mistakes harder to spot because the background is so clean during review.
Another easy miss is approving the artwork without testing the real product. A thick hair accessory can push the warning into a curve. A dark sock can swallow black text. A metallic item can create glare. A patterned textile can make a warning block seem smaller than it is. One filled sample often tells the truth faster than a long thread of markup comments.
Using one bag size for every product in the line can work, but only after testing. A bracelet card, a folded scarf, and a kids’ sock pack may all fit nominally, yet each one changes how the bag hangs, seals, and displays the warning. A bag that is too tight wrinkles the closure. A bag that is too loose lets the product drift behind the text.
Copying another retailer’s warning is not a reliable shortcut. Their selling region, product category, customer base, and legal review may differ from yours. What appears on a competitor’s bag is not proof that it is right for your order.
Ordering too much before the first sell-through cycle is the operational mistake that hurts the most. Boutique product lines change. Sizes shift, marketplaces update rules, and branding gets refined. A modest first run with clear reorder specs is usually the healthier move.
Next Steps Before You Order Custom OPP Header Bags
Start with measurement. Measure the product at its widest, tallest, and thickest points. Include any insert card, folded textile, or hardware that changes the shape. Then confirm the filled bag size, not just the flat dimensions. Packaging problems usually begin with an optimistic measurement.
- Choose the header height based on logo size, hang hole clearance, and barcode needs.
- Decide on the hang hole style, such as round, euro, or sombrero, depending on the display hook.
- Mark barcode and price label zones so staff do not cover the warning.
- Reserve a visible warning area on the body or another readable panel.
- Confirm flap direction so the adhesive closure does not wrinkle the warning copy.
Gather the exact warning copy before artwork starts. Review it with the appropriate internal or legal resource for your selling region, especially if you sell across states, regions, or channels with different requirements. Then send that approved copy to the supplier and ask that it not be resized or moved without approval.
Request a dieline and mark three things clearly: where the warning goes, what space must stay open, and where retail staff may place labels in store. If you use other branded pieces, coordinate those early. The same visual system can carry through OPP bags, hang tags, belly bands, and Custom Labels & Tags without crowding the warning block.
Test a plain sample with the actual product, display hook, insert card, and price label before approving the final print run. Check it under warm store lighting and brighter backroom lighting. Scan the barcode through the film if the barcode sits inside the bag. Small tests catch the kind of problems that become expensive once the cartons are already packed.
Ask for price options that compare printed warnings, factory-applied warning labels, and blank bags with retailer-applied labels. The lowest unit price is not always the best answer, especially for a first run or a line with multiple SKUs. Flexibility has value when the specification may still evolve.
Before approval, check spelling, warning placement, barcode scanability, hang-hole alignment, flap direction, carton packing, and how the package looks both flat and filled. Keep photos of the approved sample. They become the clearest reference when it is time to reorder or train staff on packing standards.
Keep this boutique retailers opp header Bags Warning Label guide next to your spec sheet while gathering quotes. The cleanest packaging orders usually happen when safety copy, branding, Cost, and Production timing are solved together before the bags are made.
FAQ
Do boutique retailers need warning labels on all OPP header bags?
Not always. Many plastic bags may require suffocation warnings depending on bag size, opening circumference, film thickness, selling location, and retailer rules, but the exact requirement depends on the package and market. A boutique should confirm the applicable standard for its product category before ordering, especially if it sells online, across regions, or through larger retail partners. The safest approach is to plan the artwork so a readable warning can be included without disrupting the package design.
Where should a warning label go on OPP header bags for retail display?
Place it where it stays visible after the product is inserted, the flap is sealed, the bag is hanging, and barcode or price stickers are applied. Avoid putting it under the header fold, behind a product card, across a wrinkled adhesive flap, or in the area staff usually cover with labels. A filled sample is the best way to confirm visibility before production starts.
Is it better to print the warning or apply a separate label?
Printed warnings usually look cleaner, reduce store labor, and work well for repeat programs with stable artwork and consistent bag sizes. Separate labels can be better for short runs, mixed SKUs, or packaging that may still change. The better choice depends on order quantity, lead time, budget, appearance, and how often the spec is likely to shift.
What affects the cost of custom OPP header bags with warning labels?
Cost is driven by bag size, OPP gauge, print colors, print coverage, header style, hang hole punching, adhesive closure, label application, quantity, and packing requirements. MOQ matters because setup and production preparation are spread across the order volume. Ask for several quantity breaks and compare printed warnings against applied labels to see the actual finished cost.
How long does the OPP header bag production process usually take?
Timing depends on artwork readiness, proof approvals, sample needs, material availability, print method, order size, and shipping method. Delays usually happen when warning copy changes late, the dieline is incomplete, or the product fit was never tested before approval. A reorder with approved files is usually much faster than a first-time packaging project.


