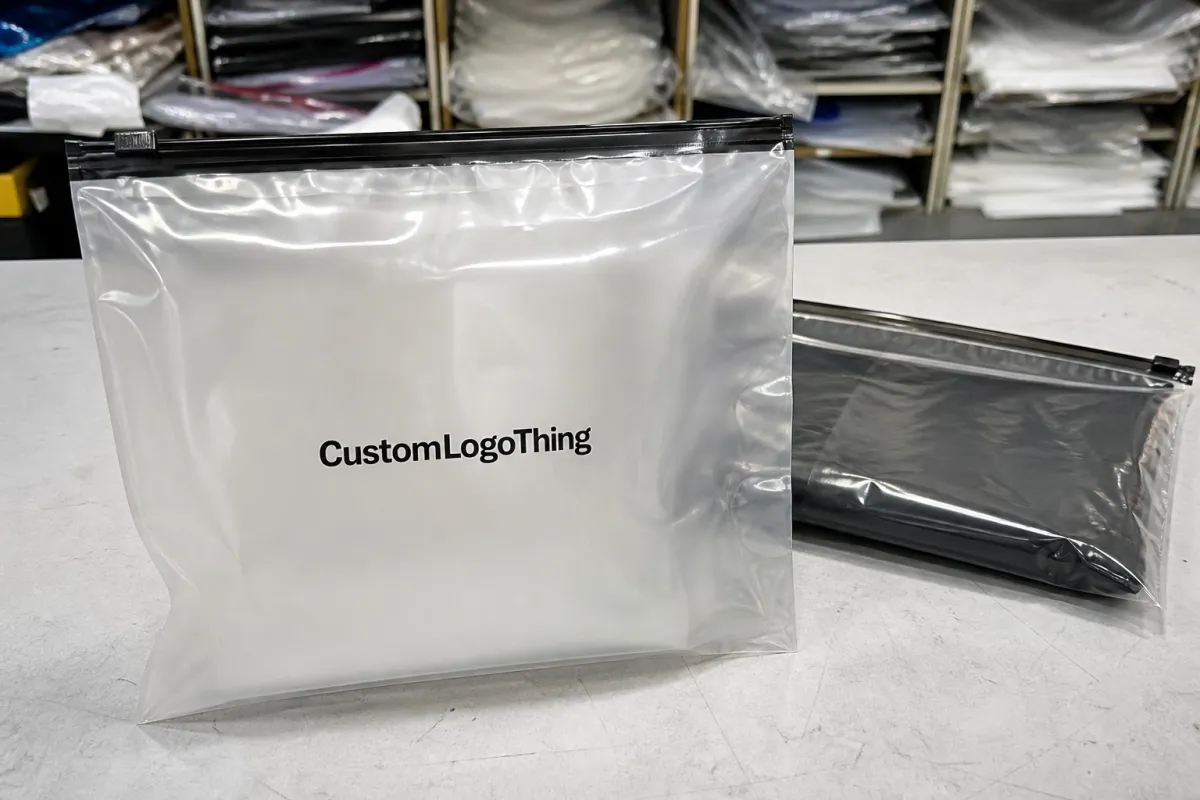
Custom Frosted Zipper Bags for cosmetics refill brands need to do more than hold product. They have to look clean on shelf, feel reliable in hand, and keep working after repeated opening, closing, and storage. That makes the pouch a practical decision, not just a branding one.
The frosted finish helps soften glare, hide minor handling marks, and give a refill line a more controlled look than a fully glossy pouch. It also gives buyers a useful middle ground between a rigid primary container and a plain stock bag. For format comparisons, see Custom Packaging Products and the real-world results in Case Studies.
Why Custom Frosted Zipper Bags for Cosmetics Refill Brands Stand Out on Refill Shelves
The frosted finish changes perception fast. It reduces reflection under store lighting, makes scuffs and fingerprints less visible, and gives the artwork a calmer backdrop. That matters when a refill pouch is handled during shipping, merchandising, and customer use.
For refill programs, the format also sends the right signal. Customers can tell quickly that the pouch is meant for restocking rather than long-term display, which makes it a good fit for powders, bath salts, dry masks, fragrance refills, and other resealable cosmetic products. It stores flat before filling, which saves warehouse space and cuts freight volume compared with glass or heavy rigid packaging.
Frosted film also helps a line look more consistent when product color or fill level varies slightly from SKU to SKU. It does not hide a bad formula, but it does reduce the visual noise that can make a family of products feel uneven.
A frosted surface lowers glare, hides light wear, and gives the front panel a cleaner field for copy and color.
It is not the right answer for every refill line. If the formula itself is the selling point and needs to stay visible, a clear window may be better. But for many cosmetic refills, frosted lands in the useful middle: polished, practical, and not overly decorative.
How the Frosted Film, Zipper, and Gusset Work Together
A pouch works only when the structure is treated as a system. The frosted exterior creates the look, while the inner layers carry the load. For cosmetics refills, that usually means a laminated film for barrier protection, a zipper chosen for repeated use, and a gusset that supports filling and shelf stability.
The film structure should match the formula. Dry powders and salts usually need moisture resistance first. Creams, balms, and fragrance refills may need stronger protection against oil migration, scent loss, or surface tack. A pouch that looks fine in a mockup can behave very differently once product is inside it.
The zipper is the part customers touch most often, so it needs a believable feel. Too loose and the pouch seems unreliable; too stiff and it becomes annoying to reopen. Tear notches help first access, and hang holes can matter if the pouch is displayed on pegs or secondary fixtures.
Gussets and stand-up bases affect both shelf presence and fill behavior. Bottom gussets support a stable footprint, while side gussets can suit slimmer refill formats or cartons. The best choice depends on fill weight, product density, and whether the pouch must stand alone.
Print layout matters too. A frosted surface can look elegant, but it loses that advantage when every panel is crowded with claims and legal copy. In many cases, a clean front panel and a restrained back panel work better than full coverage. A label zone can help if ingredients, barcodes, or batch details may change across SKUs.
- Full frosted body for a calm retail look.
- Frosted pouch with a window to show color, texture, or fill level.
- Frosted body with a label panel for flexible compliance text and SKU changes.
Cost, MOQ, and Unit Price Drivers
Pricing usually comes down to five variables first: bag size, film structure, print coverage, zipper style, and any finishing detail beyond basic production. Once those are set, quotes become much easier to compare. A small pouch for a dry powder refill will cost less than a larger laminated pouch with heavy ink coverage and a more demanding barrier spec.
MOQ changes the economics quickly. A lower minimum can make sense for a launch or a product still being tested in market, even if the unit price is higher. That is simply how custom packaging works: setup costs are spread across fewer pieces. For a brand with uncertain sell-through, lower risk can matter more than the lowest per-unit cost.
It helps to think in tiers rather than chase one “best” price. A stock-size pouch with a custom label is usually the least expensive route, but it offers less control over shape and branding. Semi-custom print gives more flexibility and a cleaner retail presence. Fully custom structures cost more, but they often pay off when the refill line needs stronger differentiation or several SKUs.
| Option | Typical MOQ | Unit Price Range | Lead Time | Best Fit |
|---|---|---|---|---|
| Stock-size pouch with custom label | 1,000-3,000 pcs | $0.18-$0.30 | 7-12 business days | Fast tests, small launches, simple branding |
| Semi-custom size with printed artwork | 3,000-5,000 pcs | $0.24-$0.38 | 12-18 business days | Core refill SKUs with branded packaging needs |
| Fully custom structure and print spec | 5,000-10,000 pcs | $0.32-$0.52 | 15-25 business days | Longer runs, stronger package branding, multiple variants |
Those figures are directional, not fixed. Size, zipper type, barrier film, and special finishing can move the quote quickly. Freight and carton configuration can matter too, especially when the order is large enough for shipping to become a meaningful line item.
Another cost variable is whether the project starts from a stock dimension or a custom dieline. Stock dimensions reduce tooling work and often shorten sampling. A fully custom size may fit better, but it can add setup charges, longer proofing, and tighter minimums. The better quote is the one that clearly shows what is included.
Lead Time, Proofing, and Production Steps
The cleanest production flow is usually brief: dieline review, artwork proof, sample approval, production, inspection, and packing. Delays usually come from missing details early, such as fill weight without dimensions or artwork without a clear safe area. Complete input up front usually saves time later.
Print method also affects schedule. Digital printing is often the quickest route for short runs and early-stage launches. Flexographic and gravure printing can make more sense for repeat orders and larger quantities, though they usually need more setup time. Film sourcing, zipper sourcing, and freight booking can add time even after artwork is approved.
Practical testing pays for itself here. A pouch should be checked for seal integrity, zipper function, fill fit, and shipping resilience. ISTA testing is a useful reference point for transport performance, and the ISTA organization is widely used as a benchmark. If the program uses mixed materials, the FSC system is also worth knowing.
- Confirm fill weight, pouch dimensions, closure type, and barrier target.
- Review the dieline and mark any window, hang hole, or label zone.
- Approve artwork with bleed, safe area, and color expectations set clearly.
- Run a sample or pre-production proof to check zipper feel, seal quality, and fit.
- Move into production, then inspect print registration, seal consistency, and finish.
- Pack and ship with enough time for inbound QC and launch prep.
That sequence makes the weak spots visible before they become expensive. If the pouch is hard to fill, unstable on shelf, or awkward to reseal, it usually shows up in proofing long before full production is finished.
Spec Choices That Change Barrier, Feel, and Print Results
Thickness is one of the first decisions that changes how the pouch feels. A light film can work for low-risk dry contents, but many cosmetics refills benefit from a thicker laminate that feels steadier in hand and resists puncture better during packing and transit. Many projects land somewhere in the 4.5 mil to 6 mil range, though the right number depends on product weight and abuse risk.
Barrier performance matters just as much. Moisture-sensitive formulas need protection from humidity. Fragrance-heavy or oil-based products may need extra resistance to scent migration or grease transfer. A pouch that stores well for a short period but weakens over time is not useful in a refill program.
Closure details shape that experience too. A zipper that closes too loosely feels cheap, while one that fights the user creates frustration every time the bag is opened. Tear notches help with first access, and hang holes can help if the pouch will be merchandised on peg displays or secondary fixtures.
Print method should match the artwork. Digital printing works well for shorter runs and frequent design changes. Flexographic printing is often efficient for larger quantities with repeat artwork. Gravure can make sense at high volume when the economics justify it. The wrong print method can flatten detail, muddy gradients, or make dark tones too heavy.
For refill lines that use more than one package format, the pouch should sit comfortably beside cartons, inserts, and shipping packs. A frosted pouch paired with carefully designed Custom Printed Boxes can create a stronger system than either piece alone. The goal is consistency across the line, not decoration for its own sake.
- Heavier film usually improves puncture resistance and hand feel.
- Higher barrier helps protect sensitive formulas from moisture and scent transfer.
- Matched print method keeps artwork crisp and consistent through the run.
Common Ordering Mistakes That Hurt Refill Programs
A common mistake is choosing appearance before fit. A pouch can look excellent in a render and still fail once it is filled. If the gusset is too shallow, the closure sits awkwardly. If the body is too narrow, the pack bulges. If fill weight is underestimated, the package may stand poorly or become difficult to seal cleanly.
Formula compatibility is another place where teams get caught out. Oily creams can stress seal areas, powders may collect in seams, and strong fragrance loads can challenge barrier performance before anything obvious happens to the artwork. If the refill contains actives, the packaging structure should be checked against the intended shelf life.
Testing shortcuts cause their own damage. A pouch should be checked for seal strength, drop performance, zipper repeat use, and shelf stability before final approval. If the product will ship through distribution, it is worth mimicking the rough parts of that journey rather than testing only on a clean table.
A good pouch should survive the boring parts of distribution: pallet handling, carton movement, repeated opening, and the slow stress of shelf life.
Next Steps for Samples, Artwork, and Launch Readiness
The best starting point is a complete brief. Send fill weight, target dimensions, closure preference, barrier expectations, and any window or label requirements. With that information, a supplier can price the project accurately and recommend a structure that fits the product rather than guessing at the shape.
When samples arrive, review them empty and filled. Empty pouches show print quality, frosted appearance, panel clarity, and zipper action. Filled pouches show whether the bag stands properly, reseals cleanly, and matches the product volume it is meant to carry. If the pouch will retail, also check how it reads from a few feet away under neutral lighting.
For quote requests, keep the comparison fair: ask for the same size, print count, finish, and MOQ across suppliers. Include whether you need a matte look, a clear window, a tear notch, or a hang hole. Those details change cost and production complexity, so a clear request gives a more useful answer.
- Confirm the pouch fits the fill weight without stress.
- Check zipper feel and reseal performance after multiple openings.
- Review artwork placement, barcode space, and legal copy.
- Validate carton pack-out and shipping configuration.
- Compare the pouch against the rest of the branded packaging system.
For refill brands, the best pouch is rarely the fanciest one. It is the one that fills cleanly, ships well, protects the formula, and still feels intentional every time it is picked up.
Are frosted zipper bags good for cosmetic refill powders and balms?
Yes. They work well for many refill formats because the zipper supports repeat access and the pouch can be sized around the true fill weight. Powders, bath salts, dry masks, and firmer balms are especially good fits. For oily or fragrance-heavy formulas, the inner structure should be checked carefully so the barrier and seal behavior match the chemistry of the product.
What MOQ should a refill brand expect for frosted zipper bags?
MOQ depends on bag size, print method, zipper sourcing, and whether the structure is stock or fully custom. Small launch runs can often start lower, but the unit price will usually be higher because setup costs are spread across fewer pieces. The best MOQ is the one that fits the forecast, storage plan, and reorder speed.
Can frosted zipper bags include clear windows or printed panels?
Yes. Many designs combine frosted film with a clear window or a dedicated label panel. The tradeoff is added complexity, which can affect cost and lead time. Used carefully, a window can help show product color or texture without losing the controlled look that frosted film provides.
How long does production usually take for frosted zipper refill bags?
Lead time depends on proofing speed, print method, film availability, zipper type, and freight method. Simple projects with quick approvals move much faster than fully custom jobs with several artwork revisions. Sampling, inspection, and inbound receiving should also be planned into the schedule so the launch date is realistic.
What should I send when requesting a quote for custom frosted zipper bags?
Send dimensions, fill weight, material or barrier needs, zipper style, print colors, target MOQ, and any features such as a window, tear notch, or hang hole. Artwork files or a basic layout help the supplier check safe areas and print feasibility. Include your launch timing and reorder expectations so the quote reflects the actual program, not just the pouch itself.

