Buy Jeep Custom Stickers That Actually Survive Trails
Why Jeep Custom Stickers Are More Than Trail Decoration
Most sticker failures are not caused by mud, rain, or sun. They start earlier, with the wrong film on the wrong surface. Jeep custom stickers sit somewhere between exterior graphics, vehicle identification, club merchandise, and abuse-tested labels. Treat them like laptop stickers and the result is predictable: curled corners, chalky print, and adhesive that gives up before the next oil change.
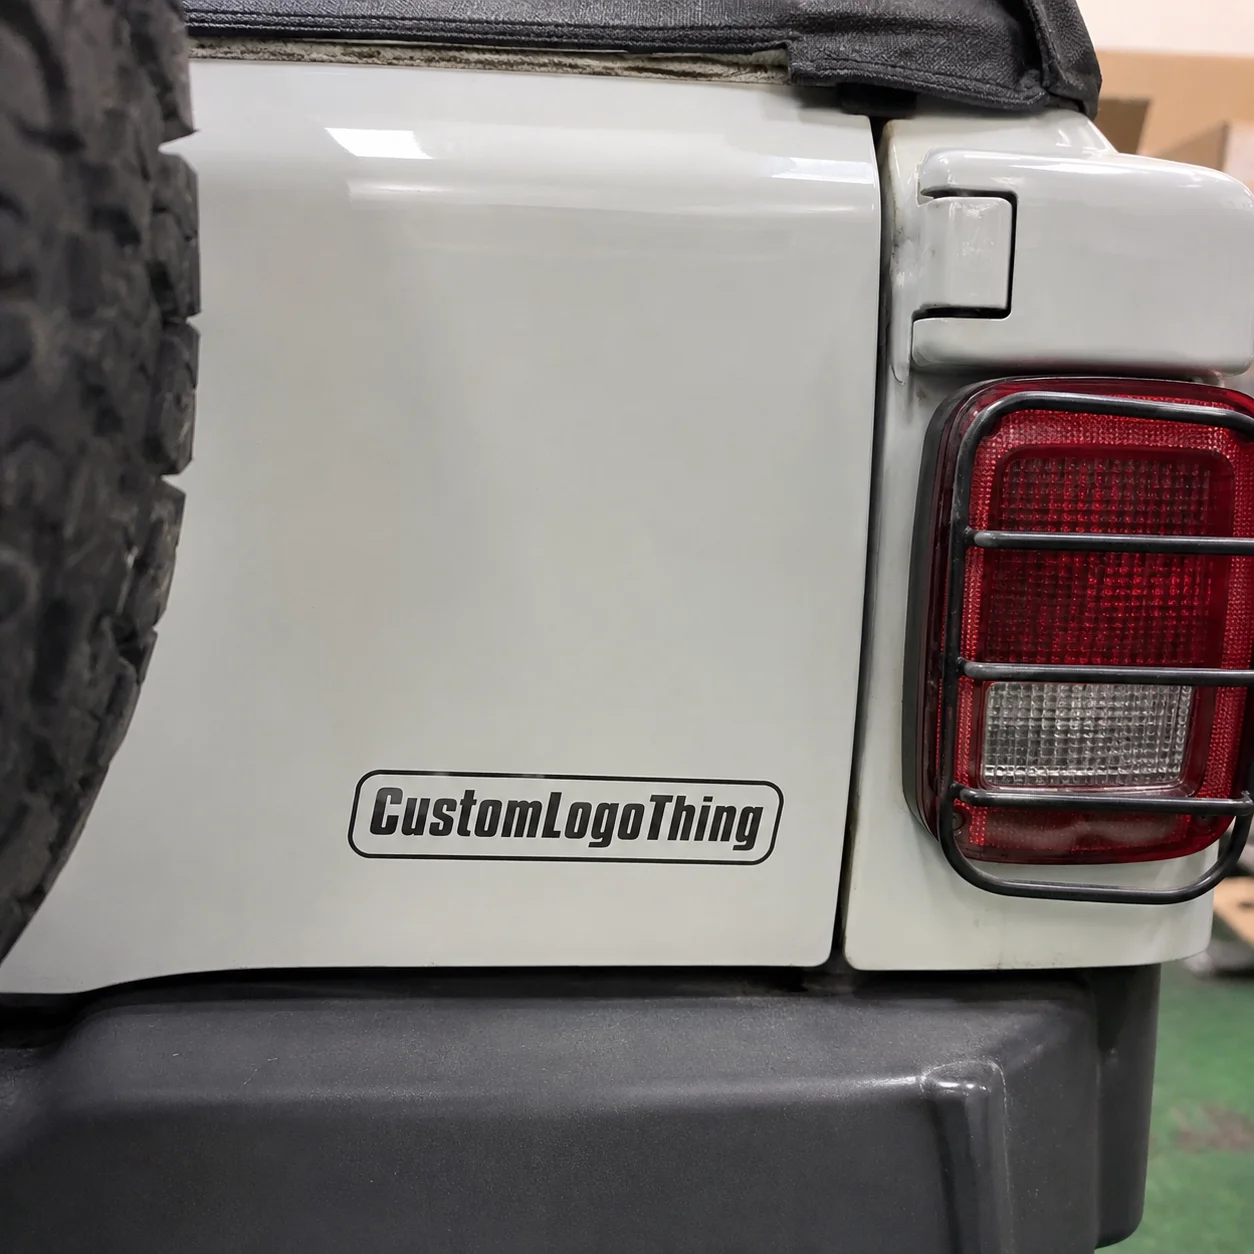
A Jeep sticker set may include hood decals, windshield banners, trail club marks, sponsor graphics, recovery-point labels, fuel-cap art, small badges, or QR-code service tags. Those pieces do not all need the same construction. A rear-window decal on smooth glass has a far easier life than a fender graphic near a hinge, vent, flare, or branch scrape. Same logo. Different engineering problem.
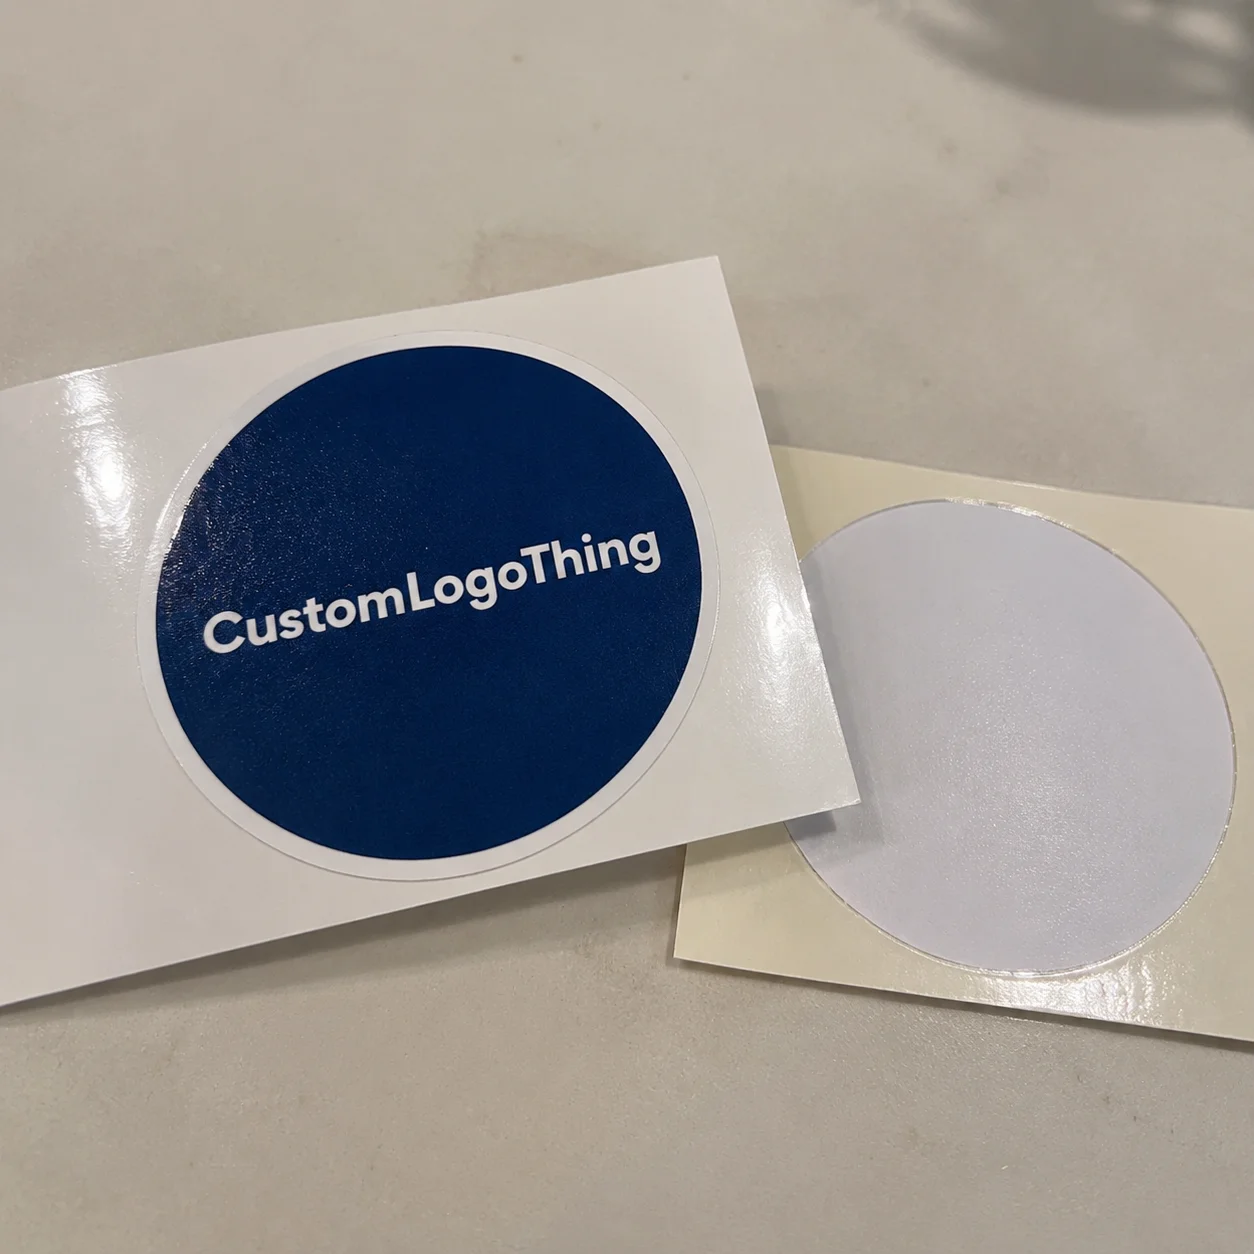
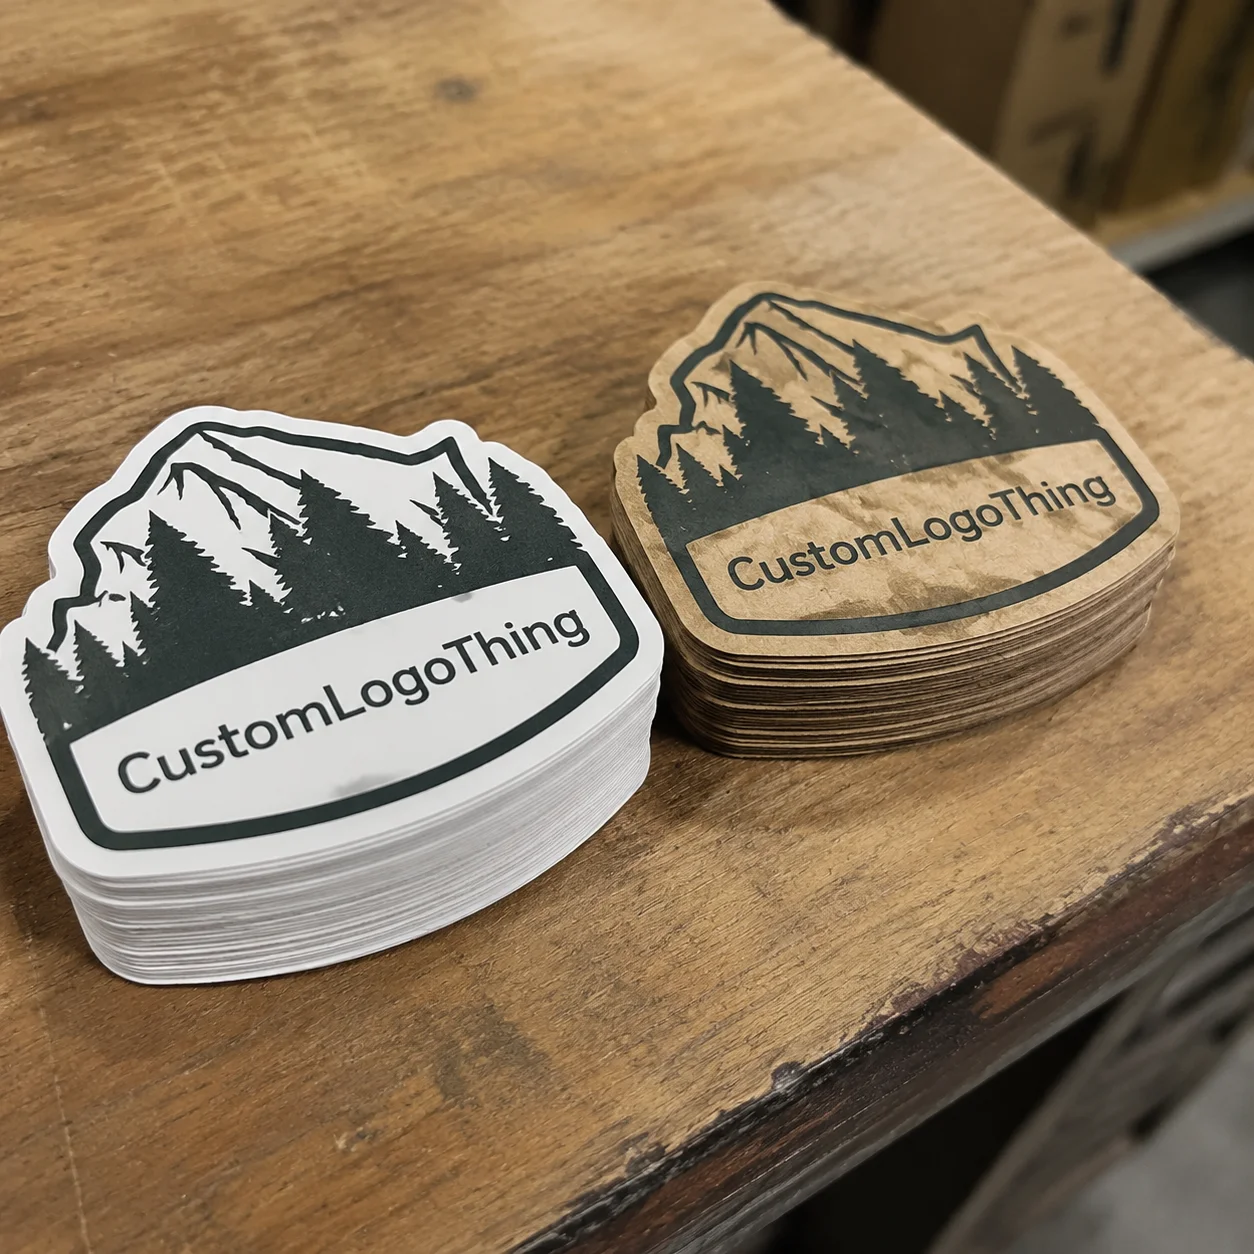
The category splits into a few practical types. Decorative stickers are light-duty printed pieces, useful for giveaways and short-term use. Cut vinyl decals are made from colored vinyl and transferred onto the vehicle, which works well for lettering, numbers, and silhouettes. Printed vinyl stickers handle full-color logos, gradients, illustrations, weathered textures, and photo-style artwork. Laminated outdoor stickers add a clear protective layer over the print for UV, abrasion, dirt, and washing. Temporary event graphics use removable adhesive and are built to come off cleanly after a campaign.
A sticker that behaves well on a cooler may be poor on textured trim. Physics remains rude that way. Surface texture, surface energy, heat, fuel splash, brush contact, and wash habits all affect performance. From a packaging buyer’s view, the decision is similar to choosing Custom Labels & Tags for bottles, cartons, tools, or outdoor gear. The print has to match the environment, not just the brand guide.
Buyers who get the best results usually decide five things before asking for a quote: where the decal goes, what surface it touches, how long it should last, how it will be washed, and whether the artwork can actually be produced at that size. Good jeep custom stickers are not magic. They come from matching film, adhesive, finish, cut style, and installation method before production starts.
How Jeep Decals Work on Paint, Glass, Plastic, and Powder Coat
Adhesive does not bond the same way to every Jeep surface. Smooth painted body panels and glass usually accept vinyl well because they provide clean, high-energy surfaces. ABS plastic, textured trim, powder-coated bumpers, bedliner coatings, and ceramic-coated paint are harder. They offer less consistent contact, and some plastics carry oils or additives that fight bonding from the first day.
Surface energy is the dull technical term behind many expensive surprises. Glass and painted metal typically allow pressure-sensitive adhesive to wet out across the surface. Textured plastic gives the adhesive peaks and valleys instead of one broad contact area. Less contact means weaker grip. Add dust, trim dressing, wax, or road film, and the bond gets worse.
Outdoor sticker performance usually depends on three layers: face film, adhesive, and protective laminate. The face film is the visible vinyl. The adhesive does the gripping. The laminate protects the printed layer from UV, grit, branches, wash chemicals, road salt, and repeated handling. Skip laminate on a trail rig and the graphic may still look sharp on day one. Month six is the better test.
Calendared and cast vinyl are the two common choices. Calendared vinyl is thicker, less expensive, and practical for flat or gently curved areas such as windows, doors, toolboxes, and simple badges. Cast vinyl is thinner and more conformable, which makes it better for curves, rivets, compound shapes, and longer outdoor exposure. If the decal needs to follow a hood curve or sit across uneven body lines, cast vinyl earns its price.
Finish changes both appearance and durability. Gloss makes color look sharper and usually suits glass or clean painted panels. Matte cuts glare and fits low-profile off-road builds, though it can show oily fingerprints faster. Satin lives in the middle and is often easier to maintain. Clear laminate adds abrasion resistance. Reflective film improves nighttime visibility for recovery labels, safety marks, club identifiers, or event vehicles, but it costs more and limits some color and print effects.
Practical callout: pressure washing, trail branches, UV exposure, road salt, wax products, fuel splash, and ceramic coatings can all shorten decal life. The application location matters as much as the artwork.
Standards groups such as ISTA publish packaging test frameworks for products that move through real supply chains. Stickers are not shipping cartons, obviously, but the logic carries over: define the abuse before selecting the material. Simple. Often skipped.
Key Specs to Choose Before You Order
Before requesting pricing, decide the specs that drive production: size, quantity, color count, material, adhesive type, finish, cut style, and application surface. If the request says only “I need Jeep stickers,” the quote will be a guess in invoice form.
Cut style comes first. Kiss-cut sheets work well for small stickers grouped together, such as trail icons, mini badges, sponsor packs, or merch inserts. Die-cut singles feel more retail-ready and are easy to hand out at events. Contour-cut decals follow the edge of a logo or shape. Transfer-tape decals are best for separate letters, numbers, coordinates, and silhouettes where the final graphic has no printed background.
Sizing should start with the vehicle, not the design file. Windshield banners need exact width and height checks, including wiper sweep, mirror sensors, tint strips, antenna areas, and local visibility rules. Hood decals need curve tolerance and enough clearance from vents, raised details, washer nozzles, and leading-edge abuse. Quarter-panel graphics need door-gap planning. Slice a logo across a gap without thinking and it looks amateur immediately. Small badges need readable text at six feet, not just at 300% zoom on a monitor.
Color choices affect production. Printed full-color designs are best for gradients, illustrations, shadows, distressed textures, and photo-style graphics. Spot-color vinyl is cleaner for simple lettering, bold silhouettes, club names, and race-style numbers. White ink and clear vinyl can create a no-background window look, but clear film changes color perception on tinted glass. Ask for a proof that shows the backing, print, and cut path. If white ink is required, confirm it is included rather than assumed.
Tiny detail kills more designs than bad printing does. Thin lines, distressed edges, small map coordinates, and micro text may look sharp on screen, then vanish after cutting or from normal viewing distance. For cut vinyl, keep thin strokes around 1.5 mm or wider when possible. For printed outdoor stickers, text below 8 pt may survive technically and still read terribly on a moving vehicle. That is not a production failure. That is design optimism.
The same discipline used in packaging design applies here. No serious buyer approves retail packaging without knowing board stock, coating, dieline, shelf distance, and handling needs. Treat Jeep graphics with the same respect. Better specs produce clearer quotes, cleaner proofs, and fewer painful emails after production starts.
| Sticker Type | Best Use | Typical Material | Buyer Watchout |
|---|---|---|---|
| Kiss-cut sheet | Small club icons, giveaway packs, merch inserts | Printed vinyl with optional laminate | Not ideal for very large decals |
| Die-cut single | Retail-style handouts and event stickers | Outdoor vinyl, often laminated | Higher finishing cost than basic rectangles |
| Contour-cut decal | Logos, badges, sponsor marks | Printed vinyl or colored vinyl | Complex edges slow cutting and weeding |
| Transfer-tape decal | Lettering, numbers, silhouettes | Cast or calendared cut vinyl | Thin details can lift during install |
| Reflective decal | Safety labels, recovery marks, night visibility | Reflective vinyl film | Costs more and has design limits |
Cost, Pricing, and MOQ for Custom Jeep Stickers
Price depends on sticker size, material grade, laminate, print method, cut complexity, quantity, packaging, and whether the artwork needs cleanup. A 3-inch one-color decal and a 36-inch laminated hood graphic are not cousins. They barely attend the same reunion.
Small simple decals may land around $0.65 to $2.50 each in bulk, depending on size, shape, material, and quantity. Larger laminated windshield banners often range from $8 to $25 each at modest quantities. Oversized hood or side decals can run $25 to $90+ each because material use, lamination, cutting time, inspection, and packing all increase quickly. Specialty reflective films or cast wrap-grade vinyl can push the number higher.
Unit cost drops with quantity because setup, file prep, machine calibration, proofing, and waste get spread across more pieces. Machines do not care that someone only needs seven. A club ordering 25 decals may pay several dollars each, while the same design at 250 pieces may drop sharply if the material and cut path stay unchanged.
Minimum order quantity is a tradeoff, not a moral judgment. Low minimums are useful for one-off builds, prototype sizing, sponsor samples, or club testing. Higher quantities make sense for Jeep clubs, events, shops, subscription boxes, merch tables, and aftermarket brands building a consistent visual system. If the sticker is part of broader branded packaging or launch materials, align it with your Custom Packaging Products so the vehicle decal, box insert, label, and merch pack feel related.
For a clean quote, provide dimensions, quantity tiers, material preference, indoor or outdoor use, surface type, finish, artwork file, deadline, and any individual packaging needs. Bagging or backing-card packaging can add $0.10 to $0.60 per piece depending on the bag, card, barcode, label, and labor. That cost can be worthwhile for retail or event distribution. For internal club installs, it is usually wasted money.
Do not compare quotes unless the specs match. A cheap unlaminated sticker and a laminated outdoor decal are not the same product. Same shape, maybe. Same job, no.
| Order Scenario | Common Quantity | Typical Unit Range | Smart Spec Choice |
|---|---|---|---|
| One-off trail rig badge | 5-20 pieces | $2.00-$8.00 | Laminated outdoor vinyl, contour cut |
| Jeep club handout decal | 100-500 pieces | $0.65-$2.50 | Die-cut vinyl, gloss or satin laminate |
| Windshield banner | 10-100 pieces | $8.00-$25.00 | Cut vinyl or laminated printed vinyl |
| Large hood or side graphic | 5-50 pieces | $25.00-$90.00+ | Cast vinyl with protective laminate |
| Temporary event decal | 50-500 pieces | $1.00-$4.00 | Removable adhesive, short-term outdoor vinyl |
Process and Timeline From Artwork to Trail-Ready Stickers
A normal production flow is direct: submit artwork and specs, receive a digital proof, approve sizing and cut lines, print or cut the vinyl, laminate if required, finish cut, inspect, pack, and ship. Repeat orders can move quickly. New artwork, large decals, specialty films, reflective material, or high quantities add time because setup and finishing leave more room for fussy problems.
For timing, a basic repeat decal order might be production-ready within 3 to 7 business days after proof approval. New custom artwork or contour-cut printed decals often need 7 to 12 business days. Large laminated decals, transfer-tape sets, reflective runs, or packaged retail orders can take 10 to 18 business days, especially if samples, color checks, or quantity tiers are involved. Shipping is separate. People forget that part with impressive consistency.
The biggest slowdowns are low-resolution logos, missing measurements, unclear color expectations, last-minute size changes, and complex contour cuts. A screenshot from a group chat is not production artwork. It may help identify the design, but it rarely prints cleanly. Vector files such as AI, EPS, SVG, or print-ready PDF are better for logos, lettering, and cut paths.
Proofing is not ceremonial. Check spelling, orientation, final dimensions, border thickness, cut line placement, bleeds, safe areas, and whether the decal is mirrored for inside-glass application. For windshield graphics, confirm whether the decal installs outside the glass or inside the glass. For paired side graphics, confirm left and right orientation. One wrong mirror setting can turn a rugged decal into an expensive reading test.
Quality control should include more than counting pieces. Check color consistency, laminate coverage, edge cleanliness, cut registration, adhesive contamination, transfer-tape alignment, and backing-paper condition. For larger decals, watch for tunneling, curled edges, and dust trapped under laminate. For retail packs, inspect bag seals, barcode placement, backing cards, and whether the visible product matches the proof.
Transfer-tape decals may need extra prep because the application layer must stay flat and clean. Rolled graphics should be packed with enough diameter to avoid memory, tunneling, or edge lift. Flat-packed sheets need backing support so they do not curl before the buyer opens the mailer.
Build in buffer time for Jeep events, trail rides, product launches, and club meetups. Rush orders are sometimes possible, but panic is not a production strategy. If stickers support product packaging, swag bags, or custom printed boxes, coordinate the full schedule instead of treating decals as a last-minute accessory.
Step-by-Step Guide to Ordering the Right Sticker Set
- Decide the exact application spots. Pick the location before choosing sizes. Guessing from a product photo is how people buy decals that fight the body lines.
- Measure flat usable space. Do not measure the entire panel and call it finished. Account for hinges, vents, handles, badges, curves, washer nozzles, sensors, tint strips, and door gaps.
- Choose material based on use. Use laminated outdoor vinyl for trail rigs, reflective film for visibility, removable adhesive for temporary event decals, and cast vinyl for curves.
- Prepare clean artwork. Send vector files when possible. If the design must be printed, send the highest-resolution PNG, JPG, or PDF available. Convert fonts to outlines when you can.
- Request a digital proof. Confirm final dimensions, cut path, finish, material, adhesive type, print side, and quantity before approving production.
- Install with patience. Clean the surface properly, avoid waxy residue, apply in moderate temperature, and let adhesive cure before pressure washing or dragging the decal through brush.
For installation temperature, many pressure-sensitive vinyls behave best around 60°F to 80°F. Cold panels make adhesive stiff. Hot panels make films stretch and grab too fast. After installation, give the adhesive at least 24 to 72 hours before pressure washing, depending on the film and adhesive system. Supplier instructions beat a random comment thread.
Surface prep should be boring and careful. Wash dirt off first, then use an appropriate cleaner that does not leave residue. Avoid installing over fresh wax, oily trim dressing, heavy ceramic coating, fuel residue, or polish compounds. If the Jeep has a coating, tell the sticker supplier before ordering. Some adhesives can work, some struggle, and a small test patch is cheaper than replacing a full side graphic.
For larger decals, use hinge-tape alignment or a wet/dry method recommended for the material. Not every vinyl should be wet-applied. Air-release films, transfer-tape lettering, and specialty reflective materials can behave differently. If the decal has thin lettering, use a squeegee with firm overlapping passes, then peel transfer tape back slowly at a sharp angle.
Professional-looking jeep custom stickers come from plain decisions made early: exact location, measured space, suitable film, readable artwork, and a proof someone actually reviewed. Not glamorous. Very effective.
Common Mistakes and Smart Next Steps Before You Buy
The biggest mistakes are painfully predictable: ordering indoor sticker material, skipping laminate, applying over dirty or coated surfaces, using tiny text, and guessing sizes. The next tier includes choosing a finish only because it looked good on another rig and ordering reflective film without checking whether the design works on that material.
Low-cost marketplace packs can be fine for temporary fun. Put them on a cooler, toolbox, notebook, or rear window and enjoy them. They are riskier for branded club decals, sponsor graphics, event markings, or anything expected to survive real trail use. The problem is not always the seller. The problem is that many cheap packs do not clearly state film grade, adhesive type, laminate, outdoor rating, or print method.
Create a simple buying checklist before asking for a quote: location, surface, size, material, finish, quantity, artwork file, install method, deadline, and packaging needs. For aftermarket brands, this is also a package branding decision. The decal should match the tone of the box, insert card, label, and vehicle graphic. Mixed finishes and mismatched colors can make decent products look improvised.
Order a small test batch if the design is new, the surface is unusual, or the club has not agreed on final sizing. A 10-piece pilot can reveal bad contrast, awkward placement, tiny text, or adhesive issues Before You Buy 500. That test is especially useful for textured plastic, powder-coated bumpers, ceramic-coated paint, and curved body panels.
For environmental claims or recyclability language on packaging and labels, keep the wording accurate. The EPA recycling resources are useful for general recycling guidance, although vinyl decals themselves are usually not curbside-friendly. Do not print vague green claims just because they sound pleasant. Buyers have seen enough marketing fog.
Good next steps are simple. Photograph the application area straight-on. Measure in inches. Note the surface type. Choose two quantity tiers, such as 50 and 150 pieces or 100 and 300 pieces. Send the artwork for review and ask for material recommendations based on the actual Jeep surface, expected abuse, and deadline.
Before ordering jeep custom stickers, match the material to the surface, the trail conditions, and the installation reality. That one sentence will save more money than chasing the cheapest quote.
FAQ
What material is best for Jeep sticker decals?
Laminated outdoor vinyl is the safest choice for most exterior Jeep decals because it resists UV, water, dirt, and light abrasion better than paper or unlaminated film. Choose cast vinyl for curved panels or long-term body graphics, and calendared vinyl for flatter areas where budget matters. Use reflective vinyl when visibility is the goal, since it costs more and has different design limits.
How long do custom Jeep decals usually last outdoors?
A properly made outdoor decal can last several years, but lifespan depends on vinyl grade, laminate, sun exposure, washing habits, road salt, and trail abrasion. Hood and windshield areas usually take more abuse than small side badges or rear-window stickers. Pressure washing too soon after install can shorten life, so allow adhesive to cure first.
Can jeep custom stickers go on textured plastic trim?
They can, but textured plastic is one of the harder surfaces because the adhesive has less smooth area to grip. For best results, use a material and adhesive recommended for low-energy plastic, and test a sample before ordering a large batch. Avoid placing critical branding on rough trim unless the supplier confirms compatibility.
What file type should I send for custom Jeep sticker artwork?
Vector files such as AI, EPS, SVG, or print-ready PDF are best for logos, lettering, and contour-cut decals. High-resolution PNG or JPG files may work for printed designs, but low-resolution screenshots usually produce blurry results. Include fonts converted to outlines when possible so text does not change during proofing.
How much do Jeep club stickers cost in bulk?
Bulk club stickers usually get cheaper per piece as quantity increases because setup and proofing costs are spread across the run. Small die-cut decals may be economical in batches, while large laminated windshield banners or hood decals cost more because they use more material and finishing time. Ask for two or three quantity tiers so you can compare the real unit cost instead of guessing.