Ceramic Frosted Zipper Bags Packaging Insert Checklist: What Gets Missed
A ceramic Frosted Zipper Bags packaging insert checklist is less about paperwork and more about avoiding preventable production errors. The usual misses are practical: an insert sized to the flat bag instead of the packed cavity, a stock that feels thin once it sits behind frosted film, or copy that reads clearly on screen but fades in the pouch.
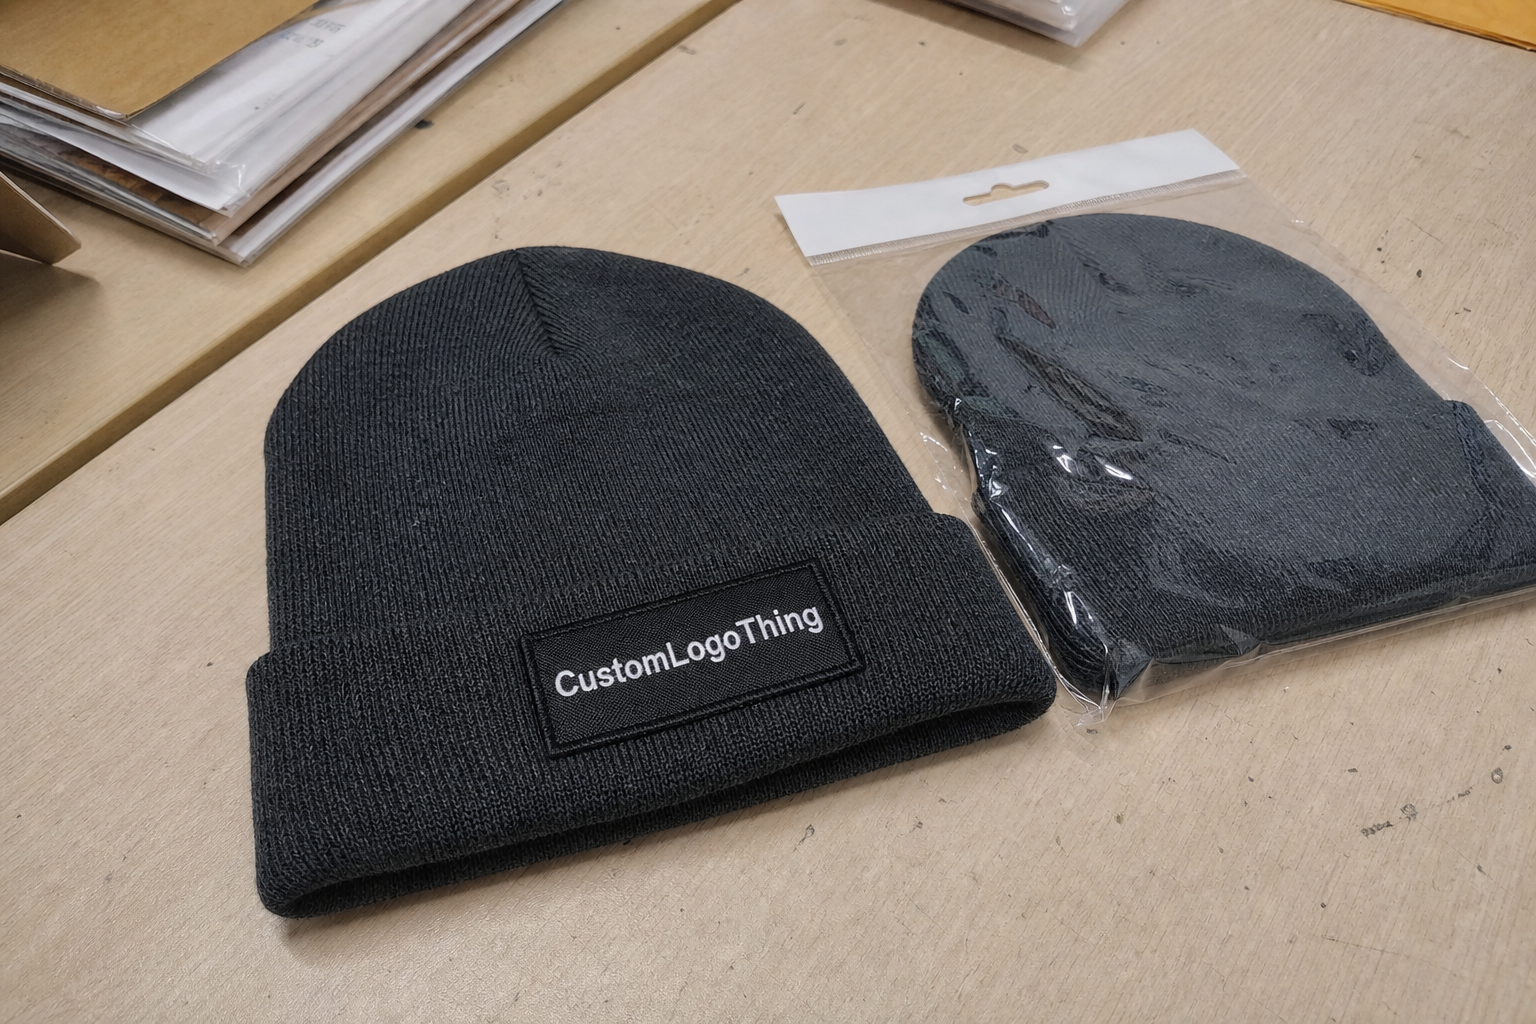
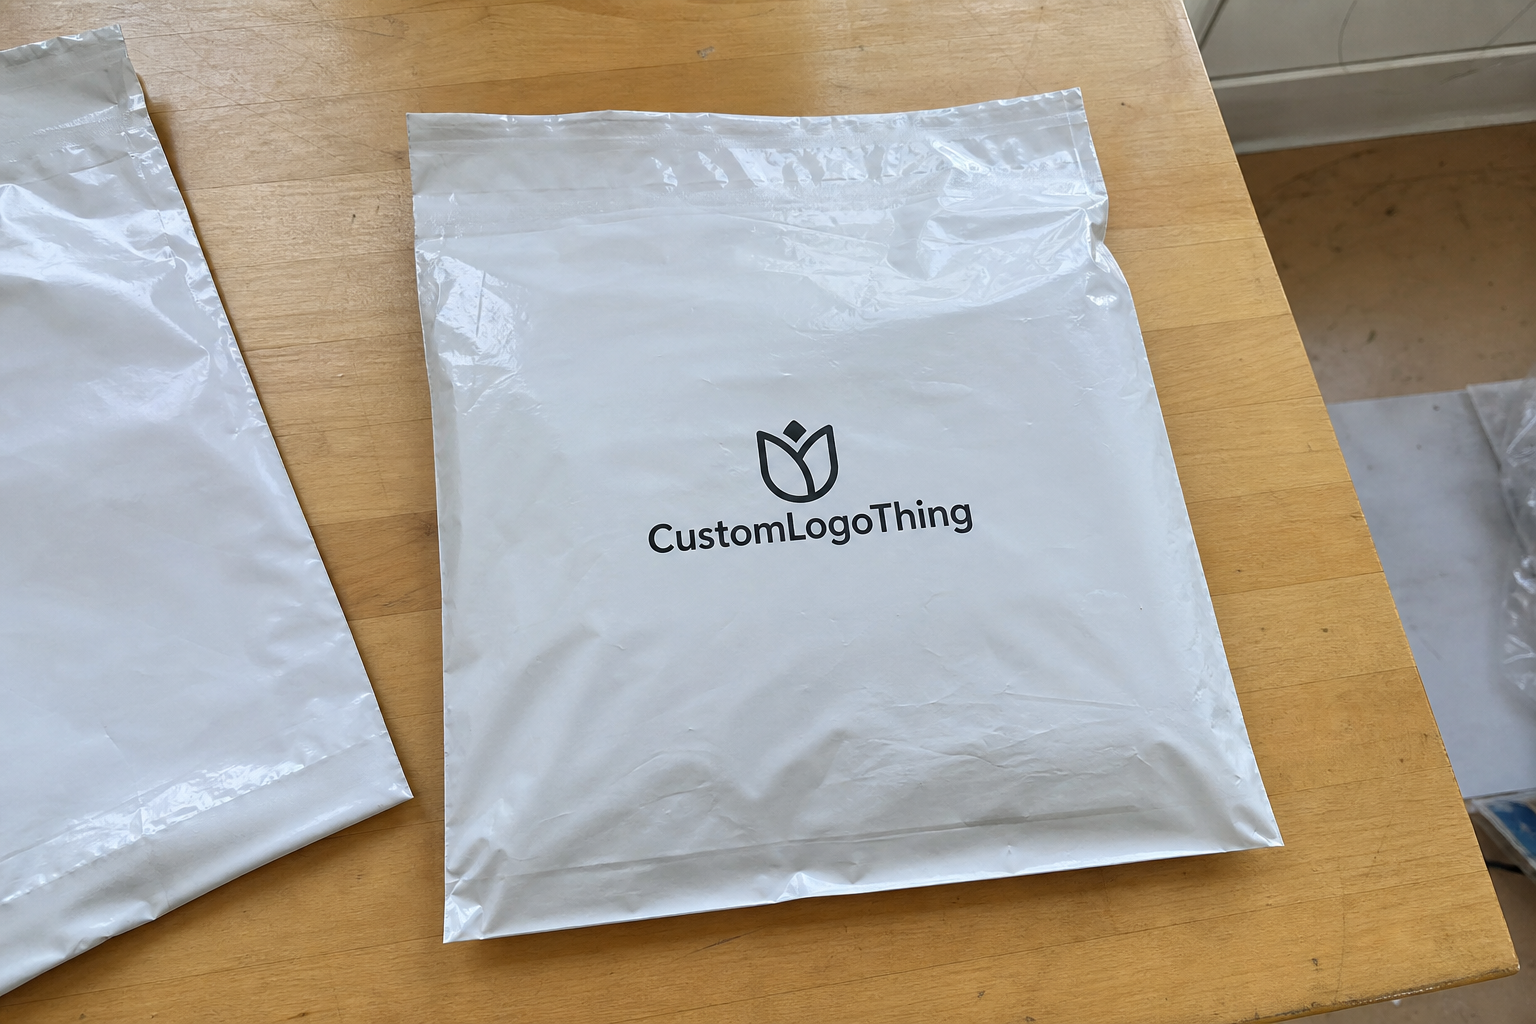
Frosted Zipper Bags change how artwork behaves. They soften color, reduce contrast, and make light paper look lighter. That means a design that feels polished in a PDF can become weak once it is packaged. For ceramic goods, the insert often carries care notes, breakage warnings, warranty details, or a brief brand message, so readability matters more than decoration.
The goal is to catch the parts that affect fit, legibility, and approval speed before a quote goes out. If the insert also has to work with an outer box, shipper, or retail display, the layout should stay aligned with those components. Otherwise the buyer sees a system that looks assembled from separate decisions.
An insert that looks elegant in a PDF but fails inside a pouch is not a design success. It is a packaging mistake with good lighting.
The checklist should therefore test the real container, not just the artwork. That means checking the packed dimensions, the fold logic, the contrast against frosted plastic, and any compliance or care text that has to stay visible after the product is inserted.
Insert Specs That Control Fit, Readability, and Shelf Impact
Start with the usable interior space after the ceramic item is packed, not the flat size of the pouch. A bag that measures 6 x 8 inches flat may only accept a much smaller insert once the product, cushioning, and zipper clearance are accounted for. If the insert is too large, it will buckle near the top edge or interfere with the closure.
Stock choice matters almost as much as size. A common range for inserts is 170gsm to 350gsm. Thinner paper is cheaper and folds easily, but it can feel flimsy behind frosted film. Thicker stock sits flatter and usually signals higher value. For a simple one-card insert, 250gsm to 300gsm is often a workable range, though the best choice depends on fold style, ink coverage, and handling during packing.
Contrast is critical. Frosted plastic mutes pale colors, so dark type and direct layouts usually perform best. Black, charcoal, and deep navy remain readable where soft grays or pastel body copy can disappear. If the brand wants a subdued palette, the typography has to carry more of the load. The insert is a tool first and a design object second.
Here are the details buyers most often forget:
- Bleed: allow at least 3 mm, or 0.125 in, so trimming does not clip artwork.
- Safe margin: keep copy and logos at least 5 mm from trim edges and folds.
- Fold style: single, tri-fold, or z-fold should match the packed product and opening behavior.
- Read order: brand name, care note, or warning should appear in the first glance.
- Compliance space: leave room for barcode, batch code, recycling mark, or regional language if needed.
The order of information matters. If the insert explains care for a fragile ceramic piece, the customer should not need to unfold the card twice to find the one line that prevents a return. “Handle with care,” “hand wash only,” or “avoid sudden temperature changes” should be easy to see. Those lines deserve visual priority.
Test the insert in the actual bag. The same layout may behave very differently in a clear carton, a rigid box, or a frosted pouch. A sample packed with the real ceramic product is the fastest way to confirm whether the card slides cleanly, stays readable, and still looks intentional once the bag is zipped.
If the packaging system includes a box or mailer, keep the visual language aligned. The insert should feel like part of the same brand system, not a separate asset. That matters for both shelf impact and customer trust.
Cost, Pricing, MOQ, and Quote Variables
Insert pricing is mostly driven by material, size, print sides, color count, finish, fold complexity, and quantity. A supplier cannot quote accurately without those details. If dimensions or file status are unclear, the estimate will include padding for risk.
MOQ affects price because setup costs are fixed while output changes. A small test run can look expensive per unit, but that may still be the right choice if the ceramic item or packaging is being validated. Paying more per piece for a limited run is often cheaper than reprinting after a spec mistake.
| Run size | Typical spec | Common unit price range | What drives the number |
|---|---|---|---|
| 500-1,000 pcs | Simple one-color or two-color insert on 250-300gsm stock | $0.22-$0.45 | Setup costs dominate and handling is spread across fewer units |
| 3,000-5,000 pcs | Full-color insert, one or two sides, standard trim | $0.10-$0.22 | Press efficiency improves and setup impact drops |
| 10,000+ pcs | Full-color insert with light finishing or folding | $0.06-$0.15 | Scale helps, though added handling still changes the final number |
Special finishes change the quote quickly. Soft-touch lamination, spot UV, foil, embossing, and die cutting can add $0.03-$0.20 per unit depending on quantity and complexity. That is not always excessive, but it only makes sense if the finish improves the insert once it is inside the frosted bag.
Color treatment also affects cost. A clean one- or two-color insert can be more efficient than a heavy image layout, especially when the message is mostly informational. In many cases, white space improves readability more than additional ink coverage. The pouch already contributes texture, so the insert does not need to do everything.
Quote requests usually go sideways for a few predictable reasons:
- Dimensions are based on the flat bag instead of the packed cavity.
- The file is still in revision, so no one knows which version is final.
- The buyer has not said whether the insert is single-sided or double-sided.
- Bundle quantities are vague, so the supplier cannot match insert count to pouch count.
- The team wants several options, but only sent one rough sketch and a deadline.
It helps to think in three scenarios: a low-volume test run, a mid-volume seasonal order, and a larger production batch. The smallest run is usually hit hardest by setup and manual handling. Mid-volume orders balance cost and risk. Larger runs lower unit cost, but only if the artwork and product details are stable enough to avoid rework.
Process and Timeline: From Brief to Finished Inserts
The fastest projects begin with a simple brief. Gather pouch size, insert size, quantity, artwork files, and product notes before anyone starts redesigning the layout. Once those basics are set, the supplier can build the dieline, check bleed, and confirm that the insert will sit cleanly with the ceramic item.
A practical production flow usually looks like this:
- Brief collection: sizes, materials, quantity, and content are confirmed first.
- Artwork setup: the design is placed on the correct dieline and margins are checked.
- Proofing: the buyer reviews a PDF or digital proof for copy, placement, and color intent.
- Sampling: if the fit is tight or the product is fragile, a physical sample is worth the time.
- Approval: one owner signs off to avoid version drift.
- Production and packing: printing, cutting, folding, and kitting happen in sequence.
Timeline depends on complexity and file readiness. A straightforward insert can often move in about 7 to 10 business days after proof approval if the artwork is clean and the spec is stable. More complex inserts, especially those with folds, specialty finishes, or regional compliance text, often need 12 to 18 business days. Sampling adds time, and late copy changes add more.
The most common delays are:
- Missing dielines: the layout has to be rebuilt from scratch.
- Late changes: content shifts after the proof has already been checked.
- Poor source files: low-resolution logos or unlinked fonts create avoidable delays.
Build in one internal review, one supplier proof round, and a buffer for shipping or reprint. That buffer is not wasted time; it prevents ordinary production friction from becoming a launch problem.
Step-by-Step Checklist Before You Request a Quote
The checklist works best before the quote request, not after it. If the supplier has to infer the basics, the estimate will include padding for uncertainty. A complete packet gets you a cleaner number and usually a faster reply.
Start with the physical details:
- Bag dimensions, including the usable interior space once the ceramic item is packed.
- Insert dimensions, fold style, and whether the piece must sit flat.
- Stock choice, finish, and print sides.
- Artwork files in the correct format, with fonts outlined or linked properly.
- Brand colors, logo files, and any special type rules.
Then gather the product-side details. Ceramic packaging often needs more than a logo and a thank-you line. Add care notes, fragility warnings, warranty text if relevant, and any country-specific language for cross-border sales. If the insert carries safety or compliance copy, make sure that text is easy to find without burying it in a footer.
Review the layout in the right order. Confirm dimensions first, content hierarchy second, and visual treatment last. Teams often reverse that sequence and spend time debating finish choices before realizing the copy will not fit. A design can be attractive and still be the wrong shape for the job.
A clean quote packet usually includes:
- One spec sheet with exact sizes.
- One artwork version that is final enough to print.
- One quantity forecast, even if it is a range.
- One approval owner who can sign off without a committee.
If the insert belongs to a wider product packaging system, keep the language aligned with the outer box and pouch. The insert should sound like the same brand speaking in a smaller format.
Common Mistakes That Blow the Budget or Delay Approval
The expensive mistakes are usually ordinary: wrong sizing, too much copy, low contrast, a fold that fights the pouch, or treating the insert like an afterthought.
- Wrong sizing: flat measurements are used instead of packed measurements.
- Text overload: the brand tries to fit too much information on one small card.
- Poor contrast: the type looks elegant on white paper and weak inside a frosted bag.
- Late edits: changes arrive after proof approval and force schedule resets.
- Overordering too early: the team commits before testing the insert with the actual product.
Handling is another quiet risk. If the insert passes through kitting, co-packing, or fulfillment, it has to survive normal movement. Cards bend. Folds open. Soft stock scuffs. A layout that only works when perfectly flat on a monitor is not production-ready.
Late changes are especially costly because they compound. A copy edit affects layout. Layout affects proofing. Proofing affects production timing. Production timing affects freight. Freight affects launch dates. That is why one person should own final sign-off even if several teams contribute feedback.
The safest sequence is simple: test first, commit second. A sample packed with the real ceramic item tells you whether the insert slides under the zipper, whether the stock wrinkles, and whether the color survives the frosted surface. That evidence is usually more useful than another round of design discussion.
Expert Tips and Next Steps for a Cleaner Launch
If the launch has any uncertainty, sample the insert with the real pouch and the real ceramic product. A mockup only shows part of the picture. The actual pack reveals whether the insert sits where it should, whether the edges catch, and whether the copy remains readable once the pouch has been filled and zipped.
Keep one master spec sheet. Reorders go wrong for small reasons: an old filename, a revised brand color that never reached production, or a copy change that lived in email but not in the print file. One source of truth prevents version drift.
The most reliable launch order is:
- Confirm quantity and keep a buffer for reprints.
- Approve the proof after checking dimensions, copy, and contrast.
- Lock the timeline with a real production and ship date.
- Check the insert inside the pouch with the ceramic item packed as intended.
If the insert also supports a box, mailer, or retail display, keep the system aligned with the rest of the package branding. Customers notice when the components feel coordinated, and they notice when they do not.
Do not overdesign a small insert to prove sophistication. Ceramic packaging usually benefits from restraint. The object inside already carries weight and texture, so the insert should reinforce that impression with clarity. A concise care note, a stable layout, and a stock choice that holds up in a frosted pouch will usually outperform a busier card that only looks better in a proof.
Used well, the checklist is risk control. It keeps the quote accurate, shortens the approval path, and gives the finished insert a better chance of fitting, reading, and doing its job without drawing attention to production problems.
What should be on a ceramic frosted zipper bags packaging insert checklist?
Include bag and insert dimensions, artwork files, copy, color specs, quantity, finish, and any care or compliance text. Add product details that affect packaging, such as fragility notes, retail display needs, and the order in which the customer sees the message.
How do I size an insert for frosted zipper bag packaging?
Measure the usable interior space, then leave enough room so the insert slides in cleanly without buckling. Check both width and height with the actual packed ceramic item inside the pouch before approving print.
What affects pricing for custom packaging inserts the most?
Material, print complexity, size, finishes, fold style, and order quantity usually have the biggest effect on unit cost. MOQ matters too, because smaller runs carry more setup cost per piece.
How long does production usually take for these inserts?
Simple jobs can move quickly if the artwork is ready and proof approval is fast, while more complex inserts need extra time for review and sampling. Build in buffer time so the pouch, insert, and finished ceramic product arrive on the same schedule.
Do I need a proof or sample before ordering?
Yes, especially if the insert must fit a specific pouch and protect a fragile ceramic item. A proof or sample catches sizing, readability, and layout issues before they turn into waste. Use the checklist before sign-off, and the final run has a much better chance of matching the spec on paper.