Ceramic Logo Patch Beanies Digital Proof Checklist
Use this ceramic Logo Patch Beanies digital proof checklist to catch color, size, placement, backing, and timeline issues before production starts.
A ceramic-look patch can look sharp on a screen and still miss the mark once it lands on a rib knit beanie. Texture, stretch, fold lines, and lighting all change how the decoration reads in real life.
That is why the proof matters. Buyers often focus on the logo art and overlook the parts that drive the final result: patch width, blank color, placement on the cuff, surface finish, and the attachment method. A clear proof closes those gaps before they become expensive.
Ceramic logo patch beanies digital proof checklist basics
A useful proof shows the whole decoration story, not just the front artwork. It should include the patch outline, surface finish, edge treatment, backing note, beanie color, and exact placement. If any of those are missing, the factory has room to guess.
Finish is one of the biggest variables. A glossy face gives a brighter, harder look. Satin softens reflections. Matte reads quieter and often photographs better. If the finish is part of the brand language, the proof needs to state it plainly.
Size is the other common miss. A 1.25-inch patch may look balanced on an artboard and disappear on a chunky cuff. On a beanie, the patch has to compete with rib texture, fold lines, and seams. The proof should show actual measurements, not just a generic size label.
A clean proof should answer three questions quickly: where does the patch go, how big is it, and how does it attach? If those are not obvious at a glance, the proof is not ready.
- Artwork accuracy - spelling, spacing, symbol placement, and line weight.
- Exact size - width, height, or diameter in inches or millimeters.
- Placement - front center, cuff, seam offset, or another measured location.
- Finish - glossy, satin, matte, debossed, or raised.
- Backing - sew-on, heat-activated, adhesive, or another specified method.
If the order also includes hangtags, carton labels, or retail inserts, keep those approvals tight too. Packaging can make the product feel deliberate instead of rushed. For a broader look at decoration and apparel build options, the Manufacturing Capabilities page is a useful comparison point.
Process and timeline: from art file to approval-ready proof
Most proof cycles start with the source artwork. Vector files are ideal: AI, EPS, or a clean PDF. They resize cleanly and keep the edge quality intact. Low-resolution JPGs and PNGs usually slow things down because the art often has to be rebuilt or simplified before it can become a production-ready patch.
A normal sequence is straightforward: first proof, buyer notes, revised proof, final approval. Clean artwork can move through that loop in a day or two. More complex logos take longer, especially when there are gradients, tiny type, thin outlines, or multiple color breaks that must survive at patch size.
After approval, production timing usually lands around 10-15 business days for standard runs, though that depends on quantity, construction, and whether tooling or a custom mold is involved. Special finish work or alternate backing adds time. Late revisions add more.
The jobs that slip most often are the ones with fuzzy instructions: missing blank color references, placement notes that only say “center front,” or a logo file that exists only in low-res form. Each issue sounds minor by itself, but together they can push a simple order off schedule.
One clean record helps: keep one annotated proof, one decision maker, and one final version of record. That reduces confusion now and makes reorders easier later.
If the proof does not show the cuff line, patch size, and backing method, the order is not really ready yet. It only looks ready.
Spec choices that change the proof: size, finish, backing, and knit behavior
Four spec choices matter more than the rest: size, finish, backing, and knit behavior. Get those right and the decoration usually lands well. Miss them and even a clean logo can look off.
Size is the first trap. On paper, a small patch looks refined. On a beanie, it can look timid. A 1.25-inch badge may work on a fine-gauge cuff, but a thicker rib often needs something closer to 1.5 or 1.75 inches to hold visual weight.
Finish changes the mood of the product. Glossy surfaces catch light and can make a dark logo pop on a light blank, but they can also flare under store lighting or flash photography. Matte is calmer and usually safer for ecommerce. Satin sits in the middle.
Backing affects both application and durability. Sew-on is usually the safest choice for knit goods when long wear matters. Heat-activated backers can work, but not every beanie fabric tolerates heat equally well. Adhesive backing may sound convenient, then become a problem if the surface flexes too much.
Knit behavior is the quiet one people forget. Rib knits stretch. Folded cuffs change the usable area. Chunkier yarns create more texture under the patch. A placement that feels centered on a mockup can drift once the garment is worn or folded.
Patch type and construction also affect quote structure. Here is a practical guide to the levers that usually move the price:
| Spec choice | What the proof needs to show | Typical quote effect |
|---|---|---|
| Simple shape, limited detail | Cleaner edges, fewer tiny lines, easier approval | Usually the lowest setup cost |
| Glossy or ceramic-look finish | Surface shine and highlight behavior on the blank color | Often adds about $0.05-$0.20 per unit |
| Debossed or raised detail | Depth notes and visibility of the relief under light | Commonly adds about $0.08-$0.25 per unit |
| Special backing or attachment | Whether the patch is sew-on, heat-activated, or another method | Can add about $0.03-$0.12 per unit |
| Lower MOQ | Same art, smaller run, more setup weight per piece | Unit price often rises 15%-35% |
If the order includes packaging, do not treat it as an afterthought. A simple FSC-certified board insert or hangtag can improve the presentation without adding much complexity. The goal is not to pile on extras; it is to keep the whole order visually coherent.
Cost, pricing, and MOQ factors that move the quote
Pricing for beanies with ceramic-style patches usually comes down to five things: patch size, color count, finish, attachment method, and quantity. The more complex the patch, the more each unit has to carry in setup and handling.
On smaller runs, setup cost matters more than people expect. A custom patch order may involve artwork cleanup, proofing, a mold or die, finish tuning, and attachment planning. Those steps do not disappear just because the order is small.
For budgeting, it helps to think in two layers. First is the one-time setup side, which can range from roughly $40-$150 depending on complexity and whether tooling is needed. Second is the per-unit decoration cost, which moves with finish, quantity, and revision scope. More detail usually means more cost.
MOQ changes the math fast. A lower minimum can help when you are testing a new design or producing a seasonal drop, but unit pricing usually rises because the setup is spread across fewer pieces. That does not make the quote wrong. It just means the buyer should compare total landed cost, not only the decoration line item.
Revision rounds can also carry hidden cost. A minor placement correction is one thing. Redrawing the patch face, changing border thickness, or reworking the finish is another. A careful first proof is cheaper than cleaning up a bad one.
Before approving, ask what the quote includes:
- Proof and revision count.
- Tooling, mold, or setup fees.
- Attachment method and application labor.
- Packaging, inserts, and carton labeling.
- Shipping assumptions and whether freight is separate.
That list protects the landed cost. A quote that looks lower can become the expensive option if it excludes packaging, revision support, or a second production step.
Step-by-step proof review before you approve production
Start with the art. Compare the proof to the approved source file and check spelling, spacing, icon alignment, and any cleanup that was needed to make the logo work at small size. Tiny text and thin lines are the usual trouble spots.
Next, check the size against the beanie itself. Do not trust the mockup alone. Measure the patch width and compare it to the visible space on the cuff. Thick cuffs, shallow folds, and seam placement can all make the same patch feel larger or smaller than expected.
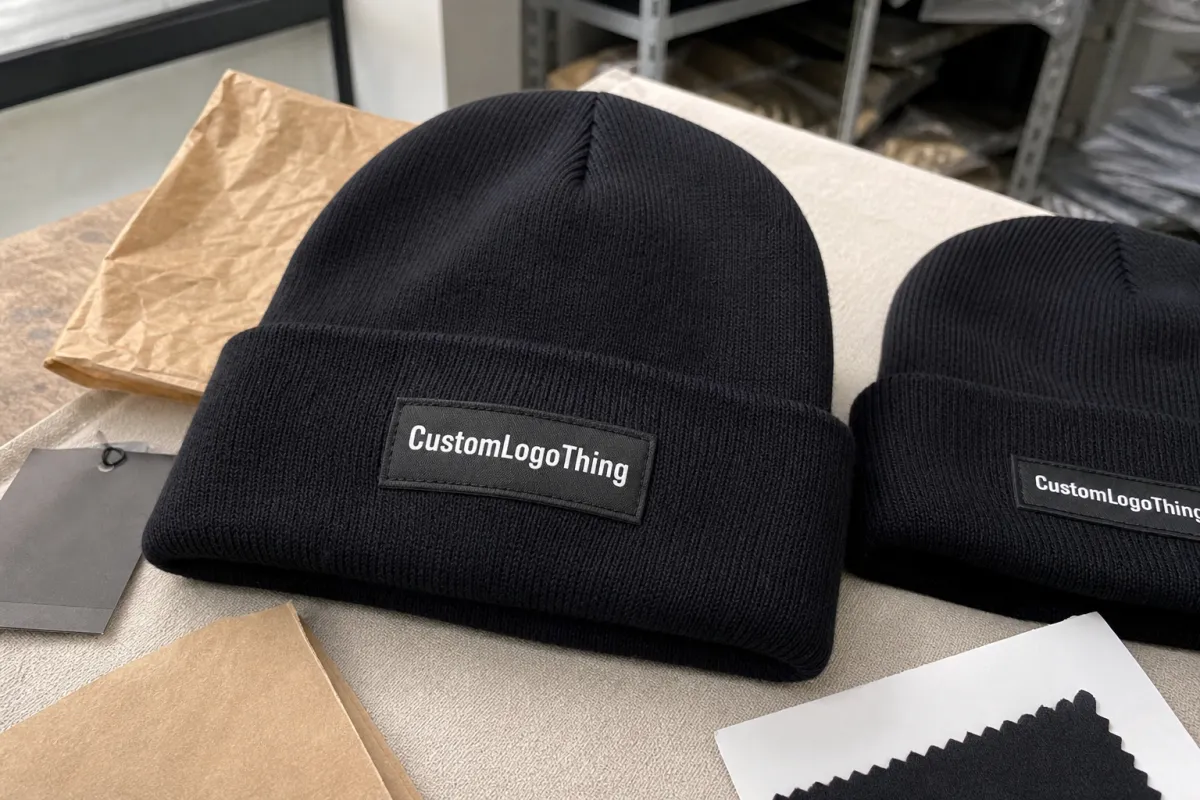
Then look at color contrast. This is where screen images fail most often. A black patch on a black beanie can disappear at arm’s length. A bright logo on heather gray can jump out more than the brand intended. Ceramic-look surfaces also reflect light differently than fabric, so the same color can read sharper or flatter depending on the finish.
After that, confirm construction. Check the border, the finish, the backing, and the intended surface behavior. Does the patch sit flat, or does it have a slight raised presence? Is the edge clean, stitched, sealed, or molded? These details affect both the look and the durability.
Send all notes together. One clean review pass is better than a pile of scattered comments, and it keeps the revision cycle short.
- Check the artwork against the source file.
- Measure the patch against the beanie placement area.
- Review color contrast on the actual blank color.
- Confirm the finish, border, and backing method.
- Approve only one final annotated version.
Keep the final proof and notes with the order record. Future reorders move much faster when the original decisions are easy to find.
Common proof mistakes that slow beanie orders
The most common mistake is approving too early. Buyers see a clean mockup, feel pressure to move, and miss small errors that matter in production. A slightly off border, odd kerning, or a patch that is a touch too small can be hard to spot on screen but obvious on the finished hat.
Color assumptions cause another set of headaches. Screen color is not fabric color. A ceramic finish behaves differently on acrylic than it does on wool blend or recycled yarn. Even a good monitor cannot tell you how a navy patch will read under retail lighting.
Placement language is another weak point. “Front center” is not enough when the beanie has a folded cuff and a seam. Center on what? The body? The cuff? The fold line? A proof should use a dimension, not a hand-wave.
Backing mistakes are common too. A buyer may approve the art and later discover the attachment method is not what the team expected. That changes labor, durability, and sometimes the garment itself. If the proof does not state how the patch attaches, the order is not finished.
The fastest way to lose a week is to change the logo after approval and hope the schedule holds. In production, small changes rarely stay small.
Good proof control is one of the easiest signs that a supplier knows what they are doing. Version discipline is boring. It also saves money.
Expert review tips and next steps for a clean launch
I like a second-reader pass because fresh eyes catch what the main buyer ignores. Someone who was not deep in the original artwork discussion can usually spot a typo, a crowded layout, or a patch that feels too large for the beanie silhouette. That extra review takes minutes and can save a full revision cycle.
When the order is meant to match an older run, ask for a side-by-side comparison. Even small changes in sheen, border thickness, or placement height can make two batches look unrelated when they sit next to each other. If the beanies will be sold as a set or restocked later, consistency is part of quality.
Keep the final approval file complete. Include the approved proof, the exact notes, the placement spec, any color reference, and packaging instructions if they matter. If a future buyer can understand the job in under a minute, the record is good enough.
Consolidate revisions. One note list. One version. One decision path. It keeps the factory from chasing mixed signals, which is how schedules get damaged for no good reason.
Before release, confirm the blank beanie color, patch placement, backing method, and final art version one last time, then archive the proof with the order file. That habit turns a one-off approval into a repeatable template for reorders.
FAQs
What should a ceramic logo patch beanies digital proof include?
It should show the logo artwork, patch shape, finish, placement, and the exact beanie color or blank style the patch will be applied to. It should also note any construction details that affect the final look, such as edge treatment, backing method, or surface texture.
How do I review color on a digital proof for beanies?
Focus on contrast and legibility, not on getting the monitor to match fabric perfectly. Screen color and knit color live in different worlds, so the safer check is whether the patch still reads clearly against the chosen blank under normal lighting.
What affects the cost of ceramic-style patch beanie orders?
Size, complexity, quantity, finish, and attachment method are the main cost drivers. Setup work, revision rounds, and special packaging can also move the final price.
How long does the proof and production process usually take?
Clean artwork can move through proofing quickly, sometimes in a day or two. Standard production often takes about 10-15 business days after final approval, though custom tooling, extra revisions, or higher quantities can extend that window.
What is the most common mistake buyers make with digital proofs?
Approving a proof without checking placement measurements, color contrast, and artwork cleanup is the biggest risk. The second most common issue is making small changes after approval, which can delay the order and reset the timeline.


