A stationery cuffed knit Beanies Material Thickness guide should answer one practical question: how much structure does the cap need to do its job? Thickness is not just about weight in hand. A hat can feel heavy and still be loose in the knit, while a lighter one can look and perform better if the gauge, yarn, and cuff are balanced.
That matters because buyers often compare samples by touch alone and miss the variables that affect warmth, stretch, decoration clarity, and how the beanie holds up after folding and wear. If the spec is vague, the sample review usually is too.
What Stationery Cuffed Knit Beanies Material Thickness Really Means
Thickness in a cuffed knit beanie comes from yarn size, ply count, stitch density, cuff height, and finished loft. None of those works alone. A tighter 2-ply acrylic knit can feel more controlled than a fluffier single-ply yarn that looks fuller but leaves more air gaps.
Cuffed construction changes the front panel again. The folded brim doubles the fabric where logos sit, which gives embroidery a steadier base and helps woven labels lie flatter. In practice, the same knit can look relaxed without a cuff and much more substantial once the brim is folded.
For retail programs, midweight usually performs best because it balances warmth, shape, and decoration. For giveaways, lighter caps can be better if pack size and cost matter more than insulation. For premium merchandise, a denser build can justify a higher price if the stitch definition and logo placement stay clean.
So the useful version of a stationery Cuffed Knit Beanies material thickness guide is not "what is thickest?" It is "what thickness fits the use case, the decoration method, and the buyer's budget?"
How Thickness Changes Fit, Warmth, and Decoration
Warmth comes from trapped air, not bulk by itself. A dense knit with smaller openings can insulate better than a heavier-looking open knit. That difference becomes obvious in wind, where one beanie collapses and another stays close to the head.
Gauge matters as much as thickness. Tighter gauges usually drape more cleanly, recover better after stretching, and give embroidery a flatter surface. Looser gauges can feel softer and more relaxed, but they distort more easily after folding and wear.
The cuff acts like a built-in stabilizer. It supports embroidery, keeps patches from curling as much, and gives heat-applied branding a more predictable surface. The tradeoff is bulk. If the cuff is too thick, small logos can sink into the texture and tight stitching can start pulling the knit.
Fiber choice changes the result too. Acrylic is common because it knits consistently, holds color well, and scales reliably. Wool feels warmer and more premium, but it usually costs more and needs closer wear testing. Blends often sit in the middle and are practical when a buyer wants warmth, shape recovery, and price control.
The blank sample can be misleading. Once the cuff is folded, the logo is stitched, and the beanie has been worn for an hour, the real thickness story shows up in stretch, edge comfort, and how much the front panel shifts.
If the hat will be worn by different head sizes, test stretch and recovery, not just handfeel. A cap that looks perfect on a display form can pinch on a larger head or relax too much after a few wears.
Key Spec Factors to Compare Before You Request Samples
Before ordering samples, compare the same data on every option. A good stationery Cuffed Knit Beanies material thickness guide should include fabric weight, gauge, yarn ply, cuff height, crown depth, seam finish, and any edge treatment. If one supplier sends a 90 g cap and another sends a 110 g cap but both call it midweight, the comparison is already muddy.
Look at fiber content and yarn behavior together. Soft acrylic usually feels gentler against the skin, while a wool blend can feel warmer and firmer. Anti-pilling treatment matters too if the beanie will be worn often instead of handed out once and forgotten.
Decoration zones should be confirmed early. Embroidery needs enough backing support to avoid puckering. Woven labels and patches need a cuff that sits flat instead of curling. Heat-applied branding can work well on smoother knits, but it may telegraph bumps if the texture is too coarse.
Color and texture also change how thickness reads. Heathered yarns, marl effects, and open rib structures can make a beanie appear lighter or heavier than it really is. Dark colors hide stitch structure; light colors expose it. That matters when samples are reviewed under different lighting.
One practical test is fit across multiple head sizes. Stretch and recovery are part of thickness, too. If the knit does not return cleanly after expansion, the hat will look tired fast.
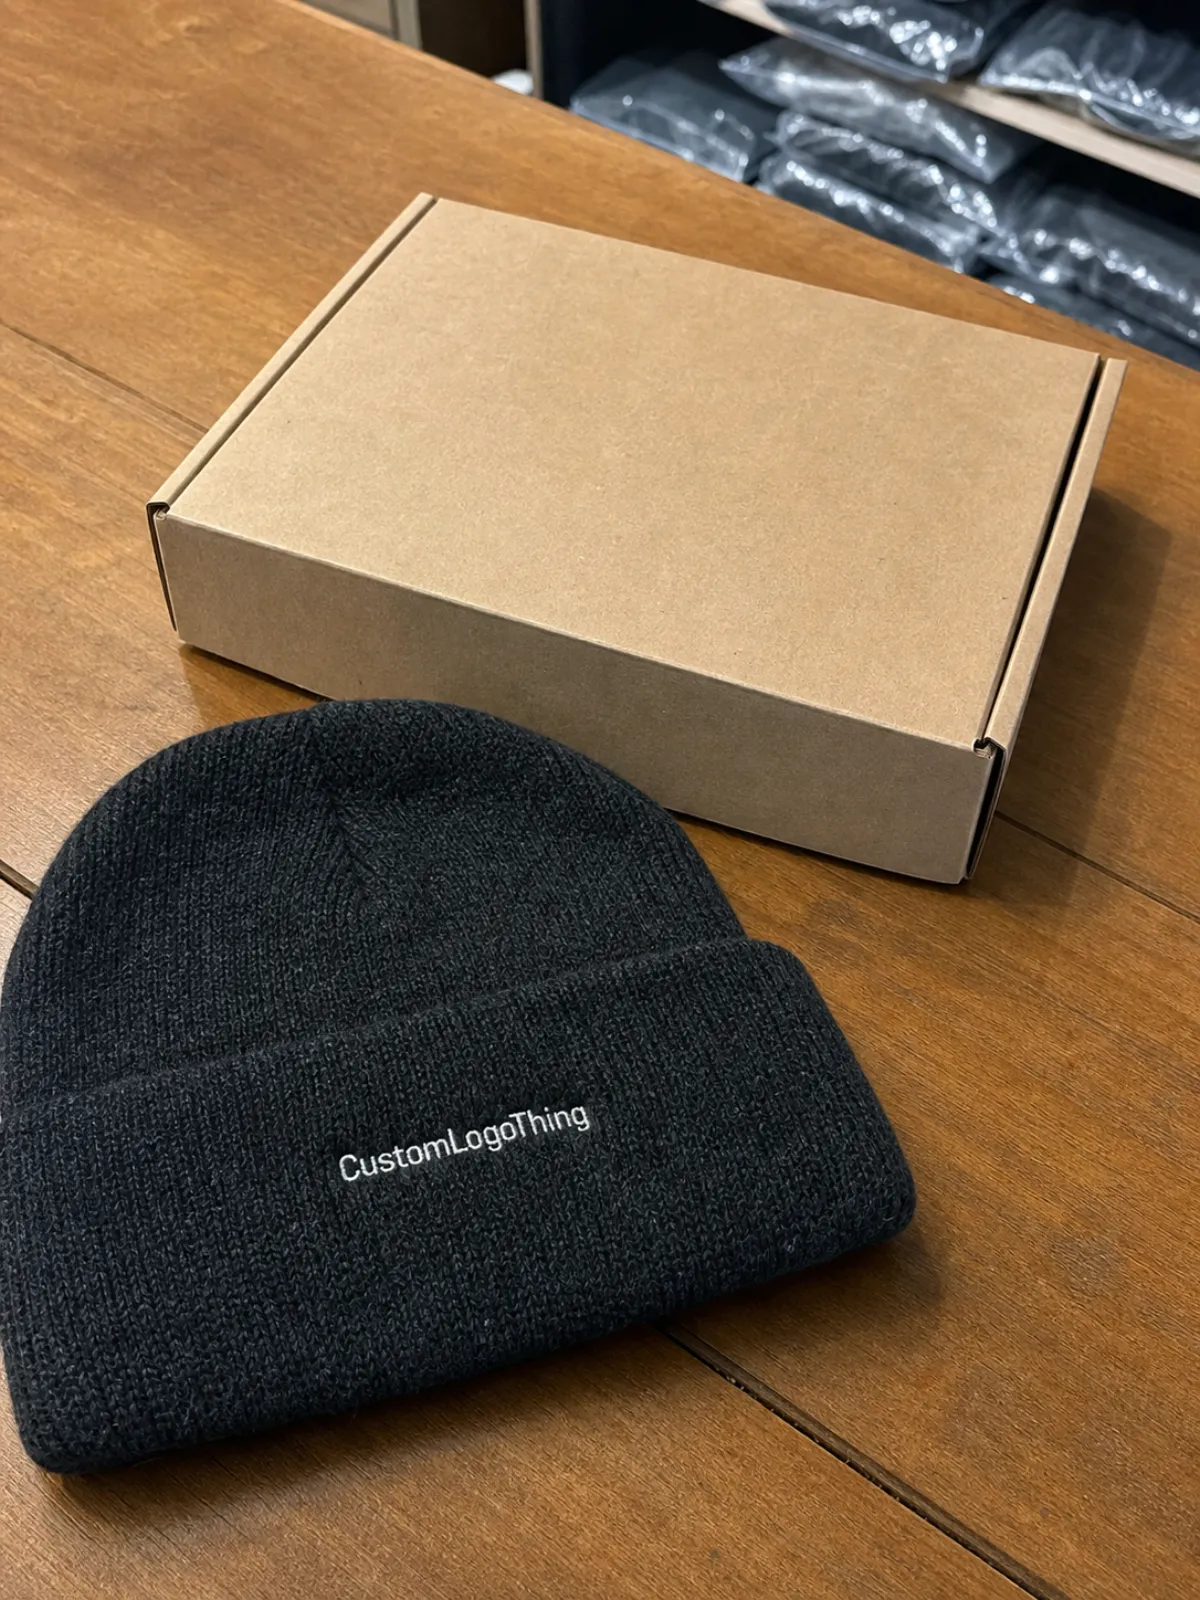
Ask for the decorated sample whenever possible. A blank beanie can pass inspection and still fail once the logo sits on the cuff. That is the point where thickness, stitch density, and decoration method all meet.
Step-by-Step Guide to Choosing the Right Thickness
Step 1: define the use case. A winter retail beanie, an employee uniform piece, an event giveaway, and a fan-merch item do not need the same level of warmth or structure.
Step 2: set the target feel before you get distracted by color or logo placement. Light, midweight, and dense are not just sales words. They describe how the hat sits on the head and how much support the cuff provides.
Step 3: request two or three samples that differ mainly in thickness. Keep yarn type, cuff height, and decoration method as close as possible. If too many variables change at once, you are not testing thickness anymore.
Step 4: inspect the decorated sample, not just the blank knit. A beanie can look excellent before branding and change completely after embroidery or a patch is added. This is where puckering and crown distortion usually show up.
Step 5: lock the approved spec in writing. Include yarn type, gauge, cuff depth, tolerance, decoration method, and packout requirements in one file so production has one reference point.
Use the same head form or the same wearer test across every sample. Thickness differences are easier to judge when the test method stays identical.
Process and Lead Time: Sampling, Approval, and Bulk Knit
Thickness decisions start before bulk knitting. Yarn selection, stitch planning, and machine settings determine the finished feel, and small changes to tension or cuff depth can shift the whole shape.
Sampling often takes about 5 to 10 business days after the brief is clear. More complex knit structures, custom dye matching, or repeated logo adjustments can extend that window. If the first round comes back with the wrong cuff height or handfeel, a second sample is normal.
Bulk production commonly lands in the 15 to 30 business day range after approval, depending on yarn stock, machine scheduling, decoration method, and finishing work. Faster timelines happen, but they usually work best on repeat constructions and simple colorways.
Packaging should be documented early. Many programs use corrugated cardboard cartons with kraft paper void fill or other simple recycled materials. If the project needs FSC certified cartons or inserts, that should be in the spec from the start. The FSC site is useful for chain-of-custody requirements: fsc.org.
If the beanies are going into retail distribution, transit testing matters too. ISTA guidelines are a practical reference for drop, vibration, and compression expectations: ista.org.
Some buyers also ask for biodegradable packaging or higher recycled content in the shipper. That can work, but the exact material needs to be verified. Put the percentage in writing instead of leaving it as a general sustainability note.
Cost, Pricing, MOQ, and Unit Cost Drivers
Thicker yarns and denser knits usually cost more because they use more material and more machine time per piece. That is the basic math, and it shows up quickly in quotes.
At a typical order size of 5,000 pieces, rough blank pricing can fall into these ranges depending on yarn, construction, and decoration:
| Thickness Option | Typical Feel | Decoration Behavior | Approx. Blank Unit Cost | Best Fit |
|---|---|---|---|---|
| Lightweight | Soft, flexible, less bulky | Good for simple logos, less stable for dense embroidery | $1.05-$1.45 | Giveaways, mild climates, lower bulk needs |
| Midweight | Balanced warmth and structure | Clean cuff surface, strong all-around branding zone | $1.35-$1.95 | Retail, teamwear, most buyer programs |
| Heavyweight | Dense, warm, more premium handfeel | Excellent base if the cuff is wide enough, but can hide fine detail | $1.80-$2.75 | Cold-weather retail, premium merchandise |
MOQ usually shifts with color count, jacquard complexity, and embellishment type. A single-color cap can often support a lower minimum than a custom multicolor knit with a woven patch and specialty label.
It helps to ask for pricing at two thickness levels, not one. A small jump from lightweight to midweight may only add a modest amount per piece, yet the gain in fit and logo clarity can be obvious in person.
Freight and packout matter too. On smaller orders, shipping, carton configuration, and inner packing can change landed cost more than the knit itself. Even a low-cost beanie gets expensive if the packout has to be reinforced to protect a thicker cuff or raised patch.
Common Mistakes Buyers Make When Reading Thickness
The first mistake is choosing the thickest sample without testing stretch. If the beanie cannot fit different head sizes comfortably, the extra insulation does not help much.
The second mistake is forgetting that cuffed construction doubles the fabric at the front. A sample may feel slightly heavier in the hand, then seem much bulkier once the cuff is folded. That affects retail display, shipping, and how easily the hat fits under a hood or jacket collar.
Another common issue is comparing samples after different finishing steps. Steamed, blocked, washed, and freshly knit pieces do not feel identical. If the goal is a fair comparison, every sample needs the same finishing condition.
Thickness also affects seam bulk and logo clarity. A good-looking blank sample can still fail once an embroidered logo forces the knit to pucker or a patch sits too high on a thick cuff edge. That is why decorated approval matters more than blank approval alone.
The last mistake is using one build for every program. A cold-weather retail beanie may be right at a denser thickness, but the same spec can feel too hot or too heavy for a giveaway crowd.
Expert Tips and Next Steps for a Clean Spec
Ask for a decorated pre-production sample whenever the logo matters. That lets you judge thickness, cuff structure, and logo clarity together instead of treating them as separate questions.
Keep one spec sheet for the whole project. Note the yarn type, gauge, cuff height, acceptable tolerance, decoration method, and packing requirement in a single file so every reviewer sees the same version.
Use the same head form or the same wearer test across all samples. The thicker the knit, the more useful repeatable testing becomes, because a few millimeters in stretch can change the feel a lot.
Before requesting quotes, send one clear thickness target, a reference image, and the expected quantity. If the supplier understands the objective early, they can usually suggest the right yarn count, cuff depth, and finishing method faster.
The safest starting point is usually midweight: enough structure for decoration, enough comfort for wear, and enough flexibility to avoid the stiff, overbuilt look that shows up in rushed orders.
What thickness is best for cuffed knit beanies?
Midweight is usually the safest starting point because it balances warmth, stretch, and decoration clarity. Choose heavier builds for colder retail programs and lighter builds when pack size, lower bulk, or a softer handfeel matter more.
How does beanie thickness affect embroidery on the cuff?
A denser cuff gives embroidery a more stable base, which helps logos sit cleaner and look sharper. Too much bulk can make small details pucker or sink, so a decorated sample should be approved before production.
Can two cuffed beanies with the same weight feel different?
Yes. Knit density, yarn type, and stitch pattern can change the handfeel even when the numbers look similar. A tight knit usually feels firmer and smoother, while a looser knit can feel softer and airier.
What drives MOQ and unit cost on thicker knit beanies?
More material, denser knitting, and extra machine time usually increase unit cost. Complex colors, added decoration, special finishing, and upgraded packaging can also push MOQ higher.
What should I include when I request a quote for beanie thickness?
Include your target use, desired thickness level, cuff height, decoration method, and approximate quantity. Add a reference photo or sample callout so the supplier understands the handfeel and shape you want.
Handled properly, a stationery Cuffed Knit Beanies material thickness guide becomes a practical sourcing tool. It helps you choose the right warmth, fit, decoration surface, and packout before money is committed.


