Event Merch Frosted Zipper Plastic bags Print Method Comparison sounds more complicated than it is. The main question is simple: which print method gives you enough opacity, durability, and cost control on a frosted film that will be handled, photographed, and packed with actual merch? If the logo only looks good on a mockup, it is not ready.
Why event merch frosted zipper plastic bags print method comparison feels harder than it is
Buyers often start with the art file, but the bag surface matters more. Frosted polyethylene or PVC-style film softens color and lowers contrast, so a design that looks crisp on paper can feel muted once it lands on plastic. That is why this comparison starts with the substrate, not the artwork.
Event merch bags also get judged in motion. They sit on check-in tables, get carried through lighting changes, and are usually stuffed before anyone really looks at them. If artwork sits too close to a zipper line, side seam, or gusset, it can look off even when the print ran correctly. The problem is often placement, not production.
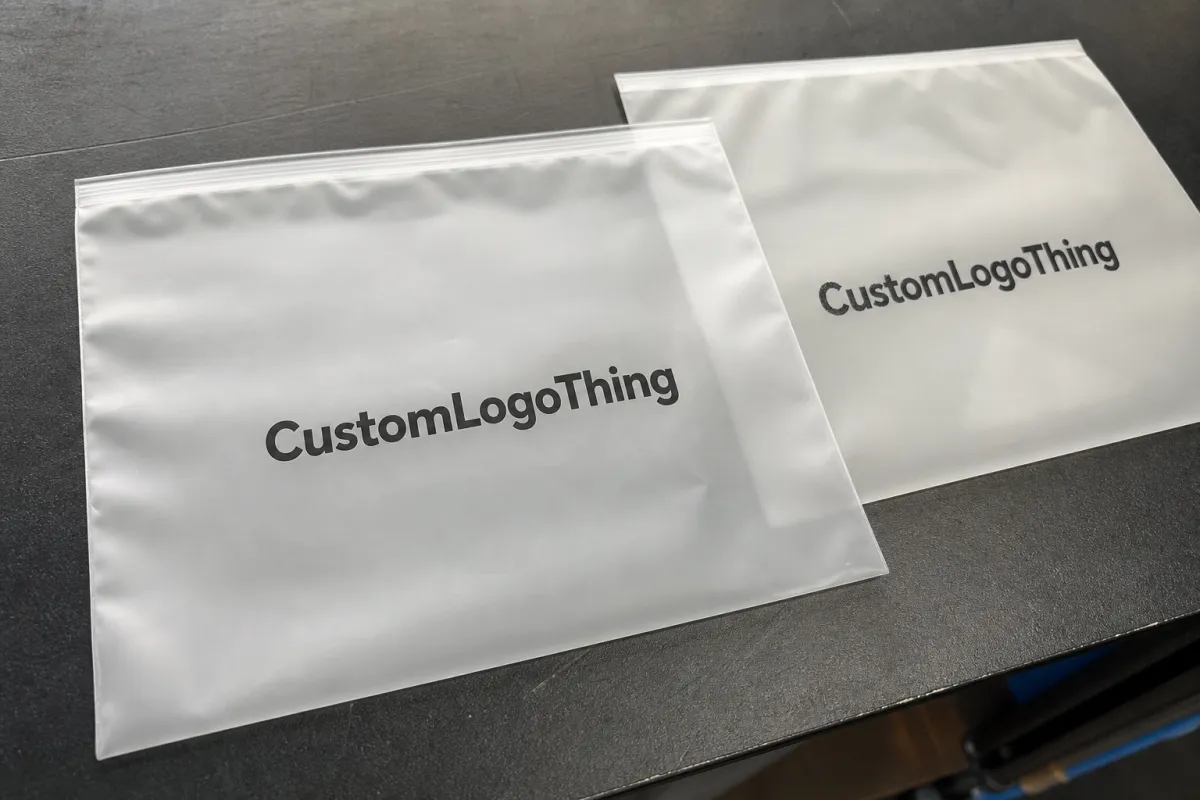
The practical takeaway is that simple layouts usually win. Strong type, fewer colors, and enough spacing tend to outperform busy artwork. On frosted film, a bold spot-color logo often reads more premium than a detailed CMYK illustration because the surface already gives you some visual texture.
"A frosted bag is a moving display surface with limits. If it still looks good when full, you have a real winner."
That is the right mindset: you are buying a flexible, translucent package that has to hold up under handling, not a flat print sample.
How screen print, flexo, and digital inks behave on frosted plastic
Screen printing is usually the safest choice for bold logos, short text, and one-to-three color graphics. It lays down heavier ink, which helps white, black, and saturated brand colors stay visible on frosted plastic. If the design needs a clean edge and strong opacity, screen print is often the most dependable option.
Flexographic printing is better for larger runs and simpler repeated graphics. Once the plates are made and the press is set, flexo is efficient and consistent. The tradeoff is that it is less forgiving on fine type, small outlines, and subtle gradients. If the art is simple, flexo can be a good cost play. If it depends on detail, the result may look thin.
Digital printing gives you more flexibility with short runs, variable versions, gradients, and fast changes. That makes it useful for limited event merch or designs that are still changing late in the process. The risk is finish quality. On plastic, adhesion and scuff resistance matter as much as color. A digital print can look great on day one and still fail if the ink system or surface treatment is weak.
Paper-print habits do not transfer well here. Plastic does not absorb ink the way paper does, so spot-color work often holds up better than process-heavy art. If brand color accuracy matters, ask whether the printer is matching a specific ink or simulating the color in CMYK. Those are different outcomes.
If you want background reading on packaging terms and performance expectations, packaging.org is useful. For shipping and transit abuse, ISTA standards help frame the discussion, especially if the bags will be packed, stacked, or moved before the event.
Cost, MOQ, and unit pricing for printed zipper bags
Pricing changes quickly once setup is involved. Screens, plates, prepress, and proofing all affect the quote, which is why low quantities can look expensive even when the per-unit price drops later. A 500-piece quote and a 5,000-piece quote are not telling the same story.
For small runs, screen printing often lands in the middle: better appearance than a cheap rush job, but not as setup-light as buyers expect. At 500 pieces, a one-color screen print may land around $0.45-$0.90 per unit with $60-$180 in setup, depending on print area and supplier. Each added color increases cost, and a white underbase can increase it again.
Flexographic printing becomes attractive at higher quantities because the press runs efficiently once the plates are made. At 3,000-10,000 pieces, unit costs may fall into the $0.18-$0.45 range for simple designs, with plate charges added on top. Digital printing usually stays higher per unit at scale, but it can make sense for short runs because it avoids some tooling expense. A small order may land around $0.70-$1.50 per unit, depending on coverage, bag size, and ink system.
| Method | Typical MOQ | Setup cost | Best use case | Typical strengths |
|---|---|---|---|---|
| Screen print | 300-1,000 | $60-$180 per color | Bold logos, spot color art | Strong opacity, crisp brand marks |
| Flexographic printing | 3,000-5,000+ | $80-$250 per color in plates | High-volume simple graphics | Efficient long-run pricing, repeatability |
| Digital printing | 100-500 | Low to moderate | Short runs, detailed art, many versions | Fast setup, CMYK flexibility |
Three pricing traps show up often. One supplier quietly shrinks the print area. Another drops the white underbase. A third adds hidden charges for proofing or freight. If you want a fair comparison, force every quote to use the same bag dimensions, thickness, zipper style, print area, quantity, and color count. Otherwise you are not comparing offers. You are comparing assumptions.
Process and turnaround: production steps from art to shipment
Good production starts with file review. A supplier should check whether the art is vector, whether fonts are outlined, whether the line weight is strong enough, and whether the color build will hold on a frosted background. If they skip that review, the timeline may be fast for the wrong reason.
The prepress steps differ by method. Screen printing needs screens and registration setup. Flexo needs plates and press calibration. Digital printing needs color management and adhesion checks. That front-end work affects lead time and proof type. A simple one-color screen job may move quickly, but a digital job can be faster if the supplier already has the correct stock and the file is clean.
Ask for a virtual proof, a strike-off, or a production sample if the design is sensitive. Thin lines, small taglines, and exact brand colors should not be approved from a mockup alone. An empty pouch and a filled pouch can read very differently.
Typical turnaround for a straightforward order is often 10-15 business days from approved proof to shipment, but multi-color jobs, larger quantities, and special packaging can extend that. Shipping and approval time still control the schedule more than most teams want to admit, so build in cushion if the event date is fixed.
For orders that will travel in cartons before use, ISTA test profiles are a useful reference point for vibration, drop, and handling expectations. If the bags are packed with inserts or product, that matters to the final result.
Step-by-step method comparison for event merch buying teams
Start with the use case. A VIP gift bag, a conference handout pouch, and a retail-style promo bag do not need the same finish quality or budget. If the bag is only on a registration table for a few seconds, you can choose differently than if it needs to be kept, reused, or photographed.
Then match the method to the artwork. Bold logos with one or two colors usually fit screen or flexo. Detailed line art, gradients, or multiple versions usually lean digital. If the design mixes both, ask where the break point is. A supplier who can explain that tradeoff is more useful than one who says yes to everything.
Next, compare quotes on identical specs: same bag size, same zipper type, same film thickness, same print area, same quantity, same date needed, and same ink assumptions. If one supplier quotes 0.08 mm frosted film and another quotes 0.12 mm, the result and the price will not be the same. That is not a fair comparison.
- Define the event use case and budget ceiling.
- Choose the artwork style: spot color, CMYK, or mixed.
- Get quotes for identical bag specs.
- Ask about proof type and sample policy.
- Rank options by appearance, timing, and landed cost.
If one method wins two of those three, you likely have the right answer. A perfect print that misses the event is useless, and a cheap print that looks weak on camera is not much better. Buy the version that survives handling and lands on time.
Common mistakes that make frosted bags look cheap or fail
The biggest mistake is asking for too much detail. Thin lines, tiny type, and soft gradients disappear quickly on frosted film. The bag surface already reduces clarity, and once the bag is filled, the design loses more visual space. If you want a clean result, give the artwork more breathing room.
Another common miss is ignoring the zipper seam, side gusset, and fold lines. Those areas are not usable canvas in the same way a flat carton panel is. Artwork that crosses a structural break can look warped once the bag is packed. The fix is simple: move the logo away from the seam and keep key type centered.
Teams also approve mockups without testing the actual merch inside. The bag may look elegant empty and awkward with a bulky product inside. That is especially true for event kits, apparel accessories, and boxed samples. A real sample catches that problem early.
Low quotes can be misleading if the supplier does not state print area, bag thickness, or whether the design uses a white underbase. Without those details, the price is not fully comparable. You are not saving money. You are taking a guess.
Finally, do not ignore finishing. Matte frost, glossy ink, and extra surface treatment change the final look more than most buyers expect. The wrong finish can make a premium bag look flat; the right one can make the branding readable from a distance.
Expert tips for cleaner color, sharper type, and better hold
Keep the layout bold. Strong shapes, larger fonts, and fewer colors usually print better on frosted plastic because the material already softens the image. A complex illustration may look impressive on screen, but packaging often rewards restraint.
Use a white underbase only when the design needs it. White improves contrast and helps brand colors read more accurately on semi-translucent film, but it also adds cost and can make the result feel heavier. If the aesthetic is soft or minimal, too much white coverage can work against you.
Check adhesion, not just color. That is where digital printing can either perform well or fail, depending on the ink and the film treatment. Ask for a tape test or a similar adhesion check. ASTM D3359 is a useful reference for that conversation, even if the printer uses its own internal quality method.
Think in quantity breakpoints. If you need 700 bags, do not force a flexo pricing model onto the order. If you need 8,000, do not pay short-run pricing because it feels safer. The right method depends on quantity, artwork complexity, and print system.
Spot color often beats process color here. If your brand uses one strong color and a clean wordmark, ask for a direct ink match instead of a CMYK simulation. The result usually feels more intentional and reads better from a distance.
Next steps before you request quotes for printed bag merch
Before you request pricing, gather the hard specs: bag size, film thickness, zipper style, print area, quantity, color count, and in-hand date. If any of those are vague, the quote will be vague too.
Send vector artwork and outline fonts. If color matching matters, call out PMS values. If the design uses white ink, say so upfront. If the logo needs to sit a certain distance from the zipper or gusset, mark that on the file. A file with no dimensions is not a brief.
Ask each supplier to quote at least two methods side by side. For example: screen print versus flexographic printing, or digital printing versus screen print. That keeps the comparison grounded in numbers instead of sales language. Also ask about sample policy, packaging format, and shipping method, because freight and packing can erase a low unit price.
In the end, choose the method that fits the event, not the ego behind the art. A clean one-color screen print can beat a flashy multi-color version if the bag is small and the logo is strong. A digital run can solve short quantity, variable names, or a tight timeline. A flexo job can make sense when scale and simplicity matter. The right call is the one that survives handling, reads on camera, and arrives on time.
Which print method is best for event merch frosted zipper plastic bags?
For bold logos and simple spot colors, screen printing usually gives the best opacity on frosted film. For long runs, flexographic printing can be more efficient if the artwork is simple. For small quantities or detailed art, digital printing may be better, but check adhesion and color coverage first.
Is screen printing or flexo cheaper for small event merch runs?
Screen printing often wins on appearance for small runs, but setup costs can make it pricey. Flexo usually becomes attractive at higher quantities where press efficiency matters more. Always compare the unit price at the exact quantity you need, not a random batch size.
How does a white underbase affect frosted zipper bag pricing?
It usually increases cost because it adds an extra print step or more ink coverage. A white underbase can make colors look stronger on translucent frosted plastic. Use it only when the design needs contrast; otherwise it can be an expensive overcorrection.
What turnaround should I expect for frosted zipper bag printing?
Simple one-color jobs can move faster than multi-color or high-detail work. Proofing, setup, and shipping often matter as much as the print method itself. If your date is tight, ask for the lead time with and without sample approval.
What file should I send to get an accurate quote for printed bags?
Send vector artwork, preferably AI, EPS, or PDF with outlined fonts. Include bag dimensions, quantity, print colors, and the exact print area. If color matching matters, specify PMS values and whether white ink is required.


