A frosted zipper bag can look polished on a screen and still arrive with a weak first impression if the contents slump, slide, or wrinkle once packed. That is the part many buyers underestimate. The insert is not decoration; it is the structure that keeps the gift readable, protected, and worth the money spent on branding.
For employee onboarding kits, client thank-you sets, event swag, and seasonal gifting, the insert should be treated as part of the packaging spec from day one. If the bag is translucent, any disorder shows through. If the contents are too light, the kit can look underfilled. If the insert is too rigid, the pack becomes expensive and awkward to assemble. The work is in getting those variables to meet in the middle.
A frosted zipper bag is only half the story. The insert is what keeps the kit from looking loose, unfinished, or under-packed once it reaches the recipient.
The best corporate gifting programs usually start by defining the product mix first and the bag second. That order matters. A flat letter, a folded brochure, and a sample pouch do not need the same support as a multi-item executive set. Once the contents are clear, the insert can be sized and built around how the package actually behaves in transit and at handoff.
Corporate Gifting Frosted Zipper Bags Packaging Insert Checklist
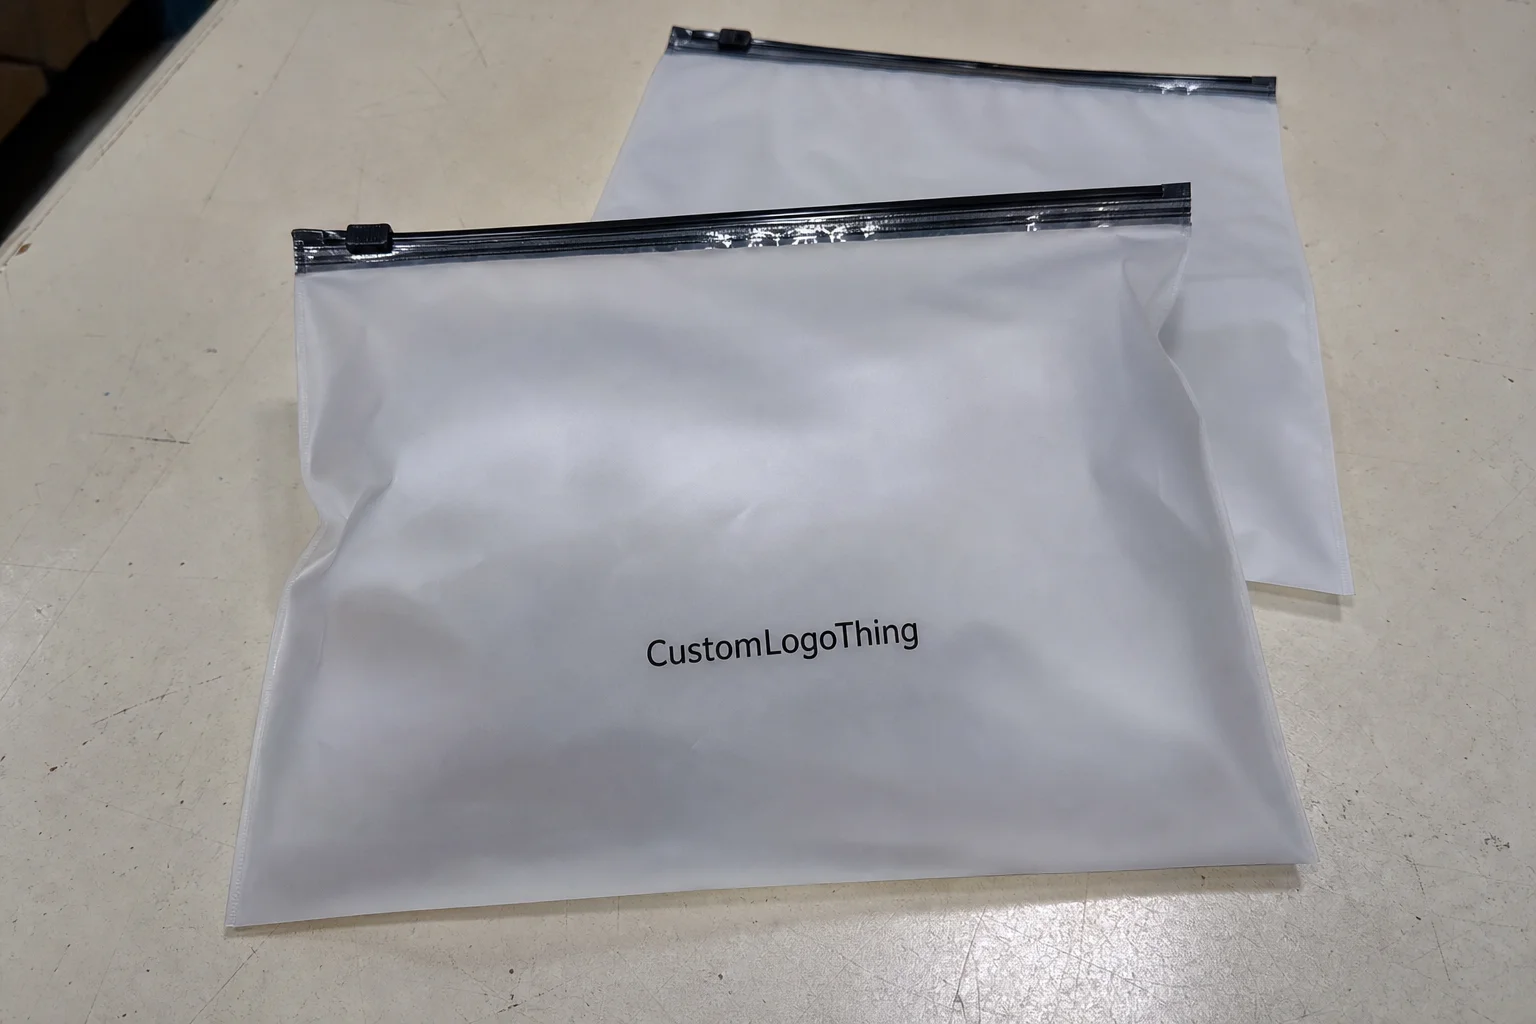
The checklist begins with function. What is the insert supposed to do: hold items upright, keep flat pieces aligned, protect edges, or present several components in a fixed layout? A simple welcome packet may only need a backing card. A more involved kit often needs pockets, slits, or a layered structure so each piece has a defined position.
That distinction sounds small until the first sample arrives. A bag can be the right size and still feel wrong if the insert does not control the visual field. Frosted film is forgiving about color, but not about disorder. Loose corners, tilted cards, and drifting contents are easy to see through the haze, and they tend to make the entire gift feel cheaper than it really is.
For mailing, the insert also becomes a restraint system. Not shipping armor, just enough stiffness to resist bending, corner crush, and item migration. If the set includes a bottle, a sample vial, or anything with weight at one end, the insert needs to prevent the contents from rotating during vibration. That is why it helps to think in terms of final pack behavior rather than a single flat dieline.
Different programs call for different levels of structure:
- Employee welcome kits: usually need one main panel with a few slotted holds or pockets.
- Event handouts: often work with a backing card and one or two die-cut positions.
- Premium client gifts: may need multiple layers or separate hold points for a cleaner reveal.
- Mail-distributed kits: need more attention to movement, thickness, and carton fit.
One practical rule: the insert should support the contents without forcing the pack team into a complicated assembly process. If the build takes too many folds, glue steps, or manual adjustments, consistency drops fast. That is usually where quality slips first.
For teams comparing formats, it can help to review a broader range of Custom Packaging Products so the insert, bag, and any related collateral stay on the same design standard.
If the structure is intended to be recycled or sourced from certified material, documentation should be requested before artwork is approved. Claims about recycled fiber, FSC-certified board, or reduced material content are only useful if they can be supported. FSC has useful guidance on chain-of-custody requirements at fsc.org.
How Inserts Lock in Presentation and Product Protection
The insert has two jobs, and they are equally important. First, it sets the visual order so the kit looks intentional. Second, it keeps the contents from shifting in ways that change the shape of the package during packing, shipping, and handoff. Most problems begin when one of those jobs is ignored.
Common material choices include paperboard, chipboard, coated card stock, foam core, and light corrugated stock. Each one solves a slightly different problem. Paperboard and coated card stock are good for flat letters, folded collateral, and lighter items. Chipboard adds stiffness and is often the practical middle ground for mixed kits. Foam core gives presentation-heavy sets a little stand-off, though it can feel excessive if the contents are lightweight. Light corrugated stock is useful for heavier or uneven sets, but the thickness has to stay within the bag’s usable interior space.
Retention methods should stay simple. Slots, score lines, pockets, and tuck folds usually pack cleaner than ornate assembly features. Low-tack adhesive can help in short runs, but too much glue slows down the line and can leave visible residue if the insert is removed. In corporate gifting, simple often performs better because it is easier to repeat at scale.
The insert can also carry brand information without crowding the bag itself. A logo, short welcome line, QR code, or usage note often fits better on the insert than on the translucent film. That is useful when the bag is kept minimal and the contents are meant to do most of the talking. In that setup, the insert becomes part of the package branding, not just a hidden support layer.
- Paperboard or coated card stock: best for flat inserts, welcome letters, and lighter kit components.
- Chipboard: a sensible middle ground for mixed-content sets that need more stiffness.
- Foam core: useful for presentation-first kits, but watch thickness and cost.
- Light corrugated stock: better for heavier or less uniform contents that need stronger support.
There is a quiet visual effect to consider too. Through frosted film, white and warm neutral boards keep a kit looking clean. Dark boards can feel premium, but they also make the contents read smaller and heavier. That can work for some programs, but it should be a deliberate choice rather than an accident of the spec.
Insert Size, Material, and Branding Factors That Matter
Always start with the usable interior dimensions, not the nominal size on the catalog sheet. Zipper placement, side gussets, bottom seams, and rounded corners all reduce the real working area. The difference is enough to matter. Buyers often size an insert from the headline measurement and discover the finished part is too tight once seam allowance and closure space are accounted for.
The simplest way to avoid that mistake is to work from an actual bag sample or a verified dieline. If neither exists, the first proof should be treated as a fit check, not just a visual proof. The bag may close on paper and still pinch the insert in the real world.
Material thickness should match the contents. A flat mailer with paper collateral may only need a lighter board. A kit with uneven items, a small product, or several separate pieces usually needs more rigidity. As a working range, 14 pt to 18 pt coated stock often suits lighter inserts, while 24 pt chipboard or a similar thickness is more appropriate for sets that need shape retention. The exact choice depends on how much the contents settle when handled.
Finish affects both appearance and durability. Matte softens glare and makes text easier to read under bright event lighting. Gloss can make colors feel sharper, but it shows scuffs faster. Soft-touch coating gives a premium feel, though it is not always the best choice if the insert will be touched multiple times during fulfillment. The right finish is the one that supports the package, not the one that looks best only in a mockup.
Brand placement needs margin discipline. Keep logos, QR codes, and instructions away from trim edges, folds, and punch areas so they do not get clipped or distorted. Give yourself room for blade tolerance and slight registration shift. That matters even more on custom printed pieces, where a small error is harder to hide.
Long copy rarely helps. A brief greeting, a single web address, or a short usage note is usually enough. Anything more starts to compete with the arrangement itself. For retail packaging and corporate gifting alike, clarity tends to outperform density.
If the kit will be photographed, the insert color matters even more than usual. A bright white board keeps the layout crisp through frosted film. A darker board can look richer, but it also changes the perceived size of the contents and can flatten contrast. A buyer should test that under the same lighting used for the final handoff or photography.
Cost, Pricing, and MOQ Tradeoffs to Plan Before You Quote
Insert pricing is driven by shape, stock, print coverage, coatings, die-cuts, folds, and total quantity. The bag itself is only one line on the budget. In many projects, the insert becomes the main cost driver once it includes multiple pockets, tight tolerances, or a higher-end finish. Buyers get cleaner quotes when they share the full structure up front rather than asking for a price from a rough sketch.
MOQ changes the economics quickly. A 500-piece order often looks expensive on a per-unit basis because setup, proofing, and cutting costs are spread across fewer pieces. At 2,500 or 5,000 units, the unit price usually falls enough to make the extra inventory worth keeping if the program will be repeated for onboarding, events, or recurring sales gifts. That is the math behind any corporate gifting Frosted Zipper Bags Packaging Insert checklist: the cheapest quote is not always the most efficient order size.
For planning only, many standard printed inserts land around $0.18 to $0.45 per unit at mid-range quantities. More complex multi-pocket structures or specialty finishes can move higher. That range is broad on purpose. Real pricing depends on board grade, print coverage, tooling, proofing requirements, and manual assembly time. Freight and pack-out can change the landed cost more than buyers expect.
| Insert Option | Typical Use | Relative Cost | Presentation Impact |
|---|---|---|---|
| Light card insert | Flat letters, handouts, simple welcome pieces | Lowest | Clean, basic, efficient |
| Coated chipboard insert | Mixed items, small gifts, moderate protection | Medium | More structure, better alignment |
| Multi-pocket custom insert | Premium kits, executive gifts, multi-item sets | Higher | Best for controlled presentation |
| Foam or reinforced board | Delicate pieces, display-focused kits | Highest | Strong visual separation, more assembly |
Ask for three things in every quote: exact spec, setup charges, and proofing terms. Then ask how sample costs are handled, whether freight is estimated as one shipment or split across cartons, and what happens if a reprint is needed because of a file issue. Those details matter more than a headline unit price, because they determine the final bill.
If related components such as sleeves, mailers, or branded collateral are part of the same program, pricing them together usually saves time. A quote built around the whole kit is easier to compare than a stack of disconnected numbers.
Process and Timeline: From Artwork to Packed Cartons
The production path is fairly predictable: brief, dieline, artwork setup, proof review, sample approval, press run, finishing, kitting, and carton pack-out. The schedule usually slips during approvals, not during printing. One copy change can add days. A structural revision to the insert can add more if the dieline has to be redrawn.
Stock items and custom items do not move at the same speed. A standard insert with a simple logo print can move quickly. A fully custom insert with multiple die-cuts and a specialty coating needs more time. Anything involving new artwork, a new layout, or a new material should be assumed to need extra review. The most common delay is not production capacity; it is waiting for internal sign-off on something that behaves like a production part, not a brochure.
Production time and logistics time are separate problems. A fast run does not help if the cartons miss the handout date. The receiving address, contact person, carton count, and distribution plan should be confirmed before release. If the kits will ship in waves, that needs to be stated before the order enters production so the pack-out sequence matches the delivery plan.
For programs with environmental requirements, ask whether recycled content or FSC-certified board is available and whether that claim needs to appear on the pack. Environmental language is most credible when it is backed by documentation. EPA guidance on materials management and recycling can help teams think through reduction and recovery before they lock the structure in place: EPA recycling and materials guidance.
A practical timing checklist helps prevent last-minute surprises:
- Confirm dimensions and contents.
- Approve the artwork and copy.
- Review the proof or sample.
- Lock the production slot.
- Schedule delivery and receiving.
Common Mistakes That Turn a Good Kit Into a Loose Fit
The first mistake is oversizing the insert. Extra room feels safer on paper, but too much clearance lets the contents rattle and makes the kit look rushed. Even a premium frosted bag can read as underfilled if the insert is too wide, too tall, or too shallow for the actual contents. Proportion matters as much as print quality.
The second mistake is undersizing. Nominal bag dimensions can be misleading if the zipper line, gusset depth, or seam allowance cuts into the usable space. A tight insert may buckle the film or make the zipper sit unevenly. That problem shows up fast with frosted material because pressure points are visible.
Flimsy stock causes another kind of failure. A buyer may save a few cents by choosing lighter board, then discover the insert bends during assembly or shipping. Once a board warps, the whole kit looks compromised even when the contents are fine. For heavier pieces or multi-item sets, the insert needs enough stiffness to survive handling and transit.
Proofing mistakes can be just as expensive. Cropped logos, low-contrast barcode art, or text too close to a trim edge often become rework after the job has already been scheduled. A good habit is to check the proof three ways: flat on a desk, held at arm’s length, and under the same lighting the recipient will see. That catches more issues than a quick screen review.
Assembly complexity also creates problems. If the insert requires too many folds, tabs, or adhesive points, pack-out becomes inconsistent. Consistency is what protects presentation. A simpler insert built the same way every time usually outperforms a more elaborate structure that different packers interpret differently.
For retail packaging and corporate gifting alike, the best designs balance speed, accuracy, and appearance. That does not mean plain. It means deliberate, with each part earning its place.
Expert Checks and Next Steps for a Clean Approval
Before sign-off, run a preflight that checks dimensions, approved copy, color targets, finish, quantity, carton count, and target delivery date. These are the errors that can be prevented. If the kits will go to executives, be photographed, or handed out at an event with a hard deadline, request a flat proof or physical sample rather than relying on screen color alone.
That sample should be reviewed under realistic conditions. Put it under event lighting. Hold it at the distance a recipient is likely to see it. Confirm that the insert still looks aligned once the bag is zipped. If the contents shift during a short shake test, the layout needs another adjustment. That kind of practical check is usually more valuable than another round of abstract feedback.
Responsibility also needs to be clear. Someone should own final QC, someone should own pack-out, and someone should own freight coordination. When those roles are vague, an order can be technically correct and still arrive late, incomplete, or mismatched with the distribution plan. Packaging programs do not fail only because of print errors; they fail when no one owns the last mile.
Use this sequence before approval:
- Measure: verify the usable interior size and actual contents.
- Spec: choose the stock, finish, print sides, and retention method.
- Sample: review a flat proof or physical sample under real conditions.
- Approve: lock copy, color, quantity, and pack-out instructions.
- Schedule: confirm production, freight, and delivery timing.
Handled that way, the corporate gifting Frosted Zipper Bags Packaging Insert checklist becomes a control system rather than a troubleshooting exercise. Measure first. Spec it clearly. Sample before release. Approve with discipline. Build in time for freight and receiving. That is how a frosted zipper bag moves from holding items to presenting a gift kit that feels finished the moment it is picked up.
What insert size works best for frosted zipper bags in corporate gifting?
Measure the usable interior width and height after accounting for the zipper, seams, and any gusset. Leave a small clearance so the insert slides in cleanly without buckling the bag or scraping the film. Always test the full kit with the actual contents, because thickness changes the final fit.
Do frosted zipper bags need a rigid insert or is card stock enough?
Card stock is usually enough for lightweight mailers, flat handouts, or simple welcome pieces. Use a stiffer board when the kit includes multiple items, uneven shapes, or anything that must stand upright for presentation. The lightest insert that still prevents shifting is usually the right answer.
How does MOQ affect pricing for a packaging insert order?
Lower quantities usually carry a higher unit cost because setup, cutting, and proofing are spread across fewer pieces. Larger runs often lower the per-piece price enough to justify some extra inventory, depending on how often the kit will be used. Ask for pricing at two or three volume levels so the breakpoints are visible.
What should I expect for lead time on a custom insert and bag program?
Lead time depends on artwork approval, dieline changes, sampling, and whether the inserts are printed on one side or both. Custom work takes longer than stock configurations, especially if revisions happen after proofing starts. Build in shipping time and internal approval time so the finished kits do not arrive too late for the campaign.
What should I check before approving the final frosted zipper bag order?
Confirm dimensions, artwork placement, color, finish, quantity, and carton pack-out before signing off. Review a sample or proof under the same conditions where the kits will be used, such as event lighting or photography. Make sure the shipment date, delivery address, and receiving contact are correct before production releases.


