The supplement frosted zipper Bags Packaging Insert Checklist is there to keep the package functional, not just attractive. A frosted zipper pouch can look clean on shelf, but the insert carries the actual operating information: directions, warnings, storage notes, lot space, and support details. If the insert is vague or oversized, the whole pack starts to feel improvised.
The insert is part of the packaging system, not an add-on. It has to fit the pouch, survive folding and hand insertion, and stay readable through translucent film. Small errors matter here because they affect both appearance and production. A 2 mm trim miss can create a bulge, slow the line, or force a proof revision after approvals are already underway.
For buyers, the checklist is mainly a control document. It forces the team to confirm size, paper, fold, copy, and approval ownership before quoting starts. That reduces rework and makes supplier quotes comparable. It also gives the pouch, insert, and any carton the same editorial logic instead of three separate versions of the brand message.
Supplement Frosted Zipper Bags Packaging Insert Checklist: What It Actually Controls
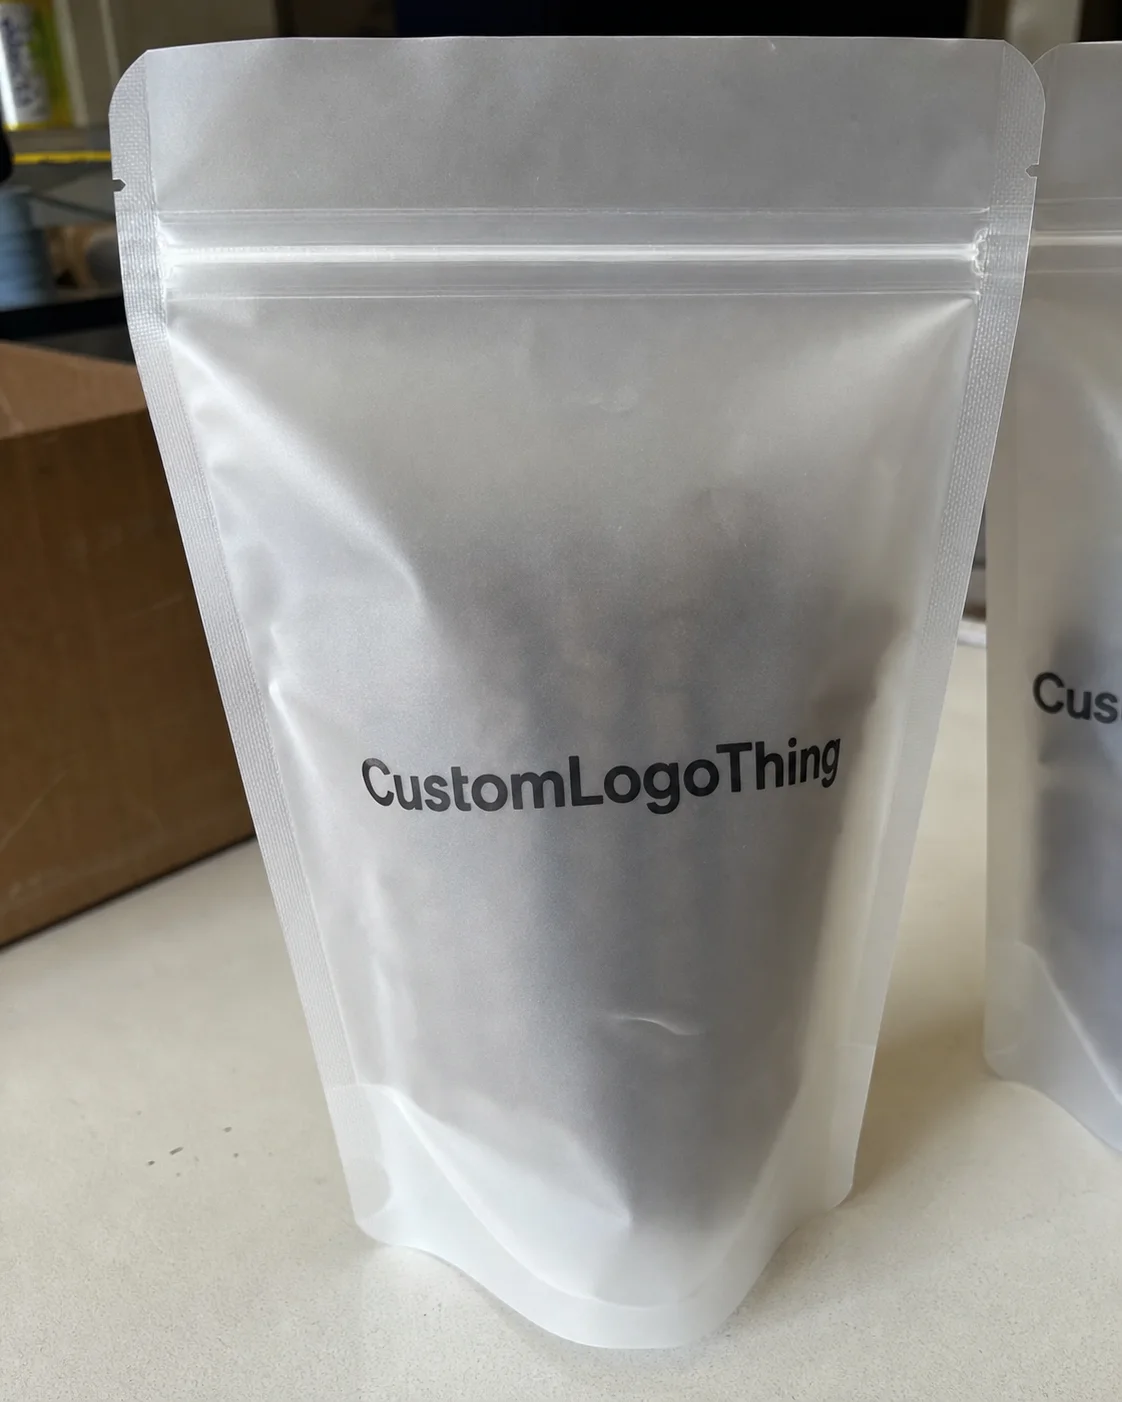
A good checklist prevents the insert from becoming the place where assumptions pile up. The basic decisions are straightforward: finished pouch size, usable interior space, insert trim size, fold format, and content hierarchy. Those five items decide whether the insert sits flat or turns the bag into an overfilled sample.
The checklist should also confirm what the insert is responsible for. In most supplement packs, it holds directions, warnings, storage instructions, batch or lot space, and customer contact information. If any of those are missing or squeezed off the page, the supplier will have to stop and rebuild the file.
Frosted film makes weak copy design easier to spot. The pouch softens the visual field, but it also lowers contrast if the insert uses thin type, poor spacing, or overly light paper. That is why the insert should be approved against the pouch, not on its own.
When the packaging program includes other formats, such as retail cartons or Custom Packaging Products, the insert should follow the same hierarchy and tone. It does not need the same layout, but it should feel like it belongs to the same system. Mismatched copy or style across surfaces is obvious once the package is in hand.
The checklist also helps supplier pricing. A precise brief is easier to quote than a request for “something premium.” Clear specs reduce assumptions, and fewer assumptions usually mean fewer changes after proof.
How the Insert Interacts with the Pouch and Pack-Out
The insert has to be designed around the pouch geometry. A frosted zipper bag has limited clearance, and that space disappears quickly once product, insert, and zipper all share the same volume. If the insert is too tall, too stiff, or folded the wrong way, the closure will bow and the pack will look crowded.
Pack-out method matters just as much as artwork. Some SKUs can use a flat sheet inside the pouch; others need a folded insert beside the product or packed separately. That decision affects insertion speed, finish quality, and consistency on the line. It also affects whether the pouch sits flat after sealing.
For supplements, the insert usually serves a practical role rather than a promotional one:
- Directions for use
- Warnings and cautions
- Storage instructions
- Batch or lot reference space
- Customer support or contact information
Those items look routine until one of them is missing or cramped. Then approvals stall, files get rebuilt, and the schedule slips. The problem is not cosmetic; it is operational.
Frosted film also changes how text reads. It softens contrast, which can be good for shelf appearance, but weak type and poor spacing become harder to forgive. Small copy that looks acceptable on screen can become hard to read once folded and viewed through translucent packaging under store lighting.
The pouch, insert, and carton should be checked as one approved master. If the outer pack says one thing and the insert says another, the consumer notices the mismatch even if they cannot describe it. A single content source avoids that error.
Specs That Decide Fit, Readability, and Shelf Appeal
The spec list is where the job gets controlled. For a supplement Frosted Zipper Bags Packaging Insert checklist, the first measurements should be finished pouch size, usable interior dimensions, insert trim size, fold pattern, and headroom above the zipper. Those numbers determine whether the insert fits cleanly or becomes a production problem.
Paper choice is practical, not decorative. A simple instruction insert often works in the 80gsm to 120gsm range. If the piece needs more structure, 128gsm to 157gsm is common, but heavier stock can be harder to fit inside a tight pouch. The sample board may look better with heavier paper than the actual bag does.
Finish affects legibility. Matte stock usually works best for dense instructions because it cuts glare and keeps small type clearer. Gloss can work for brand-led inserts, but it is easier to overdo inside frosted packaging. Here, contrast matters more than shine.
Print structure matters too. One-sided inserts are simpler and cheaper. Two-sided layouts give more room, but they need better fold planning and tighter registration. If the insert includes QR codes, lot fields, or regulated statements, the layout needs enough white space around those elements.
| Insert Option | Typical Use | Strength | Tradeoff | Unit Cost Effect |
|---|---|---|---|---|
| Single-sheet 80gsm matte | Basic directions and warnings | Low cost, easy to fold | Less premium feel | Lowest print cost |
| Two-page folded 128gsm | More copy with stronger presentation | Better structure and readability | More material and fold handling | Moderate increase |
| Multi-panel 157gsm | Dense, multilingual, or compliance-heavy content | More space for detail | Bulkier inside the pouch | Highest insert cost |
This matters because a low-cost pouch can become expensive once the insert and assembly are added. A simple pouch paired with a complicated insert can cost more than a slightly better pouch spec that reduces labor and rework.
For paper sourcing claims, the FSC system is the standard reference for certified paper. For general packaging terminology and industry references, the Packaging Association is useful. If the pack has to survive transit stress, the test methods referenced by ISTA are worth checking before launch depends on assumptions.
Cost, MOQ, and the Real Drivers Behind the Quote
Pricing is driven by a small set of variables: pouch size, film structure, zipper style, print coverage, insert page count, and pack-out method. If those details are not set before quoting, the estimate is only a placeholder. That is especially true when the insert needs folding, collation, or manual insertion.
Setup cost matters most on lower-volume runs. At 1,000 units, fixed prepress and handling charges affect the unit price far more than they do at 10,000 units. Once you add labor for insertion or kitting, the cost of the insert can rival the cost of the pouch. On larger runs, unit pricing improves, but only if the artwork stays stable and the assembly stays simple.
Ask for the full landed picture, not just the print price. Art prep, dieline review, proofing, paper, folding, labor, freight weight, and special handling all belong in the comparison. If a quote leaves those pieces vague, it is not a fair basis for decision-making.
| Cost Driver | Lower Impact | Higher Impact |
|---|---|---|
| Pouch size | Standard stock pouch | Large custom format or unusual dimensions |
| Print coverage | Limited color or simple artwork | Full bleed, multiple colors, specialty effects |
| Insert complexity | Single sheet, one fold | Multi-panel, multilingual, dense regulated copy |
| Assembly | Basic hand insertion | Collation, kitting, or sequencing by SKU |
MOQ also changes the picture. Some suppliers can support small runs but charge more for setup and handling. Others need larger quantities before the unit cost makes sense. What does not usually improve with scale is complexity. The more panels, languages, or insert steps you add, the less likely the quote is to get simpler.
For clarity, request three prices when the project is still in flux: pouch only, insert only, and pouch plus insert assembled. Splitting the quote exposes where the cost sits and makes supplier comparison much easier. It also shows whether the expensive part is material, labor, or process friction.
Production Timeline, Proofs, and Version Control
A workable sequence is straightforward: brief, spec confirmation, dieline review, copy check, artwork proof, sample approval, production, then packing and shipping. Each step exists because skipping it usually costs more later.
Lead time depends on content stability. If the insert copy is final and the pouch dimensions are locked, proofing can move quickly. If ingredient lines, warnings, or language versions are still changing, the schedule slows immediately. Compliance review can add more time when market-specific statements need legal signoff.
Physical samples matter because a PDF cannot prove fit. A sample shows whether the insert folds cleanly, whether the type remains readable after folding, and whether the piece sits in the pouch without pressing the zipper. That check is cheaper than a reprint.
A simple timeline rule keeps the job moving:
- Lock the final content first.
- Approve structure and material second.
- Move to mass production only after the sample passes fit and readability checks.
Version control is the other risk point. One SKU may need a different warning line, a different lot-code area, or a different language panel. If those files are not tightly controlled, the wrong insert can end up in the wrong pouch. That mistake is hard to catch once the run is underway.
Typical lead times vary, but a straightforward job often takes about 12 to 15 business days after proof approval. More complex inserts, specialty finishes, or manual assembly push that window longer. Rush service is possible in many cases, but it usually costs more and leaves less room for correction.
Mistakes That Cause Reprints or Delays
The most common mistake is treating the insert like marketing collateral instead of a working part of the package. That leads to crowded layouts, weak contrast, and copy that reads well in a meeting but poorly when the pouch is opened and handled.
Sizing errors are next. Too long, and the insert fights the zipper line. Too many panels, and the fold becomes awkward to insert at scale. Too much stock weight, and the pouch starts looking overfilled. These are small mechanical failures, but they change how the package feels immediately.
Content errors are just as costly. Missing storage instructions, no room for lot code, copy that does not match the label, or type that is too small to read all slow approvals or force rework. If the pouch says one thing and the insert says another, the package has already lost coherence.
Another avoidable problem is approving artwork before the pack-out method is fixed. If the insert has to be inserted by hand, stacked, or collated in a specific order, the layout may need to change. A checklist that ignores assembly is incomplete.
Too little whitespace is the quiet mistake that shows up on shelf. Teams sometimes fill every available millimeter with text and assume the result is efficient. It is not. It is harder to read, harder to fold, and harder to keep consistent during production.
The best checks are still practical: measure the trim, confirm the fold line, read the insert at arm’s length, and match the final copy against the approved master. That is the minimum needed to avoid reprints and delays.
What to Prepare Before Requesting Quotes
Start with a one-page spec sheet. Include pouch dimensions, film material, zipper style, insert size, fold count, paper weight, finish, quantity range, and whether the pack-out will be manual or assisted. If the project cannot fit into one clear brief, the quote will probably be inaccurate.
Then gather the approved content. Not draft copy, but final text for ingredients, directions, warnings, support details, and lot-code space. If the product needs multiple versions, identify which lines change and which stay fixed. That is how you get cleaner quotes and fewer revisions.
Ask for at least two scenarios:
- Pouch only
- Pouch plus insert assembled
That separation makes the cost structure easier to read. Sometimes the pouch looks inexpensive until the insert and labor are added. Sometimes the integrated package is the better option because it reduces handling and simplifies fulfillment.
Use the same checklist to compare proof quality, lead times, and finish options. A supplier who is fast but vague on fit is not automatically the safer choice. A slower supplier who is precise on structure and copy control may save time by avoiding rework.
If your line includes custom printed boxes, frosted pouches, and printed inserts, standardize naming and approval flow now. That is one of the simplest ways to keep the brand coherent and the production team aligned. Better process usually means fewer errors and fewer expensive surprises.
The practical point is simple. Use the supplement Frosted Zipper Bags Packaging Insert checklist to force the hard decisions early. Confirm fit, content, cost, timing, and assembly before anything goes to press. That is how the package stays readable and the quote stays honest.
What belongs on a supplement frosted zipper bags packaging insert checklist?
Include pouch dimensions, insert trim size, fold style, paper stock, and finish. Add the approved supplement content: directions, warnings, storage notes, and any lot or batch space. The checklist should also record proof approval, quantity, and pack-out method.
How does a supplement pouch insert affect unit cost?
Paper weight, print coverage, fold complexity, and assembly method all affect the price. Manual insertion or collation adds labor, which matters more on short runs than large ones. The lowest quoted number is not always the lowest landed cost once freight and setup are included.
What lead time should I expect for frosted zipper bags plus inserts?
Proofing is often quick if the content and dimensions are already locked, but final artwork and compliance review can slow the job down. Production usually starts after sample approval, so late changes push the schedule immediately. A straightforward run often lands around 12 to 15 business days after approval.
Can the insert replace information printed on the pouch?
It can hold expanded or variable information, but it should not be used to hide mandatory label copy. Core branding belongs on the pouch; detailed instructions, warnings, and support text often fit better on the insert. Both surfaces should agree with the approved master content.
How do I avoid sizing errors with frosted zipper bag inserts?
Measure the usable interior space, not just the flat pouch width. Leave room for folds, zipper clearance, and the chosen pack-out method. A physical sample or blank mockup is the best way to confirm that the insert fits before the print run starts.


