Custom Barcode Labels: Buyer's Guide for Clothing Brands
Most clothing brands do not lose time because the artwork looks bad. They lose time because custom barcode labels scan perfectly in a proof, then fail once they are folded into a polybag, slapped on a carton, or handled by someone moving too fast to babysit every package. In apparel, the label is not decoration. It is part of the operating system. Get one detail wrong and the error shows up in receiving, picking, checkout, or returns.
That is why buyers who also care about Custom Labels & Tags need to think past surface design. A working barcode label has to survive the real environment, not just a mockup. If the code does not scan, the label fails, even if the print is sharp and the color match is dead on.
The good news: the spec does not have to be complicated. It just has to match the actual workflow. That usually means asking a few blunt questions before you place the order. Where will the label live? How long does it need to stay readable? What kind of scanner is used? What kind of surface is it sitting on? Those answers matter more than the sales language attached to the quote.
What Custom Barcode Labels Do in a Clothing Workflow
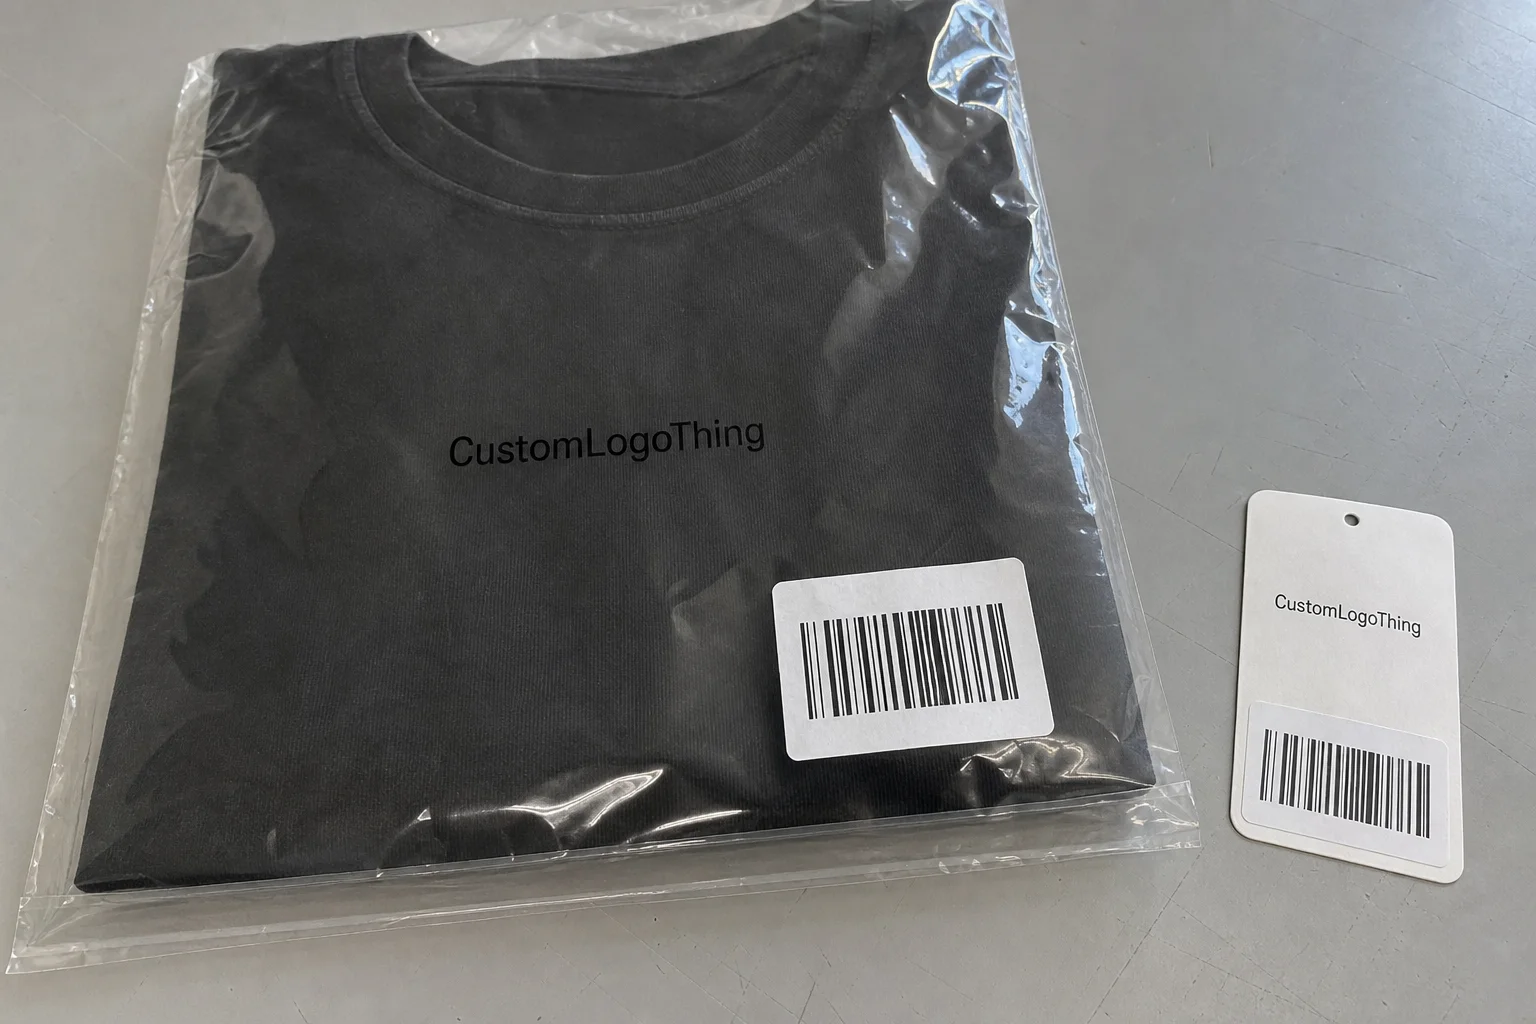
Think of a barcode label as a control point. It may start on a garment tag, a size sticker, a carton label, a shelf bin, or a fulfillment bag, but it usually touches several stages after that. Receiving teams use it to confirm inbound goods. Warehouse staff use it to move stock through bins and racks. Retail teams use it at checkout. Returns teams use it to identify items fast and avoid manual lookups.
That is the real difference between a decorative label and a functional one. A decorative label can tolerate a little visual noise. A barcode cannot. If a scanner needs a second pass, or an associate has to tilt the package under the light, labor cost rises immediately. One extra second per unit is not trivial when you multiply it across a shipment or a full shift.
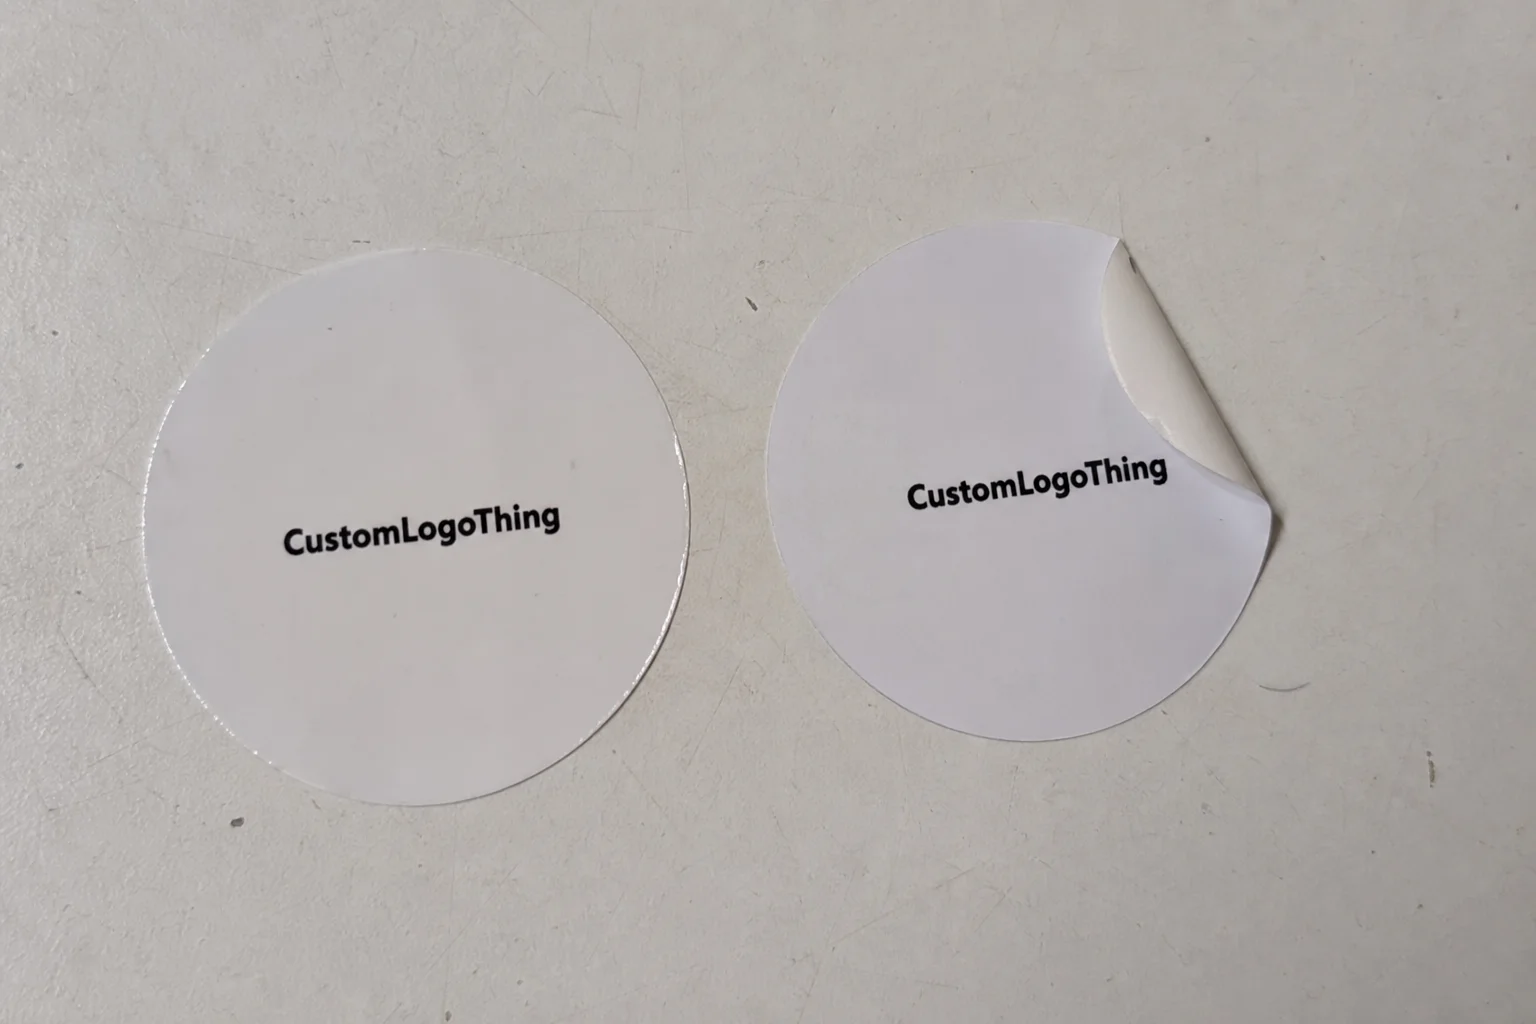
Clothing creates awkward label conditions that other categories do not always have. A label may be applied to glossy polybag film, rough corrugate, a folded hangtag, or a soft textile surface that shifts when handled. The same code can behave differently depending on where it is placed. That means the buyer's job is not to pick the prettiest sample. It is to match the label spec to the surface and handling pattern.
For a packaging buyer, the question is simple: does this label help the operation move faster without creating errors? If yes, it is doing its job. If not, it is just another thing to reprint.
A barcode that scans every time is more valuable than a label that only looks good on paper.
How Custom Barcode Labels Actually Work on the Line
A barcode system has four parts that need to agree: the data, the symbology, the printer, and the scanner. The data might be an item number, SKU, color code, size code, bin location, or carton ID. The symbology is the format, such as Code 128, UPC, or QR if the workflow needs more data density. The printer lays down the marks. The scanner reads them. Human-readable text sits underneath as a backup when a scan fails or someone needs to verify the code by eye.
That sounds simple. It is not. Contrast has to be strong enough for the scanner to separate bars from background. Quiet zones, the blank space around the code, cannot be crowded by artwork or borders. Bar width has to stay within spec, especially on small labels. Print resolution matters too, because fuzzy edges can turn a clean barcode into something a warehouse scanner struggles to read.
Variable data is where a good label system earns its keep. Clothing brands often need one base format that handles size runs, color variations, style numbers, warehouse bins, and carton IDs without rebuilding artwork every time. Clean file setup saves a lot of pain. A well-built master file can support seasonal updates, reorder runs, and different packing stations without starting over.
The most common mistake is assuming any barcode image will work if it looks right on screen. It will not. The code has to match the print method, the material, the label size, and the scanning environment. A barcode designed for matte paper may behave very differently once it is printed on glossy synthetic stock or placed under harsh retail lighting.
That is also why the printer side matters. If the order is using thermal transfer, the ribbon needs to match the stock and the expected wear. If the label is direct thermal, buyers need to understand the tradeoff: lower setup cost, shorter life. That is fine for some carton and bin use cases. It is not fine for labels that need to survive heat, friction, or extended handling.
Packaging teams that already manage Custom Packaging Products usually recognize this quickly. A label is not isolated. It sits inside a larger handling system alongside shipping cartons, inserts, hangtags, and retail packaging. If one part changes, the label spec often needs a reset too.
Material, Adhesive, and Finish Choices That Last
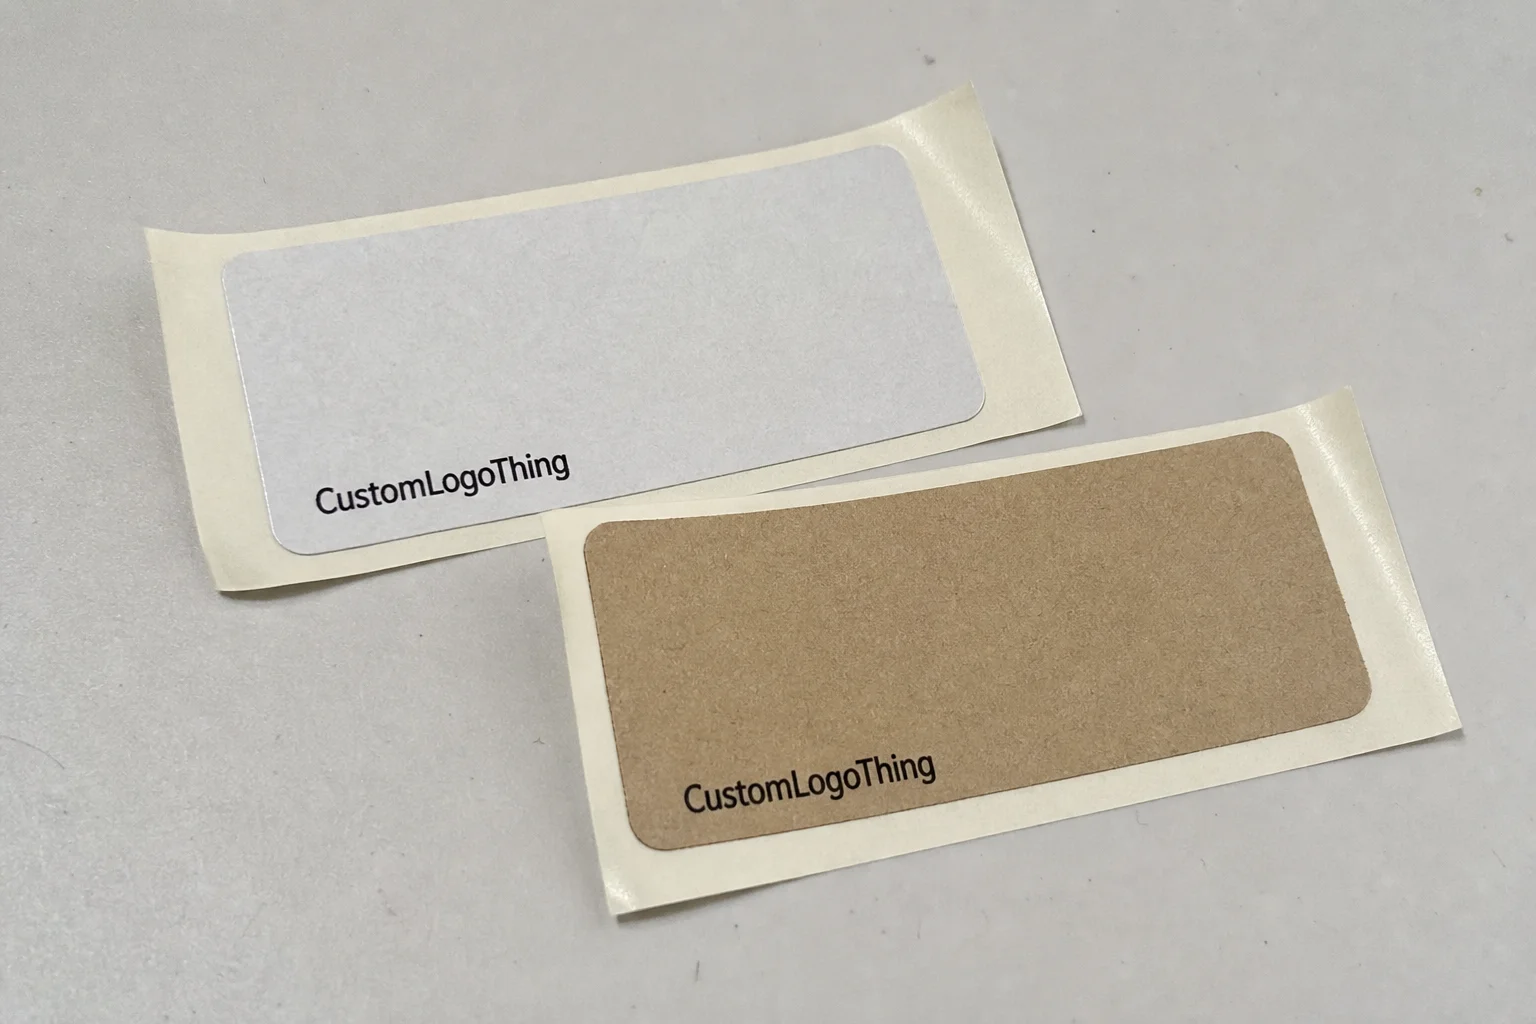
Material choice should start with surface, handling, and life span. Paper is usually the simplest option for short-life use, especially on cartons or low-abrasion applications. Coated paper adds a cleaner print face and can improve legibility. Synthetic stocks like polypropylene or polyester cost more, but they hold up better when the label gets rubbed, bent, exposed to moisture, or handled repeatedly.
Adhesive matters just as much as the face stock. Permanent adhesive makes sense for carton labels, shelf labels, and many shipping applications where the label needs to stay put. Removable adhesive is better for temporary identification on garment bags, folding boards, or product packaging that should not be marked permanently. If a label has to survive cold storage or chilled handling, a freezer or cold-chain adhesive may be necessary, but that depends heavily on the exact surface and temperature range.
Finish affects both appearance and scan performance. Matte is usually the safest choice when a label needs low glare and easy reading under warehouse lights. Semi-gloss can look cleaner on retail packaging, but glare can become a problem if the label is angled under strong light. Thermal transfer printing is often preferred for durability because it pairs well with ribbons selected for abrasion or chemical resistance. Direct thermal can work for shorter-life applications, but heat and friction shorten its useful life.
For apparel programs, a few practical patterns show up again and again. Paper works for inexpensive short-run inventory labels. Coated paper is a decent middle ground for garment packaging and folded goods. Polypropylene handles moisture better and stays readable longer. Polyester is durable enough for harsher environments, but it is often more label than a standard clothing workflow needs.
Here is a simple comparison for typical apparel label choices:
| Option | Best Use | Typical Unit Cost at 5,000 Pieces | Strengths | Tradeoffs |
|---|---|---|---|---|
| Paper, direct thermal | Short-life carton or bin labels | $0.06-$0.11 | Low cost, fast production, simple setup | Sensitive to heat, friction, and moisture |
| Coated paper, thermal transfer | Garment tags, folded apparel bags | $0.09-$0.16 | Good print sharpness, better handling, strong scan contrast | Needs ribbon and printer compatibility |
| Polypropylene synthetic | Durable retail or warehouse labels | $0.14-$0.24 | Moisture resistance, better abrasion performance | Higher material cost, tighter spec control needed |
| Polyester synthetic | Longer-life inventory or industrial use | $0.18-$0.32 | Strong durability, stable in harsher handling | Usually overkill for simple apparel use |
If the label program has sourcing or sustainability requirements, ask whether the stock can be backed by chain-of-custody documentation. That does not matter for every order. It does matter when the label is part of a broader packaging spec that has to hold up under audit or retailer review. For validation on transit and handling expectations, packaging references such as the Packaging School and related packaging resources and ISTA test methods are useful touchpoints.
Cost, Pricing, and MOQ Factors to Budget For
Pricing for custom barcode labels is usually driven by six things: size, material, adhesive, print method, quantity, and variable data. Add finishing or protective coatings and the quote moves again. A small paper label with one static barcode is a very different job from a synthetic label with sequential numbering, custom cut shapes, and tight color matching.
Minimum order quantity matters because setup costs have to be spread across the run. A 1,000-piece order often carries a higher unit price than a 5,000-piece order, even if the larger run costs more in total. In some cases, a slightly larger run makes sense if the design is stable across seasons and the brand can hold the extra inventory without risk.
Common add-ons affect the final number too. Proofs are often included, but not always. Color matching, sequential numbering, variable data setup, and rush work can all add cost. If the label needs lamination or a special varnish, that shows up in the quote as well. The only fair way to compare suppliers is to compare the same spec, not just the lowest headline price.
The part buyers miss is total cost of ownership. A cheaper label that causes scanner failures, relabeling, or hand-keyed inventory can become expensive in one afternoon. Labor is the hidden line item. If the warehouse has to stop and correct codes, the savings from a lower print price vanish fast.
For reference, a straightforward apparel label program might land around $0.07-$0.12 per unit for paper-based runs, $0.10-$0.18 for coated or thermal transfer work, and higher for synthetic materials or specialty finishing. Exact pricing depends on coverage, quantity, and how much data lives on the label. There is no honest flat price without a spec sheet.
Production Steps and Lead Time From Proof to Ship
The normal order flow starts with artwork review and data confirmation. Then comes proof preparation, proof approval, test printing, production, inspection, packing, and shipment. If the job is simple and the file is clean, the process moves quickly. If the data is messy, the dimensions are unclear, or the label needs unusual finishing, the order slows down because somebody has to verify the details before it goes to press.
Lead time depends on material and quantity, but a standard run often lands around 7-12 business days after proof approval. Special materials, complex variable data, or strict color requirements can push that to 12-15 business days or more. Rush work is possible in many cases, but it is still limited by proofing, inventory, and press capacity.
A clean prepress file shortens the cycle more than almost anything else. If the barcode data is correct, the dimensions are locked, the version number is clear, and the artwork exports cleanly, the printer does less back-and-forth. That matters when product launches are tied to a sales calendar and the label cannot slip without affecting the shipment.
One useful habit is to send a complete spec sheet with the quote request. Include size, stock, adhesive, print method, quantity, barcode type, data sequence, application surface, and any compliance needs. That reduces guesswork and gives the supplier a fair shot at quoting accurately the first time.
Good orders usually get approved quickly because nobody has to chase missing information. Bad orders tend to move in circles. The difference is almost always in the setup.
Common Mistakes That Cause Reprints or Bad Scans
The failures I see most often are basic. Low contrast is one. Tiny bar widths are another. Missing quiet zones show up constantly, especially when buyers try to cram too much text or a logo near the code. A barcode can look balanced on the screen and still be impossible to scan once printed at the final size.
Resolution mistakes are common too. A logo file exported at the wrong resolution can make the bars fuzzy, and fuzzy bars are trouble. If the artwork is resized after the barcode was placed, the proportions can shift just enough to cause a read issue. That is why the master file needs version control, not a folder full of nearly identical exports.
Material and adhesive mistakes are just as costly. A glossy finish can throw glare back at the scanner. A removable adhesive may not hold on a textured carton. A permanent adhesive may be wrong for a garment bag that should stay clean. None of these errors look dramatic by themselves, but each one can slow the floor and create confusion in inventory.
There is also the human side. If the team changes data at the last minute and nobody updates the artwork version, the labels may ship with the wrong SKU or stale size code. That does not just trigger a reprint. It can turn into a stock reconciliation problem that reaches receiving, fulfillment, and customer service.
For any brand ordering custom barcode labels alongside other Custom Packaging Products, file discipline is part of the package. A clean label cannot fix a workflow that changes too late.
Expert Tips for Faster Scanning and Cleaner Inventory
Test the barcode at the real application size, not just on the proof. A code that scans perfectly at 100 percent may become fragile when it shrinks to fit a narrow garment tag or a small inventory label. The real test is the real surface, with the real scanner, under the actual warehouse or retail lighting.
Build a simple approval checklist before every reorder. It should cover barcode data, label size, stock, adhesive, placement, and the reorder version number. That sounds basic because it is basic. Basic is good. It keeps seasonal updates from drifting into small errors that are hard to catch once the labels are on the line.
Human-readable text deserves more respect than it gets. A clear SKU, size, or bin code under the bars can save time when a barcode smudges or a scanner misses one label in a batch. It also helps new staff move faster without stopping to ask for confirmation every few minutes. That is real labor savings, not theory.
Where possible, keep a consistent format across related styles. If similar product families use the same barcode placement, font size, and general label layout, the team learns the system faster and inventory becomes easier to audit. Consistency also makes the packaging side look organized instead of patched together.
Keep one approved reference sample on file. If a reorder is ever questioned, a physical sample removes a lot of uncertainty. It is simple, but it works. That sample should match the approved stock, adhesive, print quality, and finished size, not just the artwork.
Quality control should be practical, not ceremonial. Check the first article against the proof, scan a sample from the run, and verify that the human-readable text matches the data file. If the label is going on a carton or bag, test it on the real substrate. A good lab-style check is useful. A real-world check is better.
Next Steps for Ordering the Right Label Run
Before you Request a Quote, gather the basics: label size, material, adhesive, barcode data, quantity, and the surface where the label will live. If the label goes on a carton, a polybag, a garment tag, or a warehouse bin, say so. Those surfaces do not behave the same, and the spec should reflect that.
Ask for a proof or sample run, then test it on the actual apparel packaging, storage bin, or carton. A screen proof can confirm layout, but it cannot confirm scan performance. That is the difference between looking correct and working correctly.
It also helps to confirm the reorder path now. If future runs need the same format, a data refresh, or a seasonal code change, document that up front. The more stable the format, the easier it is to keep production moving without disruption.
For clothing brands, custom barcode labels are not a minor accessory. They sit at the intersection of product packaging, inventory control, and retail execution. Spec them clearly, approve them carefully, and keep the format stable enough that the next run does not require rebuilding the system from scratch.
What should I know about barcode labels for clothing before ordering?
Decide where the label will be used first, because a label for garment bags, shipping cartons, and warehouse bins may need different stock and adhesive. Build the order around scan reliability, not just appearance, so the code stays readable after handling, folding, or storage.
Which material is best for barcoded labels on apparel packaging?
Paper works for short-life, low-abrasion use, while synthetic stocks hold up better when labels rub, bend, or face moisture. If the label will be handled a lot, choose a stock and finish that stay readable under warehouse lighting and repeated touch.
How does MOQ affect the cost of barcode labels?
Lower quantities usually raise unit cost because setup and proofing get spread over fewer labels. A slightly larger run can sometimes be more economical if it covers forecast demand and reduces the chance of a near-term reorder.
Why do printed barcodes fail even when the artwork looks correct?
Common causes include poor contrast, incorrect sizing, missing quiet zones, and the wrong print method for the chosen stock. A proof on screen is not enough; the label needs to be tested on the real surface with the actual scanner.
How quickly can custom barcode labels move from proof to production?
Lead time depends on file readiness, material selection, quantity, and whether the order needs sequential data or a special finish. Clear specs and fast proof approval usually shorten the turnaround more than any single production tweak.