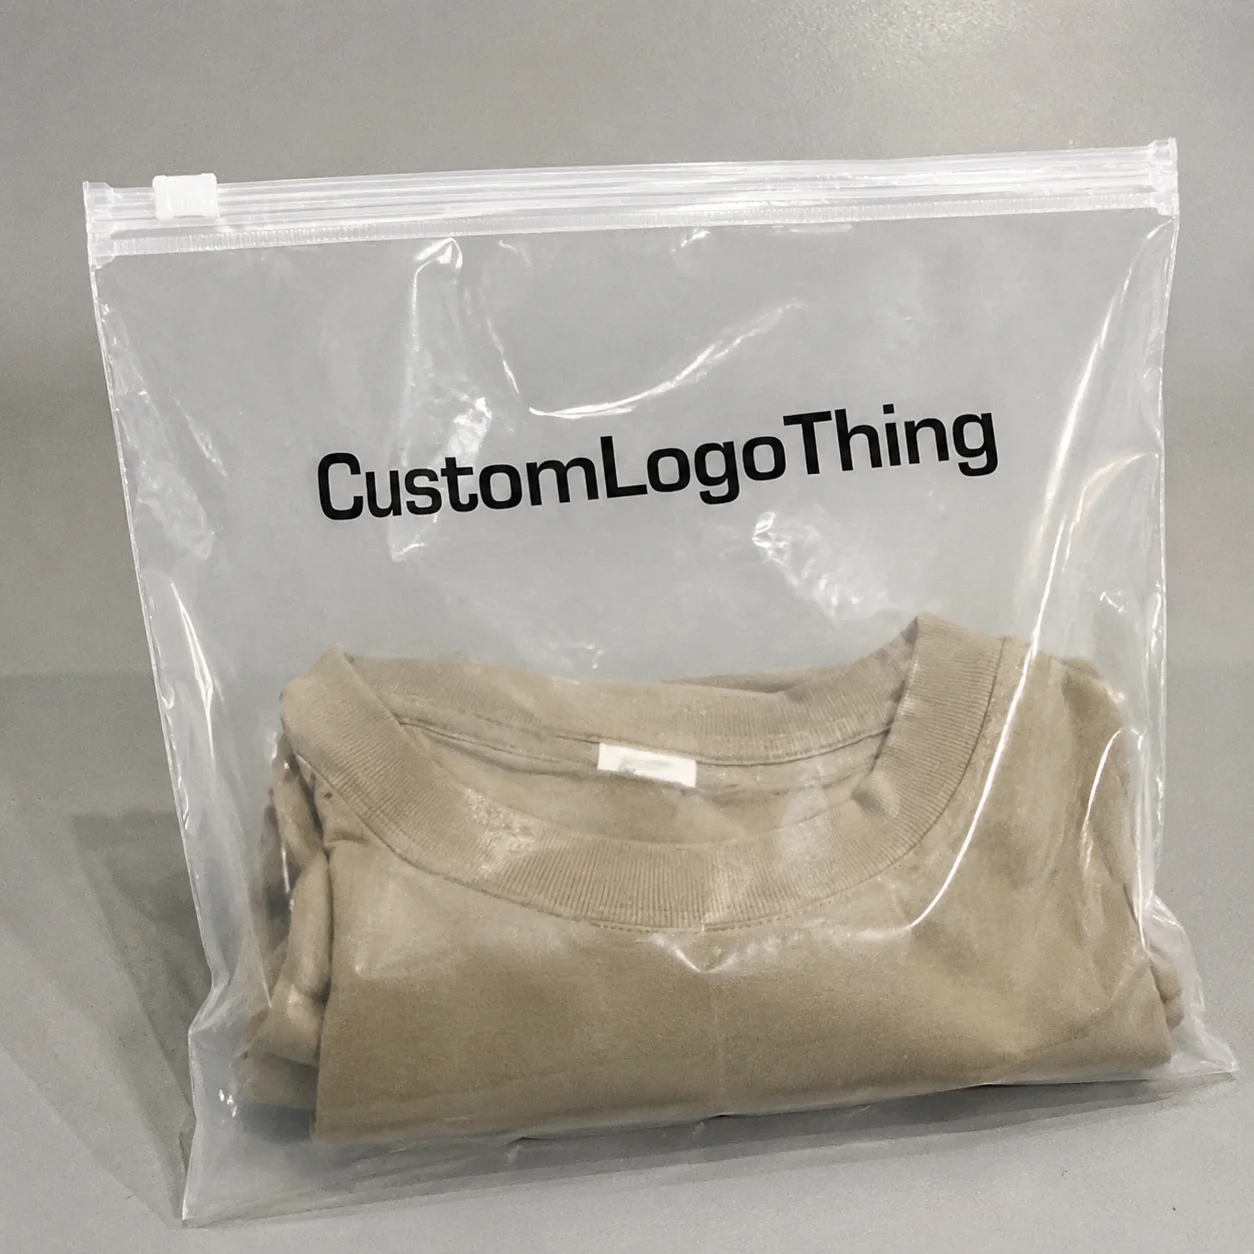
Trade show floors are noisy, crowded, and short on patience. Giveaway packaging has a narrow job: hold together, look intentional, and communicate value fast. That is why custom Clear Zipper Bags for trade show giveaways keep appearing in buyer requests. The contents are visible, the handoff is simple, and the package does not fight the product.
That visibility changes the way a small kit is perceived. A clear bag can make a sampler, brochure set, accessory bundle, or welcome pack feel organized rather than improvised. It also reduces the work of booth staff, who need packaging that packs quickly, stacks cleanly, and stays presentable after a day of handling.
There is a practical reason these bags stay popular: they sit in the middle ground between plain poly sleeves and more expensive custom cartons. For certain event kits, that middle ground is exactly where the value sits. You get structure without overbuilding the package.
Below is a focused look at how the bags are made, where the cost comes from, what to check before approving a sample, and which mistakes tend to surface only after the event starts.
Why custom clear zipper bags are a strong giveaway format
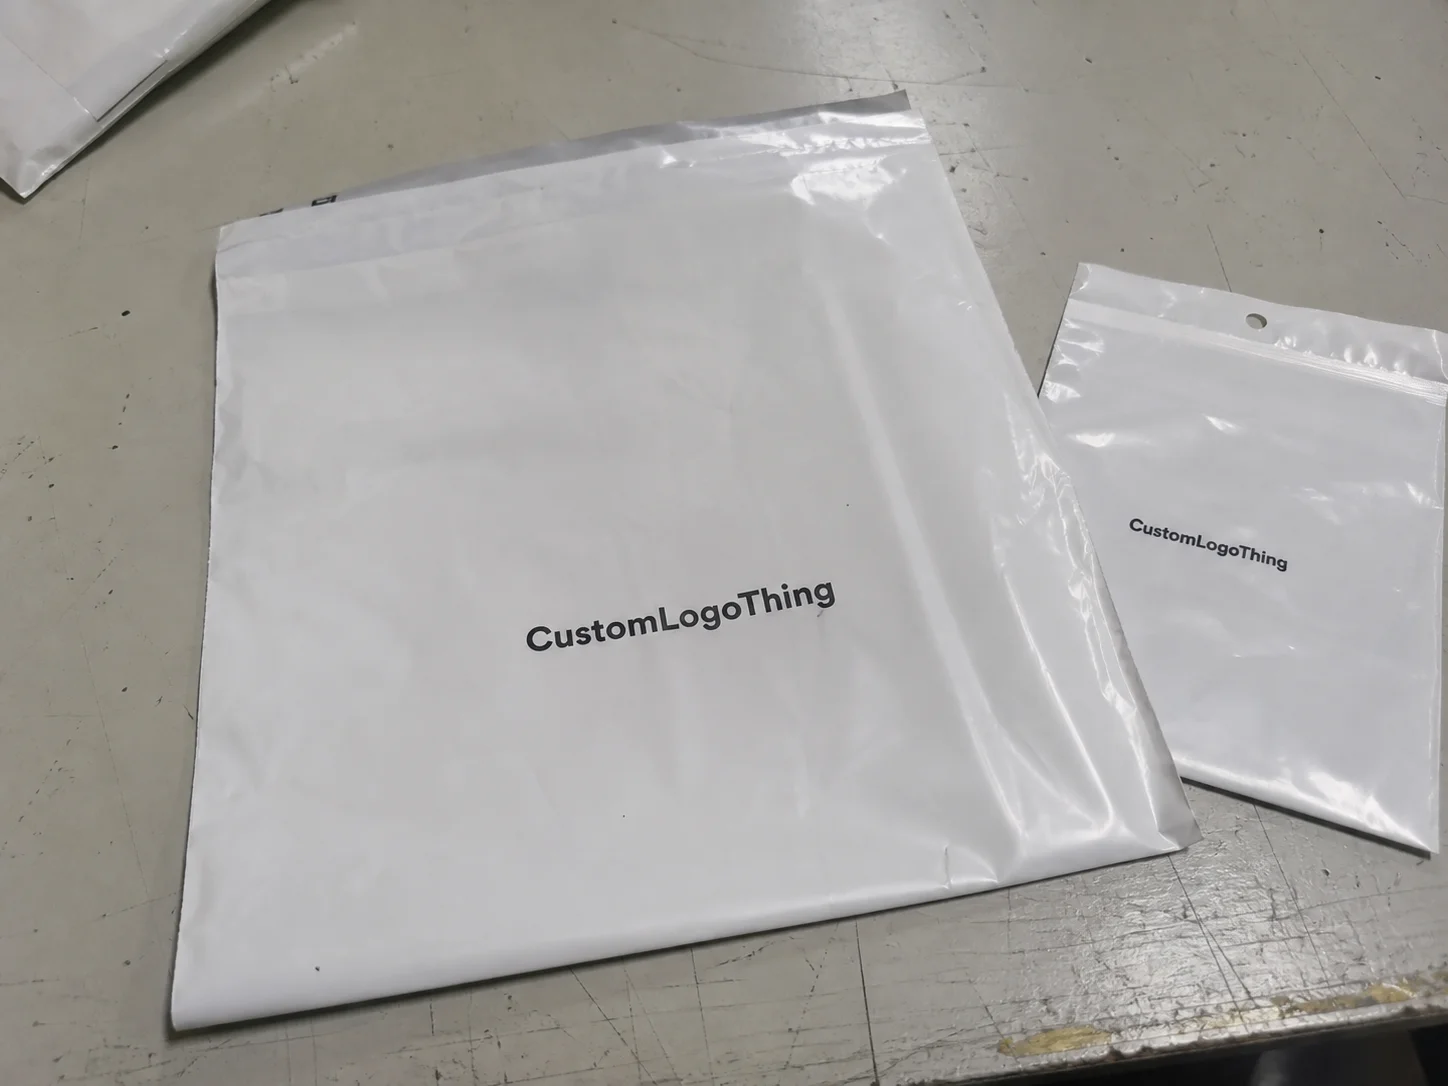
A trade show giveaway needs to do three things at once: protect the contents, present the contents, and survive being handled by dozens or hundreds of people. Clear Zipper Bags handle those demands well because they act as both a container and a display surface. They keep dust off literature, prevent small parts from scattering, and make the contents easy to understand at a glance.
In packaging terms, these are flexible pouches or sleeves, usually made from polyethylene or a similar film, finished with a press-to-close zipper or slider closure. Some versions are flat; others include a gusset for extra volume. The shape matters because it controls how the bag stands, how much it can hold, and whether it looks crisp or baggy once packed.
The transparency is more than a design preference. It gives the attendee an immediate read on what they are receiving. That can increase perceived value, especially for kits made of small components that might otherwise look generic in a closed bag. For a booth team trying to move people through quickly, that matters.
Common uses include sample packs, swag bundles, charging cable kits, cosmetics sets, tool assortments, visitor handouts, and literature kits. If the contents are small and visually interesting, clear packaging usually makes sense. If the contents are messy, mismatched, or prone to shifting, the bag will expose that too.
Practical truth: the best giveaway packaging is rarely the most elaborate one. It is the one that makes the product obvious, the pack tidy, and the handoff quick enough to keep traffic moving.
There is also a coordination benefit. If the booth already uses custom printed cartons, product inserts, or branded literature, a clear zipper bag can extend that same visual system without adding unnecessary layers. That consistency helps the giveaway feel like part of the exhibit rather than a separate purchase made at the last minute.
How the bag structure and print method work
Once the basic format is chosen, the details start to affect both appearance and performance. Film thickness, seal strength, zipper style, and bag shape all change how the finished piece behaves. A thin bag may be fine for a flat flyer kit, but if the giveaway has corners, weight, or mixed components, a heavier gauge usually holds up better.
Most buyers will see three broad looks: fully clear, frosted-clear, and clear with printed accents. Fully clear shows everything without interruption. Frosted-clear softens the appearance and hides fingerprints or minor packing unevenness. Clear with printed accents is often the most useful option for trade show giveaways because it keeps the contents visible while still giving the logo room to stand out.
Decoration methods vary. Screen printing is well suited to bold logos and simple one- or two-color graphics. Flexographic printing is common on longer runs. Labels can work for short runs or changing messages. Insert cards are useful when the bag itself has limited printable area, especially if the brand wants a stronger story without covering the film.
Print detail matters more on clear substrates than many buyers expect. Fine lines, small text, and weak contrast can disappear once the bag is filled and handled under convention lighting. Ask directly about minimum line thickness, print registration, and color expectations before moving past the proof stage.
Closure choice also changes the user experience. Press-to-close zippers are common and economical. Slider closures are easier for some attendees to open and reclose, which helps if the kit is meant to travel after the event. Tamper-evident seals are less common for giveaways, though they can make sense if the contents include sealed samples or items that should not be opened before distribution.
Dimensions should be driven by the packed kit, not by the largest single item. A bag that is too large can make the contents drift around and look underfilled. A bag that is too tight can bow at the panel or strain the zipper. Either problem is visible immediately, and both make the giveaway look less considered.
| Bag style | Best use | Branding area | Typical buyer tradeoff |
|---|---|---|---|
| Fully clear press-to-close | Flat literature, small promo packs | Limited to print zones or insert card | Lowest cost, strongest visibility |
| Frosted-clear zipper bag | Premium-looking swag kits | Good for simple logos and accents | Softens the look, may cost slightly more |
| Clear bag with printed insert card | Multi-piece kits, event packaging | Strong storytelling potential | Requires careful packing and card design |
| Slider zipper bag with gusset | Bulkier items, reusable kits | Moderate | More convenient, usually higher unit cost |
For brands that already use a family of packaging pieces, matching the tone across formats is worth the effort. The giveaway bag does not need to look identical to the primary retail carton, but it should feel like it belongs to the same system. That is where package branding starts to feel deliberate instead of improvised.
Cost and pricing factors that change your quote
Quotes for clear zipper bags are usually shaped by a handful of inputs: size, film thickness, print coverage, closure type, and quantity. Those are the first items to lock down. If any of them are vague, the numbers will be vague too.
Size is the simplest driver. Larger bags use more material and often require more handling. Thickness comes next. A light gauge can be sufficient for flat paper kits, while a heavier film is safer for samples, accessories, or contents with edges. The difference in material cost is not huge per unit, but it adds up over a run.
Quantity matters more than many first-time buyers expect. Setup costs and print prep are spread across every unit, so lower quantities carry higher per-piece pricing. At a rough market level, simple clear zipper bags with light branding may fall around $0.18-$0.28 per unit at 5,000 pieces. Larger sizes, heavier film, more print coverage, or special closures can push that higher. Short runs usually cost more per bag, sometimes noticeably more.
That range is only useful if the quotes are built on the same assumptions. One supplier may include freight, while another excludes it. One may quote a stock size, while another is pricing a custom dimension. One may include a pre-production sample, while another charges separately for it. If those differences are not separated, the comparison is not real.
Extra features often improve the presentation enough to justify the cost. Reinforced seams can reduce failures during packing and transit. A matte or frosted finish can make the bag feel more refined. A custom size can make the kit sit better on a table and pack faster at the line. Those details matter most for high-traffic booths, where the giveaway is part of the first impression.
A cheap bag that tears at the show is expensive in a different way. It creates waste, interrupts the handout, and makes the brand look careless. That is why unit price should never be the only metric. Total impression cost is a better one: what does the bag cost, and what does it cost the team if it fails or looks messy in front of prospects?
When requesting quotes, ask for the material spec, print method, quantity break, lead time, and freight assumptions in writing. If the supplier cannot give those five things clearly, the quote is incomplete. The same goes for sample descriptions: pre-production sample, stock approximation, or production proof are not interchangeable.
Process and lead time: from artwork to delivery
The production sequence is usually straightforward, but the timing still needs discipline. First come the specs: dimensions, film thickness, zipper type, print method, and any special features such as a hang hole or gusset. Then artwork is reviewed for layout, resolution, and print readiness. After that comes proof approval, production, quality checks, and shipping.
Clear zipper bag orders often move faster than more complex packaging, but they are not instant. Stock materials help. Simple print layouts help. Clean artwork helps. Once the design gets more detailed, the schedule stretches. Multiple print locations, tight logo placement near the seal, or unusual sizing all add time.
For straightforward orders, 12-15 business days from proof approval is a reasonable planning window in many cases. Larger runs, custom sizes, or more complex decoration can take longer. If the trade show date is fixed, the safer approach is to plan backward and leave room for proof revisions, freight delays, and the occasional artwork correction that shows up late in the process.
Rush service can sometimes be arranged, but it usually narrows decoration options and increases cost. That is not unusual; it reflects the production realities of sourcing film, preparing print files, completing setup, and running quality checks before the goods move out.
How the order ships matters too. Some buyers need bulk-packed cartons. Others want units sorted by count or separated by kit. If the booth team has to distribute the items quickly, packing the order in a way that matches the handout plan saves time on the show floor. A few minutes saved per carton becomes a real difference when the team is unpacking under deadline.
Transit testing is worth asking about if the kit includes heavier components or fragile inserts. The International Safe Transit Association explains common distribution tests at ista.org, and those methods help identify how a packed kit behaves after shipping vibration, compression, and handling. Even a visually strong package can look weak if the contents shift or scuff in transit.
Key specs to compare before you approve samples
Approval should be based on how the bag performs with the actual giveaway, not just on how the empty sample looks. Start with dimensions, then check film gauge, zipper function, clarity, seal strength, and print area. If the bag needs a notch, hang hole, or gusset, confirm that those features are present and positioned correctly.
Open and close the zipper more than once. Look at seam alignment. Flex the corners lightly. Check whether the bag resists tearing at the seal line. Those may seem like small checks, but they are the ones that separate a presentable bag from one that fails after a few dozen handoffs.
Then test the packed version. Put the real items inside, close the bag, and move it the way booth staff will: into a tote, onto a cart, into a carton, and back out again. A sample that looks fine on a desk can behave very differently once it has weight inside. Shifting contents, bowed film, and a zipper that gets difficult after packing usually show up in that stage.
Compatibility matters if the giveaway includes food items, cosmetics, electronics accessories, or literature with sharp corners. Materials and compliance expectations can differ by application. A heavier gauge or different packing layout may be needed to keep the kit stable and protect the contents.
Presentation quality is part of the spec too. A crooked logo, uneven edge finish, or poor print registration can make a bag look rushed even if the material itself is fine. Clear packaging is unforgiving in that way. There is nowhere to hide weak printing or bad alignment.
Sustainability claims should also be checked carefully. If the film, insert card, or outer carton is being described as recyclable or certified, ask for the supporting documentation. If a fiber component is involved, FSC-certified sources can help support that claim, and fsc.org explains how the certification works. Do not assume all “eco” language means the same thing across every material.
Common mistakes buyers make with giveaway bags
The first mistake is sizing to the main item and ignoring the full kit. A brochure, card, sample vial, protective wrap, and closure space all add bulk. If the bag is sized only around the largest component, the finished package may bulge or close awkwardly.
The second mistake is overprinting. Full coverage can be tempting, especially when a team wants more branding. But if the film is covered edge to edge, the clear packaging loses its main advantage. The giveaway starts to look like an ordinary wrapper, and the visible contents no longer help the presentation.
Artwork issues are another common problem. Low-resolution logos, missing bleed, fonts that are too small, and color choices that disappear on clear film are all avoidable. Print proofing matters more on transparent material than on opaque packaging because flaws show up immediately once the bag is filled and lit from the show floor.
Weight and shape are easy to underestimate. An irregular accessory or heavier sample can stress the seal, distort the panel, or make the zipper harder to close. If the kit includes multiple parts, test the full pack rather than judging each item separately.
Skipping a physical sample is a mistake that tends to show up late. On a screen, the layout may look balanced. In hand, the bag may cloud, crease, shift, or crowd the contents. For an event order, that is not a minor issue. It is a presentation risk.
Another small but common issue is ignoring how the bag will be handled after packing. If the team needs to carry hundreds of units across a venue, load them into booth storage, or repack them for a second event, the closure and material strength matter more than they would in a static display. Packaging decisions made for the first opening need to survive the second and third ones too.
Expert tips for a stronger trade show presentation
Use the bag as part of the message. A simple insert card with a QR code, a product summary, or a short three-point value statement can turn a giveaway into a useful follow-up tool. That is especially helpful when the item inside is small and needs context to be memorable.
Keep the contents arranged carefully. Clear packaging rewards clean spacing, consistent orientation, and simple visual hierarchy. If the kit includes two or three pieces, decide which item should face forward and which should support it. A rushed arrangement is visible at once, and it is difficult to recover the premium feel after that.
If the kit has multiple parts, a slightly larger bag is often the better choice. Too tight looks stressed. A little extra room can improve appearance and make packing easier during production. The goal is not empty space; it is controlled space.
Coordination across booth materials matters too. If the exhibit uses specific brand colors or typography, echo those choices in the insert card, the logo print, or the handout layout. The bag should sit inside the same visual system as the rest of the display, including custom printed boxes, literature, and sample materials.
Batch packing can also save the team a lot of frustration. If VIP attendees receive a different kit from general traffic, sort the bags before the show opens. That reduces clutter, speeds up distribution, and keeps staff from digging through cartons while the aisle is full.
Finally, remember that trade show giveaways are judged quickly. People decide in seconds whether something looks useful, premium, or forgettable. Clear bags help on all three fronts if the contents are well chosen and the execution is clean.
Next steps for ordering custom clear zipper bags
Start with the packed kit, not the individual item. Measure the finished giveaway with inserts, padding, and any extra thickness from folded literature or accessory parts. If the contents have corners or an irregular profile, note that too. Those details affect fit more than buyers usually expect.
Then define the basic spec before asking for quotes: size, thickness, closure, print method, quantity, and delivery date. If those points are clear, comparing vendors gets easier and the proposals become usable instead of vague. If the print area is critical, ask for sample images or prior proof examples so you can judge legibility on clear film.
Gather artwork early and review the logo placement before the proof stage. If the file is low resolution or missing bleed, fix it before it reaches production. That small step can save time, and in a show schedule, time is often the scarcest part of the order.
If the giveaway is high-value, multi-piece, or tied to a fixed event date, request a prototype or sample pack before the full run moves ahead. That is not excessive caution. It is normal risk control for an order that has to perform in public.
Build the timeline backward from booth setup, not from the event date alone. Leave space for inspection, freight, and a modest overage for replacements or VIP handouts. The best results with custom clear zipper bags for trade show giveaways usually come from treating the packaging as part of the event plan from the start, not as a finishing touch at the end.
FAQ
What size should custom clear zipper bags for trade show giveaways be?
Size the bag to the fully packed giveaway, not just the largest item. Include inserts, protective material, and closure room, then test a real sample so the finished kit sits neatly and closes without strain.
Are clear zipper bags better than printed opaque bags for trade shows?
Clear bags let attendees see the contents immediately, which can raise perceived value and reduce confusion at the booth. Opaque bags allow more print coverage, but they hide the giveaway, so the better option depends on whether visibility or full-surface branding matters more.
How much do custom clear zipper bags usually cost?
Price depends on size, thickness, print coverage, quantity, and closure style. Simple, larger-volume runs can land around the lower end of the market range, while custom sizes, heavier film, or more decoration will increase the unit price. Ask for freight and sample assumptions in writing so the quote is comparable.
What is the typical turnaround time for custom clear zipper bags?
Turnaround varies by inventory, print complexity, proof approval, and shipping method. Straightforward orders can move faster, but it is safer to plan backward from the show date and leave room for revisions, transit, and inspection.
What should I check before approving a sample bag?
Check zipper function, seam strength, clarity, print placement, and how the bag looks once the actual giveaway is inside. A sample should be judged in its packed state, since that is how it will appear on the show floor.