The custom clothing store paper Bags Sample Approval checklist is the point where small packaging issues get caught before they become bulk defects. A sample can look finished and still hide weak paper, poor handle performance, or a size that does not suit the products you actually sell.
For clothing retailers, the bag needs to support the brand, carry real purchase weights, and stay within a unit cost that works at scale. Sample approval is not a formality. It is the last chance to confirm that the bag can be built consistently, at the right spec, and with no surprises on MOQ or lead time.
Custom clothing store paper bags sample approval checklist: catch the expensive misses
Most paper bag failures are practical, not visual. The logo may be centered and the colors may look fine, but the bag can still slump, wrinkle at the gusset, or feel flimsy once it carries a real order. Those are the issues that show up at the counter.
Use the sample as a pass-fail gate. It should prove that the factory can repeat the exact bag you want at production speed. If the result depends on hand adjustments or “we will fix it in bulk,” keep revising.
Before sign-off, check the parts most likely to create trouble later:
- Structure: size, gusset depth, board reinforcement, and whether the bag stands upright.
- Print: logo placement, color match, ink coverage, and text near folds or glued edges.
- Finish: matte, gloss, soft-touch, foil, or lamination behavior on the chosen stock.
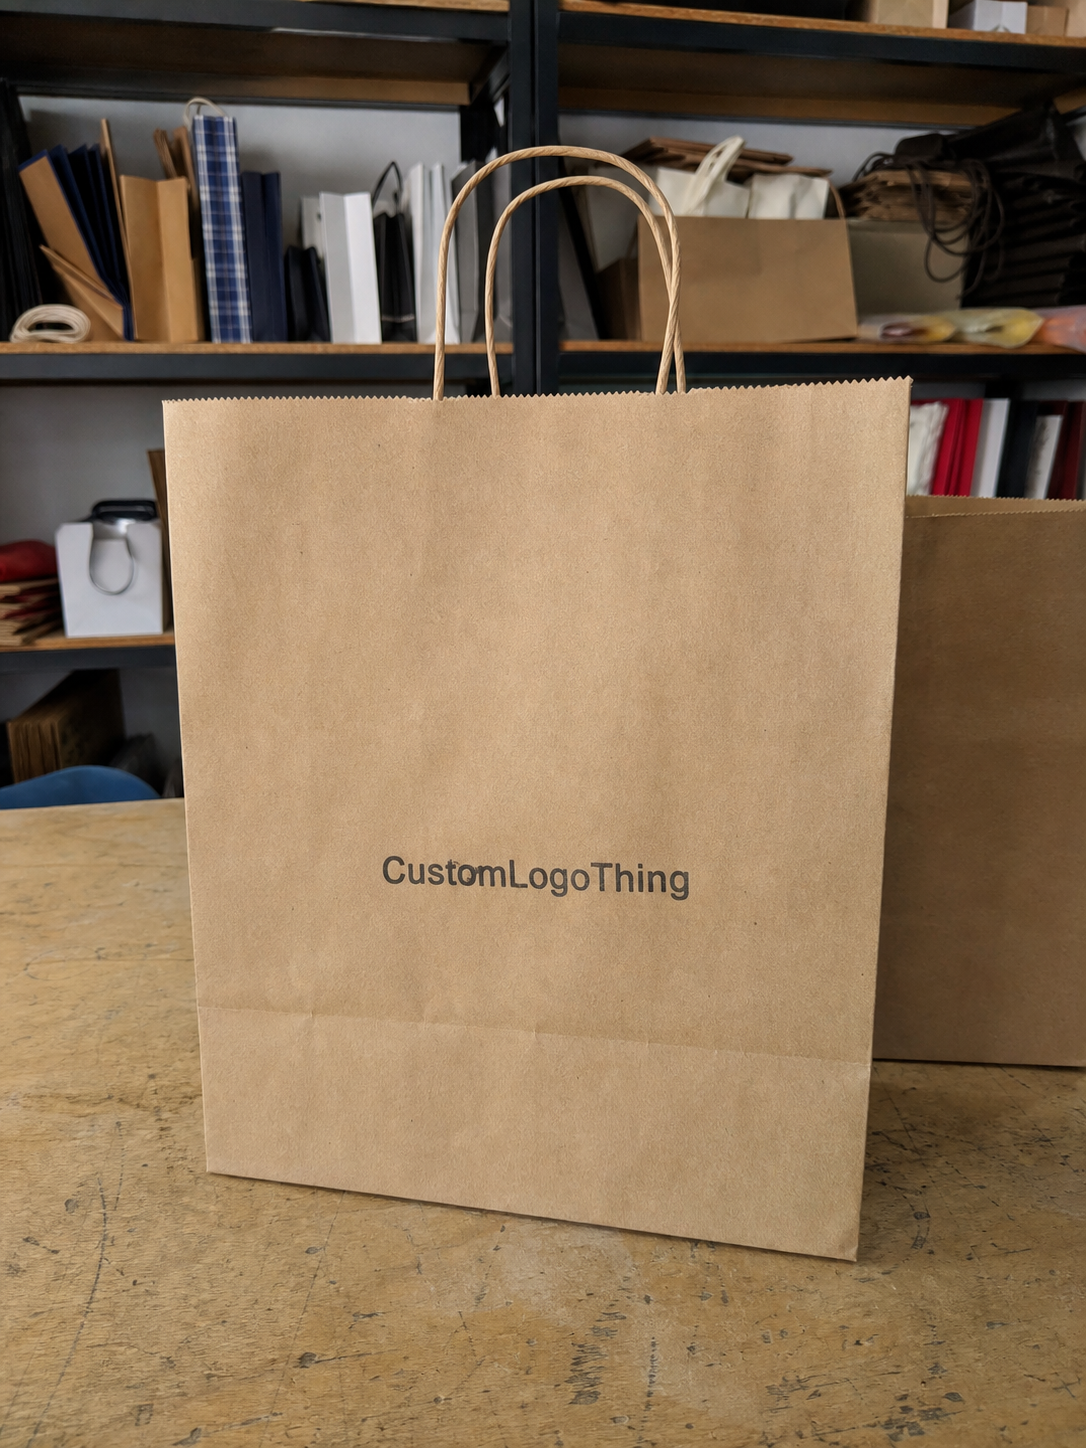
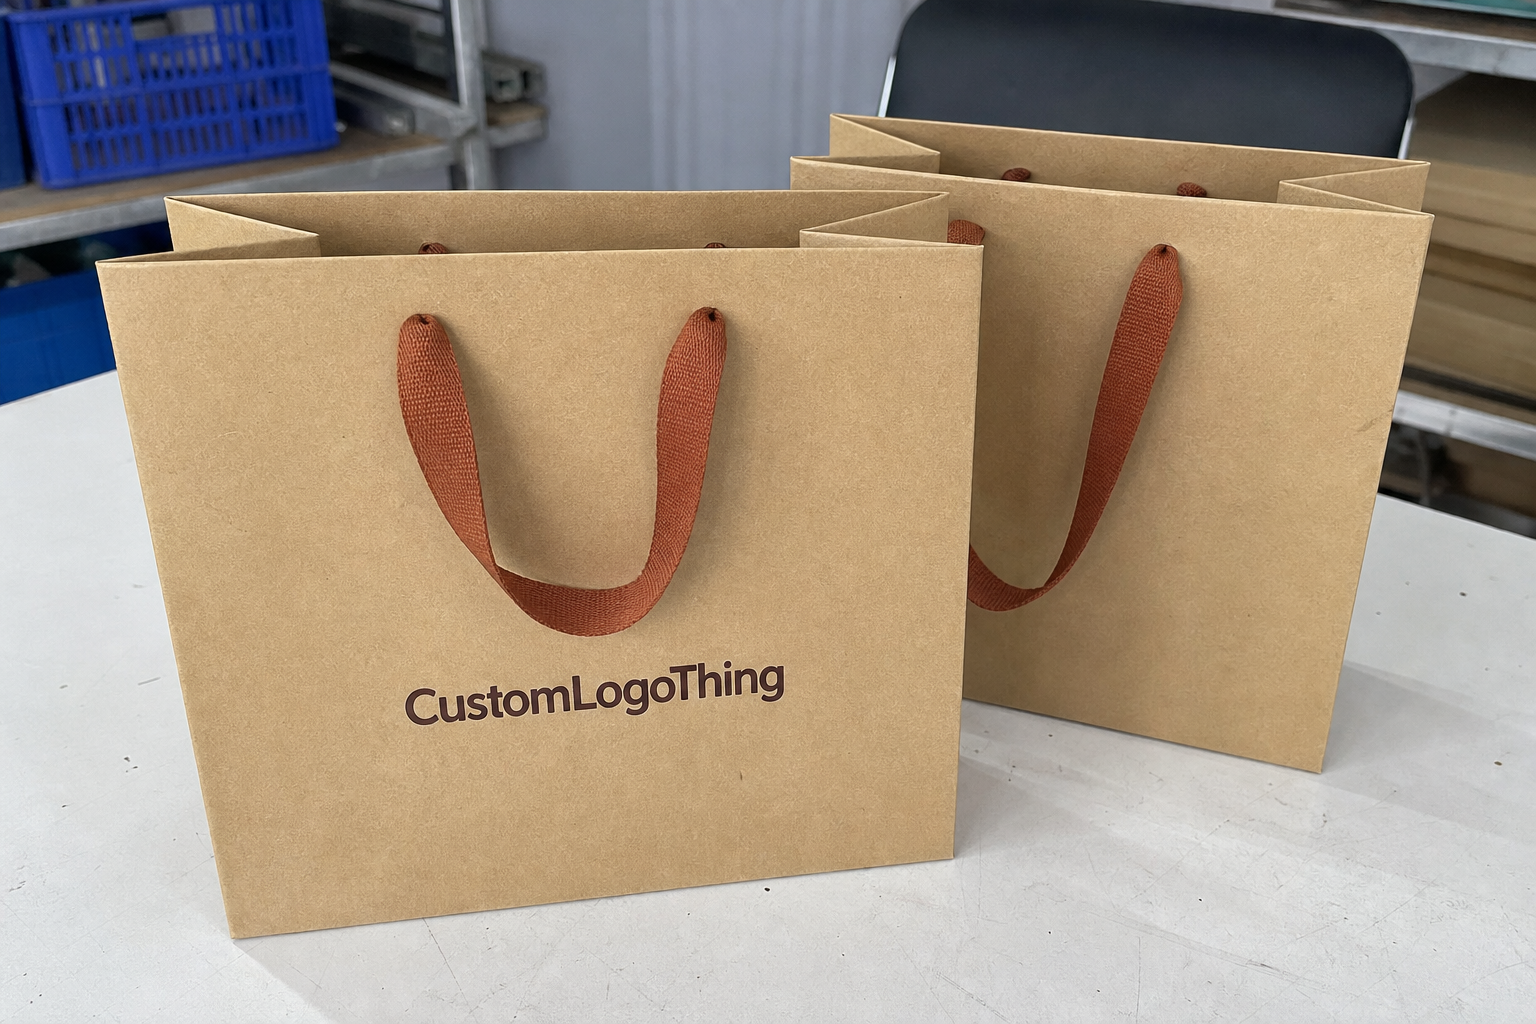
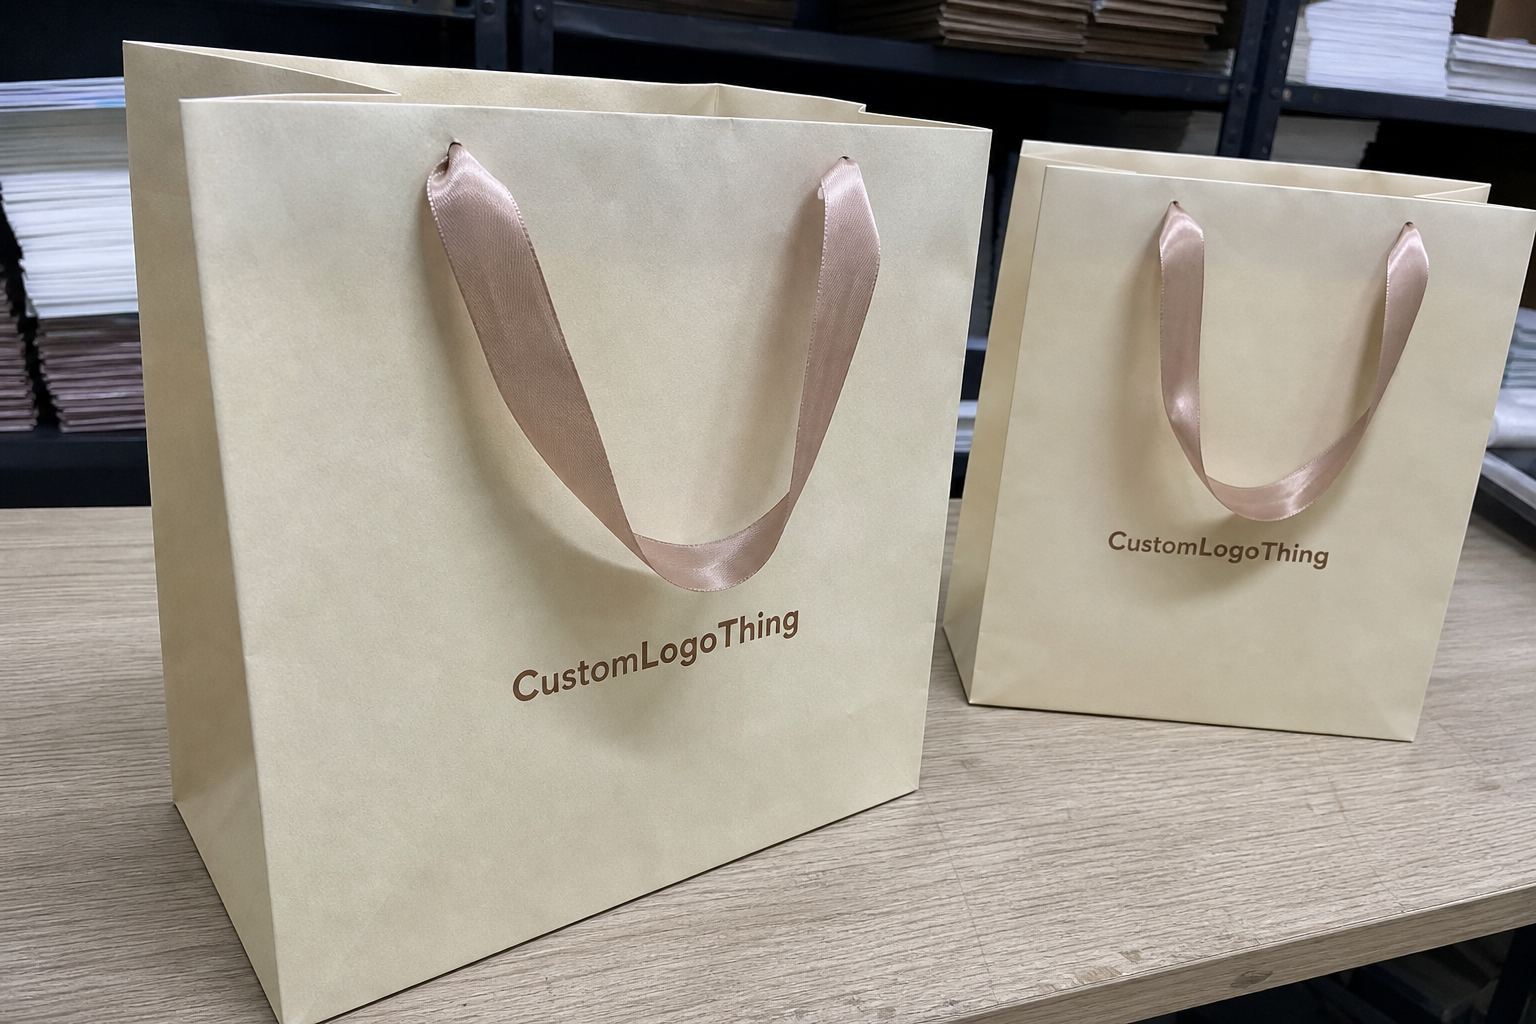
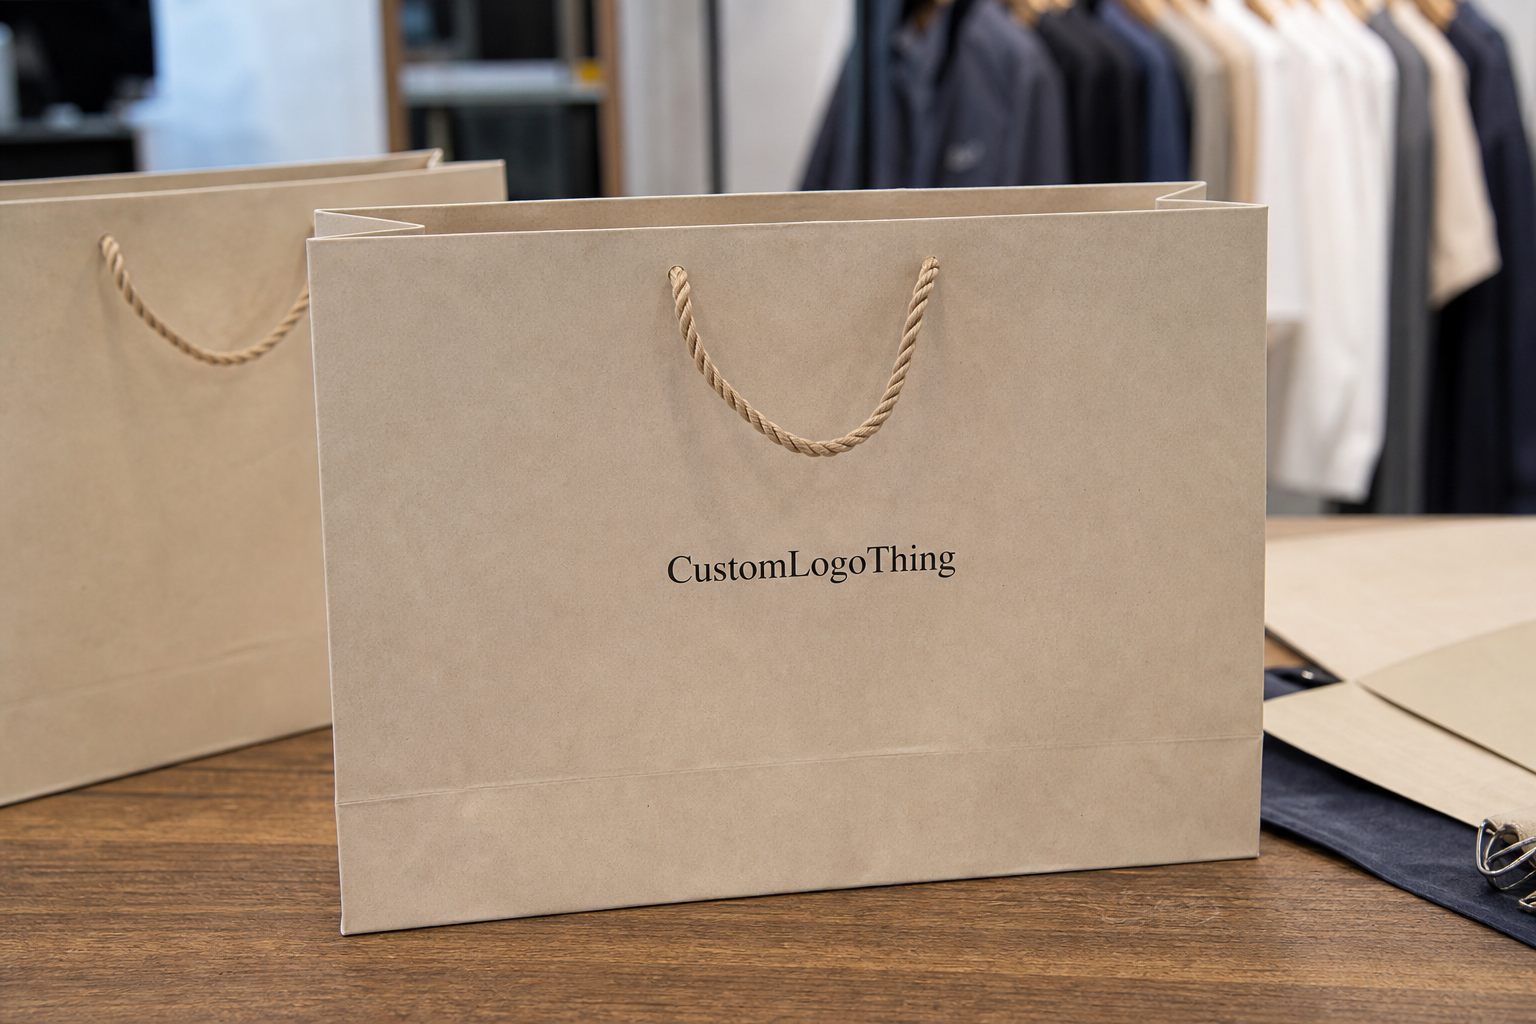
- Handle: rope, ribbon, twisted paper, or die-cut strength and comfort.
- Repeatability: whether the sample looks like something a production line can reproduce consistently.
That last point matters most. A good one-off does not help if the second carton looks different from the first. Packaging lives or dies on consistency.
If the sample carries badly, it is not approved. Good-looking packaging that fails in use becomes a customer complaint, not a brand asset.
What a paper bag sample should prove before you approve it
A useful sample proves four things: the dieline is correct, the dimensions are correct, the material behaves as expected, and the finishing method can be repeated without drift. If any of those are uncertain, the sample is still under review.
There is a difference between a visual sample and a production-intent sample. A visual sample can be built to impress. A production-intent sample uses the same paper stock, handle construction, print method, adhesive, and assembly method planned for the order. That is the version buyers should trust.
Look at the bag like a store operator, not only like a designer. Ask how much usable space is inside, whether folded tees sit flat, whether a shoebox tips the bag open, and whether the bottom panel holds shape after a few lifts. A bag can meet the drawing and still feel awkward in the hand.
For many clothing programs, kraft in the 140-180 gsm range works for lighter apparel and lower-cost positioning. Heavier or more premium bags often move into 170-210 gsm coated paper or art paper with lamination. If the supplier mentions sustainability, ask for verifiable paper sourcing details such as FSC certification instead of broad claims.
What to measure, not just admire
Measure the width, height, and gusset against the products actually sold in the store: folded shirts, hoodies, jeans, shoes, and boxed accessories. A bag sized for one slim tee can be useless for denim, while a bag sized for shoes can look oversized for a small accessory purchase.
Print should be checked with a ruler, not only by eye. A logo that sits a few millimeters off can look sloppy on the finished bag, especially on matte stock where edges stand out. Review color under normal store lighting. Screen color is a guide; paper color is the final reference.
Paper weight matters because it changes how the bag behaves, not just how much it costs. Lighter stock may work for soft apparel, but it can sag when stores use the same bag for bundled items or hard-edged cartons. Heavier stock improves body, but it can affect fold quality if the factory is not set up for it.
Handle and load testing
Handles deserve more attention than they usually get. Rope handles feel more premium and often carry better, but they increase cost. Twisted paper handles are economical and work well for lighter loads. Die-cut handles keep the look clean, though they are not ideal for heavier items unless reinforced.
Build a quick load test into approval. Put in a realistic stack of products, not an empty bag and a guess. For many clothing stores, that means roughly 2-4 kg for a medium format bag, more if shoes or folded outerwear are involved. Lift the bag several times. If the handles bite into the hand, the bottom bows, or the gussets wrinkle badly, the sample needs revision.
Also check how the bag opens when packed flat in cartons. Some designs look fine on a table and become stubborn once compressed in transit. That is a small operational issue with a large effect on staff speed.
Sample approval process and turnaround timeline
The cleanest approval process is straightforward: request the spec, confirm artwork, build the sample, review the physical unit, revise if needed, and sign off only after the correction is visible in hand. Each step should have one owner. If the artwork is changing in multiple inboxes, the final file will drift.
Typical turnaround depends on complexity. A simple paper bag sample with standard handles may take about 5-10 business days. Add special finishes, stitched handles, foil, rigid base boards, or extra structure and the timeline often stretches to 10-15 business days or more. Revision rounds add time because the factory has to rebuild and recheck the setup.
Most delays come from the buyer side: missing logo files, unclear finish notes, too many reviewers, and late changes after the sample arrives. None of that is unusual. It is just avoidable.
For shipping planning, ask how the bags will be packed in cartons and how many units fit per case. If the program is large enough to care about transit damage, ask for a packing method that is easy to inspect and hard to crush. Freight can flatten a weak pack far faster than a retail display can.
Practical rule: give the team one review window and one final decision maker. A sample does not need a committee. It needs a verdict.
Paper bag pricing, MOQ, and unit cost factors
Paper bag pricing is a stack of choices, not one number. Stock weight, bag size, print coverage, finish, handle type, and packing method all move the unit cost. The sample tells you where the real cost sits before you commit to volume.
MOQ works the same way. Lower minimums usually mean a higher per-unit price because setup costs are spread across fewer bags. Larger orders reduce unit cost, but they also tie up more cash in inventory.
As a rough market range, a plain kraft bag at a small order quantity may land around $0.25-$0.70 per unit before freight and duties. A heavier printed bag with rope handles and lamination can move into the $0.80-$1.80 range, sometimes higher if the structure is rigid or the print coverage is extensive. Those numbers shift with region, material availability, and order size, but they are useful for planning.
The sample often exposes hidden cost changes early. Maybe the first build shows that the paper needs to be heavier to hold shape. Maybe the handle style needs stronger reinforcement. Maybe the finish you wanted increases waste during production. Better to learn that during sampling than after a pallet is already in motion.
| Sample type | Typical use | Rough cost impact | What it proves |
|---|---|---|---|
| Plain structure sample | Checks size, gusset, and handle layout | Lowest sample cost | Basic fit and construction only |
| Print-accurate sample | Reviews logo placement and color | Moderate sample cost | Artwork position, finish, and visual balance |
| Pre-production sample | Final sign-off before bulk run | Highest sample cost | Closest match to actual production output |
For a clothing store, the cheapest option is not always the smartest. If a slightly better paper grade or handle type improves carry strength and the customer experience, the extra cents can be justified. If a decorative upgrade adds cost without changing how the bag performs, skip it.
Common mistakes that cause reprints and delays
The classic mistake is approving color from a screen. Screens lie. A physical sample on the actual paper stock is the only reliable proof of how a brand color behaves once ink meets fiber.
Skipping load testing is another easy miss. A bag can look crisp while empty and fail once it carries folded jeans, shoes, or bundled gifts. Clothing stores run into this more than expected because apparel is light until someone adds a heavy item at checkout.
Vague feedback creates slow revisions. “Make it pop” is not useful production language. Notes like “move the logo up 5 mm,” “increase bottom board weight,” or “switch to 180 gsm kraft” are specific enough to act on. Precision saves time.
Late changes are the most expensive ones. Once the sample is approved, any change can affect tooling, artwork, or assembly. That is not the factory being difficult. That is manufacturing behaving like manufacturing.
Another common miss is ignoring fold memory and storage behavior. If the bags sit compressed in a back room for weeks, check how easily they reopen and whether the edges spring back cleanly. A bag that fights staff every day turns into a labor problem, not just a packaging problem.
Small errors in product packaging are cheap to fix during sampling and expensive to ignore in bulk.
There is also a quieter failure mode: approving a bag that looks fine but prints too close to the cut edge. That setup can survive a one-off sample and still drift in production because paper, glue, and pressure never behave with perfect consistency. A little safety margin can save an entire print run.
Expert tips for cleaner approvals and better repeat orders
Use one approval sheet. Not five emails, not a spreadsheet someone keeps forgetting to update, and not a screenshot cropped in a rush. A single page with dimensions, paper weight, handle type, print method, finish, tolerances, and sign-off fields keeps everyone on the same version.
Keep one physical reference sample if you expect a reorder. Memory is unreliable for packaging. The next run should be compared against the last approved unit, not against what people think they remember from six months ago.
Ask the supplier to note details that are easy to miss: finish direction, glue points, handle reinforcement, interior print limits, and carton packing count. Those details matter most on repeat orders because they are the first place “same as last time” turns into something else.
If the clothing line has seasonal drops, pick a paper bag spec that can flex across collections. That keeps package branding stable while artwork changes. It also reduces the risk that one season uses a prettier but weaker version just because someone wanted a fresh look.
For larger programs, treat the sample like a spec lock. The goal is not to admire a prototype. The goal is to create a repeatable instruction set the factory can follow without guessing.
Next steps after approval: lock specs and place the order
Once the sample passes, turn it into a final spec sheet immediately. Include exact dimensions, paper weight, print method, finish, handle type, carton count, and quantity. If it is not written down, someone will remember it wrong later.
Confirm the full order math before release: MOQ, unit cost, tooling, freight, and any extra charges added during sampling. That is the point where a good sample becomes a real purchase decision, not just a nice object on a desk.
Get final sign-off from the right people. Merchandising, operations, and finance should all agree before the order starts. One approval. One file. One production direction.
Then run the custom clothing store paper Bags Sample Approval checklist one final time before payment. The process is boring, which is exactly why it works. Brands that do this well spend less on reprints, keep timelines tighter, and end up with paper bags that support the sale instead of undermining it.
What should I check first in a custom clothing store paper bag sample?
Start with size, structure, and how the bag handles the actual products you sell, not just how it looks empty. Then check print placement, color accuracy, and handle strength, because those are expensive to fix later. If the sample cannot survive a real checkout use case, it is not ready.
How long does paper bag sample approval usually take?
Simple samples can move quickly, but custom finishes, special handles, or revision rounds add time. The biggest delay is usually slow feedback, not the factory build itself. A single decision maker and a fixed review window keep the timeline from stretching.
What changes raise the cost of custom paper bags the most?
Paper stock, bag size, print colors, handle style, and special finishes are the main cost drivers. Lower MOQs usually mean a higher unit cost, while larger orders reduce per-bag pricing. Small cosmetic upgrades can add cost without adding much brand value, so they are worth questioning.
Can I approve a sample if the color is slightly off?
Only if the difference is truly minor and still within the brand tolerance. If the logo or brand color is visibly off, approve a correction instead of hoping it will improve in production. Screen color is not proof; a physical sample is the standard that matters.
What should I ask for before approving the final order?
Ask for the final spec sheet, approved artwork version, quantity, unit cost, lead time, and any extra charges. Make sure the production notes match the sample exactly, including paper weight, handles, and finish. Keep one archived sample or reference photo set for future reorders.
Used properly, the custom clothing store paper bags Sample Approval Checklist is not extra paperwork. It is the cheapest way to keep packaging honest before bulk ordering turns a small miss into a costly one.