Custom Food Labels Stickers Are Small, but They Carry the Sale
A good jam can still look like a school fundraiser reject if the label wrinkles, smears, or hides the flavor. The product may be excellent. The shelf does not care.
Custom food labels stickers are not just decoration. They communicate flavor, freshness, ingredients, storage instructions, brand trust, and purchase confidence in a few square inches. That is a heavy job for something smaller than a phone screen. Buyers judge fast, especially in crowded retail displays where sauce, coffee, cookies, meal prep, or bottled drinks may get three seconds of attention.
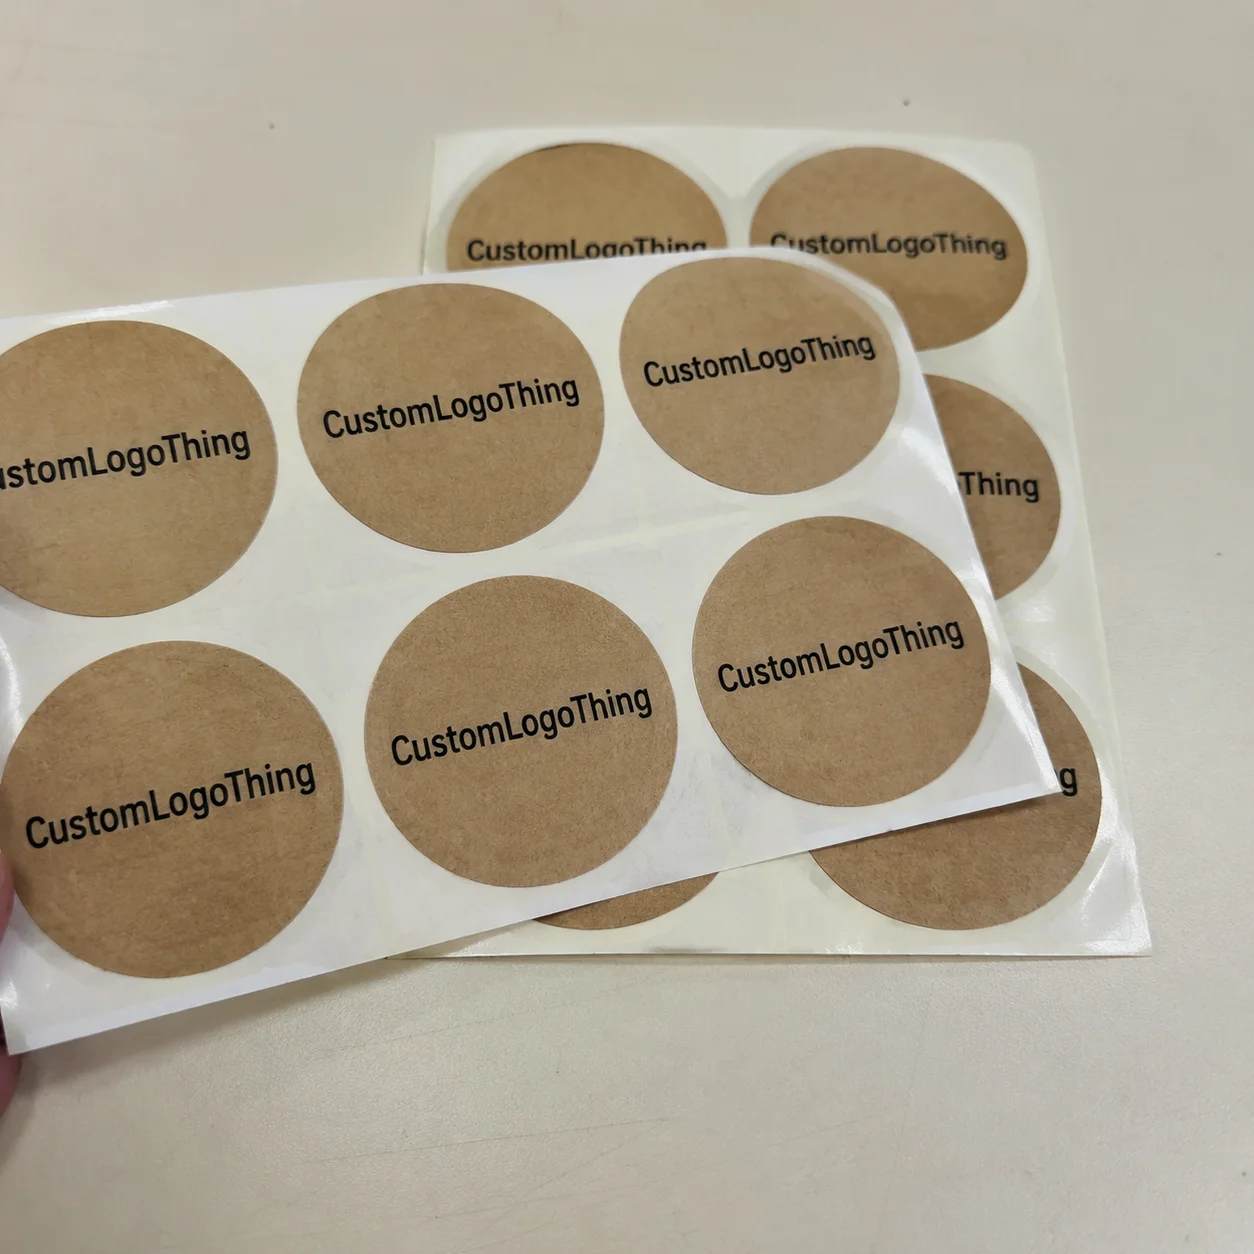
Food labels are printed adhesive labels used on jars, bottles, pouches, bags, boxes, clamshells, cups, trays, and takeaway containers. Common formats include roll labels, sheet labels, kiss-cut stickers, tamper seals, wraparound labels, neck labels, lid labels, and front-and-back label sets. Rolls suit production because they work with hand dispensers and automatic applicators. Sheets are fine for very small runs. Individually cut stickers work well for seals, event samples, subscription inserts, and specialty package branding.
Most food packages ask labels to do two different jobs. Branding labels sell the product: product name, flavor, photography, colors, claims, and the small emotional nudge that says “yes, this one.” Compliance labels carry required or practical information such as ingredients, allergens, net weight, nutrition facts, business details, barcode, lot number, and best-by date where applicable. Sometimes both jobs live on one label. Sometimes the front label sells and the back label does the responsible adult work.
Also, not every food label touches food directly. Most labels sit on the outside of packaging, which changes the material and adhesive conversation. A label on a glass jar is not the same as a direct food-contact sticker placed on produce, baked goods, or edible wrappers. Direct contact requires stricter material review and documentation. Do not improvise there.
This guide covers materials, finishes, adhesives, pricing, timelines, common failures, and a practical buying checklist so you can spec food labels properly before asking for a quote. Fewer reprints. Less panic. Better packaging.
How Food Sticker Labels Work on Jars, Bags, Boxes, and Takeout Containers
A food label is a small stack of decisions: face stock, adhesive, liner, ink, and optional coating or laminate. The face stock is the visible label material, such as paper, white film, clear film, or metallic film. The adhesive bonds it to the package. The liner is the backing that gets peeled away. Ink creates the artwork, while a coating or laminate protects the print from handling, moisture, scuffing, and grease.
Glass jars usually label cleanly because the surface is smooth and high-energy, but condensation can be brutal. A refrigerated salsa jar may look perfect dry, then sweat inside a cooler and expose every cheap material choice you made. Plastic bottles vary by resin, texture, and curvature. Kraft bags can absorb moisture and oil. Frozen food packaging needs labels that stay flexible and stuck when cold, not labels that curl like a bad receipt.
Adhesive matters more than many buyers expect. Permanent adhesive is the standard choice for retail food packaging. Removable adhesive works better for temporary labels, pricing, or short-use containers. Freezer-grade adhesive is designed for cold storage and lower application temperatures. High-tack adhesive helps with rough surfaces, curved containers, flexible pouches, and some low-energy plastics. None of these options are magic. Surface prep still matters.
Print format affects cost and application speed. Roll labels are efficient for medium and larger production runs, especially with a label dispenser or applicator. Sheet labels work for micro-batches and office-style use, but they can slow packing and may feel less premium. Individually cut stickers are useful for promotional seals, tasting events, subscription box inserts, and limited-edition packaging.
Finish changes both appearance and durability. Matte finishes fit natural, organic, and premium food brands. Gloss makes colors pop and improves wipeability. Soft-touch can feel upscale, although it may scuff depending on the coating and handling. Clear labels create a “no-label” look on glass or transparent containers, but the product color behind the label affects readability. Tomato sauce behind red type? Congratulations, you made camouflage.
Practical rule: food packaging sees oil, moisture, refrigeration, handling, and shipping abuse. Choosing a label only because it looked nice on a screen is basically volunteering for drama.
For broader branded packaging needs, pairing food labels with Custom Labels & Tags and matching sleeves, inserts, or Custom Packaging Products can make the product feel intentional instead of patched together right before delivery.
Key Specs to Decide Before You Ask for a Label Quote
Before asking for pricing, collect the basics: label size, shape, quantity, material, finish, adhesive, number of designs, roll or sheet format, application method, packaging surface, and storage environment. If that sounds like a lot, good. Packaging has details. Ignoring them does not make them disappear; it just moves the problem to production.
Start with the actual container. Not the supplier catalog photo. Not the mockup. Measure the package in your hand. For jars and bottles, check label height against curved shoulders, ridges, taper, and seams. A label that creeps onto a curve can bubble or lift. For wraparound labels, measure circumference and leave a small gap, often 1/8 inch to 1/4 inch, so the ends do not overlap unless overlap is part of the design.
Shape affects both cost and shelf presence. Rectangles are efficient, familiar, and economical. Circles and ovals feel friendly, artisanal, and useful for lids or front panels. Custom die-cut shapes create stronger shelf impact but may add tooling, setup, or waste depending on the production method. Digital cutting can reduce tooling pain for short runs, but complex shapes still take more time to weed, inspect, and apply.
Material should match the product environment. White BOPP is a strong default for refrigerated, wet, or frequently handled packaging because it resists moisture better than paper. Paper labels work for dry goods, bakery boxes, coffee bags, kraft pouches, and short-use packaging where water and oil are not major threats. Clear film works on glass jars and bottles when you want the product to show through. Metallic film adds premium shine for sauces, confections, coffee, or giftable items. Freezer-grade materials belong on frozen meals, ice cream, seafood, and cold-chain packaging.
| Label Material | Best Use | Typical Tradeoff |
|---|---|---|
| Paper | Dry goods, bakery boxes, kraft bags | Lower cost, weaker against moisture and oil |
| White BOPP film | Refrigerated sauces, beverages, handled jars | Higher cost than paper, much better durability |
| Clear film | Glass jars, bottles, transparent containers | Premium look, requires strong contrast and clean application |
| Metallic film | Premium snacks, coffee, gifts, specialty foods | Strong shelf impact, added cost and possible color shifts |
| Freezer-grade stock | Frozen meals, seafood, ice cream, cold storage | Built for cold use, still needs correct application conditions |
Artwork needs boring practical discipline. Use readable contrast. Keep ingredient hierarchy clear. Leave quiet space around barcodes. Check that net weight, allergen statements, and storage instructions are not jammed into decorative script. Cute fonts are great until nobody can read the allergen warning. Then they are not cute; they are a liability with flourishes.
The brand owner is responsible for regulatory accuracy. A printer can help preserve legibility, spacing, barcode quality, dieline placement, and print consistency, but they are not your food law department. Confirm requirements with the appropriate regulatory resource or consultant before printing. If sustainability claims matter to your package branding, review recognized resources such as the Forest Stewardship Council for paper sourcing language and certification basics.
Pricing, MOQ, and Unit Cost: What Actually Moves the Number
Label pricing is not magic. It is driven by setup, material, print method, size, quantity, finish, die-cut complexity, number of SKUs, packing format, and shipping. The tiny sticker still has grown-up production costs. Annoying, but true.
Short-run digital labels often cost more per piece but avoid large minimums. That makes sense for farmers markets, seasonal flavors, pilot batches, subscription boxes, limited drops, and early retail tests. Larger roll orders usually reduce the unit cost because setup is spread across more labels. If you sell 500 jars a month, do not buy 50,000 labels because the unit price looks pretty. Dead inventory is still expensive, even when it has a nice matte finish.
As a practical buying range, a simple paper label in a small digital run may land around $0.12 to $0.35 per label depending on size and quantity. A moisture-resistant film label with laminate may land around $0.18 to $0.55 per label in moderate quantities. Specialty finishes like foil, spot gloss, embossing, custom shapes, or metallic stock can push labels higher, especially on short runs. These are not universal quotes; they are sanity-check ranges so you can smell nonsense before it gets expensive.
MOQ is a tradeoff. Low Minimum Order quantities keep cash free and help you test flavors without drowning in obsolete packaging. Higher MOQs make sense for steady sellers because the per-label cost usually drops. For many small food brands, the smarter move is ordering enough for 60 to 120 days of production, then reviewing sell-through before committing to a larger run.
Size and material move the number quickly. A 2 x 3 inch paper label for a dry bakery box is a different animal from a 4 x 6 inch waterproof film label with laminate for refrigerated sauces. More square inches mean more material and more ink. More durability means better stock, better adhesive, or protective finishing. You do not need the most expensive label for every product. You need the correct one.
Multi-SKU orders can help if five flavors share the same size, material, finish, and roll direction. They may be produced together more efficiently. Still, every design needs file handling, proofing, version checks, barcode checks, and quality control. Do not assume five versions cost the same as one. That assumption has burned plenty of budgets.
To get a useful quote for custom food labels stickers, send dimensions, quantity per design, packaging photos, surface material, storage conditions, finish preference, application method, artwork status, and deadline. That prevents quote ping-pong, the sport nobody asked to play.
Process and Timeline: From Artwork Proof to Finished Food Labels
A normal label order follows a clear path: spec confirmation, artwork check, digital proof, proof approval, prepress setup, printing, finishing, quality check, packing, and shipping. Skip a step and you may still get labels. They just may not be labels you want to put on 2,000 filled jars.
The proofing stage is where buyers need to slow down. A proof is for checking layout, spelling, size, cut line, barcode placement, color expectations, roll direction, and version accuracy. It is not the time to redesign the brand from scratch unless you enjoy delays and revised invoices. Read every ingredient line. Check every flavor name. Compare the net weight to the filled product. Verify the barcode number against the actual SKU.
Preferred artwork files usually include vector artwork, outlined fonts, embedded images, proper bleed, safe margins, high-resolution raster images, and separate dielines when needed. Bleed is commonly 1/16 inch to 1/8 inch beyond the cut line, depending on the printer. Safe margins often sit at least 1/16 inch inside the trim, more if the label is tiny or the design has tight borders. Tiny borders on tiny labels are the packaging version of asking for trouble.
Simple digital label jobs can move quickly after proof approval, often in a few business days for production if materials are in stock and the order is straightforward. More involved work can need 10 to 20 business days or more, especially with specialty materials, foil, laminates, custom dies, large quantities, or compliance-heavy multi-SKU projects. Shipping adds time. So does indecision, which somehow never appears on a purchase order but always shows up in the schedule.
The biggest slowdowns are predictable: missing dimensions, low-resolution logos, undecided finishes, late copy changes, unapproved nutrition panels, barcode issues, wrong roll direction, and quantity changes after quoting. If a label will be machine-applied, roll direction matters. Top off, bottom off, left edge leading, right edge leading: those details affect whether the label works on the applicator or becomes a very expensive roll of confetti.
For first orders, build in time for testing. Put the label on the actual package. Refrigerate it if the product gets cold. Freeze it if the product gets frozen. Wipe it if customers will handle it wet. Ship a sample if the item travels through ecommerce or wholesale distribution. Packaging tests do not need to be fancy, but standards from groups like ISTA are useful reminders that product packaging has to survive handling, vibration, compression, and temperature changes, not just look nice on a desk.
Reorders are usually smoother because specs are already locked. That is one reason to document material, adhesive, finish, size, roll direction, and SKU versions after the first successful run. Future-you will appreciate it. Current-you may even look organized.
Common Mistakes That Make Food Labels Peel, Smear, or Look Cheap
The biggest failure is choosing paper labels for wet, oily, refrigerated, or frozen packaging. Paper has its place. Asking it to survive condensation and grease is unfair. It will lose.
Surface prep is the next culprit. Labels should be applied to clean, dry surfaces at the right temperature. Dusty jars, oily bottles, frosty containers, and cold packaging straight from refrigeration can wreck adhesion. Many pressure-sensitive adhesives prefer application near room temperature, often around 50°F to 77°F depending on the adhesive. If the package is already wet or icy, the adhesive cannot bond properly. Shocking, I know.
Curves, seams, ridges, and wrinkles deserve respect. Labels placed over jar ridges, pouch folds, bottle taper, or clamshell corners can lift or bubble. Flexible pouches are especially tricky because the surface changes as the product settles. A smaller label may look less dramatic on screen but perform better on the real package.
Unreadable design damages trust. Too much copy, tiny type, low contrast, decorative fonts, and crowded nutrition or ingredient panels make a product feel amateur. Food labels need appetite appeal and boring practical readability. Both. Not optional. A shopper should identify product type, flavor, net weight, and one main selling point without squinting.
Color surprises are common. Screen colors do not equal printed colors. Kraft paper dulls bright colors. Clear labels depend on the food or container color behind them. Metallic materials change how ink appears and can make colors look deeper or darker. If color is critical, ask about a printed sample or a calibrated proof. A PDF proof is useful for layout, not a guarantee that your coral-orange sauce label will print exactly like your laptop says it should.
Last-minute ingredient edits are another expensive habit. Changing one allergen statement, nutrition value, barcode, or net weight after approval can force reprints. Flavor extensions create the same risk. If the strawberry label says “contains milk” and the blueberry label does not, check whether that is intentional before printing both. Use a final copy checklist before proof approval, not after the boxes arrive.
Also watch for packaging mismatches. A rustic paper label can look beautiful on a dry cookie box and terrible on a chilled juice bottle. A clear label can look premium on glass and nearly invisible on a dark sauce if the type is too thin. Good packaging design is not just pretty. It is pretty under real conditions.
Build a Label Spec Sheet Before Ordering
Create a simple label spec sheet before contacting a printer. It makes the quote faster, cleaner, and less likely to miss a critical detail. You do not need a 40-page document. One page with the right fields can save days of back-and-forth.
- Product details: product name, flavor, SKU, net weight, barcode need, and required variable fields such as lot code or best-by date.
- Container details: container type, surface material, texture, curves, seams, and exact label application area.
- Label specs: size, shape, material, finish, adhesive needs, roll or sheet format, and roll direction if machine-applied.
- Order details: quantity per design, number of SKUs, target delivery date, shipping location, and reorder expectations.
- Use conditions: dry shelf, refrigeration, freezer, oil exposure, moisture exposure, hand application, or automated application.
Photograph the package from the front, side, back, and application area. A photo often reveals curves, texture, condensation risk, narrow panels, or seam placement that dimensions alone miss. If the label goes on a pouch, photograph it filled, not flat and empty. Flat pouch mockups lie for a living.
Order a small sample or prototype when launching a new container, freezer product, oily product, or clear label design. Testing one label on the real package beats discovering a failure after filling 2,000 units. Radical concept. Leave the sample in the fridge for 48 hours. Rub it with a damp towel. Put it on a shipping shelf. If it curls, smears, or lifts in testing, it was never going to behave better with customers.
For a first order, prioritize proven specs before chasing every premium finish. Get the material, adhesive, size, and compliance content right. Upgrade later with foil, specialty shapes, spot gloss, or premium laminates once product velocity supports it. That same logic applies across broader product packaging, including labels, sleeves, inserts, and custom printed boxes. Make the core system work first. Then make it fancy.
With the right specs, custom food labels stickers become a practical packaging system, not a guessy art project with adhesive on the back. Good labels sell, inform, protect the brand, and survive the real handling your food products actually face.
FAQ
What materials are best for custom food label stickers?
White BOPP is a strong default for refrigerated, wet, or handled food packaging because it resists moisture better than paper. Paper labels work well for dry goods, bakery boxes, kraft bags, and short-term packaging where water and oil are not major issues. Clear film is best for glass jars and bottles when you want the product to show through, but artwork needs strong contrast.
Are custom food packaging stickers waterproof?
They can be, but only if you Choose the Right film material, adhesive, ink system, and protective finish. For sauces, beverages, refrigerated foods, or ice-bucket exposure, ask for moisture-resistant film and a laminate or coating. Do not assume a standard paper sticker will survive condensation. It usually will not, because paper enjoys absorbing water like it has a hobby.
How much do custom food labels stickers cost?
Cost depends on size, quantity, material, finish, adhesive, shape, number of designs, and whether the labels are on rolls, sheets, or individually cut. Small digital runs have lower entry cost but higher unit cost; larger roll orders usually bring the per-label price down. For an accurate quote, send dimensions, quantity per SKU, packaging photos, storage conditions, finish preference, and your deadline.
How long does it take to print food product labels?
Simple label orders can move quickly after artwork proof approval, while specialty finishes, custom shapes, large runs, or unusual materials need more time. The biggest delays usually come from incomplete artwork, missing dimensions, barcode changes, or copy edits after proofing. First orders should include extra time for material decisions and testing; reorders are usually faster once the specs are locked.
What should I include on food label stickers?
Most food labels need clear product name, flavor or variety, net weight, ingredients, allergen information, business details, barcode, and storage instructions where applicable. Nutrition facts, lot codes, best-by dates, and regulatory statements may be required depending on the product, market, and sales channel. The brand owner is responsible for compliance accuracy, so confirm requirements before printing instead of treating reprints as a business strategy.


