Why Custom Gift Labels Punch Above Their Weight
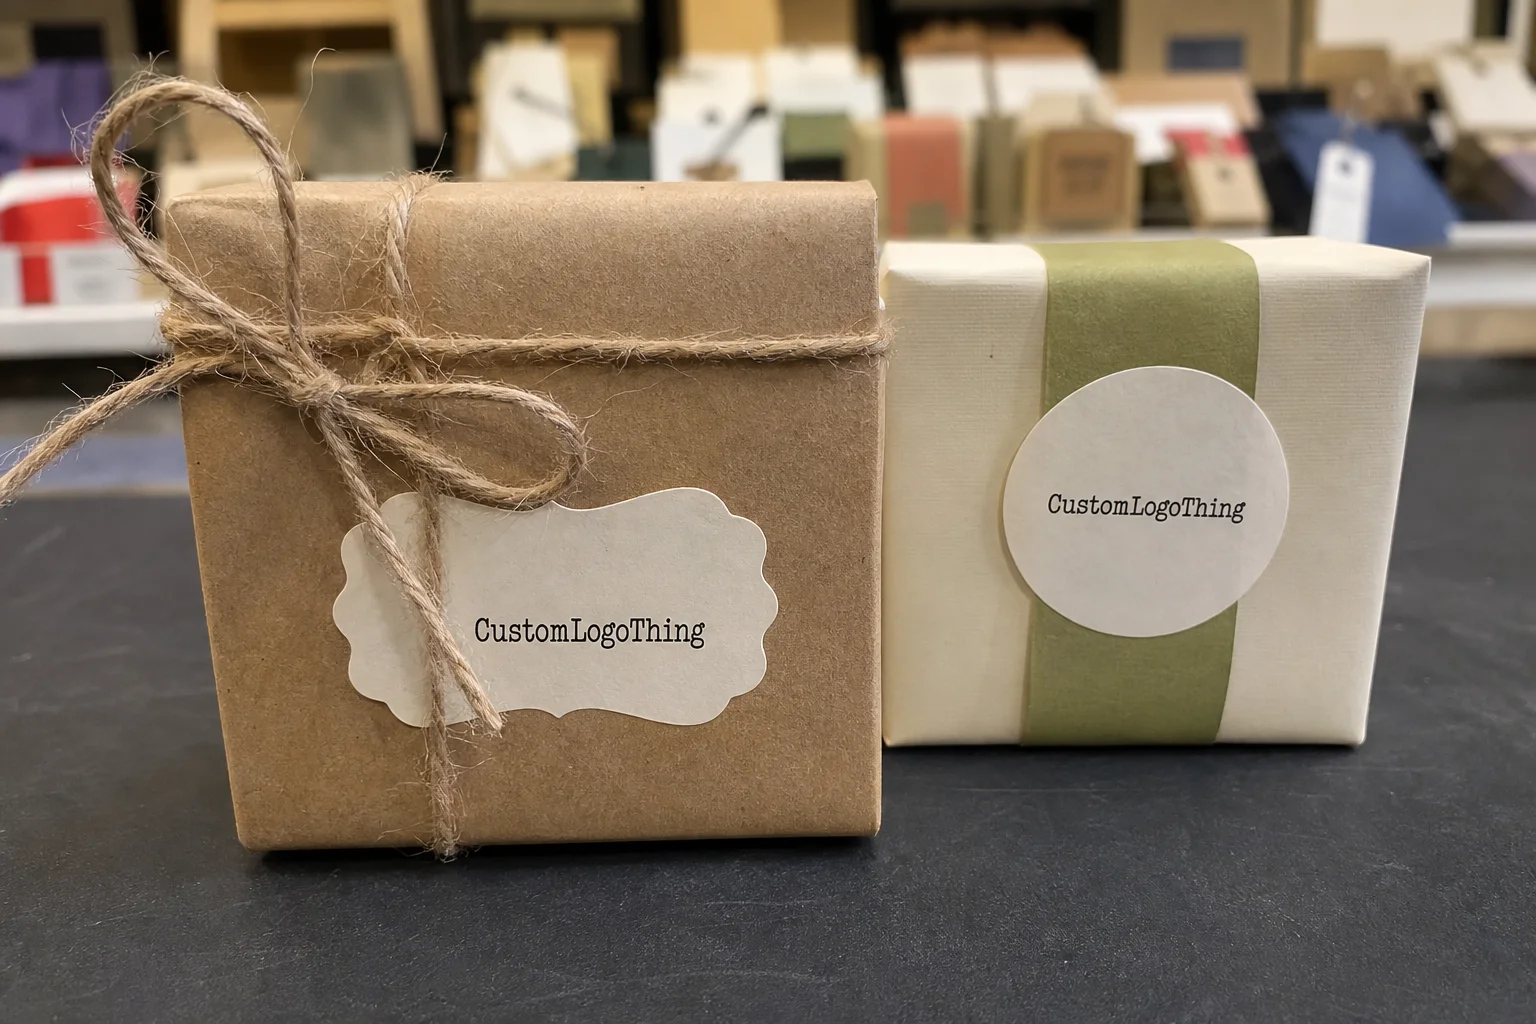
Custom gift labels do more than carry a logo. They make packaging feel finished. A few square inches of print can turn plain tissue, a stock mailer, or a generic box into something that looks deliberate instead of patched together.
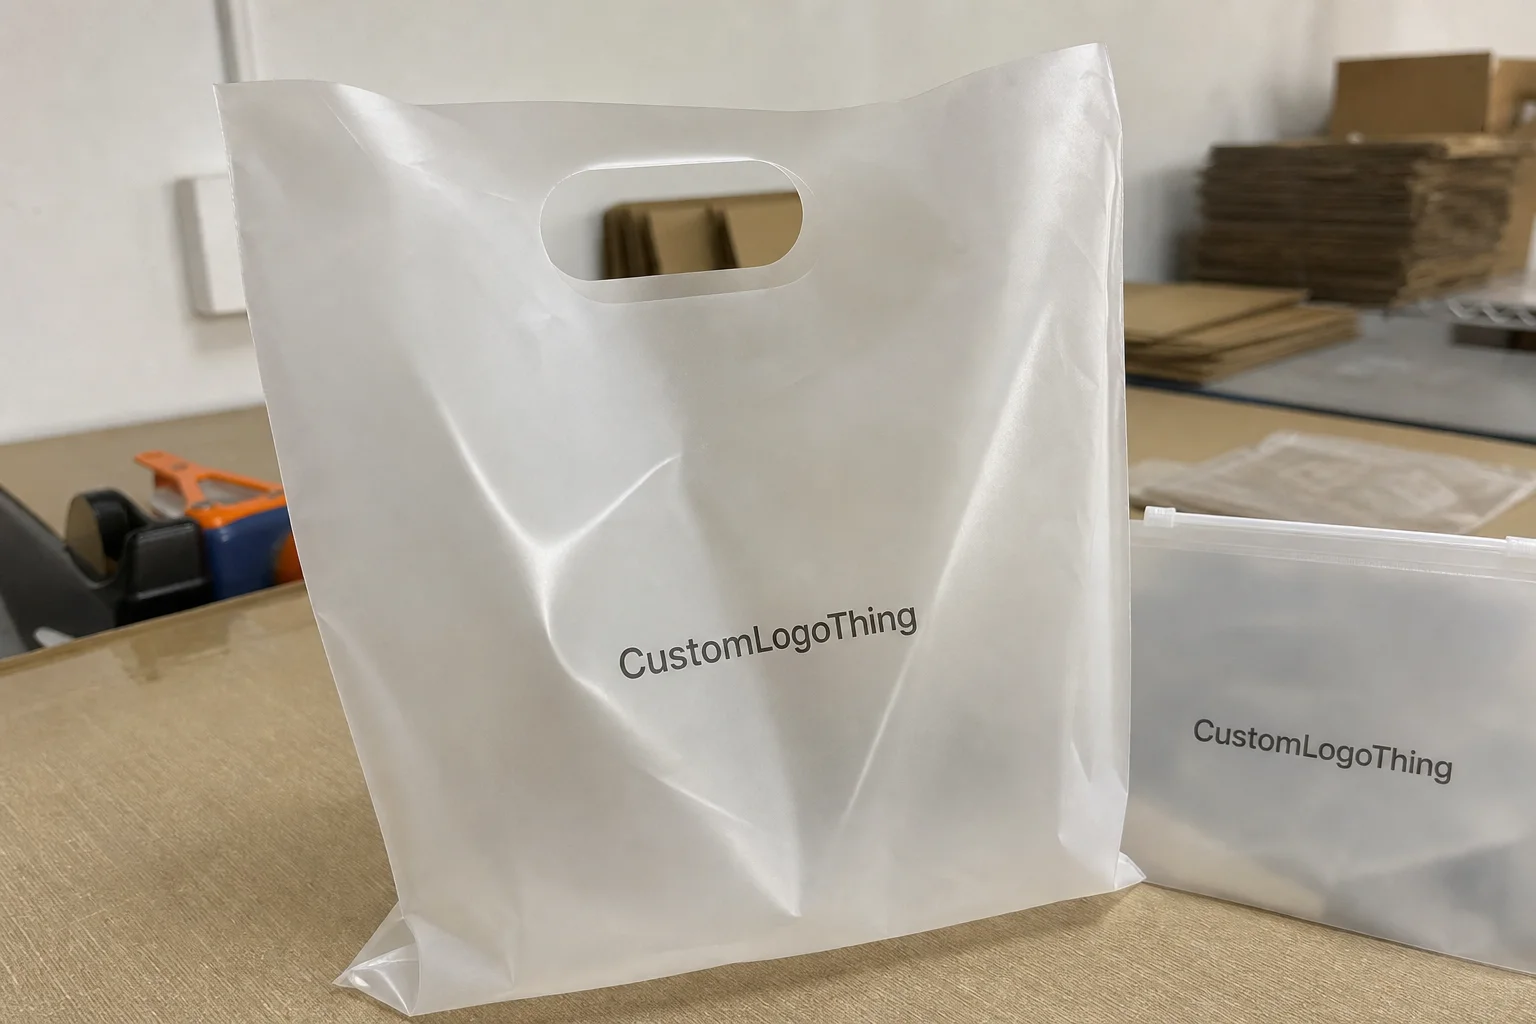
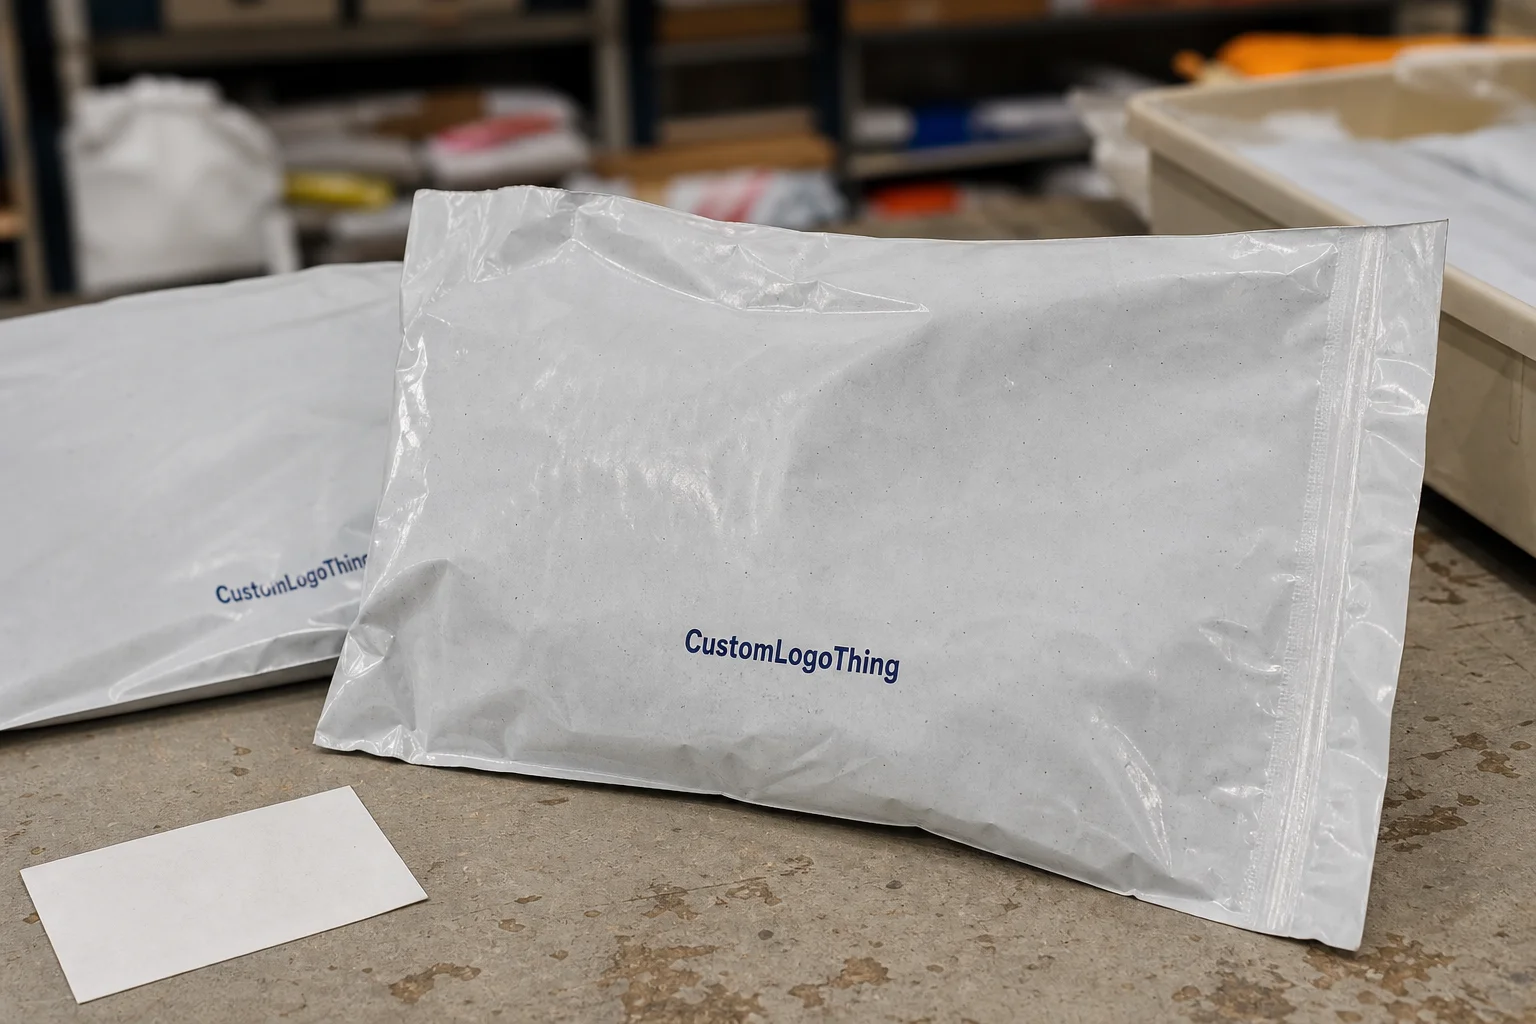
Buyers notice what they touch first. A label on tissue wrap shows up before the product does. A seal on a carton lid changes the first impression before the box is opened. On inserts, hang tags, and gift sets, the label does double duty: it identifies the item and carries the brand presentation.
The practical value is easy to miss if you only look at design comps. A label can solve a packaging problem, support a gift experience, and reduce the need for a larger packaging rebuild. That matters for clothing brands, seasonal promotions, sample kits, subscription boxes, and any business that needs packaging to look cohesive without committing to a full custom carton program.
A good label should identify the product, survive handling, and make the package look like someone planned the whole stack.
If you are working on retail packaging, gift wrapping, or a small seasonal run, labels are often the smartest first move. They cost less than a full packaging redesign, and they let you test a brand direction before you commit to larger volumes.
That works best when the label has a clear job. Once it is there to solve a real packaging problem, the design tends to get sharper and the final package reads as intentional instead of decorated.
How Custom Gift Labels Actually Get Made
The production path is simple on paper and messy in the details. A supplier checks artwork, dimensions, quantity, surface type, adhesive need, and finish. Then comes proofing, print setup, production, finishing, inspection, packing, and shipping. Miss one detail early and the quote gets less reliable. Miss two and the schedule starts slipping.
The first question is where the label will live. Coated paper, uncoated kraft, plastic film, glass, fabric, and textured mailers all behave differently. A label for a smooth folding carton is not the same job as a label for a curved jar or a soft mailer. Surface energy, texture, and flex all affect adhesion, so the substrate matters before the artwork does.
Printing method comes next. Digital printing is usually the right fit for short runs, fast-turn jobs, and variable artwork because setup is light. Flexographic printing makes more sense once quantity gets high enough to justify plates and longer setup. Roll format is common for automation and faster hand application. Sheet format is easier for manual packing, inserts, and smaller jobs. Kiss-cut labels are quick to peel. Die-cut shapes give you more freedom, but the tooling adds complexity.
Proofing is where disciplined suppliers save everyone money. Color on a screen is not color on adhesive stock. A proof should confirm size, registration, die line, text legibility, and finish before anything goes to press. That is the difference between a clean order and a reprint conversation nobody wants.
For brands that need the label and package to work as one system, it helps to review the rest of the packaging stack alongside the label spec. A label that looks fine in a mockup can behave very differently once it lands on a textured carton or a soft mailer.
Materials, Adhesives, and Finish Choices That Matter
Material choice affects everything from appearance to durability. Paper stock is the default starting point. It is cost-effective, easy to print, and usually the best fit for dry indoor use on boxes, wraps, bags, and inserts. Synthetic stocks, including vinyl and polypropylene options, hold up better against moisture, abrasion, and handling. Specialty stocks are usually picked for the look first and the toughness second.
Adhesive choice matters just as much. A permanent adhesive is the standard for shipping labels, long-term branding, and anything that should stay put through storage and transit. Removable adhesive is better for promotions, event packaging, and gift applications where clean removal matters. If the product will see cold storage, humidity, or rough shipping conditions, you may need a stronger adhesive or a formulation rated for that environment.
Finish changes the tone fast. Matte feels quieter and more refined. Gloss adds contrast and makes color pop. Soft-touch reads premium, but it can dull fine detail if the design is already busy. Foil can raise perceived value quickly, although it can also make the layout feel crowded if it is used as a crutch. Clear labels work well when the package design should stay visible underneath, but they punish sloppy artwork because every speck and mismatch shows.
Compatibility is where a lot of buyers get surprised. Recycled kraft can be uneven. Low-energy plastics can resist certain adhesives. Curved jars and tight folds can lift at the corners if the cut is too aggressive. A label that looks perfect in PDF form can misbehave on the actual package. That is not a design problem. It is a materials problem.
For sustainability checks, ask whether the stock is FSC-certified and verify the claim through FSC. If the shipment has to survive distribution abuse, the packaging testing guidance from ISTA is worth a look. Those references are useful whenever labels are part of a larger shipping or retail system.
Custom Gift Labels Pricing: What Drives Cost Up or Down
Pricing is not mysterious. It usually comes down to five things: size, quantity, colors, finish, and shape complexity. A small rectangular paper label with a simple print job is a very different order from a clear die-cut label with foil and a custom edge. One is routine. The other adds setup, material waste, and more risk during finishing.
Quantity matters most. Small runs cost more per unit because setup, proofing, and handling are spread across fewer pieces. Larger runs usually bring the unit price down fast. That is why 500 labels can look expensive while 5,000 labels looks much more rational.
Tooling and setup are the next cost drivers. Digital jobs often avoid plate charges, which helps on shorter runs. Custom die-cut shapes may require tooling, and that adds a one-time cost. Specialty finishes such as foil, embossing, soft-touch coating, and spot effects also push pricing up because they add labor and increase the chance of waste. Rush production can do the same.
Here is a practical range to use as a starting point, not a promise:
| Option | Typical Use | Typical Unit Cost | Typical Turnaround After Proof |
|---|---|---|---|
| Paper label, digital print | Tissue wrap, inserts, box seals | $0.06-$0.16 at 1,000 units | 5-8 business days |
| Synthetic or vinyl label | Mailers, jars, higher-handling packaging | $0.12-$0.24 at 1,000 units | 7-10 business days |
| Foil or specialty finish | Gift sets, premium seasonal packaging | $0.18-$0.40 at 1,000 units | 10-15 business days |
| Large flexo run | Repeat orders, higher-volume branded packaging | $0.04-$0.10 at 5,000+ units | 12-18 business days |
Those ranges move based on artwork coverage, die complexity, color count, quantity, and finishing. The hidden costs people miss are sample charges, proof revisions, split shipments, and packing format. Roll labels and sheet labels are not always priced the same. If you are comparing quotes, ask what is included before you compare the headline total.
For most brands, the best value comes from keeping the label simple and spending budget on readability and surface quality. A clean design on decent stock usually beats an overworked label with too many effects. That is especially true when the label sits next to ribbon, tissue, an insert card, or Custom Printed Boxes.
Production Steps and Turnaround: From Proof to Delivery
Turnaround is a chain, not a single number. The request goes in, artwork is checked, the quote is issued, a proof is created, revisions happen if needed, and only then does production begin. After print, the labels may still need finishing, inspection, packing, and freight booking. If one step slows down, the whole timeline moves.
The biggest delays usually come from avoidable issues. Missing dimensions. Fuzzy quantity targets. A file that is not actually print-ready. A buyer who changes the finish after the proof is already in motion. A bad file can eat more time than the press ever saves.
For many custom gift labels, a realistic planning window is about one week to three weeks after proof approval, depending on material and order size. Short digital jobs can move faster. Larger flexo runs, custom dies, or specialty finishing can push the schedule longer. Seasonal packaging tends to expose every weak spot in planning, so build in buffer time if the launch date matters.
A rough timing map looks like this:
- Fast path: ready artwork, standard material, no special finish, 5-8 business days after approval.
- Typical path: minor edits, one proof round, standard packaging, 8-15 business days after approval.
- Slower path: custom shape, foil, unusual adhesive, or larger volume, 12-18 business days or more.
If a vendor cannot tell you whether the job is in pre-production, print, finishing, or freight, that is a warning sign. Good suppliers are specific about where the schedule can move. They do not hide behind vague lead times.
The broader packaging standards published by Packaging Association resources can also be useful if the label order is part of a larger retail rollout. A label rarely lives alone. It usually has to fit with cartons, inserts, mailers, and whatever else is already in the system.
Common Mistakes That Make Labels Look Cheap
The fastest way to make a label look rushed is to overload it. Too much text. Too many fonts. Too many effects. The design starts looking defensive, like it is trying to prove value instead of delivering it. Strong packaging usually does the opposite. It gives the logo room, keeps the hierarchy clean, and lets the stock carry part of the visual weight.
Tiny type is another common mistake. If the label needs a magnifier to read contact details, care notes, or product information, the type is too small. Weak contrast causes the same problem. Light gray on white can look elegant on a monitor and fail on a package. Oversaturated graphics can be just as bad if the colors muddy out after print.
Size errors show up fast. A label that is too small disappears into the package. One that is too large swallows the box, bag, or insert and makes the whole thing feel heavy. The correct size depends on placement. Tissue wrap, mailer flaps, jar bodies, and box lids all want different proportions.
Adhesive mismatch is another expensive mistake. Buyers often choose a label for a surface it was never intended to handle. A stock that works on smooth paper may fail on textured kraft. A permanent adhesive may be the wrong choice if the label needs to come off cleanly. If there is any doubt, ask for a sample on the real surface.
Skipping samples is probably the most predictable failure. Screen color is not print color. Every monitor lies a little. Mockups also look cleaner than the real thing because they do not wrinkle, scuff, curl, or pick up dust. If the label matters, sample it.
Finally, overcomplication kills readability. If the label wraps a curve, sits near another design element, or needs to work in a small footprint, keep the information hierarchy simple. Brand name first. Supporting detail second. Everything else only if it earns its place.
Best Next Steps Before You Request a Quote
Before asking for pricing, get the basics together. Finished size. Shape. Quantity range. Surface type. Adhesive need. Deadline. If you can provide those six pieces clearly, the quote becomes more accurate and the back-and-forth drops.
Check the actual package or garment, not just the artwork file. A label for folded tissue is not the same as a label for a soft mailer or a retail box. If the label sits inside a broader packaging system, compare it with the rest of the order, including Custom Labels & Tags and any matching inserts or mailers.
Set a budget band before you Request a Quote. Even a rough range helps. If the target is low, keep the shape standard, the stock standard, and the finish simple. If the budget is higher, spend it where customers will actually notice it, such as better material feel, sharper print quality, or a cleaner die-cut edge.
Ask for a sample, confirm the artwork format, verify lead time, and ask how reorders are handled. Reorder consistency matters more than many first-time buyers expect. A label that matches the first batch keeps the program easy to manage.
Custom gift labels are a small decision with an outsized effect. They can finish a package quickly, support the gift experience, and keep the brand looking intentional without blowing the budget. Compare options on real packaging, not just on a screen.
What size should custom gift labels be for clothing packaging?
Pick the size based on where the label will sit: tissue wrap, box lid, insert card, or hang-tag area. Leave breathing room around the logo, because tiny labels look cheap fast. A mockup on the real package tells you more than a design file ever will.
Are custom gift labels expensive for small orders?
Small runs usually cost more per unit because setup and proofing are spread across fewer pieces. Simple shapes and standard materials keep pricing down, while foil, clear stock, and custom dies push it up. If the budget is tight, reduce complexity before you reduce brand clarity.
How long do custom gift labels take to produce?
Most jobs move through proofing, production, finishing, and shipping, so turnaround depends on how fast artwork is approved. Fast jobs are usually delayed by revisions, not printing. Build extra time into launches and seasonal campaigns so one missing proof does not blow up the schedule.
Which material works best for custom gift labels on clothing items?
Paper labels work well for dry, indoor packaging and give a clean branded look at a lower cost. Vinyl or synthetic stocks make more sense when labels need durability, moisture resistance, or a premium feel. Match the adhesive to the surface first, then pick the finish.
What should I ask before ordering custom gift labels?
Ask about MOQ, unit cost at different quantities, lead time, proof process, and whether samples are available. Confirm artwork file requirements and whether the quote includes finishing, packaging, and shipping. Request a clear answer on reorders so the next batch matches the first one.