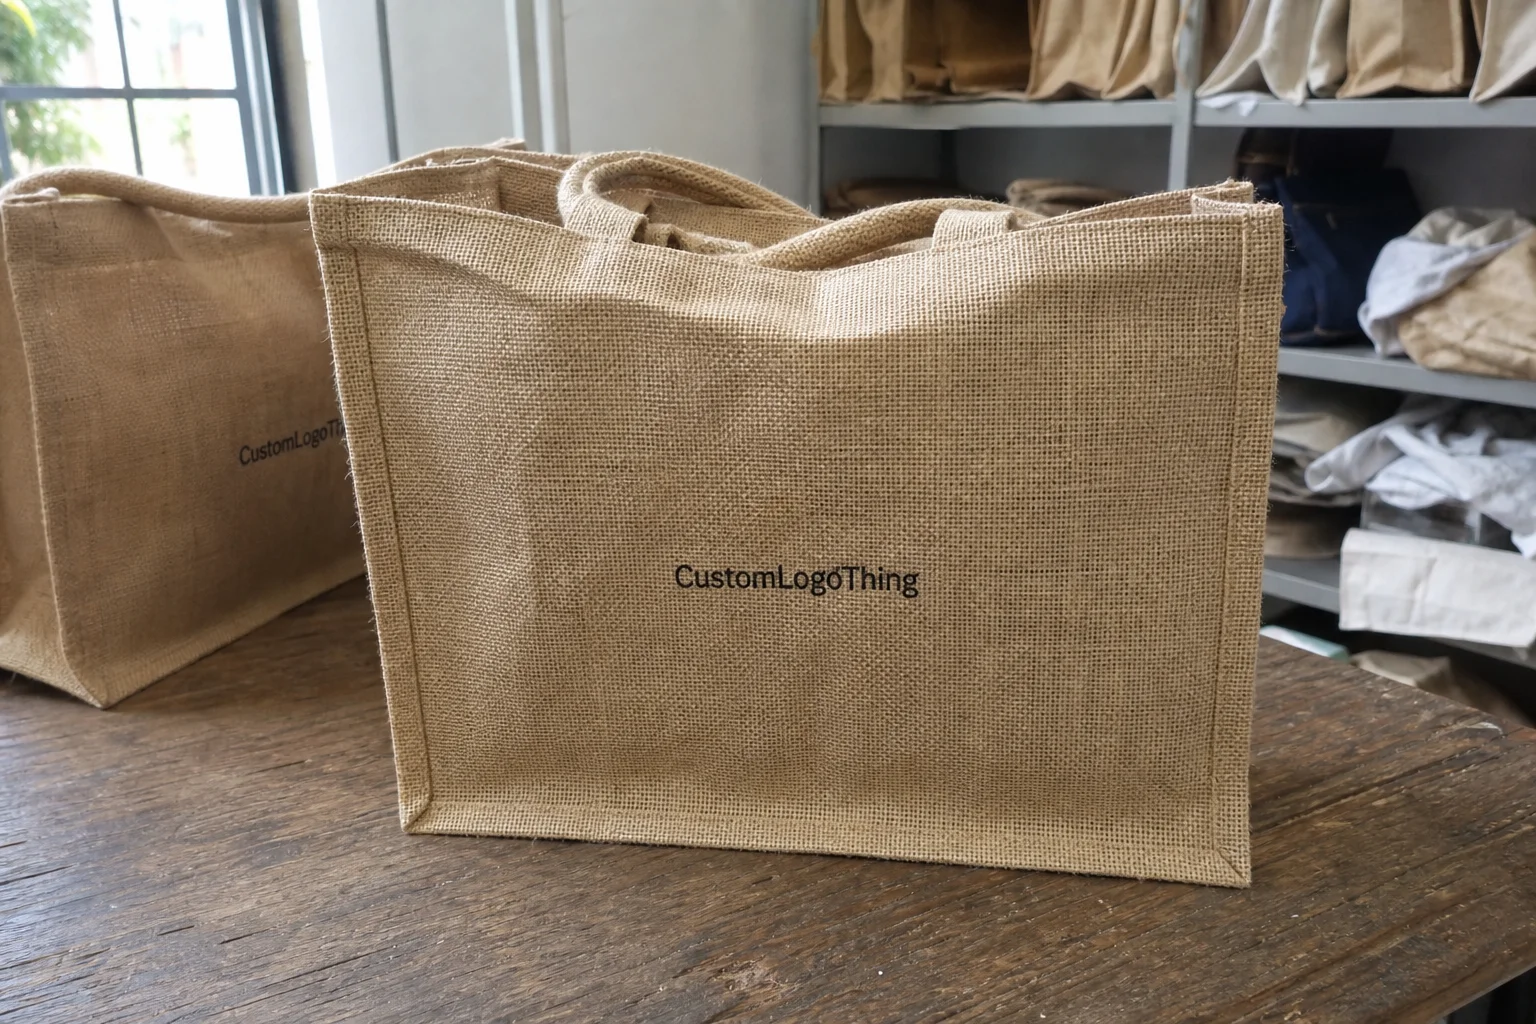
Custom logo address labels do more than point a carton in the right direction. For a clothing brand, they are often the first branded surface a customer sees, and they have to do that job without getting in the way of shipping data, barcode scanning, or plain old legibility.
That sounds easy until pricing starts moving around. Material, adhesive, size, finish, print method, and quantity all change the quote. If you want labels that work on mailers, cartons, insert wraps, or apparel bags, the spec has to match the packaging, not just the mockup.
The mistake I see most often is treating the label like a tiny billboard. It is not. It is a production part. If it fails in transit, the branding does not matter much.
What custom address labels do for clothing orders
Custom logo address labels sit in a useful spot in the packaging stack. They carry the address, return information, routing codes, and handling notes. They also sit on the outside of the parcel, which makes them one of the few low-cost branding surfaces that almost every order will touch.
For a small or mid-sized clothing brand, that matters. A plain mailer can work, but a branded label makes the shipment feel intentional without paying for custom printed cartons on every order. That is one reason labels are often the first packaging upgrade a brand makes. They are flexible, cheap relative to boxes, and easy to refresh when the return address changes or a seasonal campaign ends.
They also move between packaging types without much drama. You can use them on poly mailers, corrugated cartons, rigid mailers, garment bags, tissue wraps, or subscription shipments. If your fulfillment setup changes by season, labels are easier to update than printed boxes. That is not a small detail. It keeps inventory from getting stranded on a packaging spec that is already obsolete.
In real shipping, the best labels do two jobs at once. They stay readable through transit and they still look clean when the package lands on a doorstep. Clarity comes first. Branding comes second. If the label smears, curls, or peels, the design stopped mattering a long time ago.
A label has one job before it has a second job: stay put.
If you are building a broader packaging system, labels are usually the lowest-friction place to start. Pair them with Custom Labels & Tags for inserts or swing tags, then expand into Custom Packaging Products only after the label spec holds up in actual packing.
One practical note: the label size needs to match the shipment surface. A 4 x 6 label may be right for parcel shipping, but it can overwhelm a small apparel mailer. On the other hand, a tiny label on a large carton makes the address block harder to scan and easier to miss under tape or handling wear.
Printing process and turnaround for custom logo address labels
The production path is straightforward, but the details matter. Artwork review comes first. Then size, finish, adhesive, and quantity get locked. After that, the file moves into proofing. If the proof changes after approval, the clock usually resets. That is where a lot of buyers lose a week for no good reason.
Most orders move through five steps: proofing, setup, printing, cutting or rewinding, and final inspection. Digital label printing usually moves faster on short runs because setup is lighter. Flexographic printing tends to make more sense at higher quantities because the unit price drops once the press is running steadily.
Typical turnaround depends on the print method and how much finishing is involved. Clean digital runs often ship in about 5 to 8 business days after proof approval. Larger quantities, specialty finishes, and variable-data jobs often land closer to 10 to 15 business days. Add custom shapes, white ink, foil, or a tricky adhesive, and expect more time. Production is not a magic trick.
Rush production is possible on many jobs, but it usually comes with two tradeoffs: higher cost and less room for revision. Rush works best when the artwork is final, the size is standard, and the quantity is modest. If you are still deciding whether the label needs a return address, a barcode, and a shipping panel, the job is not ready to be rushed.
Variable data adds another layer. If the label needs multiple addresses, serial numbers, or scannable codes, the printer has to verify the data path before running the job. That is not a problem, but it does need planning. A launch or restock window should always include a buffer so packaging decisions do not become a warehouse delay.
Here is the part buyers usually miss: proof quality and production quality are not the same thing. A proof can look fine on screen and still fail in the real world because the barcode quiet zone is too tight, the type is too small, or the logo sits too close to the trim edge. Good suppliers check those details before print. Better buyers check them too.
For brands that need broader packaging references, industry groups are useful. ISTA is worth reviewing if your packages need drop or vibration resistance, and the broader packaging education on Packaging School can help when comparing materials and print methods across a larger packaging program.
Cost, pricing, and MOQ: what changes the quote
Price is mostly a function of setup, material, and run size. Material is usually the biggest lever. Paper stocks cost less than synthetic films. Simple rectangles cost less than custom die-cuts. A plain one-color or two-color design costs less than a job with full coverage, white ink, metallic effects, or specialty coating.
MOQ is tied to production efficiency, not just a supplier preference. If a press or converting line needs a certain amount of setup time, the minimum has to make the job economical. Digital jobs can support lower quantities. Flexo and other traditional methods usually need higher quantities before the unit price starts to make sense. That is normal.
For a rough price range, a small digital run of custom logo address labels can land around $0.12 to $0.25 per label, depending on size, material, and finish. At 5,000 pieces or more, the same spec may drop to roughly $0.04 to $0.10 per label. That is a broad range, yes, because the spec is doing the talking. Labels are annoyingly honest that way.
| Option | Best For | Typical MOQ | Typical Lead Time | Cost Behavior |
|---|---|---|---|---|
| Digital paper labels | Small runs, test orders, seasonal updates | 100 to 1,000 | 5 to 8 business days | Higher unit price, lower setup cost |
| Digital film labels | Moisture exposure, tougher handling, clean look | 250 to 1,500 | 6 to 10 business days | Moderate unit price, better durability |
| Flexo paper labels | Higher quantities, repeat runs | 3,000 to 5,000 | 10 to 15 business days | Lower unit price at scale |
| Specialty labels | White ink, foil, unusual die cuts, premium branding | Usually higher | 10 to 20 business days | Setup and finishing push cost up |
If you want a faster quote, send the essentials in one pass: size, quantity, surface type, finish, deadline, and whether the label is going on mailers, boxes, or apparel bags. That gives the supplier enough information to price the adhesive and print path correctly instead of guessing and padding the number.
Another thing buyers overlook is storage cost. A low MOQ looks attractive until the order lands and there is nowhere to keep it. If the brand is stable and the artwork is final, a larger reorder often wins on unit cost. If the design is still changing, a smaller run is the safer move. The cheapest option on paper is not always the cheapest option in practice.
Choosing material, adhesive, and finish for apparel packaging
Material choice decides how the label behaves in the real world. Paper labels are the most economical and usually the best fit for dry, controlled shipping conditions. Film stocks like BOPP or other synthetics cost more, but they resist moisture, scuffing, and rough handling much better. For clothing Orders That Move through busy fulfillment lines, that durability is often worth the extra cost.
Adhesive matters just as much. Permanent adhesive is the default for shipping cartons and mailers. Removable adhesive is better for reusable totes, return packaging, or any application where you do not want residue or surface damage. On textured mailers, cold storage, or coated surfaces, test adhesion before committing to full production. One sample can save a lot of regret.
Finish changes both the look and the wear pattern. Matte is easier to write on and hides scuffs better. Gloss makes color look sharper, but it also shows fingerprints and abrasion faster. Soft-touch or satin finishes sit in the middle, but they cost more and should be justified by the brand presentation rather than added because they sound premium.
For brands that care about sourcing and environmental claims, ask whether the paper stock is FSC-certified. That is a cleaner way to support responsible material sourcing without making the spec messy. If the shipping program also has sustainability targets, it is worth reviewing the EPA's packaging and waste reduction resources at epa.gov and making sure the label material fits the rest of the packaging system.
Choose the surface for the job, not for the render. If the label is going on a coated poly mailer, a paper stock that curls or lifts is the wrong choice. If it is going on rigid cartons with a clean, dry surface, paper can be perfectly fine and cheaper. If the packaging changes between Retail and Shipping, test both before ordering 10,000 pieces.
Legibility beats decoration every time. A dense logo treatment, tiny return text, and decorative borders can look fine on screen and fail on a 4 x 6 label in a packing station. The warehouse is not a gallery wall. It is a fast-moving place with bad lighting, tape guns, and people trying to keep orders moving.
A simple production spec helps here: keep the address block in a clean area, leave enough quiet space around any barcode or QR code, and avoid putting important text near seams or fold lines. Those small decisions make the difference between a label that looks polished and one that gets rejected at packing.
Step-by-step ordering checklist for a clean first proof
A clean first proof starts before artwork is sent. The fastest projects usually have the same basics ready: vector logo file, exact address copy, label size, quantity, finish, and the surface it will stick to. If you do not know the surface, the adhesive choice is already shaky.
Use this checklist before requesting pricing:
- Prepare a vector logo or a high-resolution PDF.
- Measure the actual application area on the mailer, carton, or apparel bag.
- Decide whether the label needs to hold a barcode, return address, or both.
- Choose a finish based on handling, not just appearance.
- Set the quantity around reorder timing and storage space.
- Confirm whether the order needs rolls, sheets, or fanfold format.
Then review the proof like a production file, not like a design mockup. Spelling matters, obviously. So does bleed, safe margin, and scanability if the label includes a barcode or QR code. If the printer sends a proof that looks clean but the text is tight to the edge, ask for adjustment. A prettier proof is not better if it fails at the packing table.
Check the proof against the exact box or mailer you plan to use. A label that looks balanced on a white artboard may feel too large or too small on a black poly mailer. That sounds basic because it is basic. Still, it gets skipped all the time. Then someone notices the return address is buried under a fold or the logo sits too close to the seam.
If the order supports a launch, event shipment, or seasonal drop, keep a final production file locked with version control. Reorders drift when art files are edited casually. A shifted logo, a swapped address, or a changed typeface can create inconsistency across shipments. That is not a minor detail. That is package branding becoming sloppy.
One more QC step helps more than people expect: print one label, apply it, and wait. If the edge lifts after a few minutes, the adhesive and surface are not a match. If the ink scuffs when handled with a sleeve or tape dispenser nearby, the finish choice is wrong. This is cheap to test and expensive to ignore.
Common mistakes that make labels fail in real shipping
The most common mistake is still the simplest one: wrong adhesive for the surface. A label that works fine on smooth cartons may peel on textured mailers, coated sleeves, or cold-chain packaging. Another frequent miss is assuming the same adhesive will perform across every SKU. It usually will not.
Overcrowded layout is another problem. Tiny text, decorative lines, multiple type sizes, and too many colors can make the label look busy and cheap. It also slows down reading at the packing station. Good package branding should be easy to identify at a glance. If it takes three seconds to find the return information, the design is fighting the process.
Shape can create hidden costs. A custom die-cut that looks great in the mockup may waste material or add setup complexity. That pushes unit cost higher for no real gain. A clean rectangle is boring, yes. It is also efficient. Boring often wins on packaging because boring is reliable.
Warehouse conditions matter more than screen renders. Labels get handled under bad lighting, sometimes with gloves, sometimes next to tape guns and dust, sometimes in a hurry. A design that reads well on a monitor can fall apart in those conditions if the contrast is weak or the copy is too small. Test in the real environment before you scale.
If the label carries both branding and routing data, routing information wins every time. That means enough white space, enough contrast, and enough size for the address block. The pretty bits can sit around the functional core. They should not bury it.
Another trap is assuming every label should have the same finish. Matte can be perfect on one shipping surface and dull or dirty-looking on another. Gloss can sharpen color, but on flexible mailers it may show more handling marks. The right spec depends on the packaging design, the handling path, and how the shipment will be opened by the customer.
Finally, do not ignore temperature and moisture if the labels will be stored in a warehouse before use. Paper adhesive can behave differently in humid storage or cold environments. If your fulfillment setup runs hot, cold, or damp, ask for material guidance and test it. That is boring work. It also prevents a lot of waste.
Expert tips and next steps before you place the order
Start with one core size and one finish. Test it on real packaging before you spread the design across every clothing SKU. That is the cleanest way to control cost and avoid overcommitting to a spec that looks good in proof but behaves badly in shipping.
Ask for samples if the packaging has unusual texture, coating, or flexibility. A coated mailer, soft-touch carton, and plain corrugated box each interact differently with adhesive. If the supplier can send material swatches or sample labels, use them. A few mailed test pieces are cheaper than reworking a full run.
For brands with regular restocks, save a final production file with locked dimensions, artwork, and finish notes. That keeps reorders consistent. No one needs to rediscover the same border width every three months because three different people touched the file.
Use a simple buying sequence:
- Confirm the packaging surface and the use case.
- Choose the smallest practical size that still reads clearly.
- Pick paper or film based on moisture and handling.
- Request a proof with all address and barcode data in place.
- Test a sample on the actual mailer or carton.
- Approve only after the label survives that test.
If you are comparing options across a larger launch, keep the labels aligned with the rest of the program. That includes branded packaging, garment inserts, and any Custom Printed Boxes you may add later. A label should not fight the rest of the system. It should fit it.
Used properly, custom logo address labels are one of the cheapest ways to make clothing shipments feel deliberate. They do not need to be fancy. They need to be legible, durable, and consistent. Get those three right, and the rest of the packaging has a better chance of looking intentional too.
What is the minimum order for custom address labels with a logo?
MOQ depends on print method, material, and whether the label needs custom cutting or specialty finishing. Digital runs usually support lower quantities, while traditional methods become more economical at higher volumes. If you are testing a new design, ask for the smallest viable run and the next price break so you can compare the real unit cost.
Are custom logo address labels better on rolls or sheets?
Rolls are better for fast hand application and automated packing lines because they dispense quickly. Sheets are fine for small batches, office use, or manual labeling where speed is less important. Choose the format that matches how the labels will actually be applied, not the one that looks cleaner in a mockup.
How long does turnaround usually take for custom logo address labels?
Proofing is often the first step and can take a day or two if the artwork is clean and the specs are clear. Production time depends on order size, finish, and print method, so simple runs are faster than specialty jobs. If there is a hard launch date, ask for the real lead time up front instead of guessing.
Can one label handle both shipping and return address details?
Yes, if the layout leaves enough room for both areas to stay readable after print and handling. Keep the return information separate from variable shipping data so the label does not get cluttered. If the package needs scannable data, design that first and let the branding work around it.
What file should I send for a quote on custom address labels?
Send a vector logo or a high-resolution PDF, plus the exact label size, quantity, and finish you want. Include the surface it will stick to, since adhesive choice depends on the packaging material. If you need a fast quote, add your deadline and whether the labels are for mailers, boxes, or apparel packaging.


