custom made Water Bottle Labels do more than identify a product. They have to survive condensation, chilled storage, handling in transit, and the rougher reality of real use, where bottles get stacked, turned, gripped with wet hands, and tossed into coolers. If the label is built well, it still looks crisp after that treatment. If it is not, the flaw shows quickly: lifted corners, smeared copy, cloudy adhesive, or artwork that no longer sits square on the bottle.
That is why the label deserves more attention than it usually gets. For beverage brands, gyms, caterers, event teams, and private-label programs, the bottle is often plain by design. The label carries the brand story, the regulatory copy, and the first visual impression in a small, curved space. The best result is not simply a good-looking graphic. It is a label matched to the bottle shape, the fill environment, the application method, and the time the product actually spends in use.
There is also a practical side that buyers learn fast. A label that works on a dry sample may fail in an ice bucket. A label that looks rich in a proof may read dull once it hits a translucent bottle. A design that feels balanced on screen may land too close to the seam or wrap awkwardly around a taper. Those are not design theory problems. They are production problems, and they are expensive when ignored.
Why custom made water bottle labels stand out on the shelf
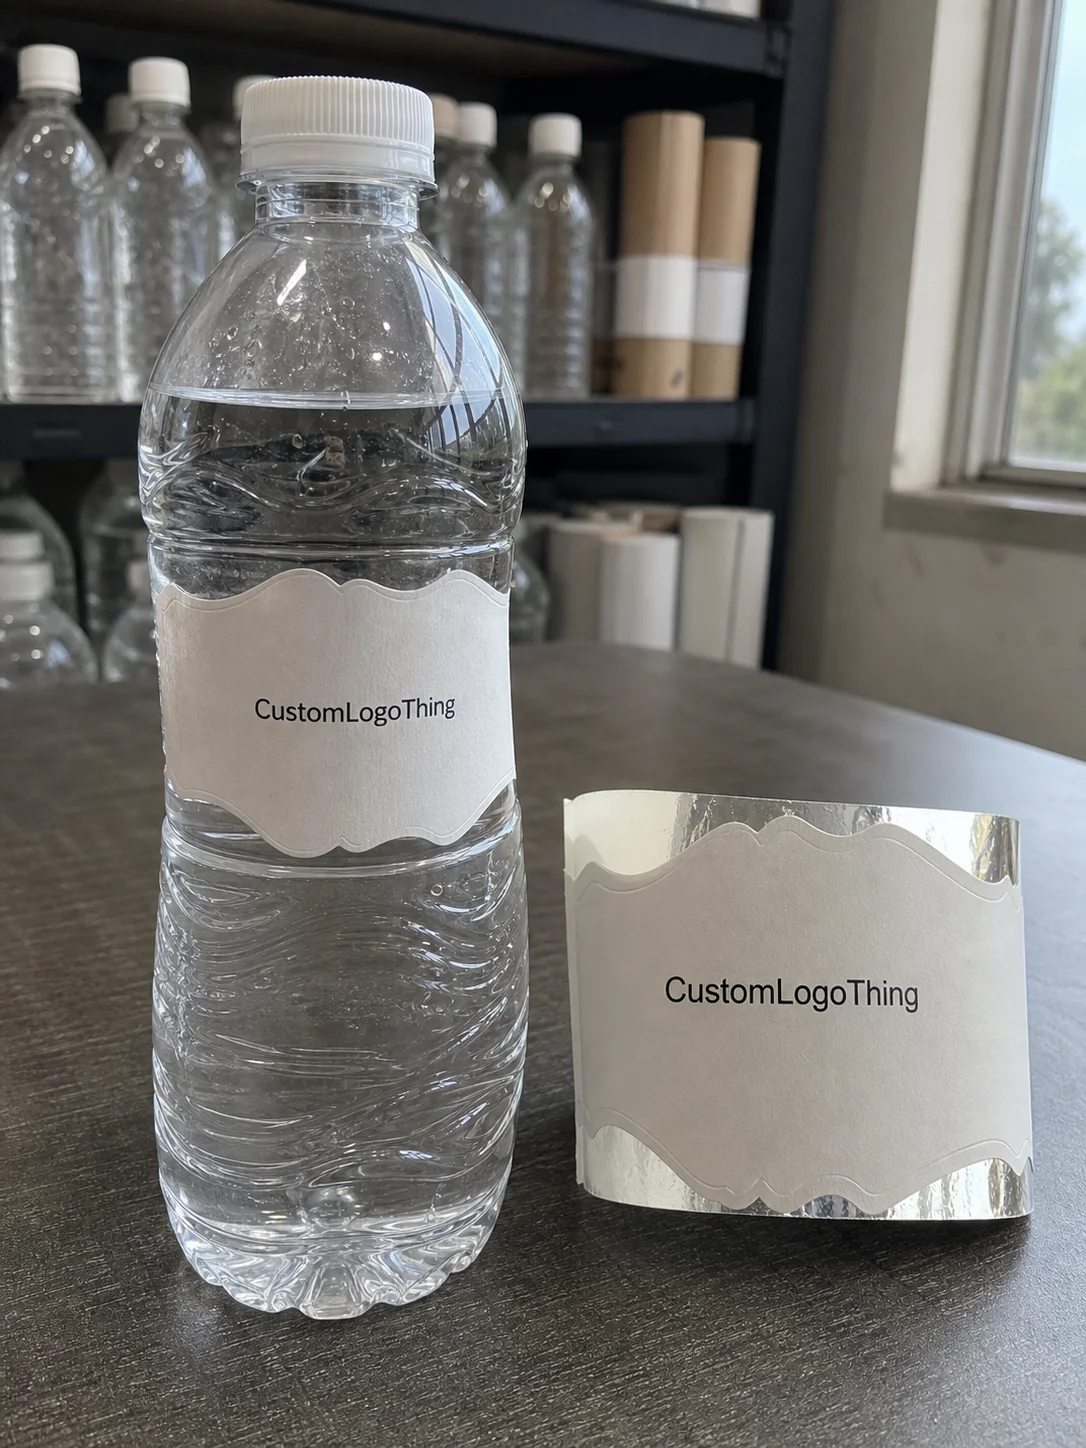
Water bottles are harder to label than they look. The surface is curved, slick, and often cold enough to create condensation within minutes. That combination is rough on adhesives. Paper that seems fine on a flat carton can wrinkle, lift, or haze on a chilled bottle, especially if the label construction was chosen without thinking through the actual use case.
That is the real value of custom made Water Bottle Labels. In a cooler full of similar bottles, the right stock, adhesive, and finish make the package easier to read and more deliberate in appearance. Buyers rarely articulate it in technical terms, but they react to it immediately. A clean label suggests attention. Attention suggests trust. On a shelf, that reaction happens in seconds.
The use cases are not interchangeable, either. A fitness studio handing out branded bottles wants a label that holds up to frequent handling. A wedding or conference may need a bottle that looks polished for a single day but still resists condensation. A retail or private-label program needs tighter color control and more consistency across multiple lots. The label can be the same category of item and still require a different build each time.
Material choice matters more than a trendy finish. Standard paper labels can work on dry bottles in controlled settings, but chilled or wet environments usually call for film stocks with moisture resistance and a stronger adhesive. In practice, the label has to balance three things at once: adhesion, flexibility, and print clarity. If one of those fails, the bottle looks unfinished no matter how good the artwork is.
That is why custom packaging works best when the label is built around the container instead of forcing the container to fit a generic label size. Sometimes the right answer is a simple roll label with a standard finish. Sometimes it is a die-cut shape, a stronger adhesive, or a matte surface that matches the rest of the package line. The bottle should not be an afterthought in the art file.
A water bottle label should still look intentional after it has been chilled, handled, and moved through distribution. If it only looks good in a mockup, the construction is not finished yet.
How the label process works from artwork to finished roll
The process usually starts with artwork review and dieline confirmation. That step sounds routine, but it is where many jobs are rescued or derailed. The label size, seam position, safe area, and bleed all have to fit the bottle. If the wrap is too long or too tall, the artwork can land awkwardly around the curve, and the overlap may sit in a visually obvious spot.
After the dieline is confirmed, material selection comes next. A bottle that will live in refrigeration often needs a label stock that resists moisture and keeps adhesive performance stable under cold handling. A room-temperature bottle gives you more flexibility. Either way, the choice should be based on the use environment, not habit. Good packaging design starts with the substrate and ends with the print, not the other way around.
Then comes proofing. That is the point where the buyer should inspect spelling, logo placement, barcode readability, trim, and any white ink or finish layers. A proof is not a formality. It is the last practical chance to catch a mistake before the run starts. If the label is tied to a tasting panel, seasonal launch, or event shipment, that stage matters even more because the schedule leaves little room for correction.
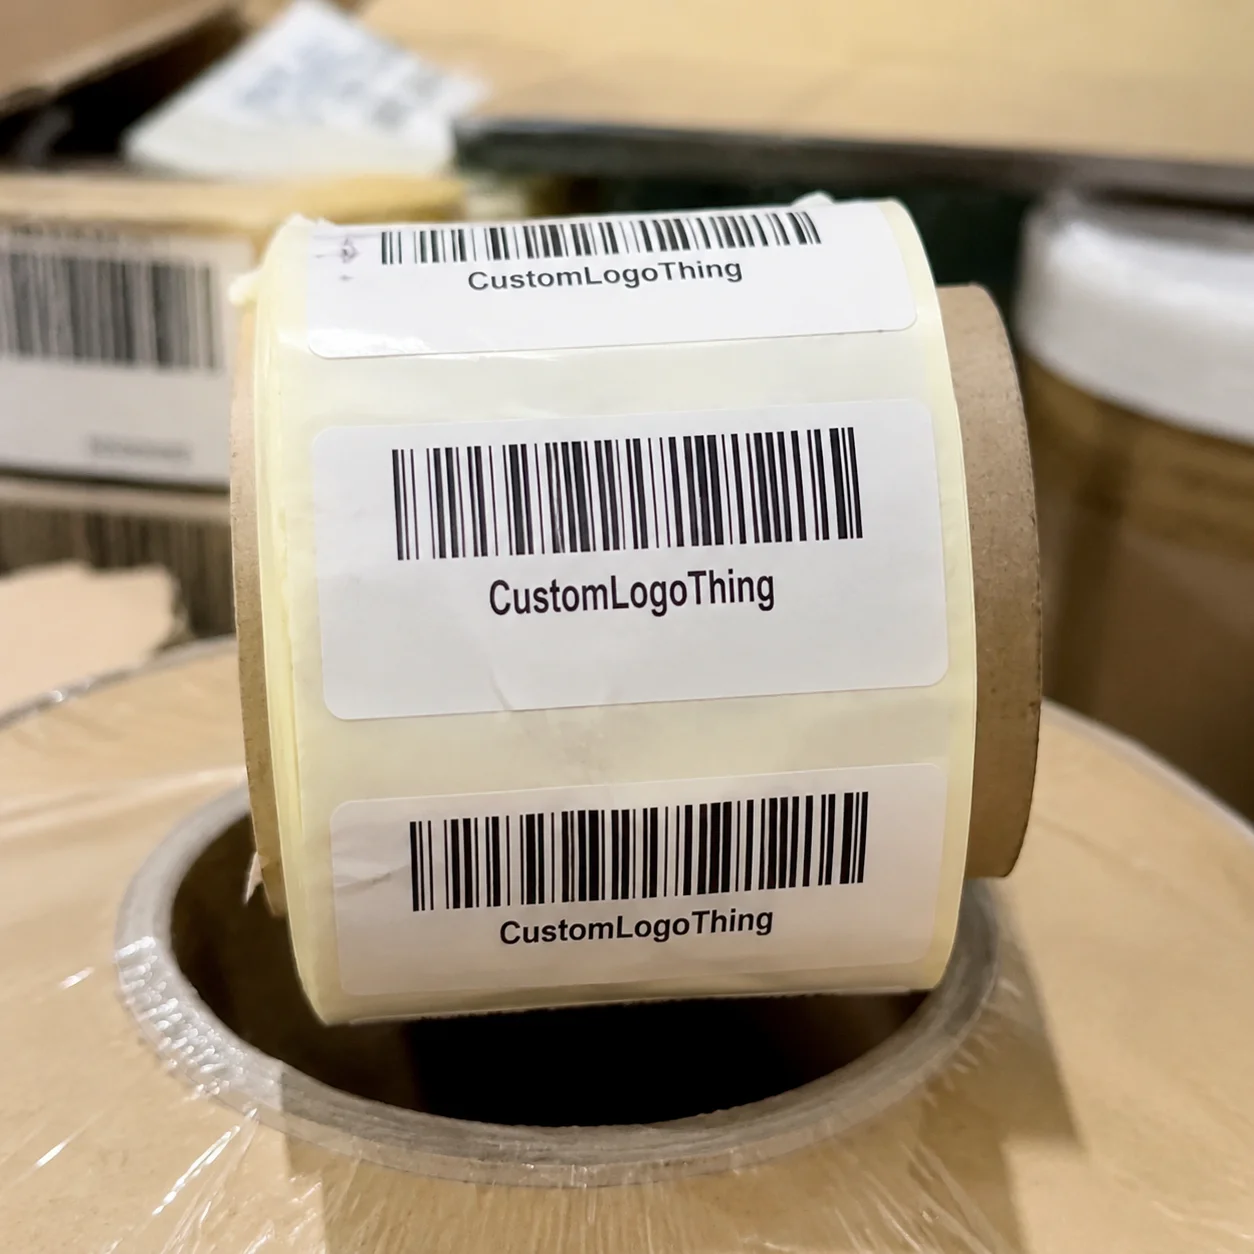
Labels may be produced as rolls, sheets, or pre-applied formats. Rolls are common for speed and consistency in automated or semi-automated application. Sheets work for smaller quantities or hand application. Pre-applied labels are useful in some production lines, though they usually add coordination and reduce flexibility if the design changes late. The format affects how the job is printed, packed, shipped, and applied.
Here is the practical comparison buyers usually need:
| Format | Typical use | Strengths | Tradeoffs |
|---|---|---|---|
| Roll labels | High-volume application, bottling lines, fast hand application | Efficient, easy to dispense, consistent placement | Needs compatible core size, winding direction, and dispenser setup |
| Sheet labels | Short runs, office use, manual application | Simple to store, flexible for smaller orders | Slower application, more handling by staff |
| Pre-applied labels | Special production setups or integrated packaging lines | Can reduce downstream application labor | More setup coordination, less room for late changes |
For packaging references and handling expectations, it helps to stay close to organizations such as Packaging School / PMMI resources and ISTA. They are not label vendors, which is part of the value. They keep the conversation tied to performance, shipping, and testing instead of pure aesthetics.
Process and timeline: what to expect before production starts
The timeline usually runs from quote approval to proof approval, then production, then shipment. On a straightforward job, proofing may take one to three business days if the artwork is ready and the dieline is clear. Production often takes around 12 to 15 business days after approval, though that can stretch if the run needs specialty finishing, multiple versions, or a test sample.
What slows the job down? Incomplete artwork is the most common issue. A file with missing bleed, low-resolution imagery, or unclear barcode placement can add back-and-forth that cuts into the schedule. Complex shapes and specialty finishes also take longer because they require more careful setup. If the label has to fit a bottle shoulder, a tapered body, or a narrow wrap zone, someone needs to verify the fit before full output begins.
Rush orders are possible in some cases, but only when the artwork is clean and the production calendar has room. A rush request does not fix file problems. It only compresses an already clean process. That distinction matters because speed cannot compensate for bad measurements, weak contrast, or an unconfirmed dieline.
A practical planning sequence looks like this:
- Confirm the bottle size, label dimensions, and application method.
- Send final artwork or a near-final file with copy, brand marks, and any required regulatory text.
- Review the digital proof carefully, including trim, color notes, and wrap position.
- Approve quantity, finish, and shipping destination.
- Build in receiving time so the labels are on hand before bottling or kitting starts.
That last item gets missed often. If labels arrive after the bottles are filled, the project stops being a print job and becomes a logistics problem. For events, that can mean a wasted run and a scramble that costs more than the label order itself.
Cost and pricing factors that change your quote
Pricing is driven by a handful of concrete variables: size, material, adhesive, color count, finish, quantity, and shape. A small clear label on standard stock costs very differently from a large die-cut label with metallic ink or a specialty matte finish. A useful quote should reflect the actual use case, not a generic price bucket.
Unit cost usually drops as quantity rises because setup and tooling are spread across more pieces. That is why many buyers see a noticeable difference between 1,000 labels and 5,000 labels. A 5,000-piece run may land somewhere around $0.18 to $0.28 per label depending on size, coverage, and finish, while smaller orders often carry more setup burden per unit. Those are planning numbers, not guarantees, but they help frame the conversation.
Standard stock materials are usually the most economical path. Higher-performance films, moisture-resistant adhesives, and premium finishes cost more, but they can save money by preventing lift, smearing, or reprints. If the bottle will be iced, refrigerated, or handled in humid conditions, paying for the right construction is usually smarter than trying to make a cheaper label do a job it was never built for.
Die-cut shapes, variable data, and multiple versions also raise the quote. Each one adds setup complexity. Variable data may require more verification. Multiple versions can mean more time on press. Specialty effects such as gloss UV, foil accents, or soft-touch coating add labor and materials. Those upgrades can be justified, but they should be chosen deliberately rather than by default.
The buyer side of pricing is straightforward once you strip away the packaging language: the cheapest label is not always the lowest-cost choice. If the wrong label fails in cold storage, the real cost includes relabeling, waste, schedule delays, and a weaker presentation on shelf. That is a poor trade even when the unit price looks attractive.
| Cost driver | Lower-cost choice | Higher-cost choice | Performance impact |
|---|---|---|---|
| Material | Standard paper stock | Moisture-resistant film | Film usually handles cold and condensation better |
| Finish | Basic matte or gloss | Soft-touch or specialty varnish | Premium finishes improve brand feel and scuff resistance |
| Quantity | Short run | Higher-volume run | Larger runs usually lower unit price |
| Shape | Rectangle | Custom die-cut | Custom shapes stand out but add setup work |
Key specs to choose before you place an order
Start with the bottle environment. Will the labels live in a cooler, a freezer-adjacent display, an ice bucket, or a dry warehouse? That answer changes almost everything. A label for dry ambient storage may be fine on paper stock, while a label for chilled distribution usually needs a film with better moisture resistance and stronger adhesive performance.
Adhesive choice matters just as much. A permanent adhesive is often the right call for single-use bottles or long shelf life. A removable adhesive can make sense for reusable bottles or temporary campaigns. Some textured or curved containers need stronger initial tack to keep the edges down. There is no universal adhesive that solves every bottle.
Finish affects both appearance and durability. Gloss tends to amplify color and add brightness. Matte reduces glare and can make copy easier to read under harsh lighting. Soft-touch creates a more premium feel, though it is not always the best choice for rough handling. If the bottle is going through a lot of contact, a finish with better scuff resistance is usually the smarter option.
Size and proportions need careful attention. A slim bottle often needs a narrower wrap area to avoid buckling. A contoured bottle may need a shorter label so the artwork sits cleanly between shoulders and taper zones. If the label is too tall, it can wrinkle. Too wide, and the seam may end up in a visually awkward place. That is why proofing against the actual bottle dimensions matters so much.
Functional details also matter. Barcodes need quiet space around them. Ingredient panels need legibility. Lot codes may need a reserved area depending on the production plan. Seasonal artwork swaps should be planned so they do not force a full redesign every time the promotion changes. None of that is flashy, but it keeps the operation moving.
For brands building broader package branding systems, the label should be coordinated with the rest of the line, including custom printed boxes, cartons, and secondary packaging. The bottle does not exist in isolation. On shelf, in a cooler, or in a shipping case, the label has to hold its own and still feel like part of the same brand family.
You can also compare material and finish selections against the wider goals of your Custom Labels & Tags program or the broader mix of Custom Packaging Products you already use. That keeps the visual system consistent instead of treating every SKU as a one-off.
Step-by-step ordering guide for first-time buyers
First, measure the bottle carefully. Do not estimate by eye. Measure the diameter, the straight-wall area, and the usable label height. If the bottle is tapered, note where the contour begins and ends. The order should be built around the container, not around a rough mockup.
Next, prepare the artwork at the correct size. Include all required copy, brand elements, and any regulatory information. If there is a barcode, make sure it has enough contrast and quiet space. If there is a white ink layer or a clear label, state that expectation early. That prevents costly surprises later.
Then request a proof or sample. Review placement, seam position, edge margins, and any fine text. If the label will be used on chilled bottles, ask whether the selected material has been tested for moisture exposure. This is also the time to confirm whether the label will be applied by hand or by machine, because that affects roll direction and spacing.
After approval, lock in quantity and shipping details. If the labels are part of a launch, event, or seasonal promotion, build in a buffer. Shipping, receiving, and inspection take time. The print schedule may be exact, but the launch calendar usually has a little friction.
Finally, store the labels properly. Keep rolls or sheets flat, clean, and protected from heat and humidity. A well-printed label can still be damaged by bad storage before it reaches a bottle. That is a simple issue, but it gets missed more often than it should.
Common mistakes that cause label problems
The most common mistake is designing for a flat surface and hoping the bottle will cooperate. Curved containers distort artwork. Text can shift visually, thin lines can disappear, and a seam can land in a place that makes the label look off-center. If the bottle is tapered, the problem gets worse.
Moisture-related failure is another frequent issue. A standard paper label or weak adhesive may look fine in a dry mockup, then fail as soon as it is chilled or handled with cold hands. Condensation changes the surface enough to affect adhesion quickly. If the label will see ice, refrigeration, or humidity, the construction has to account for that from the start.
Low contrast is a quieter problem, but it is just as damaging. Dark text on a dark background, thin script fonts, and crowded layouts often read well on a screen and poorly in the hand. On a small bottle, every millimeter matters. If the message cannot be read quickly, the label loses part of its job.
Skipping proof review is risky for obvious reasons, but the cost is usually higher than buyers expect. A typo, a barcode issue, or a trim problem caught after production can mean reprint costs and schedule delays. It is far cheaper to spend ten minutes on a proof than to remake a full run because one detail was missed.
The last mistake is underestimating lead time. Buyers often leave label ordering too late because the bottle itself seems simple. The bottle may be simple. The production chain is not. If the job needs a special stock, a custom shape, or a careful test fit, build that into the schedule early.
For a cleaner result, ask for the label to be matched to the actual bottle, the environment, and the handling path instead of assuming a stock solution will be close enough. That is where custom made Water Bottle Labels earn their keep.
Next steps for a cleaner quote and smoother launch
Gather the bottle measurements, estimated quantity, artwork files, and expected use environment before requesting pricing. Those four pieces of information shorten the back-and-forth and produce a quote that is much closer to the final job. If the bottles will be chilled, handled outdoors, or packed for distribution, say so clearly.
Decide whether the labels need to resist cold, water, abrasion, or all three. That lets the supplier recommend the right material and adhesive instead of guessing. Compare quotes line by line, not just by total cost. Material, finish, proofing, and turnaround all affect value, and a low headline price can hide a label construction that is not suitable for the job.
Ask for a proof and confirm the application method before approval. That single step prevents most of the avoidable problems that show up later. If you are using a new bottle shape or testing a new brand look, the proof should be treated as part of production, not as an optional extra.
The simplest version of the buying decision is this: the right label is the one that fits the bottle, survives the environment, and arrives on time. If those three pieces line up, the package does its job without drama.
FAQ
What details do I need to order custom made water bottle labels?
Have the bottle dimensions, label size, quantity, artwork files, and desired finish ready before requesting a quote. It also helps to share whether the labels will face refrigeration, condensation, or outdoor handling so the right material can be recommended.
What is the best material for water bottle labels in cold storage?
Choose a material and adhesive designed for moisture and temperature changes, especially if the bottles will be chilled or iced. A standard paper label is usually not the safest choice when condensation is part of the use case.
How long does production usually take for custom water bottle labels?
Timeline depends on artwork readiness, proof approval, order size, and whether the design needs special finishing or sampling. Rush turnaround may be possible, but only when the job is clean and the production schedule allows it.
Why does the price for custom made water bottle labels vary so much?
Price changes with size, quantity, material, finish, shape complexity, and the amount of setup required for the run. Higher quantities often reduce unit cost because setup is spread across more labels.
Can I use the same label design on different bottle sizes?
Sometimes, but each bottle size should be checked for wrap, seam placement, and placement of key artwork. A design that works on one bottle can look cramped or misaligned on another without resizing and proofing.