Custom Waterproof Water Bottle Labels for Bulk Orders
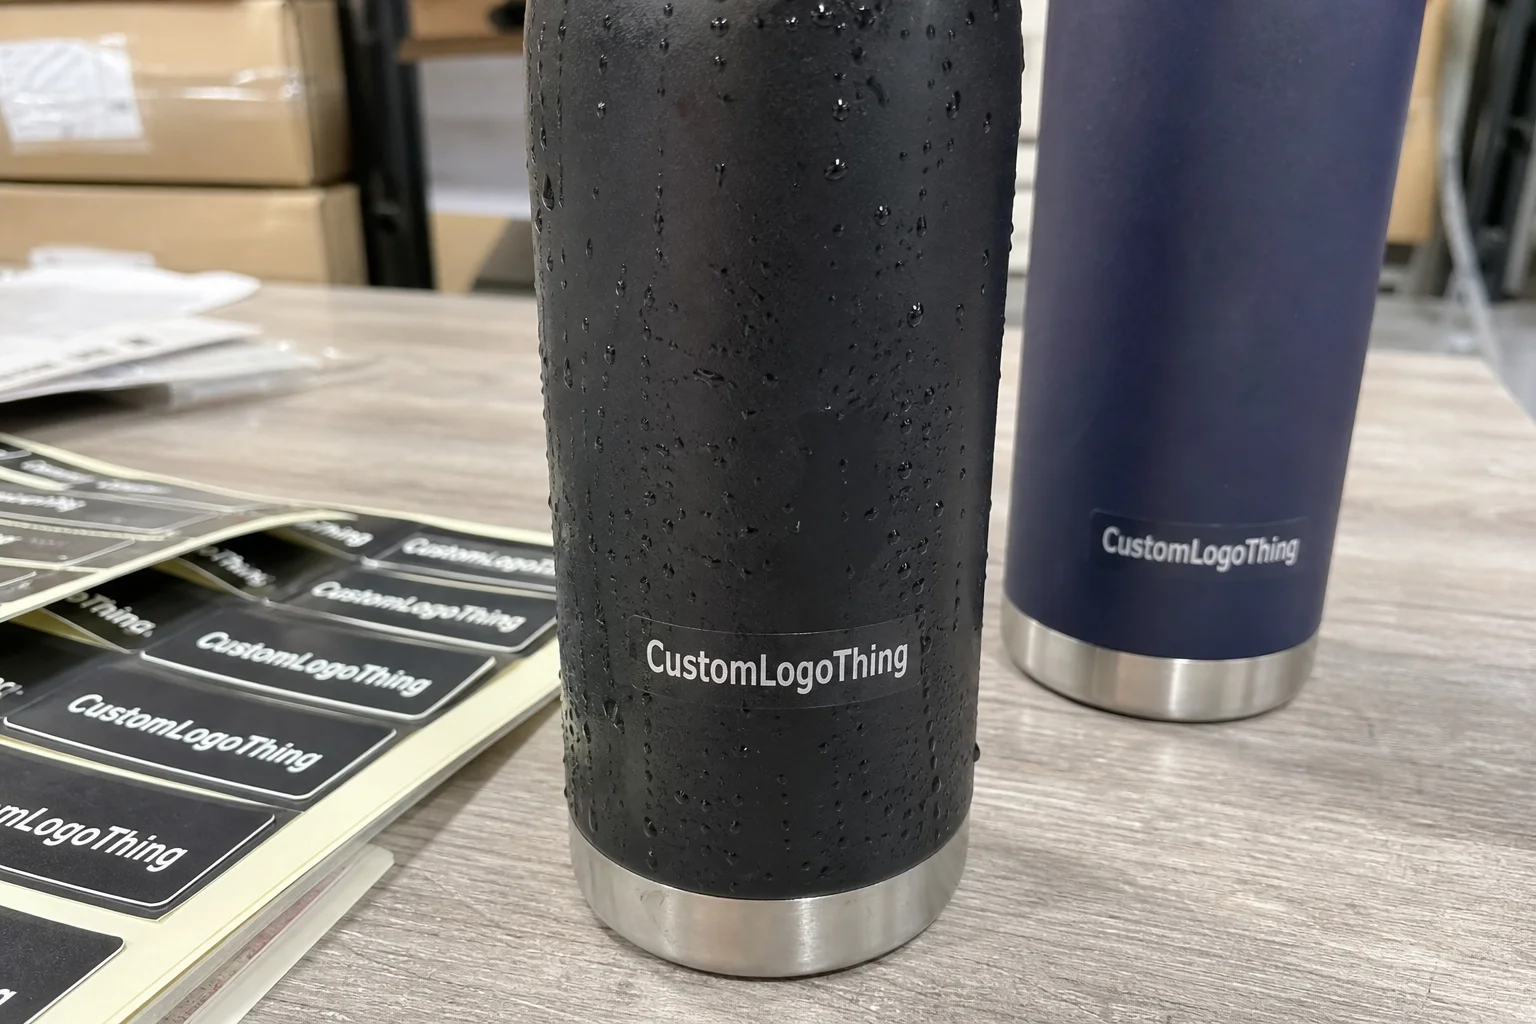
A label can look clean on screen and still fail the first time it meets condensation. That is the real test for custom waterproof Water Bottle Labels: not whether they resist a splash, but whether they keep their edge on a cold bottle, stay readable after handling, and hold up without turning soft, cloudy, or curled.
From a packaging buyer’s standpoint, the label is not a decorative afterthought. It has to support product packaging, carry package branding, and survive the conditions the bottle actually sees. If a launch also includes Custom Packaging Products or Custom Labels & Tags, the materials and print style should feel consistent across the full set, not only on one piece.
In retail and promotional settings, bottles get judged fast. A crisp label suggests control. A wrinkled corner or smeared panel suggests the opposite, even if the drink inside is excellent.
If the bottle is going into a cooler, spec the label like a wet-use component, not a desk sticker.
Custom waterproof water bottle labels: what actually keeps them intact
Most failures do not begin with direct water contact. They start with condensation, abrasion, or an adhesive that was never matched to the bottle surface. A chilled bottle sweats quickly, especially when it moves from refrigeration to warm hands. Moisture gets under weak corners, and once that happens the label starts losing its grip in small, visible ways.
A practical bottle label has to stay readable, keep its color, resist edge lift, and look clean through storage, transport, and service. That is a construction problem as much as a design problem. Face stock carries the print. Adhesive creates the bond. Finish protects the part people touch and scrape most.
These labels show up on retail beverage launches, gym and wellness promotions, events, private-label water, and conference giveaways. The use pattern changes from one job to the next. A bottle sitting on a shelf has a much easier life than one pulled from an ice bucket, packed into cases, and handed out one after another.
Buyers get better results when they define the use case before asking for a quote. A few details matter a lot: Will the bottle be refrigerated? Will it be applied by hand or by machine? Is the surface glass, PET, HDPE, or aluminum? Does the label need to survive a few hours, a few days, or a full retail cycle?
Once those answers are clear, the spec becomes more exact. The label stops being a generic sticker and becomes a packaging component tied to temperature, handling, and the actual bottle material.
How the material, adhesive, and finish work together
A durable label is a system, not a single upgrade. The face stock, adhesive, and top finish all have to work together. If one part is wrong, the rest of the build cannot compensate. That is where many label orders go off track: buyers focus on artwork and assume moisture resistance will take care of itself.
Polypropylene and polyester film stocks are common for water bottles because they do not absorb moisture the way paper does. That matters on a chilled bottle, where condensation can form in minutes. Film stays flatter and the print is less likely to blur or soften when people handle it with wet fingers.
The adhesive deserves the same level of scrutiny. A permanent acrylic adhesive is common for bottle labels, but the grade matters. Smooth glass behaves differently from lightly textured HDPE. Curved bottles create tension at the edges, and cold surfaces can reduce initial tack if the adhesive is not built for that condition. If the bottle will be labeled in a cooler or packed after refrigeration, ask for low-temperature performance rather than assuming a standard adhesive will be enough.
Finish affects more than appearance. A gloss finish usually gives stronger color and a more polished retail look. A matte or soft-touch finish can reduce glare and improve readability under bright event lighting, though scuff patterns may show differently. For bottles that will be tossed in and out of coolers or handled in high volume, a protective topcoat or laminate often makes more sense than a decorative finish alone.
There is also a broader packaging angle. A bottle label should sit comfortably beside the rest of the brand system. If the launch includes cartons, shippers, or display pieces, the typography, color density, and finish need to belong to the same family. Mismatched surfaces and inconsistent blacks are easy to spot, even if nobody can explain why the set feels off.
For shipping validation, many teams reference ISTA test procedures so they can evaluate how the packed product behaves under vibration and handling. If the overall package includes paper-based cartons or inserts, FSC sourcing can matter for brands with procurement or reporting requirements.
| Label Construction | Typical Unit Cost at 5,000 | Best Use | Watch-Outs |
|---|---|---|---|
| 2 mil BOPP film, gloss finish, permanent adhesive | $0.18-$0.28 | Cold water bottles, events, short retail runs | Solid all-around choice, but still needs testing on the exact bottle surface |
| 2 mil BOPP film, matte or soft-touch finish | $0.22-$0.34 | Premium branding, wellness products, text-heavy designs | Scuff behavior differs from gloss, especially on heavily handled bottles |
| 2 mil polyester with abrasion-resistant topcoat | $0.28-$0.45 | High-contact bottles, longer life, harsher handling | Higher cost only makes sense if the use case needs the extra durability |
| Paper with water-resistant coating | $0.10-$0.18 | Short-term promotions where bottles stay dry | Usually not the right choice for chilled bottles or true waterproof use |
The best construction depends on the surface, the temperature, and the expected lifespan. A lower-cost label can work for a one-day promotion. A retail SKU or fitness bottle that gets constant handling usually deserves a tougher film build.
Cost, pricing, and MOQ factors that change your quote
Pricing for custom waterproof Water Bottle Labels moves with size, shape complexity, print coverage, material choice, finish, and quantity. A simple rectangle with limited ink coverage costs less than a die-cut label with full bleed, white ink, and a protective overlaminate. That difference is not arbitrary. Setup work, material waste, and finishing time all increase with complexity.
MOQ is the next lever. Digital label runs often start around 1,000 to 2,500 pieces. Bulk orders usually land at 5,000, 10,000, or more because the unit cost drops as setup gets spread across the run. A smaller quantity can still make sense for a launch, a regional test, or a limited campaign. If the label will be used for months, bulk pricing tends to make more sense.
One detail buyers sometimes miss: a stronger adhesive or more durable finish can raise the quote, but it can also reduce replacement labels, rejected bottles, and rework later. A run that looks cheaper on paper is not really cheaper if half the labels fail in cold storage or during service.
Artwork readiness also affects cost and timing. A clean file with correct dimensions, bleed, safe area, and print mode reduces proof cycles. If the artwork is still changing, expect more revisions. That affects both the schedule and the bill.
For budget planning, compare three things side by side: quoted unit price, expected handling environment, and the cost of failure. The lowest price is not a bargain if the label peels before the bottle reaches the customer.
- Lower-cost runs suit giveaways, tastings, and short promotions.
- Mid-range film labels fit most chilled retail bottle applications.
- Premium constructions make sense for longer shelf life, rough handling, or stronger brand presentation.
That is where package branding enters the cost discussion. A bottle label is rarely isolated. It sits inside a retail packaging system that may include cartons, carriers, or displays. If those pieces do not align visually, the customer notices the mismatch even if the individual parts are well printed.
Production steps and turnaround from proof to shipment
The process usually starts with sizing and artwork review. This is where the label width, height, wrap area, bleed, and placement details get checked before production begins. On a curved bottle, even a few millimeters matter. Too tall, and the label can wrinkle near the shoulder. Too wide, and it may overlap a seam or lift at the edge.
After proof approval, the job moves into print, finishing, cutting, and inspection. If the label uses a custom shape, the die or cut path has to be set before final production can start. That is one reason shaped work needs more coordination than a simple rectangle. The design may look minor on screen, but the cut geometry drives setup and waste.
Turnaround depends on material availability, print method, finishing complexity, and quantity. A straightforward digital run often ships in about 10 to 12 business days after proof approval. More complex orders, especially those using specialty films, white ink, multiple passes, or tighter inspection standards, can stretch to 15 to 20 business days or longer. Large orders also need time for cartonizing and freight transit.
Proof review deserves its own buffer. Many delays happen before production, not during it. Bottle dimensions may need confirmation, artwork may need a cleanup pass, or the finish may need to be reconsidered after a physical sample is checked in hand. That is far easier to handle before the press starts running.
A practical workflow looks like this:
- Confirm bottle measurements and surface material.
- Choose the label substrate, adhesive, and finish.
- Review artwork, bleed, and placement.
- Approve the proof only after a wet-condition check if possible.
- Run production, inspection, and shipment.
If the launch also includes other printed materials, coordinate timelines early. A bottle label may need to arrive with custom printed boxes, inserts, or branded packaging so the entire program moves together instead of in separate pieces.
Choosing shape, size, and application for cold bottles
Size should follow the bottle panel, not just the available artwork. That sounds obvious until the first sample is wrapped and the label reaches too high into the curve. Measure the actual placement zone, not only the bottle height. A label that fits the file may still fail on the bottle if the shoulder curve is more aggressive than expected.
Shape matters more than many buyers expect. Rounded corners usually perform better than sharp corners because they reduce stress points where moisture can get underneath. Simpler geometry also helps on curved bottles. A dramatic contour can look strong in a mockup, but in production it may create problems if the bottle shape shifts even slightly from one supplier lot to the next.
Application method is part of the design decision. Hand-applied labels need enough open time for placement and adjustment. Machine-applied labels need tighter tolerances and a predictable release profile. If the label must be applied quickly during a fill line or a fast-moving event setup, the adhesive and face stock have to be chosen with that speed in mind.
Cold bottles deserve their own test. Condensation can appear as soon as the bottle leaves refrigeration. That means a room-temperature sample is not enough. A small test on an actual chilled bottle tells you more than a perfect proof ever will.
For best results, balance three things at once: visual impact, speed of application, and durability. A label that is easy to place but weak in cooler conditions is a poor buy. A label that is extremely durable but awkward to apply can slow the line and create its own cost.
There is also a brand presentation issue here. The label should look deliberate, not improvised. Clean margins, strong contrast, and a finish that suits the bottle all support the broader retail packaging story. Customers notice that level of control even if they never call it out directly.
Common mistakes that cause lifting, smudging, or curl
One of the most common mistakes is choosing paper because it looks good on a proof. Paper can print well, but it is usually the wrong choice for wet handling or cold storage. If the bottle will sweat, a paper face stock can fail faster than buyers expect.
Another problem is ignoring the bottle surface. Curved, textured, or slightly oily surfaces reduce bond strength. If the adhesive was selected without a real sample in hand, the label may look fine for a few minutes and then start lifting at the corners later. That shows up often on plastic bottles with slick finishes.
Skipping a test run is risky. A label can appear fine immediately after application and still fail after several hours in a cooler, after being carried around an event, or after repeated contact with wet hands. The test needs to reflect the real use case, not a clean desk environment.
Smudging often comes from finish choices that do not match the handling level. A label that will be touched often needs stronger abrasion resistance than a label meant only for display. Fine type, dense dark blocks, and small QR codes can lose legibility quickly if the surface scuffs.
Artwork margins matter too. A design with no safe area can feel crowded once it wraps around the bottle. Important text ends up too close to a seam, a curve, or the trim line. That is not a press defect. It is a layout problem.
Finally, do not assume that all custom waterproof Water Bottle Labels are equally waterproof in every situation. Some are built for a splash, some for chilled retail handling, and some for harsher environments. The difference is in the full construction, not just the product description.
- Paper on a cold bottle is usually a bad bet.
- Sharp corners invite edge lift.
- Room-temperature testing misses condensation failure.
- Weak margins make the layout feel cramped on curved surfaces.
Expert tips and next steps for ordering the right run
Measure the bottle where the label will actually sit. That means width, wrap area, and the curve profile of the container, not just the full height. A quote based on a real bottle sample or a precise spec sheet is more reliable than one based on a flat drawing. The closer the measurement, the cleaner the proof and the lower the chance of rework.
Share the use conditions upfront. Tell the supplier whether the bottles will be refrigerated, packed in ice, handled by staff, or shipped through distribution. Also specify whether the bottle is PET, glass, HDPE, or aluminum. That information guides the adhesive, face stock, and finish selection.
If the launch depends on the label staying put in cold storage, request a sample or short test run before committing to the full bulk order. A small trial on the actual bottle is the most reliable way to confirm fit and adhesion. That matters even more for event programs where bottles are handed out fast and often end up wet within minutes.
Here is a useful buyer checklist:
- Bottle dimensions and label panel size
- Quantity and expected reorders
- Artwork files and print requirements
- Application method: hand or machine
- Storage conditions: room temp, refrigerated, or ice-packed
- Related packaging pieces, such as custom printed boxes or branded cartons
For approval, check readability, margins, and finish under wet conditions before signing off. That final pass catches most avoidable problems. If the design stays readable on a damp bottle, sits cleanly on the curve, and still matches the rest of the branded packaging, the run is on solid ground.
The strongest orders are the ones that match the actual bottle, the actual handling, and the actual retail environment. That is the standard worth using for custom Waterproof Water Bottle Labels. It is also the line between a label that merely prints well and one that survives contact with real use.
What makes custom waterproof water bottle labels different from regular labels?
They use moisture-resistant film or coated materials instead of standard paper, so they handle condensation and chilled storage much better. The adhesive and finish are chosen to reduce edge lift, smudging, and surface damage during handling.
Do waterproof water bottle labels need a laminate or coating?
Often yes, because a protective finish helps resist scuffs and keeps print details sharper during transport and use. The right finish depends on whether the labels will face cold, wet, or high-contact conditions.
What is the best material for cold or condensation-heavy bottles?
Polypropylene and polyester film stocks are common choices because they resist moisture better than paper. The adhesive still has to be matched to the bottle surface, or the label can fail even if the face stock is durable.
How long does a custom waterproof water bottle label order usually take?
Lead time depends on quantity, print method, finishing, and whether the artwork is ready for proofing. Simple runs move faster, while custom shapes or specialty materials usually need more time for setup and approval.
What should I have ready before requesting a quote for waterproof bottle labels?
Have the bottle dimensions, label size, quantity, artwork files, and expected use conditions ready. It also helps to know whether the labels will be applied by hand or machine and whether the bottles will be refrigerated. If those details are clear, the right spec for custom waterproof water bottle labels is much easier to pin down.


