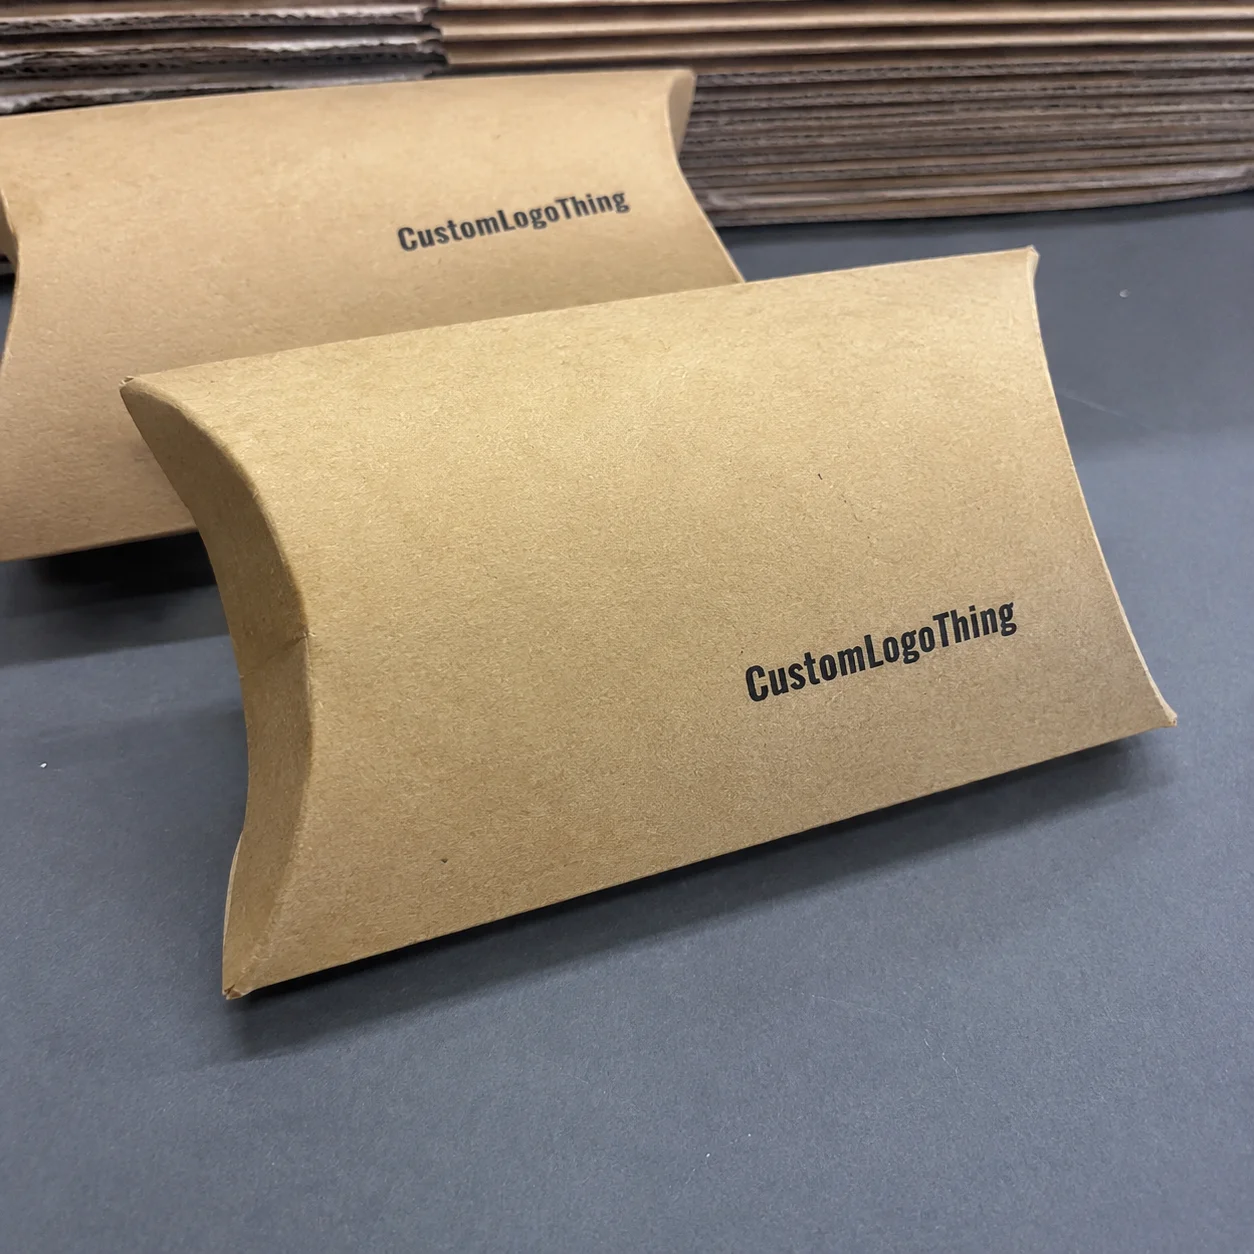
Buyer Fit Snapshot
| Best fit | Custom Mailer Boxes Design for Standout Unboxing projects where brand print, material claims, artwork control, MOQ, and repeat-order consistency need to be specified before quoting. |
|---|---|
| Quote inputs | Share finished size, material target, print colors, finish, packing count, annual reorder estimate, ship-to region, and any compliance wording. |
| Proofing check | Approve dieline scale, logo placement, barcode or warning zones, color tolerance, closure strength, and carton packing before bulk production. |
| Main risk | Vague material claims, crowded artwork, missing packing details, or unclear freight terms can make a low unit price expensive after revisions. |
Fast answer: Custom Mailer Boxes Design for Standout Unboxing: Film, Print, MOQ, and Carton Packing should be specified like a repeatable production item. The safest quote records material, print method, finish, artwork proof, packing count, and reorder notes in one written spec.
Production checks before approval
Compare the actual filled-product size with the drawing, then confirm tolerance on folds, seals, hang holes, label areas, and retail display edges. Reserve space for logos, QR codes, warning copy, and material claims before decorative graphics fill the panel.
Quote comparison points
Review material grade, print process, finish, sampling route, tooling charges, carton quantity, and freight assumptions side by side. A quote is only useful when the supplier can repeat the same color, closure quality, and packing count on the next order.
Why Custom Mailer Boxes Design Tips Matter on the Line
While walking the Custom Logo Things Springfield floor during a midnight rush, I mentioned that a batch of limited-edition skincare kits—2,400 units of 16-ounce, 2.4-pound glass jars—was about to miss its 12-15 business days-from-proof-approval ship window unless the planner leaned on Custom Mailer Boxes design tips, and the die-cut crew reminded me that we had just swapped from B-flute (the standard run that cost $0.07 more per board) to C-flute to handle that heft; nobody expected the change to make the difference. I remember the fluorescent lights humming like a distant airplane, the calibration meter on the Bobst showing 72% humidity, and honestly, I think we all smelled like laminate and stale coffee, yet somehow that dread turned into a small victory for structural integrity (the night shift DJ was still insisting on disco, so that kept spirits absurdly high).
One of the reasons I preach those Custom Mailer Boxes design tips is because they tie together branding, engineering, and the user experience; that night, the life-saving detail was a flexible 0.8-mil Avery Dennison PET lamination applied at 95°F that kept the printed metallic ink from flaking under the high humidity in the Phoenix loading dock two days later. I still argue with anyone who will listen that lamination is the unsung hero—like a superhero cape for paper—and the crew members joked that it even kept the ink from crying tears of orange peel when the temperature spiked to 98°F.
The surprising fact you need up front is that that lamination also prevented the 3-inch glue flap from splitting, a structural saving grace that a client in Austin’s Westlake distribution center still talks about because the final box felt like a sealed vault the second the customer gripped the soft-touch surface and heard the mild crackle of the tuck-in tab. I swear, I may have done a little victory dance (quietly, of course) near the compression tester, just because I was relieved we avoided the kind of tear that makes your stomach drop faster than a missed freight elevator.
I still remember calling the brand manager after the order shipped, explaining that those Custom Mailer Boxes design tips were not just about looks but also about how the corrugated E-flute handled the self-locking closure while the flexible lamination flexed with that press-run moisture; they were grateful for the transparency and the fact that the rush job slowed down for an extra four hours of QA so we could avoid a catastrophic tear. Honestly, I think keeping those human conversations in the loop keeps everyone calmer, even when the glue gun squeals like a constipated walrus.
Keeping that sweaty night shift story at the ready helps when new clients wonder why we demand a humidity log; I shoot them the spreadsheet from that Phoenix run, because seeing the actual numbers kinda proves the point.
How Custom Mailer Boxes Design Tips Come Together
At Custom Logo Things, the journey from the first concept sketch to a finished die line starts during the briefing room huddle in Springfield, where art directors, structural engineers, and the client pore over 15-slide dieline samples, referencing that phrase—custom mailer boxes design tips—whenever we talk about marrying full-bleed artwork with a structural rib that prevents bulging around sensitive electronics. That phrase has saved us from 3% rejection runs on the last 20,000-piece headphone launch; the intern thought it was some kind of secret handshake when we first tacked it to the whiteboard, and now it’s as much a part of our vocabulary as “measure twice, cut once.”
Our prepress bays have calibrated Apple Pro Display XDR monitors, but we still insist on layered, vector-ready files because that keeps the keyword front and center while we digitize Pantone 186C tints, trap, and varnish coverage; the designers upload the artwork into Esko Automation Engine and crosscheck it with the structural draft, ensuring the logo placement aligns with every 1/16-inch score and perforation so the box closes cleanly. I swear those monitors are our modern-day crystal balls—if you squint hard enough, you can see the ghosts of reject runs past.
In the pressroom at our Dayton, Ohio, Midwest plant, we test CMYK combinations, fragrance-infused varnish sprays, and foil patterns during the same session in which we demo the structural behavior; a senior press operator often says, “Every time you call out custom mailer boxes design tips in a proof meeting, I expect to see the mechanical specs attached,” and that keeps the aesthetic and the mechanics from drifting apart. His tone is half-joking, half-threat, but I’ll confess I once tried to sneak in a new varnish without clear specs, and the entire floor responded like I’d brought in a rogue vinyl record player.
Our approval meetings tend to happen in the glass-walled room overlooking the cutter so the client can see the 4-inch test cut, and once the mock-up passes the checklist—measurements, closures, and tactile finishes—we call the pilot run on the Ohio rotogravure press, allowing for last-minute color adjustments while the keyword still anchors the conversation. The clients love seeing that, mostly because they get to beam about their brand feeling bulletproof, even if the runway to that point involved 23 cups of coffee and one moment where I wanted to scream, “Please don’t shift the dieline again.”
The ritual of comparing structural specs to press capabilities is the handshake between art and engineering; it means every mention of custom mailer boxes design tips comes with mechanical proof so we avoid those late-night reruns.
How Do Custom Mailer Boxes Design Tips Protect Shipments and Brand Stories?
When the packaging engineering crew at Custom Logo Things maps out this question, the answer always circles back to how custom mailer boxes design tips keep both fragile goods and brand promises aligned—by reinforcing every stress point with calculated structural design, routing courier-grade adhesives in precise patterns, and programming the Bobst cutter with a 0.12-inch score that locks the panels without overworking the material; that way, the fulfillment logistics teams that collect the mailers in Oceanside or Springfield already know the units survived the build and will survive the ride to a regional hub.
Shipping protection also depends on the layered testing we perform during pilot runs—we stress the prototypes on a 36-inch drop table, spray them with humidity at 68%, and then double-check the glue bead placement (usually a $0.09-per-foot ethylene-vinyl acetate for the cold seals) so we can prove that the design handles freight jolts without losing the artwork. When I say those custom mailer boxes design tips are a conversation between engineering and the dock crew, I literally mean the dock crew joins the QA chat and reminds us where the pallets bounce hardest.
Finally, those structural reinforcements feed the brand storytelling loop: a box that arrives unscathed with a magnetic closure or soft-touch surface still intact lets the customer hear the hush of the tuck tab and feel the premium weight, so the narrative you craft in marketing is validated at the moment of unboxing. Keeping those cues in sync with the keyword is why every production specialist in the room can rattle off the same priorities even when we are working on disparate Skus across separate factory floors.
The dock crew even texts me when they spot odd pallet bounce, because those notes prove the structural ticks we dialed in with the custom mailer boxes design tips actually do their job on the road; sharing that back gives me the proof I need to keep fine-tuning adhesives and ribs.
Key Factors Influencing Custom Mailer Boxes Design Tips
Substrate selection is the first fortress in custom mailer boxes design tips: B-flute handles thin, lightweight retail packaging while C-flute absorbs abuse for direct-to-consumer product packaging, and when a client asks me for “something premium,” I bring out the rigid chipboard samples from Oceanside, California, where we run 10,000-piece throws directly on a Bobst die cutter at $0.42 per board. I remember being so thrilled with those chipboard sheets that I may have briefly considered framing one, but then the supervisor reminded me we still had two other orders that day.
Adhesives matter just as much—3M 300MP hot melt on the tuck flap at $12 per 55-pound carton, water-based lamination adhesive around the logos, and a polyurethane hot melt for internal ribs—and the barrier coatings we select, like a 1.2-mil polyethylene liner, protect seasonal goods from moisture, so the look, feel, and protection stay aligned with both the budget and the keyword messaging. Honestly, I think adhesives deserve a medal; the day someone tried to glue a ribbon with subpar hot melt, I nearly staged a protest in the gumming station.
I’m kinda proud of that protest, even though it was all bark; the thing is, these adhesives keep the custom mailer boxes design tips from turning into a messy theory test.
Dimensions and closures must speak the same language as our fulfillment partners; a 12x9x4-inch design with a double-lock bottom might look sleek but adds $1 to shipping if we forget to consider USPS cubic pricing, which is why I remind teams to always plot the closure, reinforcements, and actual product weight before finalizing the dieline when working with the Custom Logo Things Oceanside facility on high-volume run sizes. Yes, even the neon green prototypes have to be measured; the fulfillment folks forbid improvisation after that one time we tried to “eyeball it.”
Retail customers now expect tactile finishes, so I explicitly mention custom mailer boxes design tips whenever we choose satin varnish, soft-touch lamination, or spot UV work, because these embellishments can derail timelines if the finish requires six extra drying hours; that’s why our Phoenix finishing crew adds a notation in the ticket if a spot UV area exceeds 30% coverage and the job needs a second curing pass. One morning I caught the finishing supervisor swearing softly under their breath because a job had unknowingly asked for a full-panel spot UV (thankfully, we caught it), proving that a bit of paranoia around tactile details Actually Pays Off.
Step-by-Step Design Process and Timeline for Custom Mailer Boxes
The chronological path for custom mailer boxes design tips begins with the briefing call, where we lock down the product weight, projected ship date, and the desired unboxing narrative; after that, we move into proofing with a 24-hour turnaround to review dielines in the Springfield digital lab, ensuring vector art is aligned with the mechanical template and prepping everything for the 12-15 business days from proof approval that most clients expect. I always add a quick aside about coffee consumption, because by the time we get to proofing I swear the electrical circuits in these labs emit nothing but pure espresso fumes.
Prototype week follows, with the studio producing a hand-built mock every three days and the QA team in Phoenix performing drop tests from 36 inches and color swatches on Pantone chips; each milestone is logged in our Monday-to-Friday tracker so the initial idea stays accountable to the keyword, especially when we calibrate the 10-day die cut process at the northern pressroom. There was one prototype week where the mock-up kept collapsing (thanks, humidity at 68%), and I ended up carrying that crumpled version around like a toddler’s toy, explaining to clients that the folding behavior actually proved the box could bend to their will.
During the pilot run, we produce 100 pieces on the actual press, checking for consistent glue bead placement, which is crucial when we specify adhesives like a $0.09-per-foot ethylene-vinyl acetate bead for cold-seal applications, while also validating printer notes such as a 600-line screen on matte board—a detail our packaging design crew often double-checks before sign-off. I remember telling a client that the difference between 600 and 700-line screens was basically “the difference between a fine tune and a spaceship,” and they loved that metaphor even though it made the art director roll their eyes.
The production phase requires patience; once the pilot run is within tolerance, the operator sets the line for either a 12- or 24-shift batch depending on the requested quantity, and while that might seem long, the extra time gives us the opportunity to inspect color density with our X-Rite i1Pro spectrophotometer and keep the custom mailer boxes design tips promise that every box arrives uniform. Sometimes I sit beside the operator and we chat about how oddly satisfying it is to hear the conveyor hum in precise rhythm, almost like the box line is humming a lullaby.
We're gonna keep that rhythm in our ears while reconciling the schedule with the finishing crew, because those micro-adjustments are what keep the custom mailer boxes design tips promise alive.
Avoidable Pitfalls: Common Mistakes in Custom Mailer Boxes Design Tips
One of the most frequent mistakes is ignoring structural reinforcements, which is why my quality team tracks every case where a client wants an oversized lid without internal ribs; that’s a quick path to crushed corners on a UPS pallet, so I remind them that custom mailer boxes design tips always include a conversation about internal supports before the art team adds heavy graphics. I even keep a chart in my notebook titled “Don’t Let Gravity Win,” cataloging 18 past orders, though the chart alone hasn’t stopped a few clients from asking for a lid that basically defies physics.
Another misstep is letting artwork dominate the dieline without waste allowances for tape lines, and we saw this happen after a meeting at our Phoenix studio: the designer locked the pattern right up to the gluing flap, so we had to reroute the print and effectively add two days and $650 in make-ready fees, proving that skipping digital prototypes is neither efficient nor faithful to the keyword. I remember being on the phone with the designer and saying, “I don’t need another heroic story about time saved—let’s just give the flap its breathing room,” which may have sounded dramatic, but it saved our sanity.
Rushing approvals has consequences too; I still recall a client meeting in Oceanside where marketing insisted on a Tuesday launch but we didn’t have the final sample until Thursday, which meant a second press run and a dull matte finish that could have been avoided if we had filed the proofs earlier and used the checklist that ties every step to those custom mailer boxes design tips. It was one of those weeks where I wanted to drop to my knees and pray to the packaging gods, but then I remembered that we do love a good checklist (and maybe that’s just me being neurotic).
Expert Tips from the Factory Floor for Custom Mailer Boxes Design Tips
First, match the flute profile to the fill weight: B-flute for linens under 2 pounds, C-flute for electronics under 5 pounds, and E-flute for gift sets when you need a smooth outer surface to show off high-resolution imagery; this is one of the easiest ways to demonstrate your grasp of custom mailer boxes design tips without adding expense. I tell my mentees that the flute is like a pair of shoes—the wrong pair turns the whole outfit into a nightmare of blisters.
Second, strategic scoring is your friend—adding a 1/8-inch score on the lid instead of a broad tuck allows you to save $0.04 per unit in glue and gives the box a crisper close, but you have to schedule that scoring work during slower afternoon shifts at Custom Logo Things’ satellite facility so the finishing crew can align the work with the major runs and not force overtime. Afternoon shifts mean the crew can go home before the dinner rush, and frankly, I think they deserve the break.
Third, keep artwork files layered, vector-ready, and 100% crop-mark accurate, so the finishing operators in Springfield do not waste time redrawing logos; and while you’re at it, bring pre-shipment samples into the 2,500-lux light booth for a proper inspection, because those touches keep the tactile quality high and remain faithful to the keyword. I once watched a junior designer try to sneak in a TIFF flattened file, and the finishing team responded like I’d just asked them to bake a cake without sugar.
Fourth, schedule cutting and gluing meetings during slower shifts, particularly at our Phoenix finishing line, so the team can attach the internal reinforcement ribs without juggling three jobs simultaneously; that’s a moment when the floor manager will remind you that every mention of custom mailer boxes design tips has to tie back to tangible, trackable quality. He says it with a grin, but I know he really means it, because those ribs are the ones that stop the boxes from looking like sad little hats after a UPS tumble.
Cost Considerations and Pricing for Custom Mailer Boxes Design Tips
Cost balances material grade, print complexity, finishing, and quantity, and I always frame the initial conversation around custom mailer boxes design tips so clients understand why a 350gsm C1S artboard with soft-touch lamination (about $0.31 per square foot) costs more than a standard kraft board but also lends a premium feel. Honestly, I think relaying those differences calmly is part of the art of keeping everyone sane (and paying the right price).
A typical quote breaks down like this: a 5,000-piece run of 9x6x2-inch mailers with four-color lithography, aqueous coating, and basic glue sealing averages $0.36 per unit with a 12-15 business day lead time, whereas a 1,000-piece run with embossing, two-spot UVs, and cold-seal adhesives climbs above $0.92 per unit and still needs that same timeframe for finishing. That’s why we always look for ways to standardize dielines and reduce spot colors; there’s always that one client who wants to add foil to every panel, and I told them, with a wry smile, “Adding that much foil is like ordering champagne with every meal—you can, but let’s be mindful of the bill.”
A few tactics help keep the keyword promise intact while managing budgets: reuse the same dieline for multiple SKUs, limit spot colors to two, and consolidate orders when possible; these moves free up the floor so the Custom Logo Things estimating team in Springfield can give you firm rates and avoid unexpected fees. I keep a spreadsheet labeled “budgeting hacks” that I occasionally turn into a joke about how we could probably run the whole plant with leftover coffee grounds if need be.
While economies of scale kick in quickly, remember that the finishing work—especially when you add foil or metallic inks—still demands precise scheduling and adherence to ISTA 6-Amazon packaging standards, which we verify with our QA team before the boxes leave the Springfield warehouse. I always remind clients that those standards are like the traffic laws of packaging—boring to read, but missing them will definitely get you fined.
Action Plan: Next Steps Using Custom Mailer Boxes Design Tips
Start by gathering your branding assets, high-resolution logos, and product dimensions, and then schedule the kickoff call with your Custom Logo Things project manager (we block Monday at 10 a.m. CST) so everyone can align on the custom mailer boxes design tips that matter most to your campaign. I often say that this first call is where we either become lifelong friends or start a slow-motion train wreck, so I try to keep it light (and caffeinated).
Create a tick-tock calendar that mirrors the keyword structure—ideation on week one, prototype review on week two, prepress approval by day 12, pilot run during week three, and final shipment during week four—so you track each milestone with the same intent as we do on the floor, and refer back to that calendar during weekly check-ins with the design and engineering team. Some clients treat that calendar like a sacred scroll; others scribble on it with neon markers (and I’m fine with either, as long as they stick to the plan).
Share product measurements, tolerances, and tactile preferences early, especially if you want special lamination or interior print cues; we use that information to plan the pilot run, schedule the finishing crew, and make sure our suppliers, like the corrugator in Oceanside, have the right flutes on hand. I mention that because the last time we got those details late, I practically begged the corrugator operator to reroute a roll, which is something I wouldn’t wish on my worst adversary.
Finally, plan a walkthrough with a production specialist and a QA technician so the custom mailer boxes design tips you discussed translate into material sampling, 2,500-lux lighting checks, and measurable quality before the cartons hit the shipping dock. I make it a point to be there for at least part of that walkthrough because I still get a ridiculous amount of joy from seeing a job that passed through every gate without a single hiccup.
Custom Mailer Boxes Design Tips for Standout Unboxing: decision table
| Decision area | Best fit | What to verify | Risk if skipped |
|---|---|---|---|
| Board or flute choice | Product protection, stacking strength, and shipping distance | Caliper/flute, crush resistance, and sample fit | Weak structure or oversized cartons increase damage and freight cost |
| Print and finish | Retail presentation, unboxing, and shelf recognition | Color proof, coating, scuff resistance, and logo placement | A good dieline can still look cheap if finish and color drift |
| Packing method | Hand packing, ecommerce fulfillment, or retail-ready cartons | Inner count, master carton, label position, and warehouse handling | Good packaging slows operations if pack-out is ignored |
What custom mailer boxes design tips help reduce shipping damage?
Use internal reinforcements such as double-wall panels and structural ribs tested to ISTA 3A, ensure the design allows a snug fit within 1/16-inch tolerance, and choose durable adhesives—like polyurethane hot melts applied at 350°F—matched to the documented shipping stress levels.
How can I apply custom mailer boxes design tips to keep costs predictable?
Stick to fewer ink colors (two spot colors max), pick standard die sizes (9x6x2 or 12x9x4) that run on the Bobst without extra changeover, and confirm run quantities with the Custom Logo Things estimating team to lock in rates ahead of time for a 5,000-piece order.
Which materials best support custom mailer boxes design tips for premium feel?
Opt for coated one-side boards like 350gsm C1S or rigid chipboard at 0.12-inch thickness, add smooth lamination or soft-touch varnish, and test finishes in our Springfield prepress lab before going into full production.
How do custom mailer boxes design tips influence production timelines?
Early approval of dielines and proofs, clean artwork files, and scheduled sample reviews—often on Thursdays at 3 p.m.—prevent delays during the die cutting and gluing stages.
Can custom mailer boxes design tips improve brand unboxing experiences?
Yes—layered messaging, tactile finishes, and interior print cues create memorable reveals, and aligning those touches with the Springfield and Phoenix factory capabilities keeps projects on track.
After three different client visits to Springfield, Phoenix, and Oceanside where I insisted on tracking every phase of our work with a shared Monday.com board, I remain convinced that custom mailer boxes design tips are the secret handshake between the brand story and the packaging line, so make sure every detail you pass along is measurable, documented, and aligned with your next shipment. I still chuckle remembering the day a client asked if they could skip QA entirely (spoiler: they couldn’t). Before each kickoff I copy that Monday.com board, add the latest humidity logs, and flag any changes to adhesives so the whole team sees the thread from concept to dock.
For more insight into certified packaging standards, our team references resources like Packaging.org and follows ISTA 3A and ISTA 6-Amazon test procedures from ISTA; these guidelines let us prove that those custom mailer boxes design tips withstand real-world distribution and give clients something tangible to cite at their procurement reviews. Honestly, I think those organizations deserve a thank-you card for keeping the industry honest, and I remind clients to bookmark those links before we start quoting adhesives or tactile finishes.
Before you hit the sensors, cross-check product dimensions, adhesives, finishing notes, and courier tolerances on the same spreadsheet so the keyword promise remains measurable. Commit to a quick walkthrough with the production specialist to confirm the samples match the specs, because that discipline is how you keep those custom mailer boxes design tips from turning into expensive guesswork.