Custom Nail Art Stickers: Buyer Guide to Design and Order
Learn how custom nail art stickers are made, priced, and applied, plus the key specs and mistakes to avoid when ordering for your brand or salon.
Why custom nail decals stand out on the nail table
A nail is a tiny canvas with no patience for sloppy detail. That is the whole reason custom nail art stickers make sense for salons, beauty brands, creators, and retail kits that need repeatable designs without asking someone to hand-paint miniature artwork all day.
The practical value is consistency. One trained nail tech can place a floral accent, logo mark, metallic star, cartoon icon, or seasonal graphic in minutes, and the tenth application should still look like the first. That matters if you are building a salon menu, selling themed nail sets, or adding a branded insert to beauty packaging.
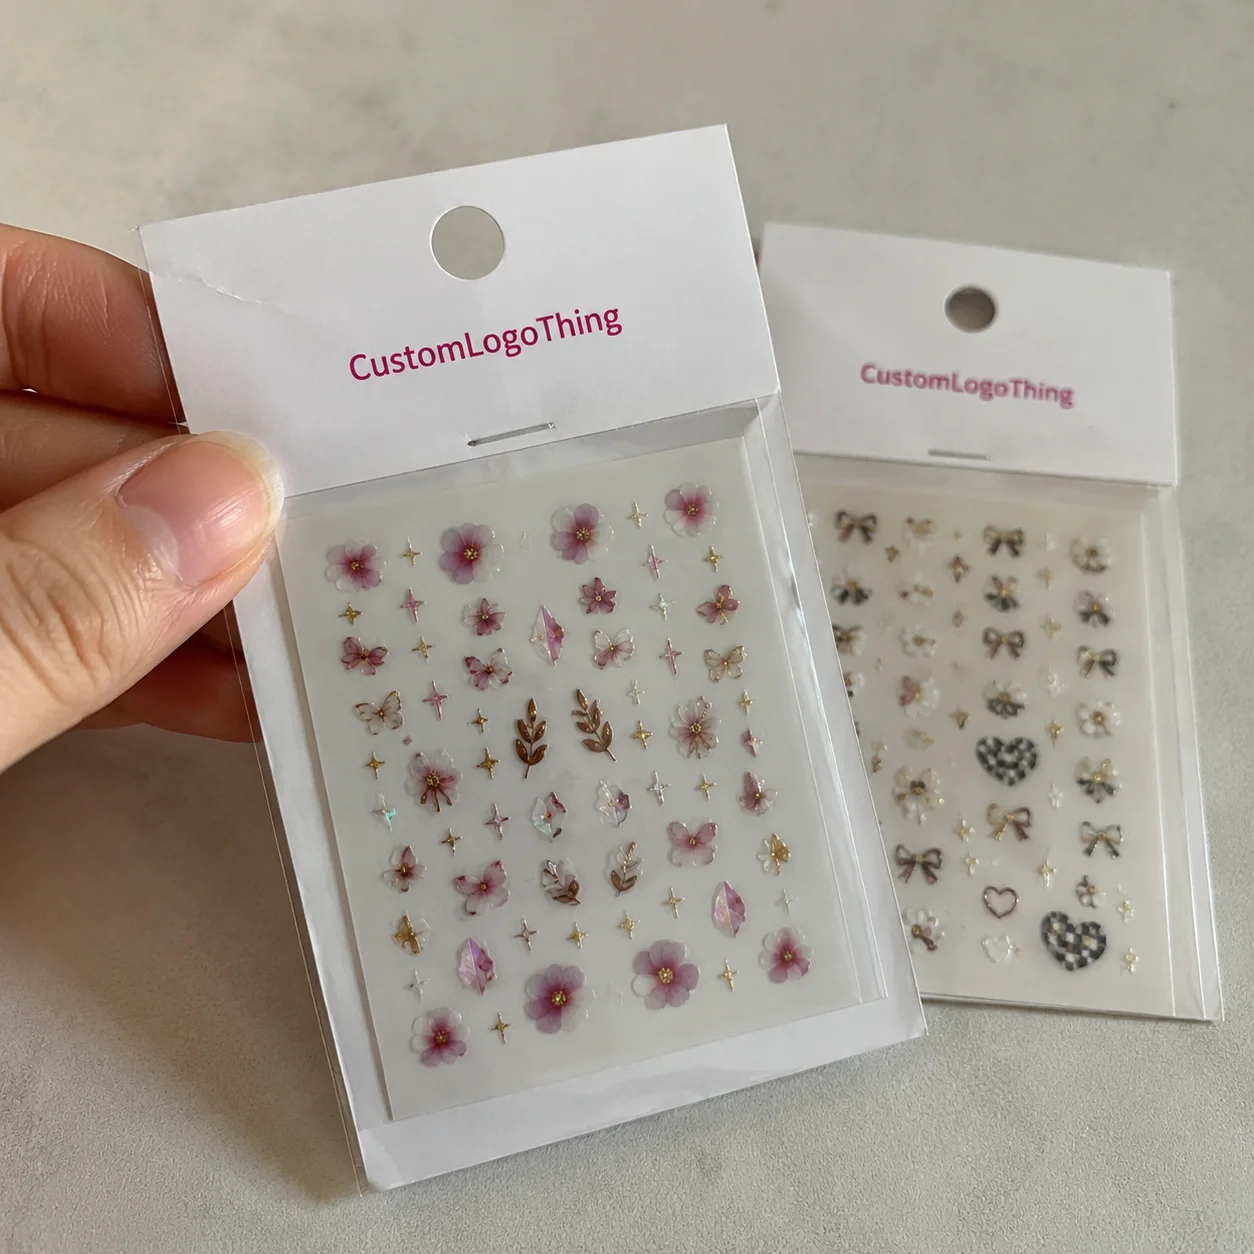
Custom nail decals are printed designs made to sit on or transfer onto the nail surface. Common formats include water-slide decals, which release from a backing sheet after a short soak; peel-and-stick film styles, which behave like tiny pressure-sensitive labels; and clear-back designs that let the polish color show through. Some sheets use white ink under selected artwork so pale colors stay visible over dark polish. Others are intentionally translucent for a softer, layered look.
They work especially well for accent nails, limited-run holiday sets, influencer merch, promotional giveaways, subscription boxes, salon retail packs, and small beauty kits where presentation carries weight. If the product will be sold, not just used behind the nail table, the backing card, sleeve, or pouch becomes part of the brand. A plain sheet is fine for testing. A retail-ready set usually needs cleaner packaging design, usage instructions, and space for a barcode or SKU label if it will move through stores or fulfillment.
How the sticker production process works
The production path starts with artwork prep, not the press. Small designs expose every weak file decision. Vector art is preferred for logos, line icons, and repeat graphics because it keeps edges clean at tiny sizes. Raster files can work if they are high resolution, but a 0.3 mm line that looks crisp on a monitor may fill in, break, or disappear once printed, coated, cut, and viewed on a curved nail.
A typical workflow moves through file review, sheet layout, digital proof, printing, coating or lamination, cutting, inspection, and packing. Sheet layout matters because buyers often want 20 to 80 small designs on one card. Each design still needs enough spacing for lifting, trimming, or water release. On a 60 mm by 90 mm sheet, crowding artwork too tightly might save a few cents in material, then punish the person trying to use it. Great plan.
White ink should be discussed early. On clear film, white can sit under the color layer to create opacity, or it can print as part of the visible design. Registration tolerance becomes critical here. Even a tiny shift may create a white halo around a red heart, black logo, or thin outline. For very fine artwork, I prefer test output before a large run, especially if the design includes micro text under 4 pt, metallic-looking outlines, tight borders, or soft gradients.
Material selection depends on the application method. Water-slide decal paper is thin and can conform nicely to the nail curve, but it needs water activation and careful handling. Peel-and-stick nail decals are faster at the table, though the adhesive must balance grab, flexibility, and clean appearance under top coat. Some film stocks receive a clear protective coating instead of a full laminate because heavy lamination can make tiny stickers too stiff.
Production callout: For nail decals, “small” does not mean simple. The tighter the artwork, the more color registration, edge clarity, and surface finish affect the final result.
Quality checks should include color matching, cut accuracy, surface defects, ink adhesion, liner release, and packing count. For broader packaging programs, suppliers may also align carton testing with standards from groups such as ISTA, especially when retail displays or e-commerce shipments include several beauty items together.
Cost, pricing, and MOQ factors to compare
Price is driven by size, quantity, material, number of designs per sheet, ink coverage, coating, cutting complexity, and packaging format. A small clear-back sheet with one-color artwork is usually cheaper than a mixed-design sheet with white ink, metallic effects, a custom header card, and an individual retail pouch. The extra cost is not only material. It is setup, proofing, finishing, and inspection time.
As a rough planning range, simple custom nail art stickers may land around $0.18 to $0.45 per sheet at higher quantities such as 5,000 to 10,000 sheets, depending on size and print coverage. Smaller trial orders can run closer to $0.60 to $1.50 per sheet because setup costs are spread across fewer units. Retail-packed sets with a printed backing card, opp bag, instruction insert, and barcode label may move into the $0.80 to $2.50 range before freight. These are estimating ranges, not magic numbers. A live quote still wins.
Minimum order quantity changes the math quickly. A 500-piece pilot run is useful for testing artwork and customer response, but it will almost always carry a higher unit price than a 5,000-piece order. That does not make the pilot wrong. First-time buyers should budget for samples or a small production run before committing to a full retail launch, especially if the product will be sold under a brand name.
| Order type | Typical quantity | Common format | Planning price range | Best use |
|---|---|---|---|---|
| Sample or pilot | 50-500 sheets | Mixed designs on basic backing | $0.80-$2.00 per sheet | Testing fit, color, and wear |
| Salon-use run | 1,000-3,000 sheets | Clear or water-slide sheets | $0.35-$0.90 per sheet | Menu services and seasonal accents |
| Retail-ready run | 3,000-10,000 sets | Printed backing card with pouch | $0.80-$2.50 per set | Beauty kits, boutiques, online sales |
Ask for a custom quote if you need shaped sheets, several design versions, foil-like effects, private-label packaging, or branded inserts. If your nail stickers are part of a broader retail packaging program, it can also help to review matching Custom Labels & Tags so the sticker sheet, outer pouch, and shipping label feel like one brand family.
Timeline, turnaround, and approval checkpoints
A realistic order timeline starts with inquiry and file review, then moves to quoting, proofing, proof approval, production, finishing, inspection, packing, and shipping. For a straightforward order using existing materials, production may take about 10 to 18 business days after proof approval. Sampling, specialty finishes, custom packaging, or freight routing can add time.
The most common delays are boring. Missing vector files. Low-resolution art. Undecided sheet size. Color changes after proofing. Late dieline revisions. Each one can add a day or two. If a buyer sends 40 tiny designs but only 20 are production-ready, the schedule follows the least-ready files, not the best ones.
Proof approval deserves real attention. Review the proof at actual size, not only zoomed in on a screen. Check whether small icons still read at 6 mm wide, whether a logo remains recognizable, and whether the cut line leaves enough room around the design. If a backing card is included, inspect spelling, usage language, barcode placement, hang-hole position, and any required retail information.
Rush orders can work for salon events, product launches, and seasonal restocks, but only when the artwork is clean and the material choice is standard. Rush fees may add 15% to 40%, and they usually compress production, not transit. Production time is the period needed to manufacture the order. Transit time is the freight window after goods leave the facility. Confusing the two is one of the fastest ways to miss a launch date.
Step-by-step guide to ordering the right format
The right format starts with the use case. A salon that applies decals all day may care most about speed, release behavior, and sheet organization. A beauty brand selling online may care just as much about shelf appeal, branded packaging, and how the set looks in an unboxing photo. A promotional giveaway may need the best balance of low cost, clear branding, and simple instructions.
- Define the use: Decide whether the stickers are for salon service, retail sale, e-commerce add-ons, event gifting, or private-label beauty kits.
- Pick the application style: Choose water-slide for thin transfer behavior, peel-and-stick for speed, or clear-back film for designs that blend with polish color.
- Confirm the size: Many individual nail graphics sit between 3 mm and 10 mm wide, while full-sheet layouts often range from credit-card size to postcard size.
- Select finish and protection: Gloss looks bright, matte feels more muted, and a compatible top coat can improve wear if the ink system allows it.
- Plan the backing: A plain liner works for internal use, but retail sets benefit from a printed card, instruction panel, and hang-hole or pouch format.
Artwork should have clean edges, enough contrast, and realistic detail. If a design depends on hairline text, ultra-fine lace, or pale yellow on a transparent background, ask for a proof that shows actual scale. For brand marks, provide vector files such as AI, EPS, or PDF. For illustrated art, use high-resolution PNG or PSD files with transparent backgrounds when appropriate.
Packaging is not just decoration. A retail-ready sticker set may need a backing card around 300-350 gsm, a clear protective pouch, and a short instruction line such as “Apply to dry polish and seal with compatible top coat.” If the order belongs with other beauty items, review related Custom Packaging Products so your outer mailer, insert card, and sticker pack carry the same visual system.
Before approving production, test the proof against real nail sizes. Print the design on paper at 100% scale if a physical sample is not available yet. Place it over common nail shapes: short round, almond, square, and coffin. A decal that looks balanced on a long sample nail may overpower a shorter natural nail.
Common mistakes that hurt performance and appearance
The first mistake is overdesigning the sheet. Small graphics need breathing room, bold contrast, and simple shapes. A full illustration may look beautiful at 40 mm wide, but once reduced to 6 mm, it can turn into a colored blur. Text has the same problem. Micro slogans can be charming, but if the finished letter height falls below roughly 1 mm, readability becomes a gamble.
Another common issue is placing artwork too close to the cut line. Even good die cutting or digital cutting has tolerance. For tiny decals, I like to leave practical safe space where the design allows it, usually at least 0.5 mm to 1 mm from important artwork to the edge. That small buffer helps prevent nicked letters, uneven borders, and awkward halos.
Finish choice can also cause trouble. A high-gloss finish may look richer in a product photo, but it must hold up under handling, moisture exposure, and top coat chemistry. Not every coating reacts the same way to acetone, gel top coats, or UV curing. If the stickers are intended for professional nail service, ask about compatibility and request test samples rather than assuming all films behave the same.
Skipping samples is risky when color and adhesion matter. Dark polish can change how translucent designs read. Clear-back designs can disappear if the artwork lacks white ink. A pressure-sensitive decal may lift at the edge if it is too stiff for curved nails. Storage matters too; heat, humidity, and dusty retail bins can affect liners, pouches, and adhesive surfaces. For retail product packaging, consider how sheets will stand, hang, ship, and be opened by the customer.
Expert tips for better wear, branding, and resale value
Keep the artwork bolder than you think. That is not a design insult. It is a production reality. Tiny-format printing rewards clean silhouettes, strong contrast, and recognizable shapes. A rose, moon, lightning bolt, logo initial, or chrome-look icon will usually read better than a detailed scene squeezed into a 5 mm space.
Use finish and packaging to signal product position. A salon-grade refill pack can be simple and efficient, with sheets sorted by theme or size. A giftable retail set may need a heavier backing card, soft-touch finish, metallic-looking print accents, or a coordinated pouch. If the nail decals are part of custom printed boxes for a larger beauty bundle, match the typography and color palette so the product feels intentional rather than assembled from separate parts.
Ask for test packs if you are comparing materials. A good sample review checks more than appearance. Apply the decal over light and dark polish, seal it with the top coat your audience is likely to use, and inspect after normal handwashing. Test flexibility on curved nail tips. Check whether the liner releases cleanly without bending the artwork.
For resale, clear instructions increase perceived value and reduce complaints. A small backer card can explain “clean nail,” “place decal,” “press edges,” and “seal if compatible” in four short steps. If sustainability claims matter to your brand, be careful with language and verify what can actually be supported. For paper-based cards, the Forest Stewardship Council is a useful reference point for certified fiber sourcing, though certification availability depends on the chosen material and supplier chain.
Next steps: what to gather before you request a quote
A better quote starts with better inputs. Before contacting a manufacturer, gather your target sheet size, approximate quantity, artwork files, preferred application style, finish preference, and packaging needs. Even a rough answer is better than “I need nail stickers,” because the price changes dramatically between a basic decal sheet and a retail-ready pack with a printed insert.
Decide whether you need a sample run, a mixed-design sheet, or a full production order. If you are testing a new product line, a pilot order lets you confirm scale, color, adhesion, and customer response before tying up inventory dollars. If you already have demand, a larger run can lower unit cost and give you more room to invest in better presentation.
Prepare one plain sentence describing the buyer and use case. For example: “These are pastel floral decals for salon retail packs sold at $8 to $12 per set,” or “These are logo accents for a launch event giveaway.” That sentence helps the supplier recommend material, sheet size, backing card, and packing style without guessing.
Also share whether the stickers need to sit inside a broader branded packaging system, such as a cosmetic mailer, pouch, insert card, or kit box. The more the supplier understands the full product packaging plan, the easier it is to align color, finish, and pack-out. For first orders, I would rather see one clean, well-tested run than a large order built on assumptions.
Gather the details, ask direct questions about samples and proof timing, and review the actual-scale design carefully. That is the safest path to custom nail Art Stickers That look sharp, apply cleanly, and feel ready for the customer holding them.
Frequently asked questions
What are custom nail art stickers made from?
They are usually made from printed film, decal paper, or specialty sticker stock. The right material depends on whether the design is meant to be peeled, transferred with water, or sealed under a compatible top coat. Finish, opacity, adhesive strength, and flexibility all affect wear and appearance, so material choice should match the application method.
How do custom nail art stickers get applied?
Most are applied to clean, dry nails after sizing and trimming if needed. Water-slide styles are activated with moisture and transferred from the backing sheet, while peel-and-stick versions are pressed directly into place. A top coat can help protect the design, but compatibility should be checked because some coatings react differently to polish, gel systems, or solvents.
What affects the price of custom nail art stickers the most?
The biggest drivers are quantity, number of colors, material choice, special effects, sheet size, cutting complexity, and packaging format. Small runs usually cost more per unit because setup and proofing are spread across fewer sheets or sets. Custom shapes, mixed-design sheets, white ink, and retail cards can also add production time and cost.
How long does production usually take?
Timelines depend on proof approval, material availability, artwork condition, and finishing requirements. Simple jobs often move faster than orders needing white ink, specialty coating, custom packing, or multiple design versions. Shipping time is separate from production time, so both should be confirmed before setting a launch, salon event, or restock date.
What should I send when asking for a quote?
Send artwork files, target size, quantity, application preference, and any finish or backing style you have in mind. Include whether the product is for retail, salon use, promotional gifting, or a larger beauty kit. Clear details upfront lead to more accurate pricing, fewer proof changes, and a smoother first run of custom nail art stickers.